Using a Mantle as a Headboard
As an Amazon Associate and member of other affiliate programs, I earn from qualifying purchases.
Welcome to Week 3 of the One Room Challenge! Last week I shared how to strip the wood from an antique mantle. Week 1‘s post has my plan for my Master Bedroom.
Week 3
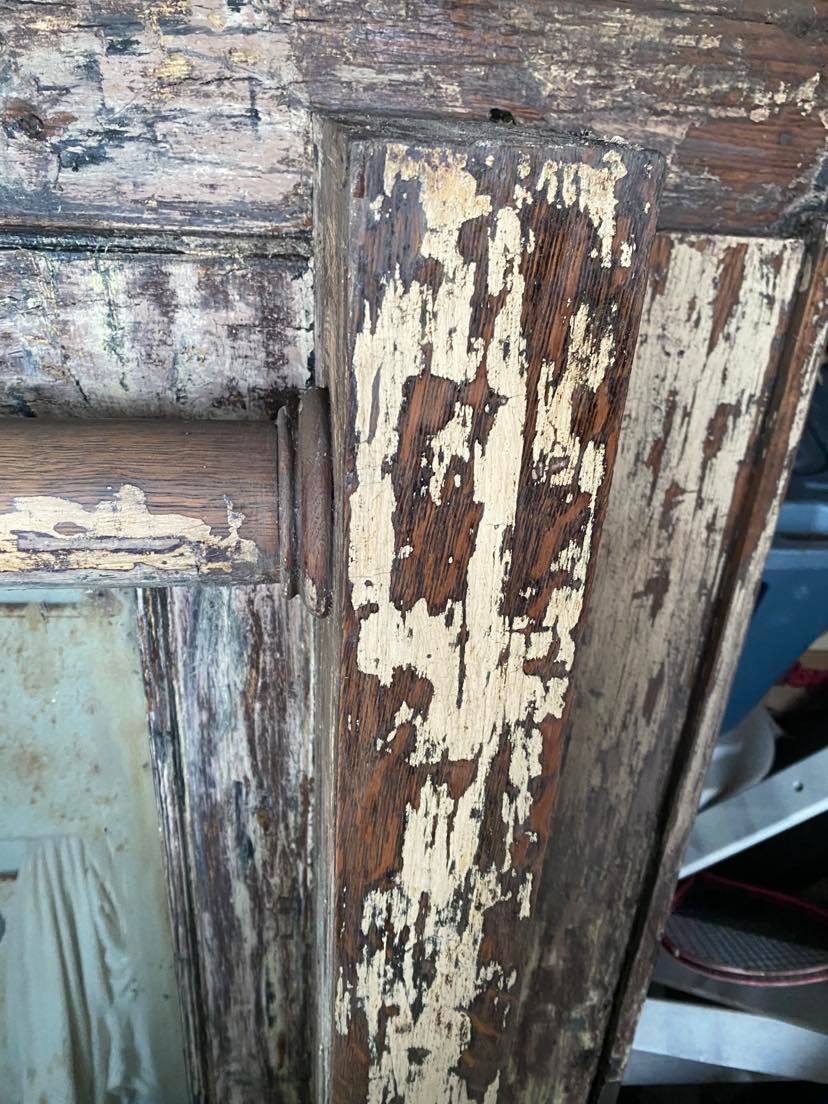
This week I am moving forward with the newly stripped mantle. Actually, it is not completely stripped. In the process of stripping, the first few layers of paint, I discovered this chippy glorious patina. So my plan to refurbish this mantle has changed in that much of the tiger oak is now exposed but I will leave some of the chippy paint intact.
I simply assumed that Mr. Blu would hate it so I continued my task of completely stripping the paint back to the original tiger oak that as sleeping beneath 5 layers of paint and the original stain. Mr. Blu is more traditional and does not normally appreciate chippy in any way, form or fashion. So imagine my glee when he popped into the driveway, saw the partially stripped mantle and said, “Hey, I like that look!” I do believe that I have worn this man down over the last 35 years. Or perhaps he has come to embrace the beauty in things past. Either way, the plan for this mantle has changed.
I will be stripping part of mantle to expose the beautiful antique tiger oak but some of the chippy beauty will remain. This process will most likely take another 6 hours. I will share some glimpses but will save the full photo for the reveal in Week 8.
Alterations to the Mantle
With the mantle almost stripped and redesigned, it is time to widen her to fit the king size bed. Here were my options:
- Shop the local architectural salvage and antique shops for 48″ to 84″ tiger oak remnants that are 6″-12″ in width.
- Create side panels from new lumber and custom treat with paint/stain combination to match the mantle.
I had decided for time and budget sake to go with option 2 when Mr. Blu chimed in with a thrid option, “What about that old mantle from the deck that fell apart when we moved it? Can you use that?”. And I heard it…the angels sang! Yesterday when I was finishing the mantle strip, I went to turn on the hose and caught a glimpse of the sad old mantle which we will call Diva.
Hello Diva!
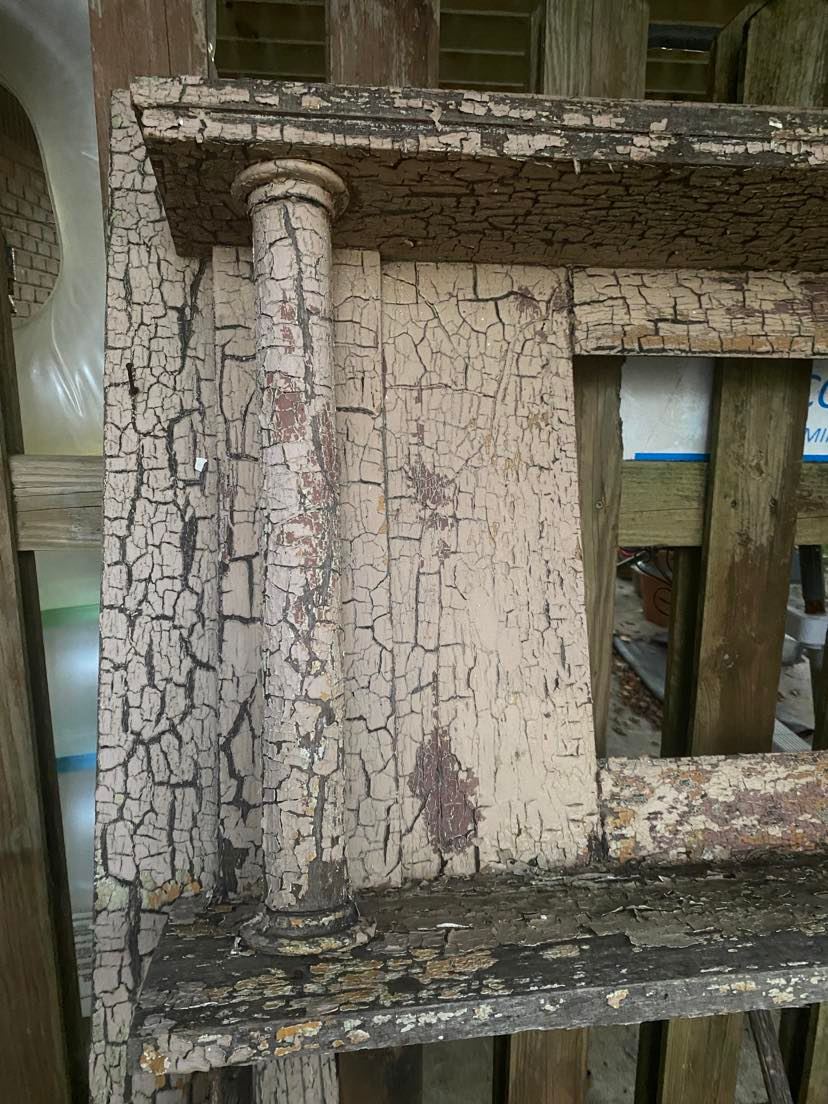
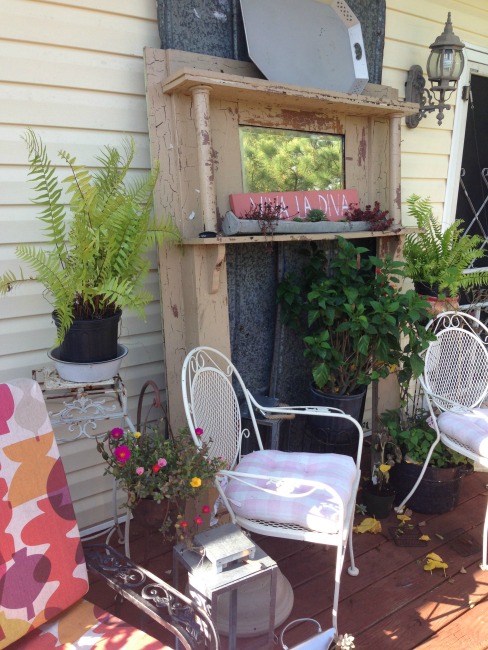
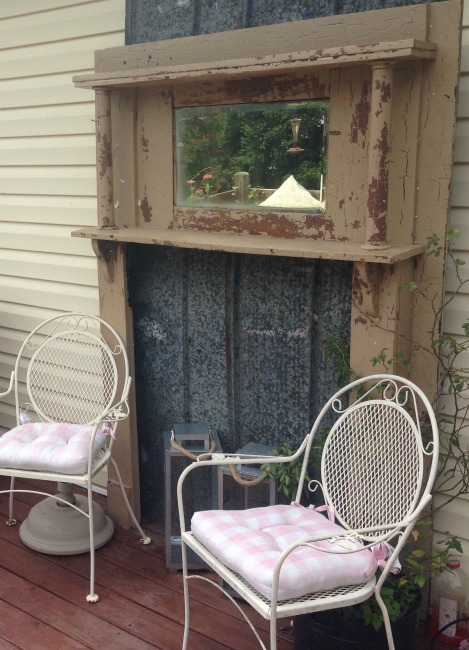
Here are some photos of Diva in her glory days when I first brought her home from The Blue Building Antiques.
Since then, she has weathered the Alabama scorching sun, hurricane rain, and tornadic winds. Her color has faded but her bones are good.
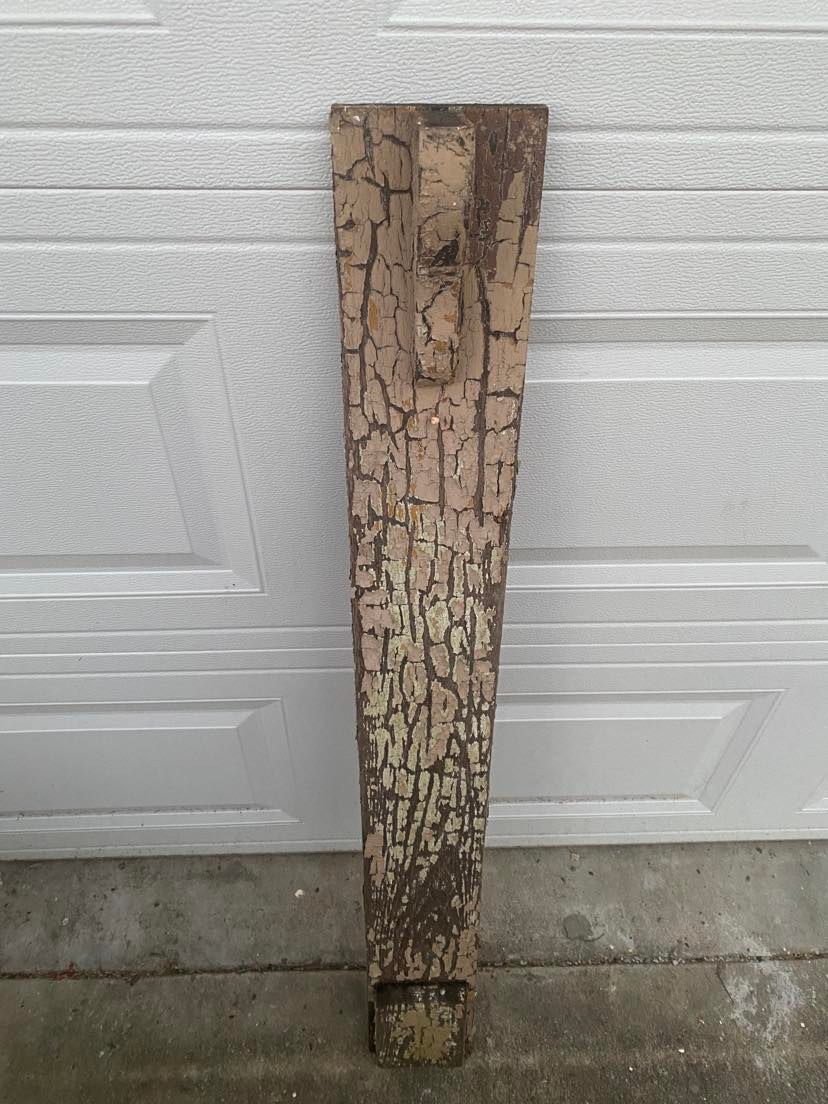
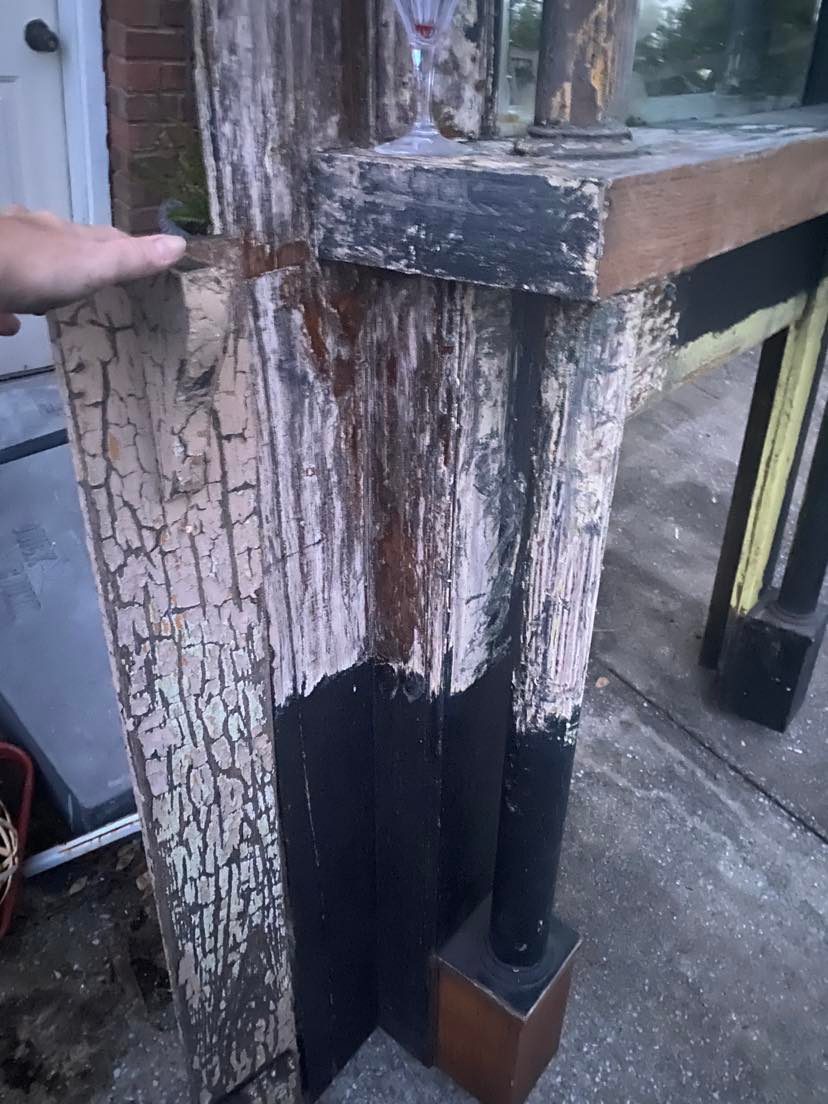
We recently had a new deck installed so Diva had to come down to the yard until she can be rehomed somewhere under the new deck where she will be better protected from the southern weather elements. I honestly don’t see a good spot for her under the new deck yet so she is waiting patiently in her temporary location. When we moved her back under the deck last month, some of the wood had broken loose so we removed it with the plan to reattach once we find a spot for her.
For a moment I thought…what about those pieces for side panels? But in my mind, she was destined to stay on the deck so I quickly shook off that possibility.
Now, revisiting the idea, I realized:
- I will save a lot of time by not having to travel to local and distant salvage locations or antique stores in search of the perfect fit.
- There is no cost involved with using these mantle parts. Antique remnants can be expensive!
- The wood already has beautiful texture from the sun and rain. This texture would be perfect as a frame for the refreshed mantle. I will just have to match the finish to the mantle.
- I can disassemble Diva and use the mantle shelf for another project. She would make a wonderful wall bar!
I measured the sides of Diva and determined that there is enough material. So here we go!
The bottom of the mantle will not be visible as it will sit behind the mattress. So, I will need a piece of wood attached from the Diva piece to the floor but the finish will not have to match exactly. So I can simply attached the Diva pieces higher on the mantle and not worry about an exact finish match below the 24″ mark. I will have to work with stain and paint to match the finishes on the Diva side piece and the main mantle. Right now Diva’s parts are tired and worn. I should be able to make her look new again.
And so, I am off to finish the mantle project! But in the meantime, let’s talk colors for the MBR.
Color Palette
With the mantle design finalized, I decided that we will be painting the walls. Although I do love the old world look of the antique faux finished gold walls, I am interested in a nice change in the vibe of this room. I stripped all of the gold and yellow paint from the mantle so there is not need to stay with the golds. The walls will be painted a shade of white and the accents…well, of course they will be blue. Staying neutral on the wall allows the full rainbow for possibilities of accent colors in the future.
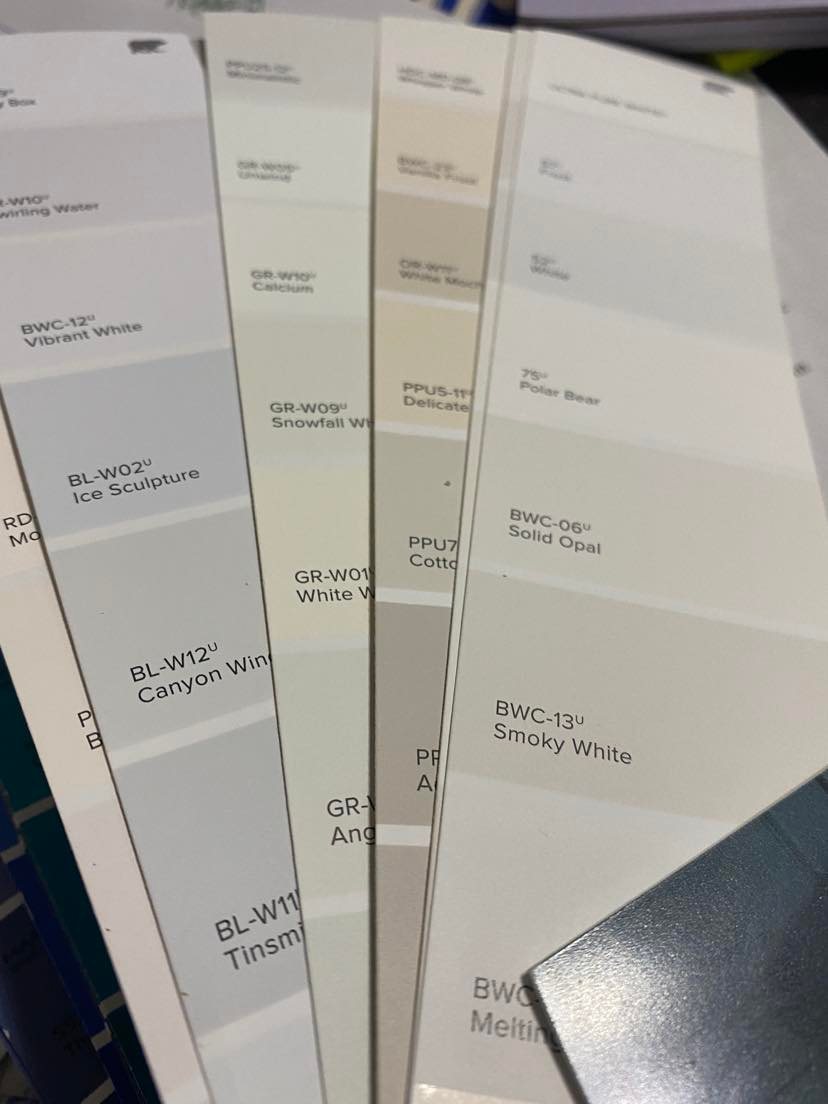
The whites that I am considering are all Behr: Bakery Box, Vibrant White and Polar Bear. I did consider a grey tone but I really want the room to focus on the woods and whites.
All of our woodwork is painted in Behr Ultra Pure White. I want a white wall color but I have to be careful with the finished mantle as it still has some residual white paint scattered throughout. The white on the mantle is probably 100 years old. Because of age, I’m afraid that a wall color that is too white will make the mantle look yellow. So I decided on Vibrant White. I would share a paint chip but, well, it’s white so…pointless? Here are the colors I considered:
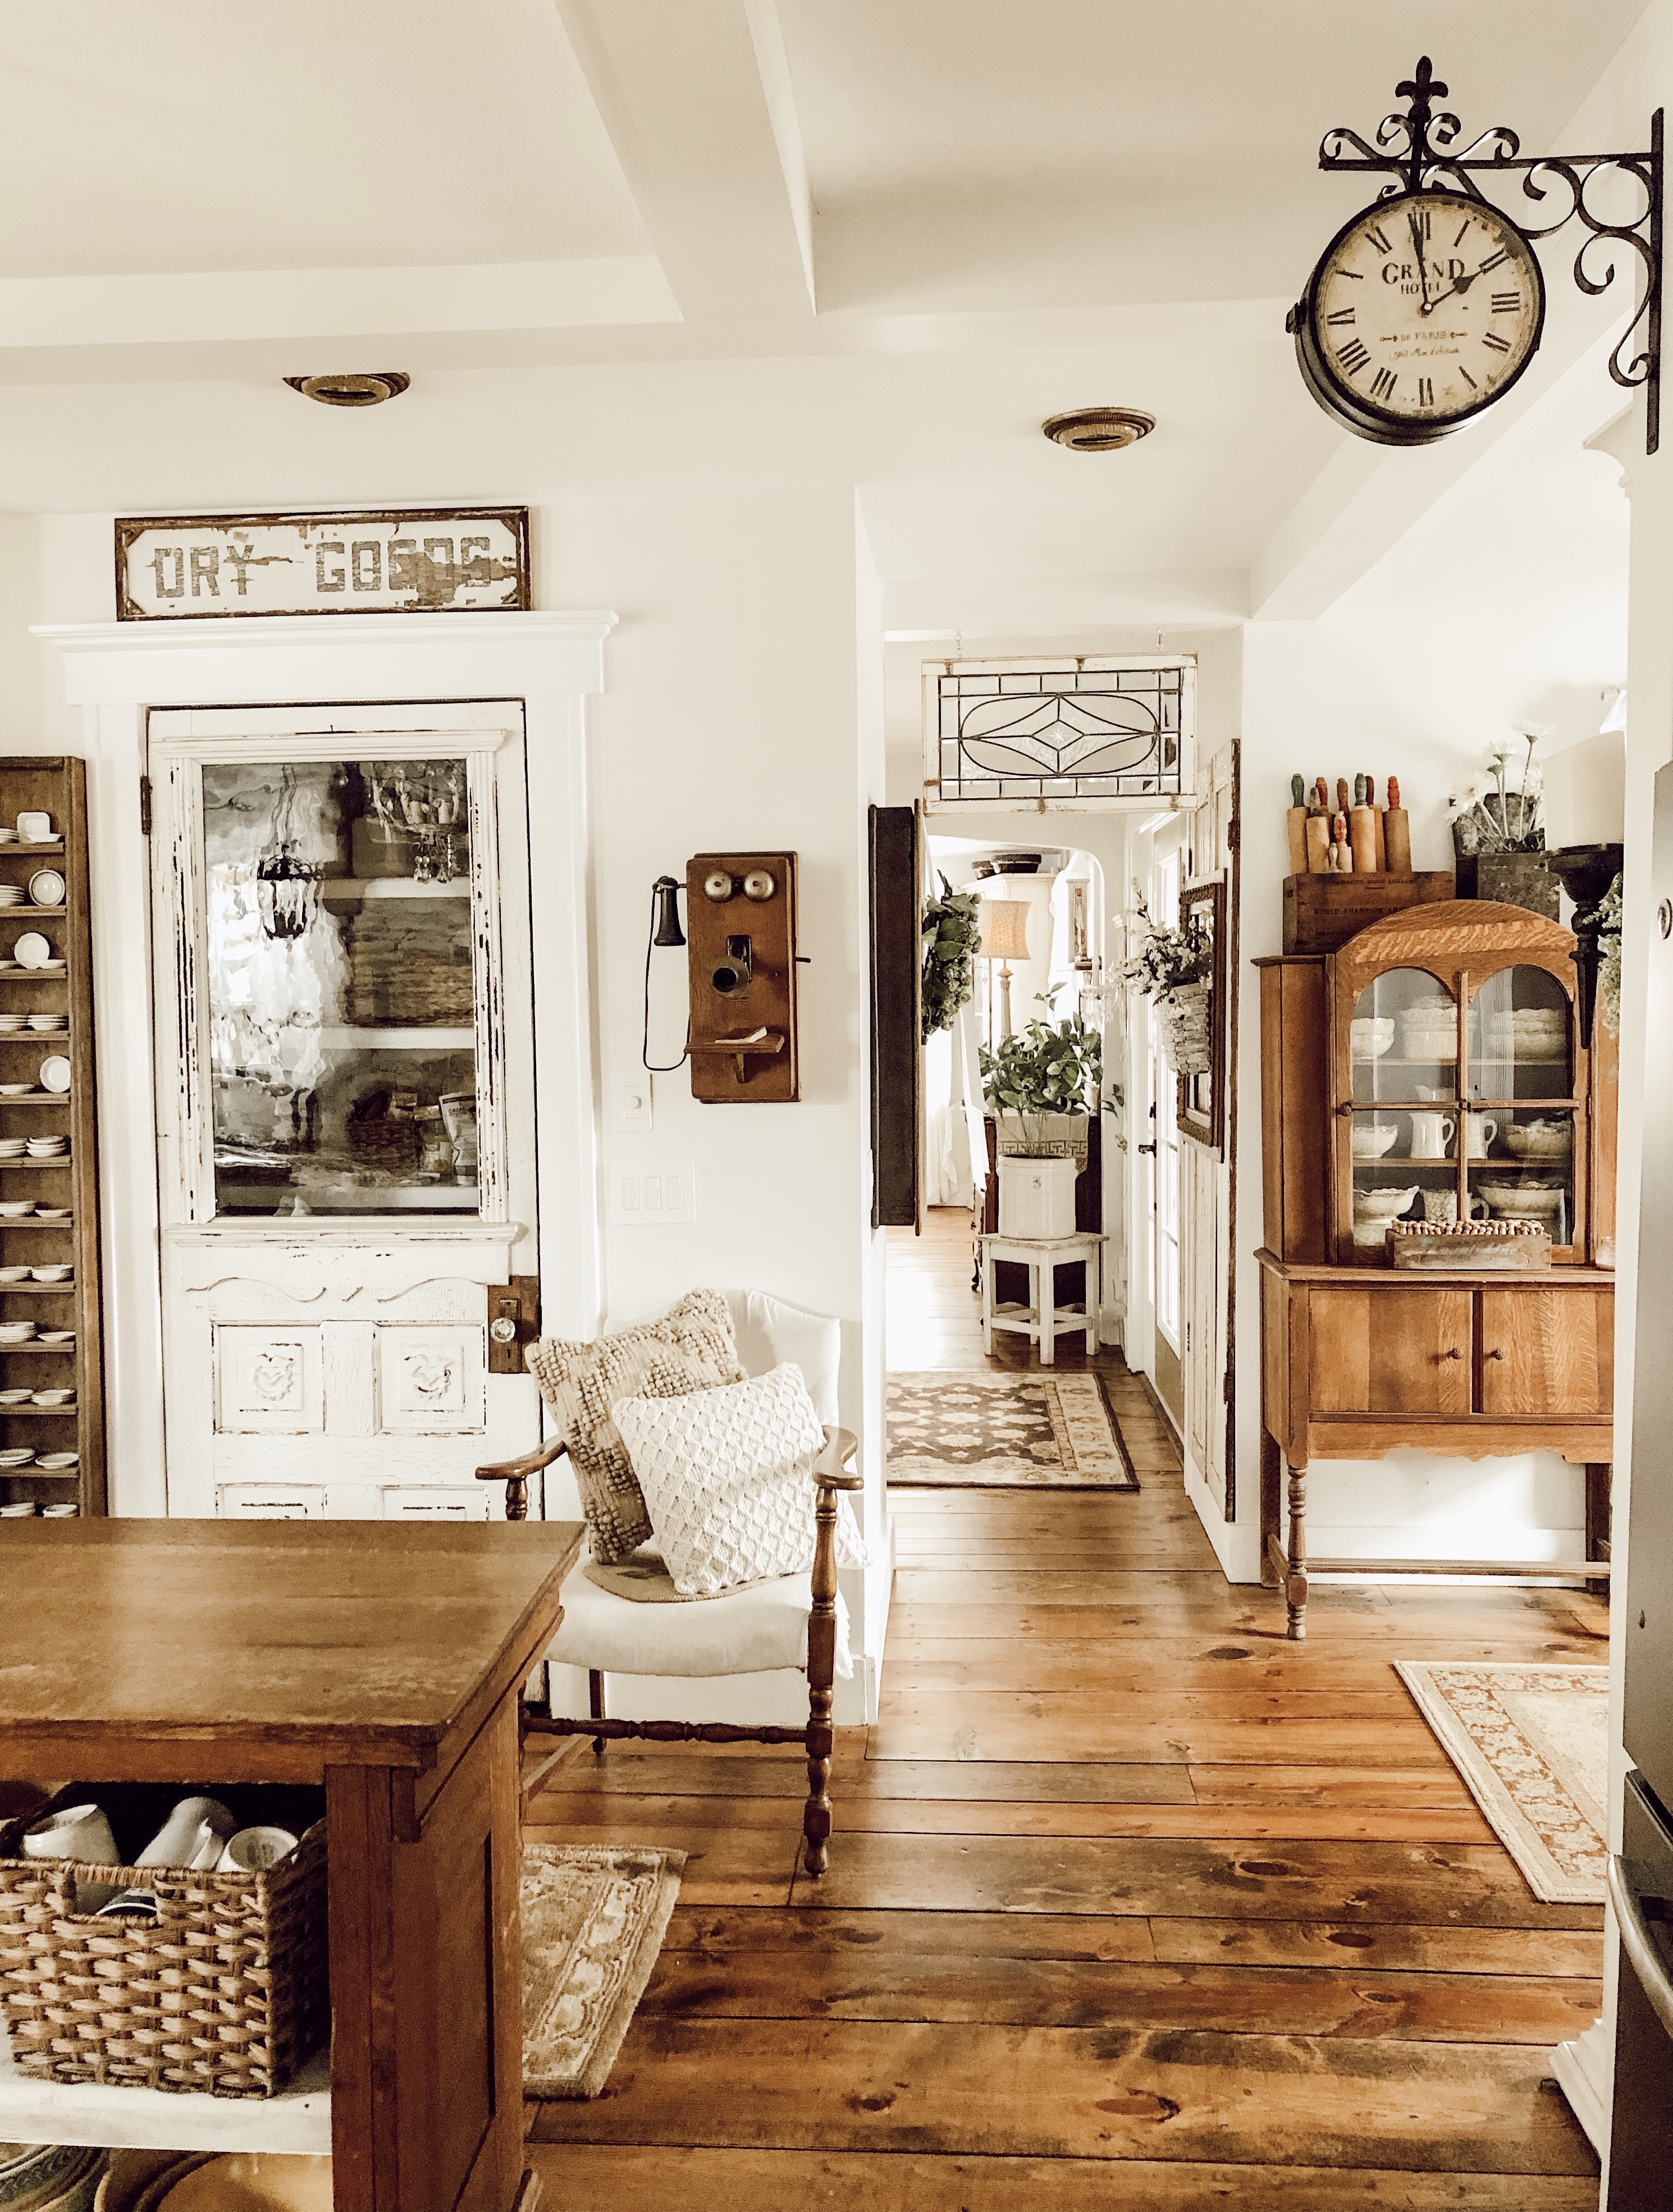
Here is a great example of woods and whites at their finest. Deb and Danelle are masters! My mantle will be a bit darker but I have a highboy that is a lighter maple/oak and will be coming into the room soon. There will be a nice mix of many wood tones.
My room will concentrate on woods and white with a heavy emphasis on, of course, blue! Commence the wall painting!
Accent Colors
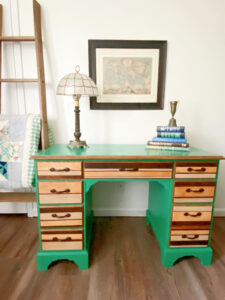
I’m a blue girl. Always. Over the past year I’ve been drawn to some striking furniture pieces that were painted in the cobalt blue family. Is it possible to transfer that glorious cobalt blue glass color onto furniture? I’m gonna give it my best shot!
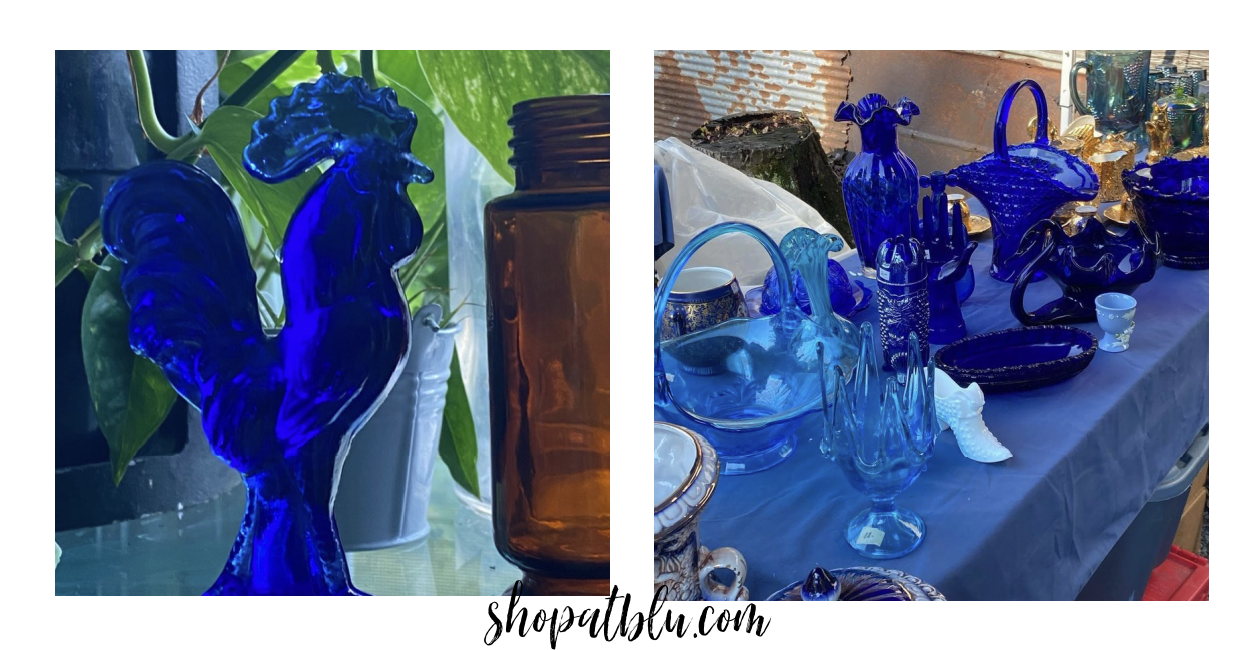 I think these Behr colors are pretty close, though it does seem more vibrant in person:
I want to paint the larges piece of furniture, my dresser, in this a vibrant and glowing blue. I’m considering a transfer but I will make that call once I see how the vibrant blue affects the scale of the piece. I’ve never used a transfer so I might try that on another piece in the room. Again, we will see as the room progresses.
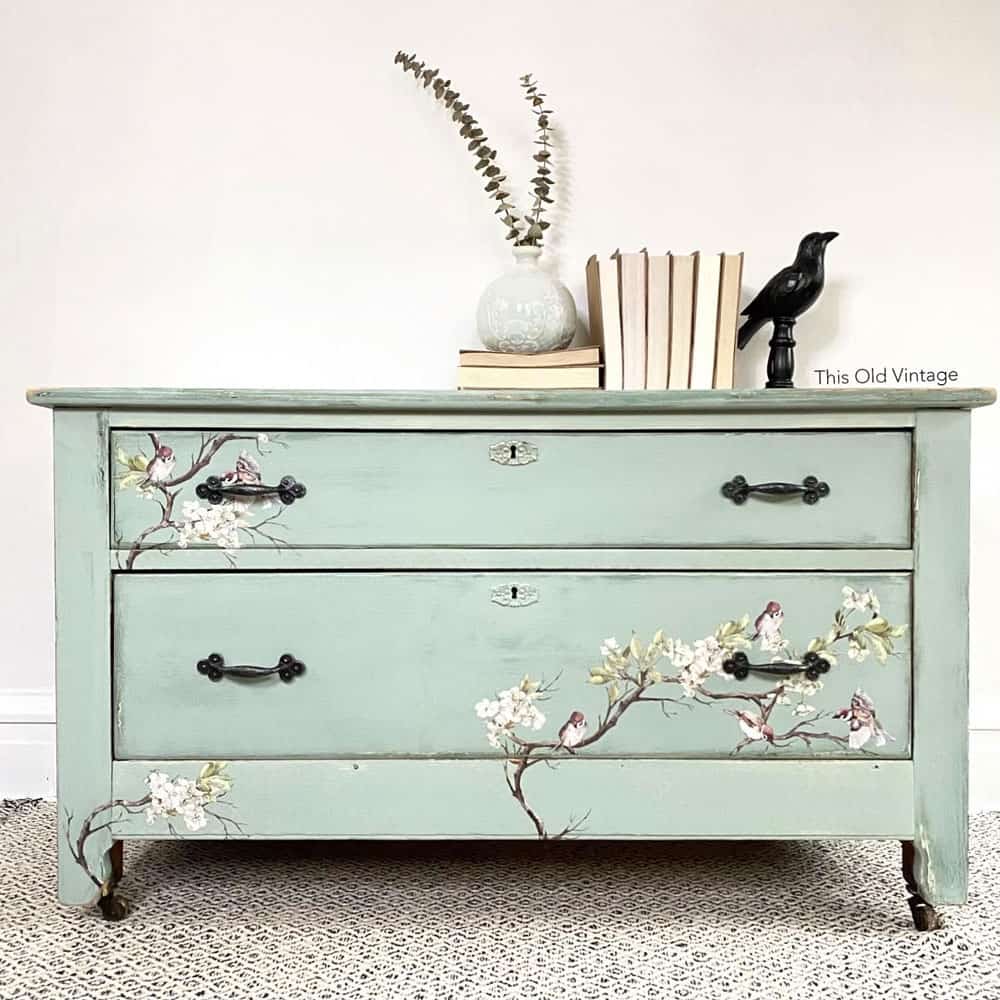
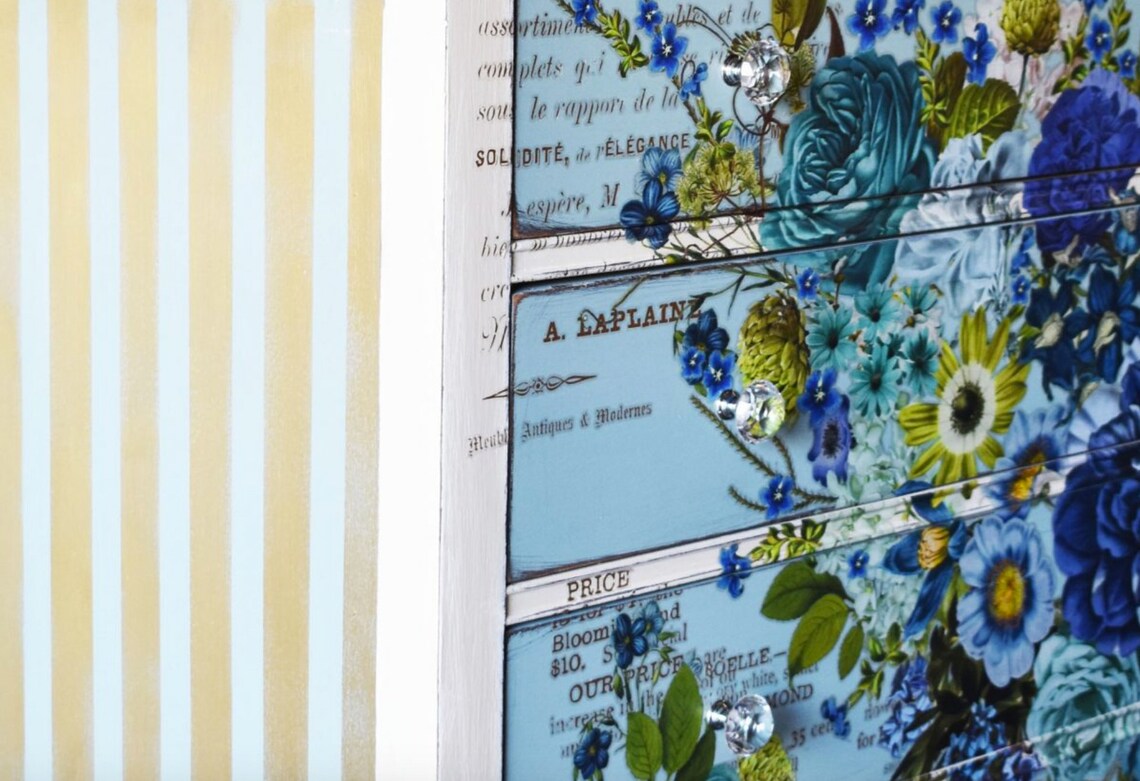
I do like these transfers that I browsed online…
This one is from Natalie at This Old Vintage…
And the blues on this one by maikadaughters.com are incredible…!
I will keep shopping around for transfers and alternate finish ideas.
I’m picturing the white-ish walls, the vibrant blue dresser, the woods and whites of the mantle (tiger oak and residual chippy paint). It’s all coming together.
Next up, curtains, bedding and reviving a tall boy!

