Thrifted Outdoor Metal Footstool Upcycle
As an Amazon Associate and member of other affiliate programs, I earn from qualifying purchases.
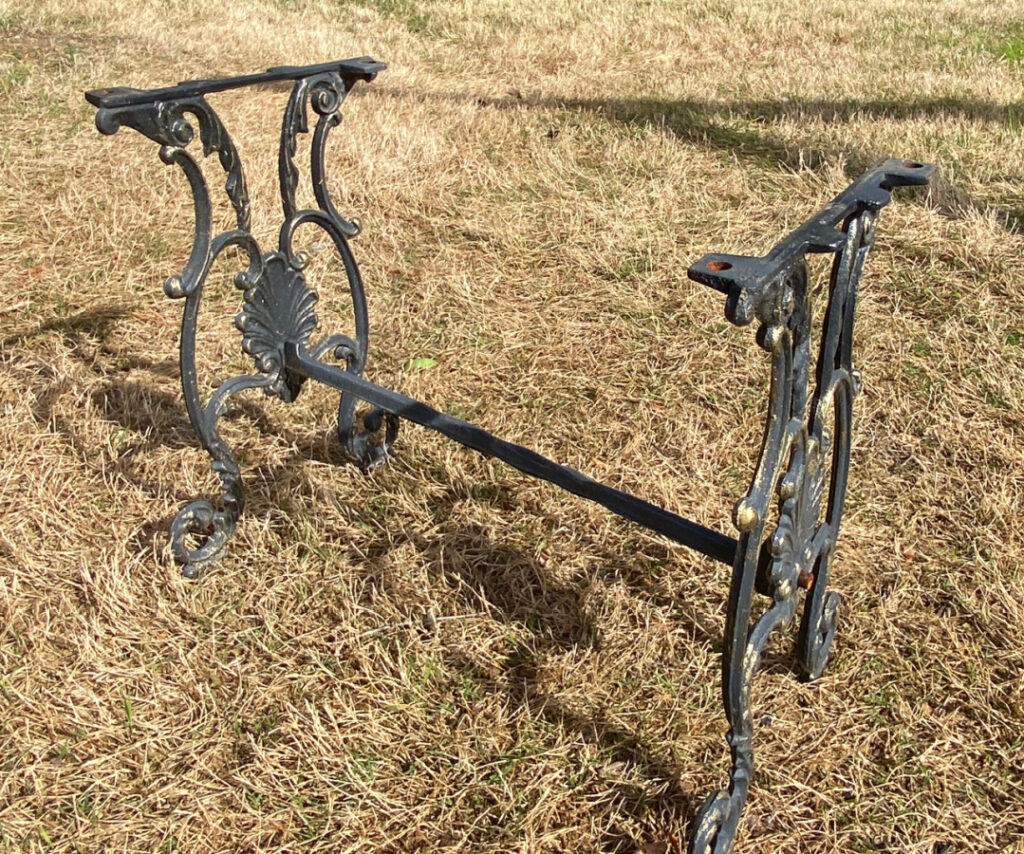
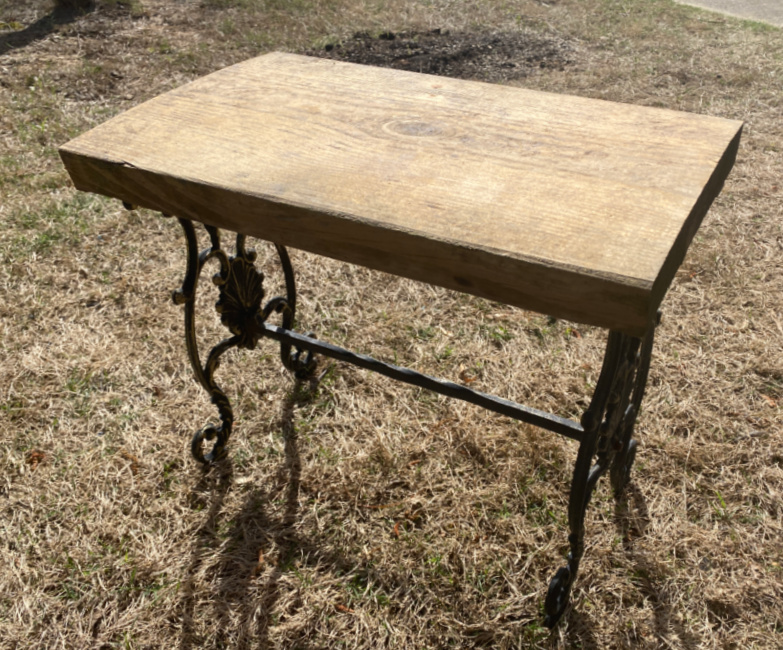
This is our second season with our new deck. Last year we purchased some new dining furniture with extra chairs. We had an old vintage footstool that comes in handy when relaxing with a cold drink after doing yard work. But we only have one! So, I found this metal frame for what I’m guessing was a side table. I plan to use this thrifted beauty as a footstool.
Here is what I found…
Footstool? Side table? I’m not really sure what the original intent was. But It’s gonna be a footstool…for me!
And, it’s the second Wednesday of the month so it is Thrift Store Decor Team time! As always, you can check out the fabulous posts from my thrifty creative friends at the end of this post! But for now, let’s upcycle a thrifted outdoor footstool!
Gather Supplies
Supplies for this project are very simple:
- Scrap wood to fit the top of the footstool
- Rustoleum spray paint
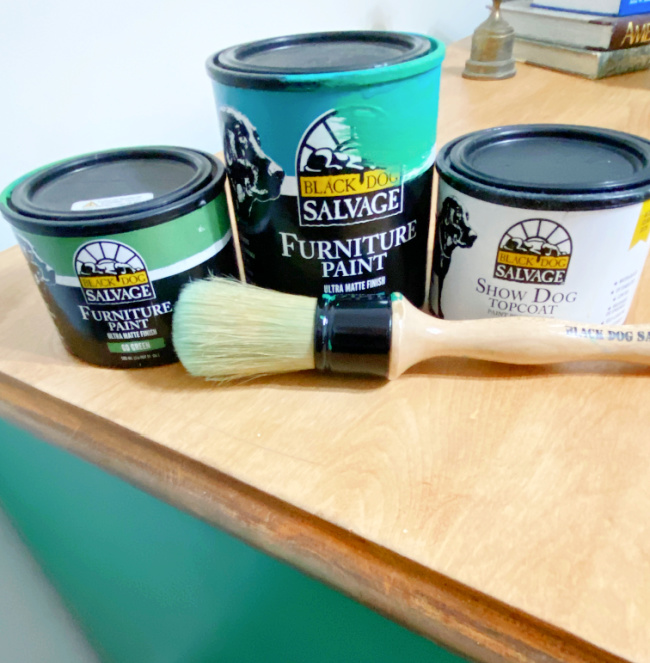
- vibrant color paint ( my choice is Black Dog Salvage Furniture Paint)
- 4 washer head screws or 4 washers and 4 wood screws
- chop or mitre saw or a sabre/jigsaw (unless your wood is the perfect size)
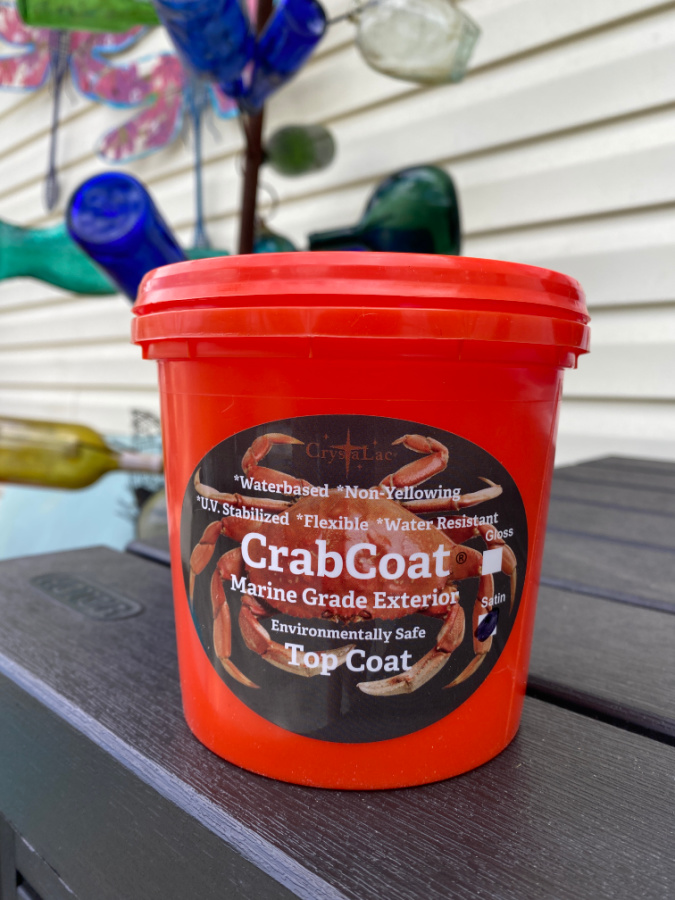
- top coat ( again my choice is a BDSFP product called Crab Coat )
- paint brush
- drill or screw driver
Fabricate a Top
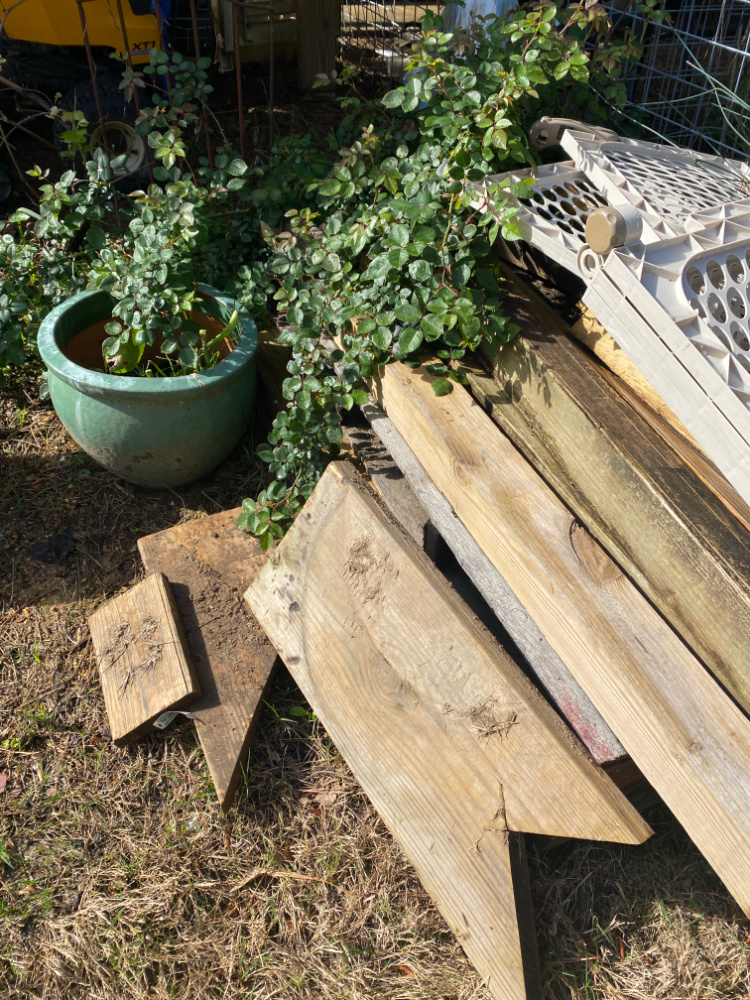
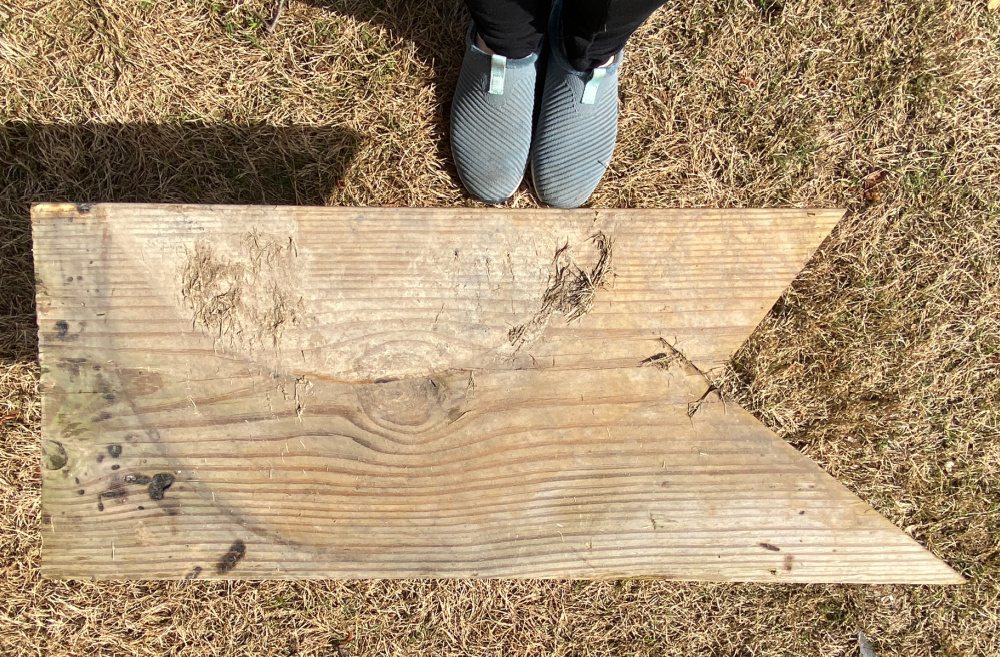
A quick trip to the wood pile and I found a few choices. I had originally planned on using a thin 1 x 2 secured to the backs of several slats of wood to build the thrifted footstool top. But then I found this piece that probably was salvage from a stair/step project.
I’m not exactly sure but what it did mean is that I don’t have to piece together 3 pieces of wood slats when I can use one solid piece. Whoohoo! It’s a great day in Suzy world! Let’s go!
Using My New Tool
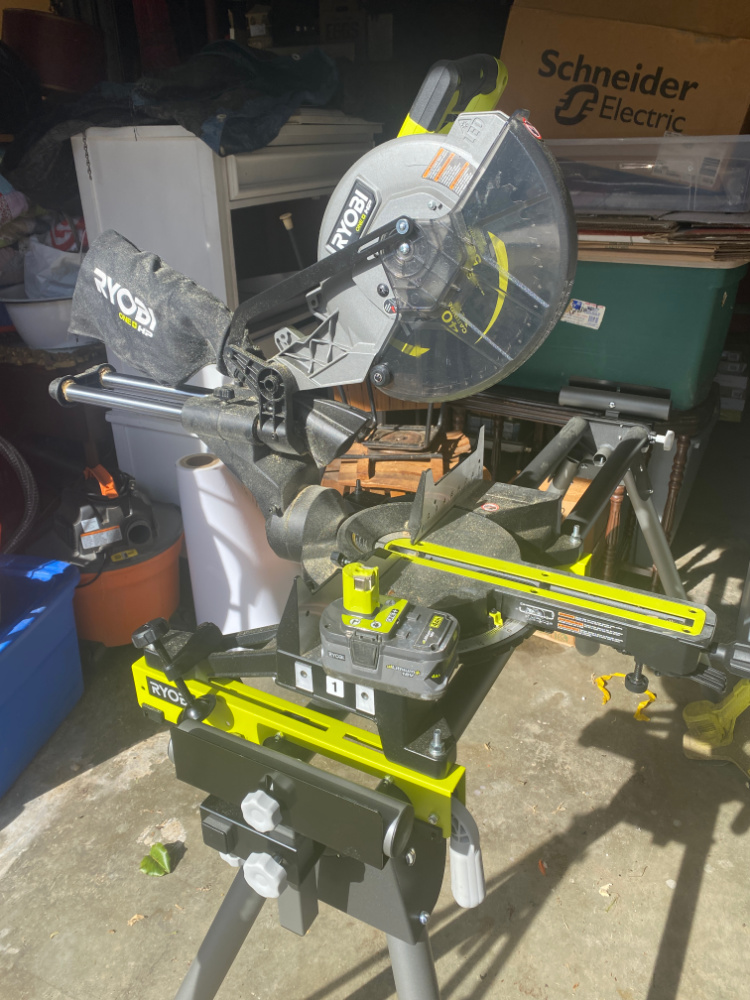
I grabbed that old stair piece like there was no tomorrow and headed to my new favorite Ryobi tool! My compound sliding miter saw!!! HELLO! Merry Christmas to me! Ok! I apologize but I must stop for an info-merical on the benefits of shopping sales!
Have I told you lately that my freakin’ kids are incredible! They are intelligent, free thinking, hard working, dedicated, and creative humans who make this world a better place. And when they combine efforts…the sky is the limit…so look out! Anyway, my babies sent me a gift card to Home Depot last Mother’s Day and I was holding that card until I saw the perfect purchase! It was this sliding compound mitre saw from my absolute favorite Ryobi. Did I mention that it is battery operated? Black Friday sales coupled with gift cards and freebies brought me this beauty with the accompanying stand for $12.59. What a day! Best purchase ever!
Anyway, I finally used this incredible tool and wow! Did that saw cut through this scrap wood like a proverbial knife through butter! With one smooth cut, I had the top for my footstool! I suppose I could have used a larger piece of wood but I tried to keep it smaller so it would be more stable. The wood, being pressure treated, was quite heavy. With the base having limited spots where it touches the ground, I thought a top that had less overage would be more stable and prevent the thrifted footstool from toppling over.
A Perfect Fit
Tighten and Check Assembly
My plan was to disassemble the base so I could lay each part flat to paint. But there was one bolt that was not cooperating and didn’t want to come off. No problem. It was tight so I tightened the other side knowing that it could easily be painted while assembled.
Always Clean and Prep
Next, I gave the wood and the base a bath to remove the dirt and prep her for a special paint job. After a swipe with TSP and a short time to dry in the sun, both top and base was ready for paint.
Paint Choices
Since the base was metal, I grabbed some Rustoleum spray paint that was left over from a previous project. The color was actually perfect and matched the chairs. Rustoleum coverage is excellent. I only needed one coat.
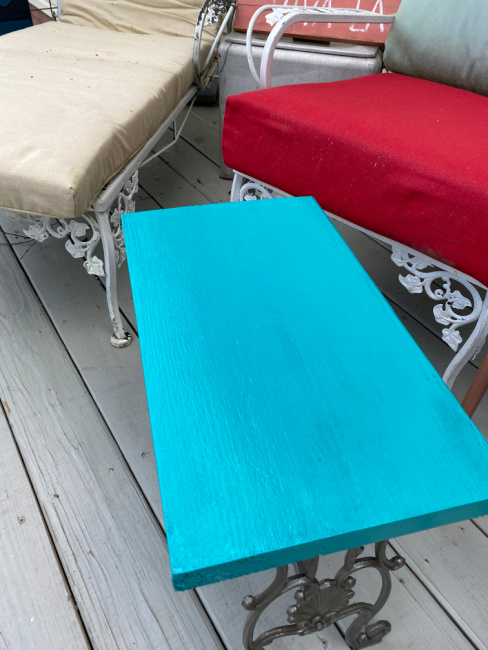
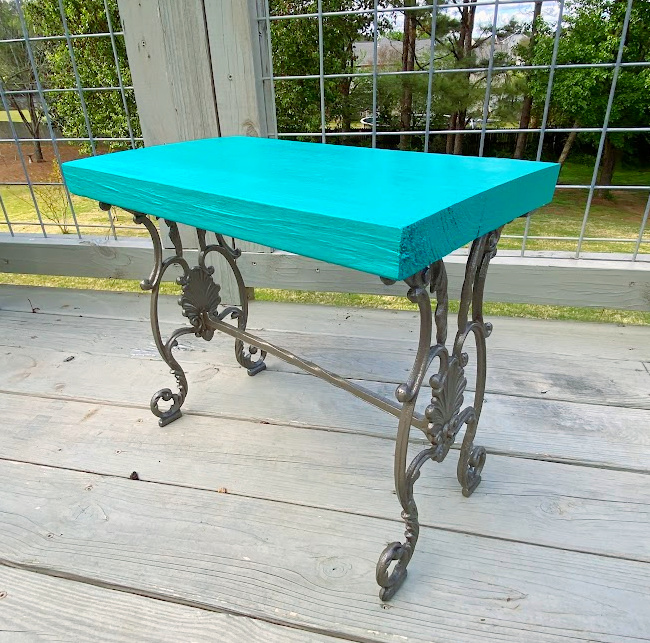
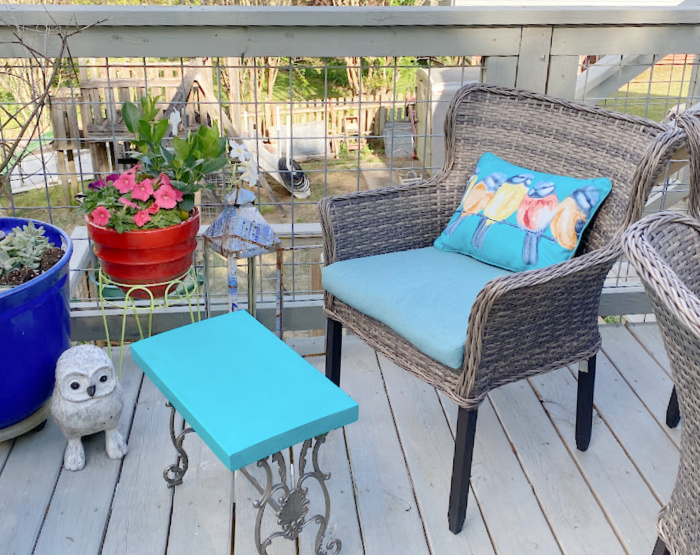
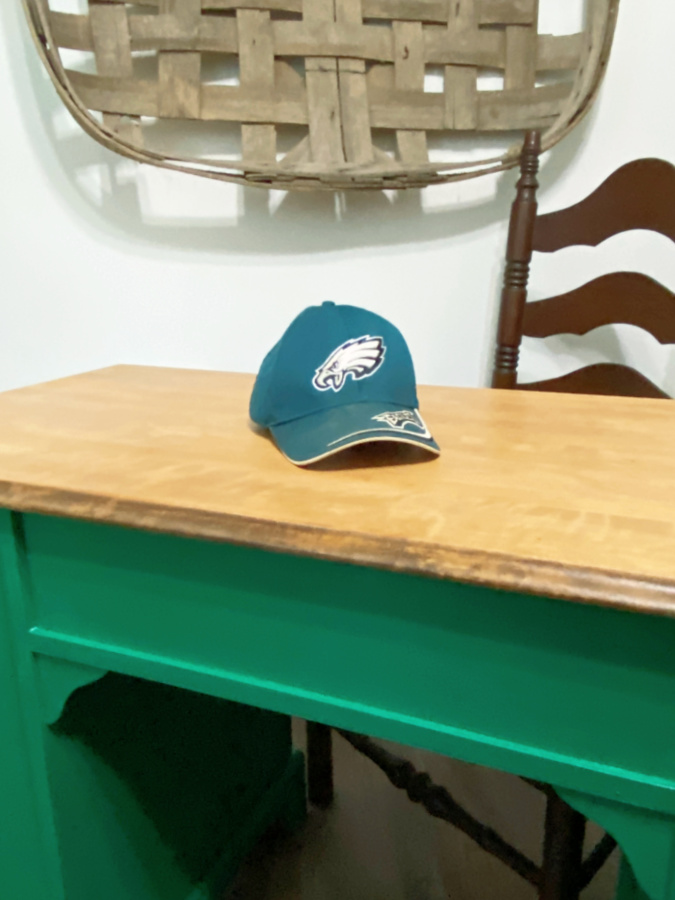
I wanted a bright color for my footstool to compliment my teal chair cushions so, of course, I used Black Dog Salvage Furniture Paint because, well, let’s face it…they have the best and boldest colors. And, as luck would have it, I had the perfect color on hand. I had used Keep it Teal in this previous project on Pop’s Desk.
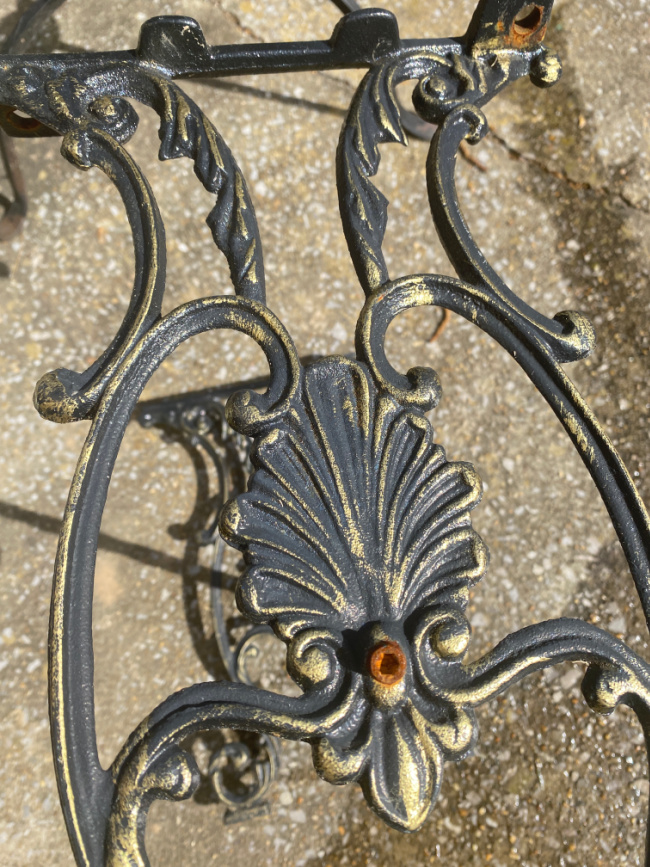
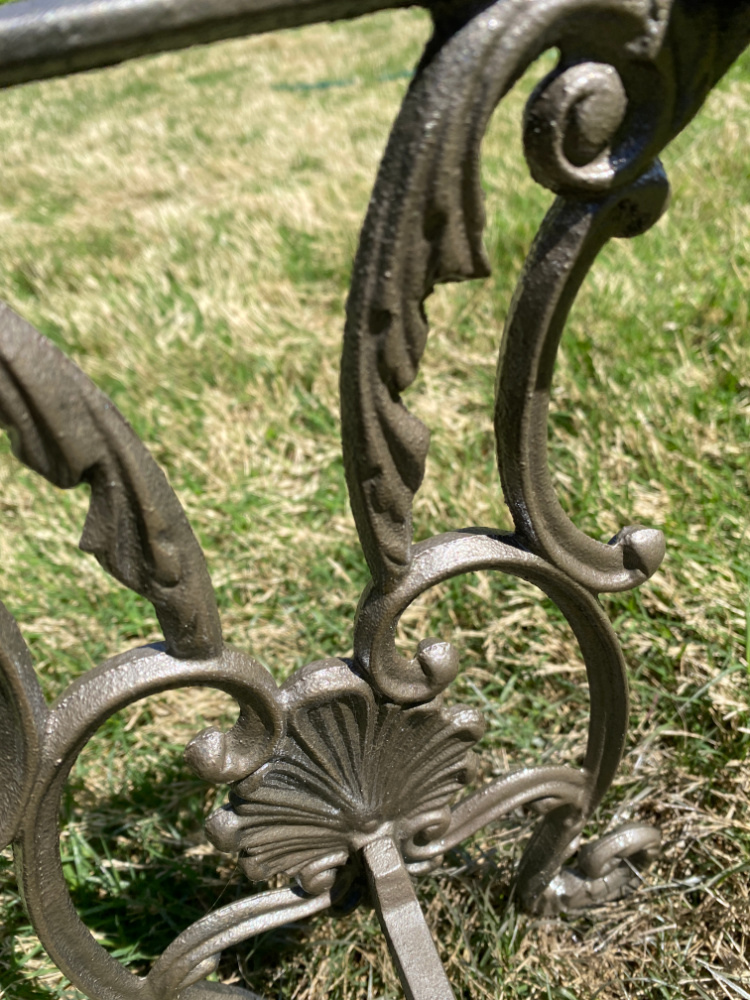
The beauty of BDSFP is that it was created for use on reclaimed materials so it is absolutely perfect for this project. The BDSFP website provides recipes for creating a wide array of fabulous colors using their paints in various combinations. I really only needed one coat of paint as the coverage was incredible. But I did apply a second coat. Also note, if I had some dark brown BDSFP on hand, I would have used it for the base. Remember, BDSFP was designed for salvaged item like this wrought iron base. And BDSFP can be used in a paint sprayer for convenience in projects like this one with detailed surfaces.
After two coats of paint, I sealed the wood with several coats of Crab Coat. Crab Coat is BDSFP’s marine grade sealer that stands up to extreme outdoor weather. Follow the instructions to determine how many coats you will need to protect your item from the elements.
And, Alabama weather is certainly extreme. After several coats of Crab Coat, my stool was ready to be assembled.
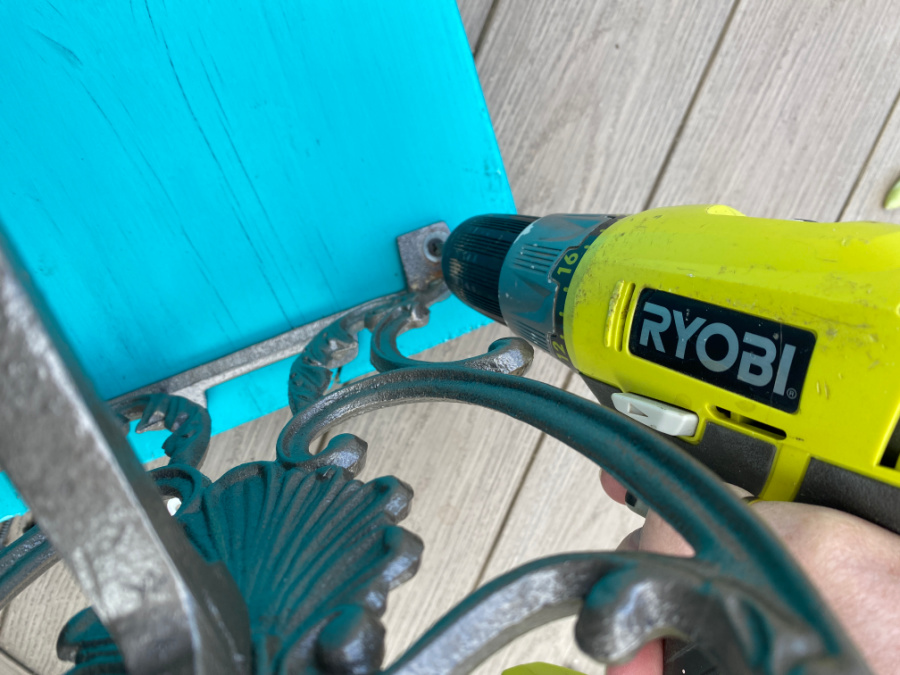
I positioned the top just right. And then attached the foot to the base with a screw in each corner.
Bonus: Hardware Lesson
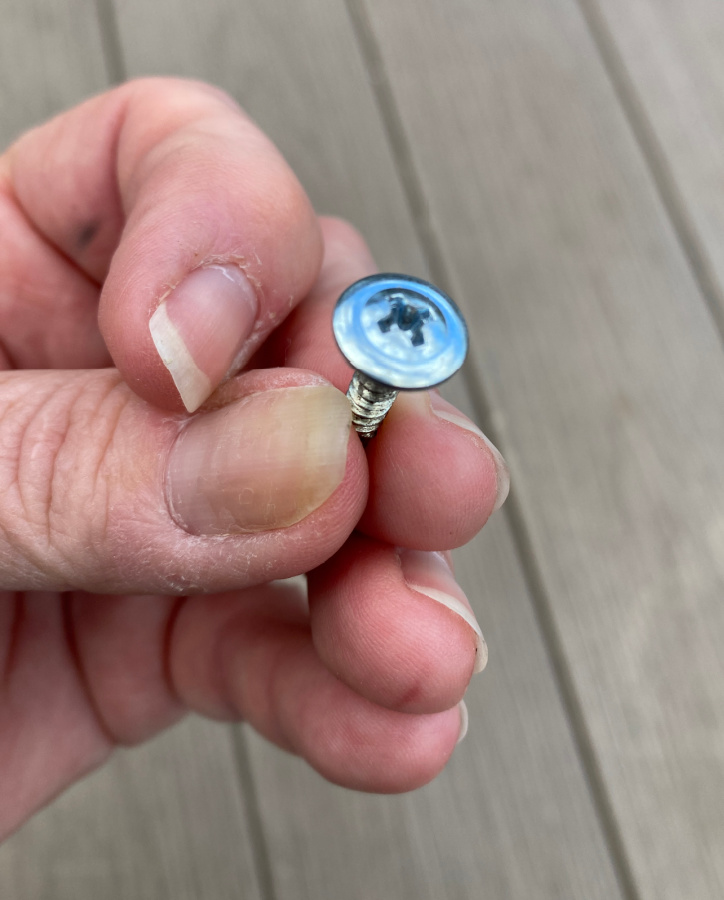
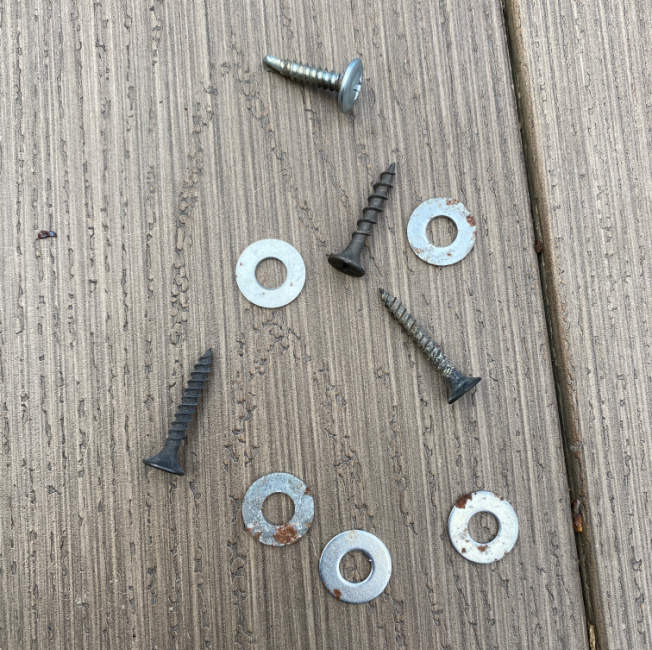
The holes in the base were rather large so I used a washer and a wood screw to secure the footstool top to the base. I did have one washer head screw, but only one.
So I used it in one hole and the washer/screw combo in the other 3. Note to self: buy some washer head screws in larger sizes for larger holes.
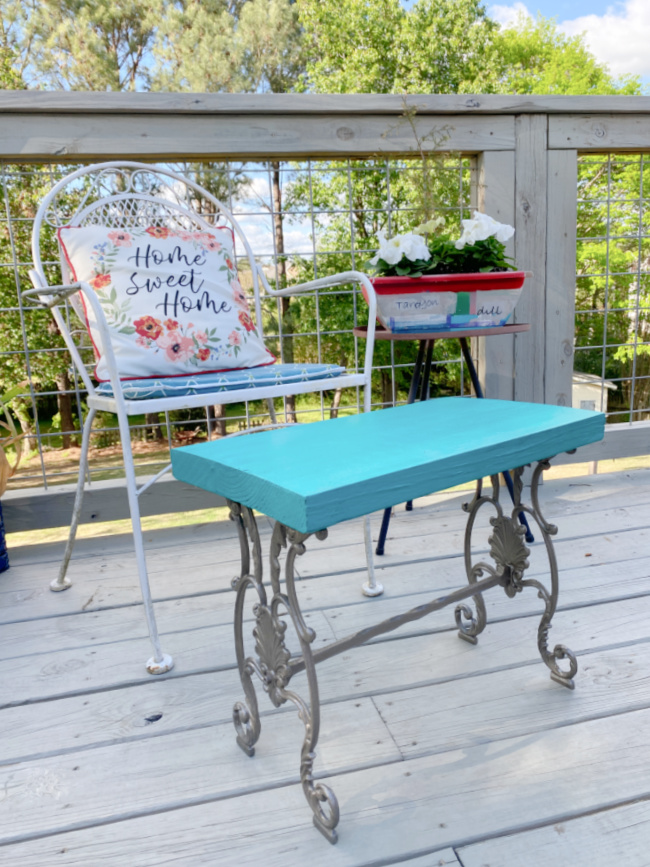
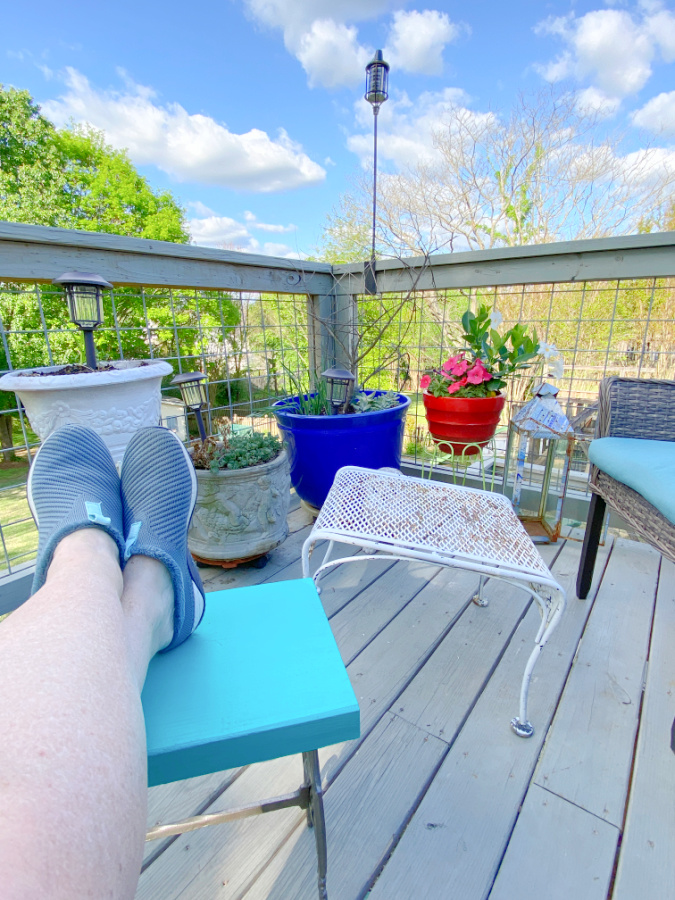
Isn’t she sweet?
Yall! I am ready for spring!
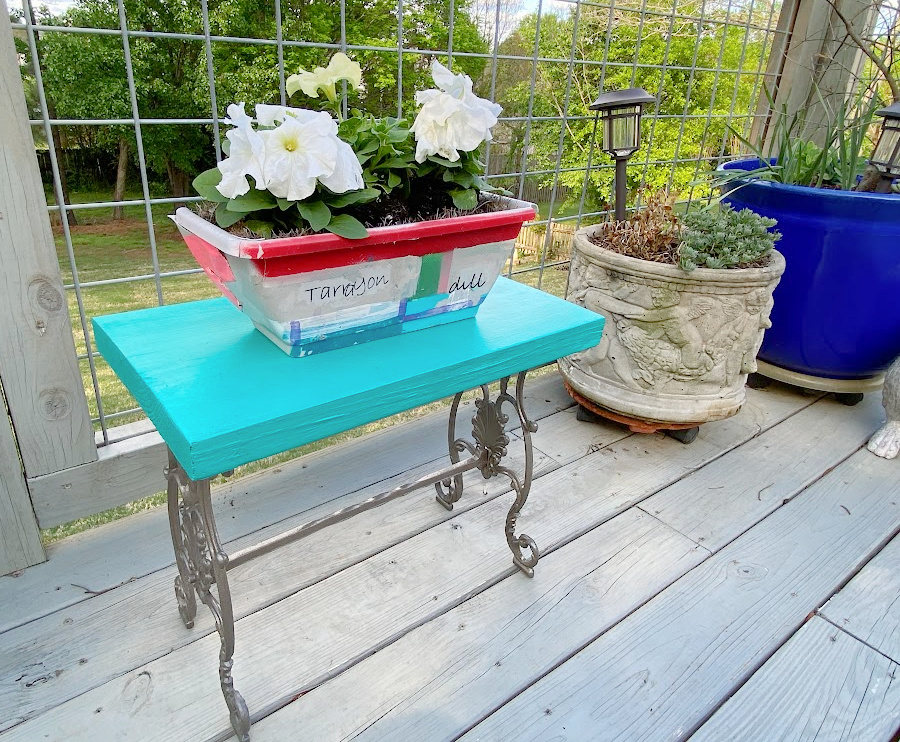
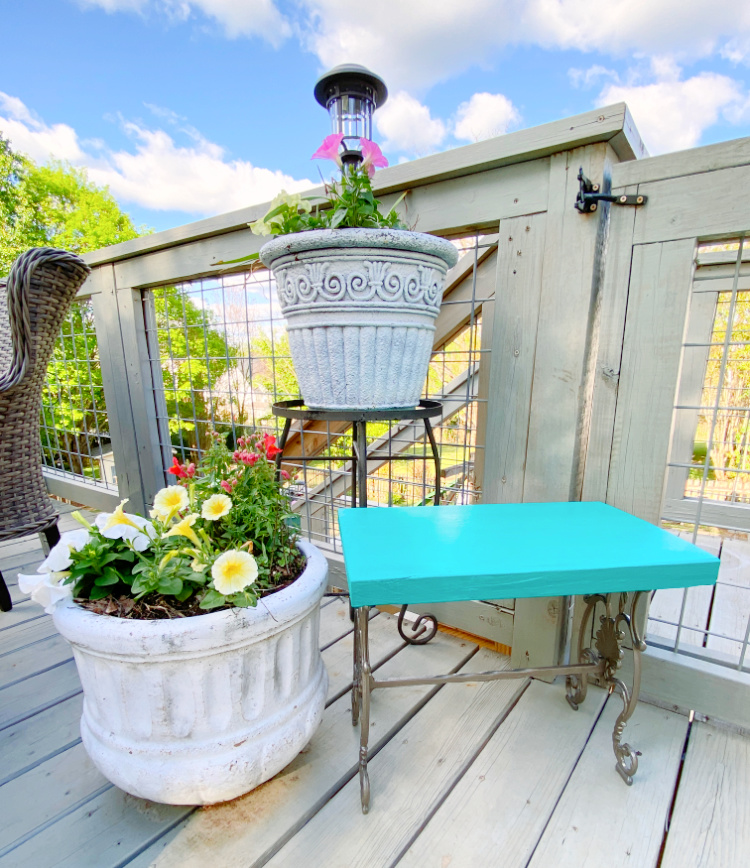
She looks great in several places around the deck.
And an added bonus is that she can be used as a side table as well! Multi-purpose win!
Here a corner, there a corner…plenty of places to display this piece.
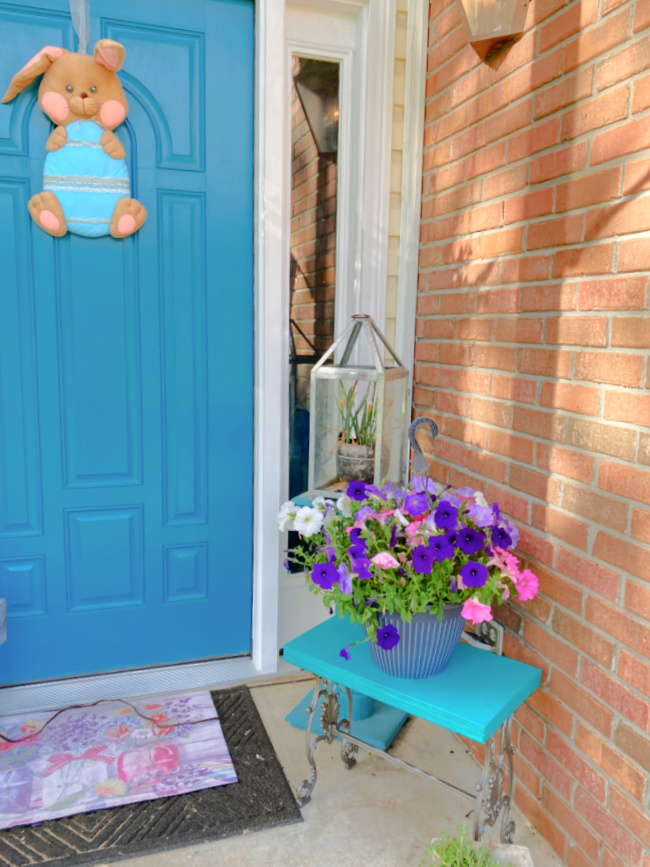
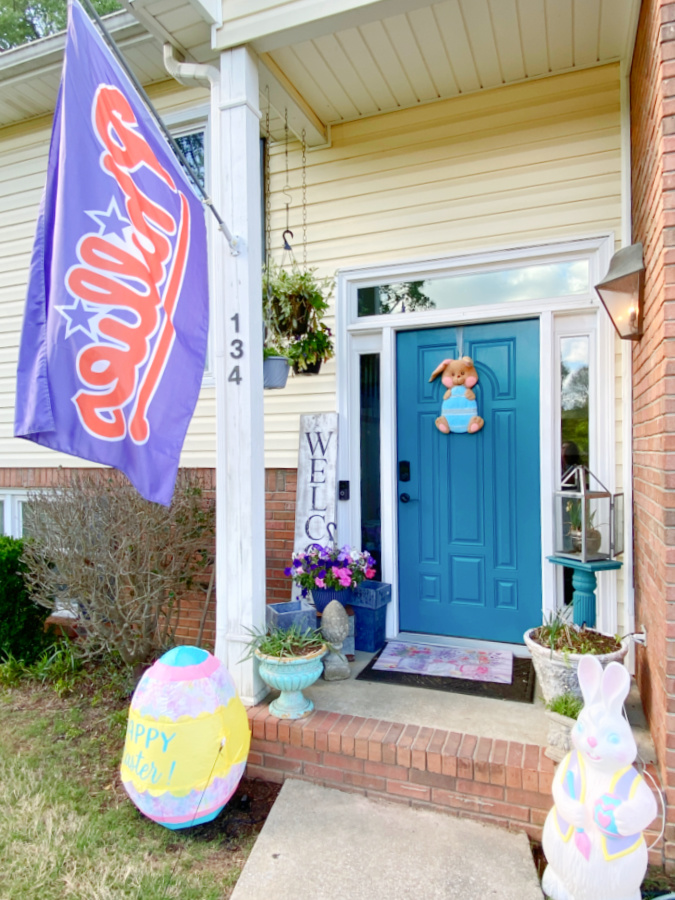
I even moved her to the front stoop for Easter!
Just look at those colors!
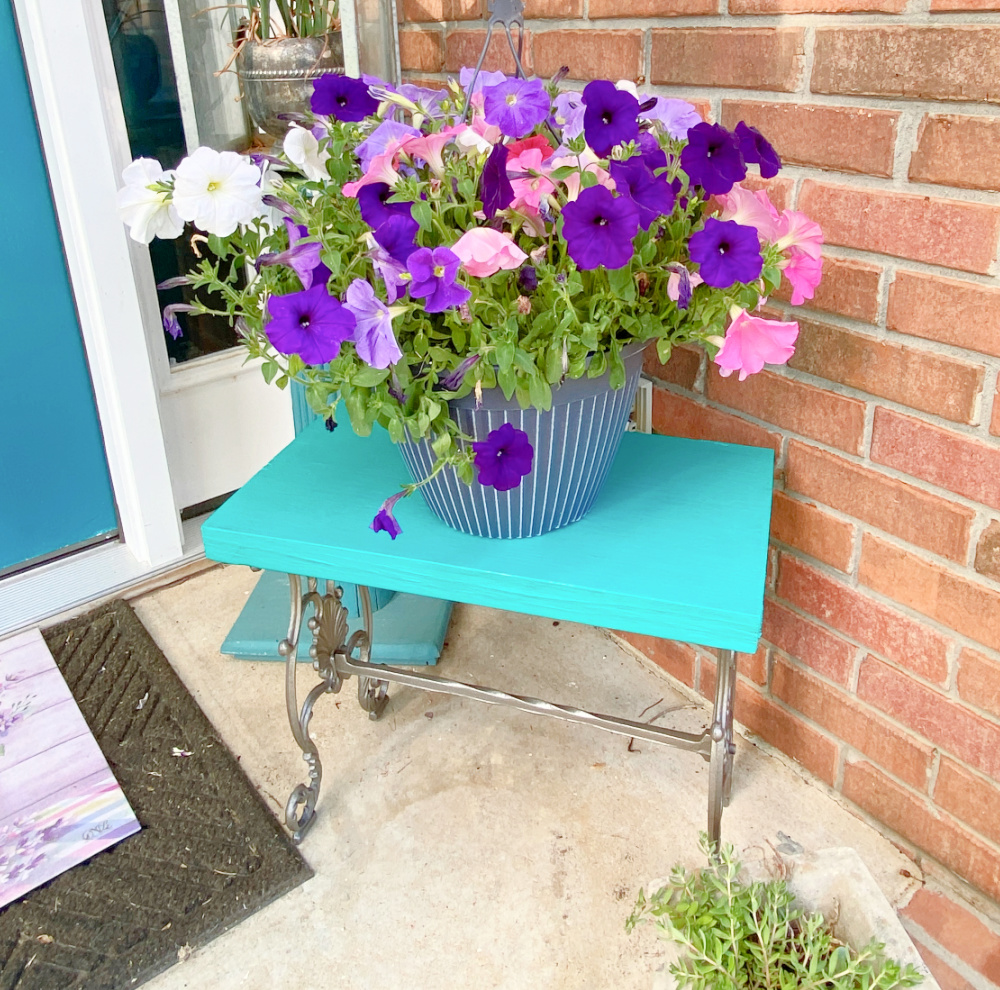
It is finally starting to feel like spring around here. Now I need to spruce up the other footstool. Do you have any color suggestions for me?
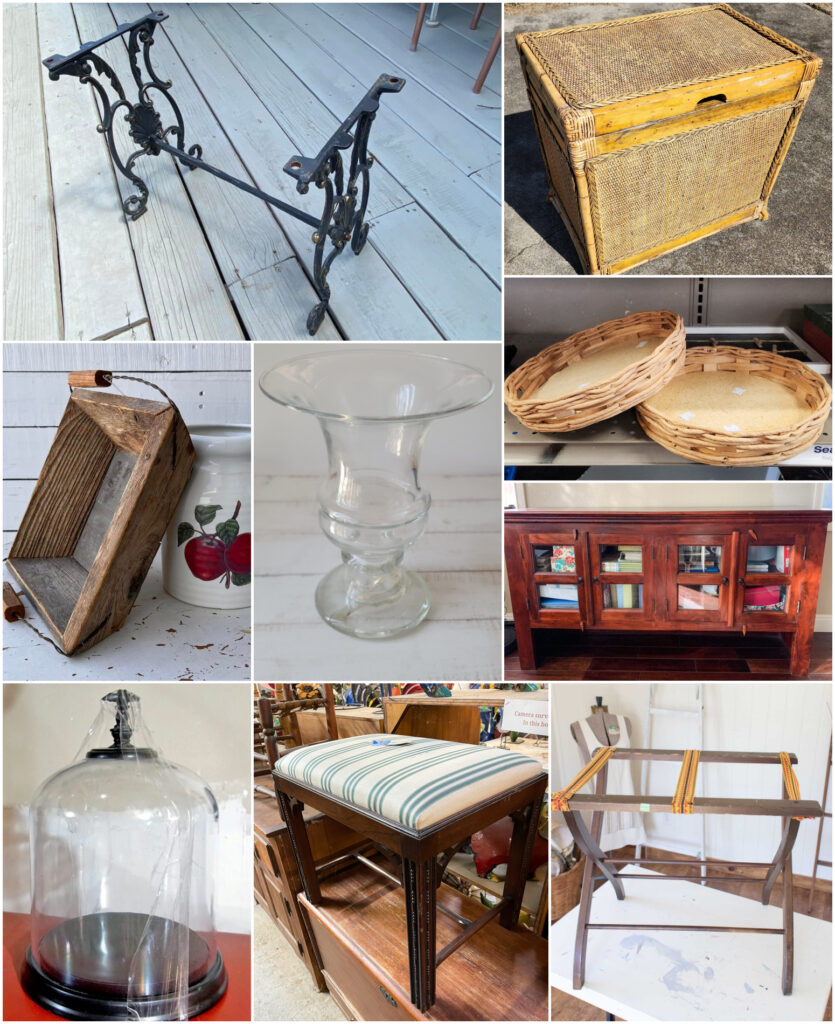
As promised, here are the fabulous posts for this month from the Thrift Store Decor Team. I saw a few of these teaser photos and I know I will be using the tips from those posts for my deck projects. Enjoy!
Shop At Blu Outdoor Footstool Makeover
Reinvented Delaware Easy DIY Luggage Rack Makeover for a Guest Bedroom
Organized Clutter Junky Botanical Planter From Thrift Store Finds
Sadie Seasongoods Cactus Garden with Vintage Salt and Pepper Shakers
My Uncommon Slice of Suburbia How to Bleach Wood Furniture
Our Southern Home Classic Stool Makeover
Petticoat Junktion Coastal Cloche Idea
My Repurposed Life Vintage Rattan Trunk Makeover | Extra Storage Option
Domestically Speaking DIY Indigo Handcrafted Vase
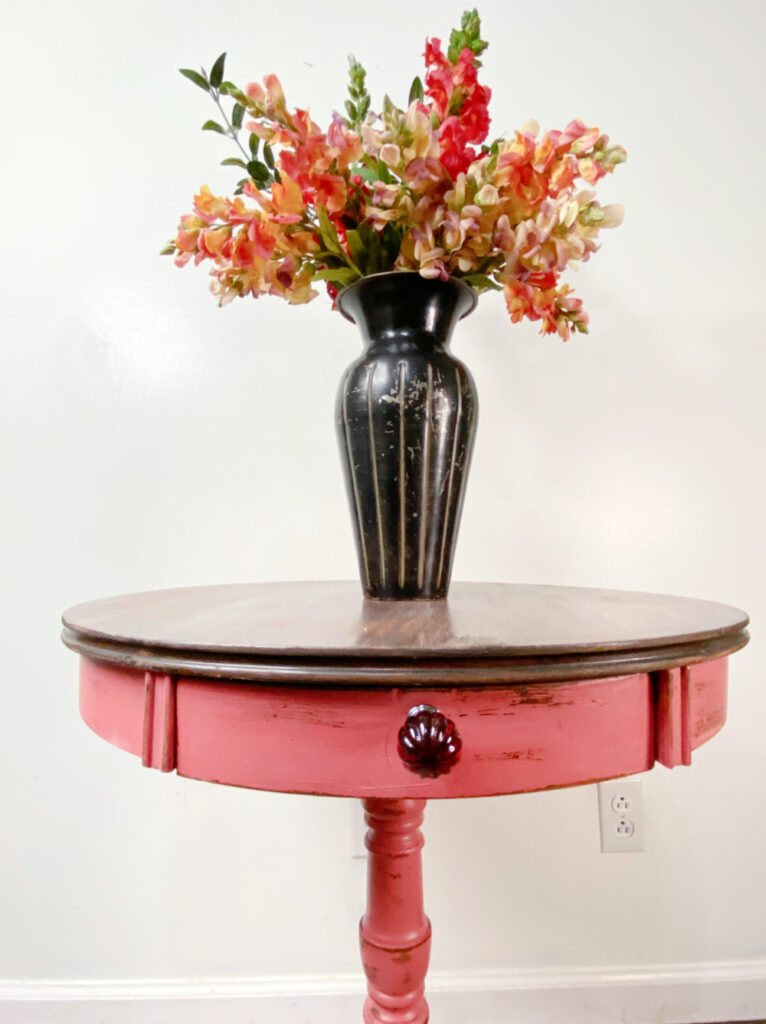
If you liked the BDSFP color used in this project, here are two others and an additional post using Crab Coat.









Looks great now! The perfect addition to your outdoor living space(s). Great save!
Thanks Sarah. I see a few more simple saves like this in the near future!
I love the fun pop of color, It would be perfect for a little side table for your drink or put your feet up. I love your deck, great makeover!
Exactly Kristin! Thanks so much.
Great makeover & I love the blue top!
Thanks Maryann. I’ll probably spruce her up a little later in the season but I’m enjoying her as is right now.
Suzanne,
What a fun find! I’ve never seen anything like that metal frame before.
WHAT? How did I not know that Ryobi has a battery saw? We’ve dragged a huge saw to our recreational property and have to run an extension cord from the ONLY outlet on the property. This would be great up there! (but I think I’m out of money) hahahah
I love the color of your new footstool. I love how it looks on the porch too!
I vote for a coral on the other metal table.
pinned!
gail
Yes! I believe it’s a 40V battery and it’s pretty great. But you would need back up batteries for any substantial project. They do charge very quickly though. I’m leaning toward the coral!
Awesome project with your handy dandy new tool!
Thanks Carlene. I had a mitre saw before but it was smaller. This one can do so much more. I can’t wait to really us it!
Love this Sue! The height of this is perfect for a bench, a footstool or a side table – I’m sure you will get alot of use out of it! Pinned 🙂
Thanks Cindy! I’m enjoying using it both ways.
I said it once, I’ll say it again – This is a perfect footstool or bench! Great piece! I’m excited to tell you that this post will be featured in Tuesday Turn About Link Party this week! Thanks so much for linking up and we hope to see you this week! Pinned 😊
Thanks so much Cindy! I am so excited to be featured in your wonderful party.