Refresh Outdoor Lanterns for Indoor Decor
As an Amazon Associate and member of other affiliate programs, I earn from qualifying purchases.
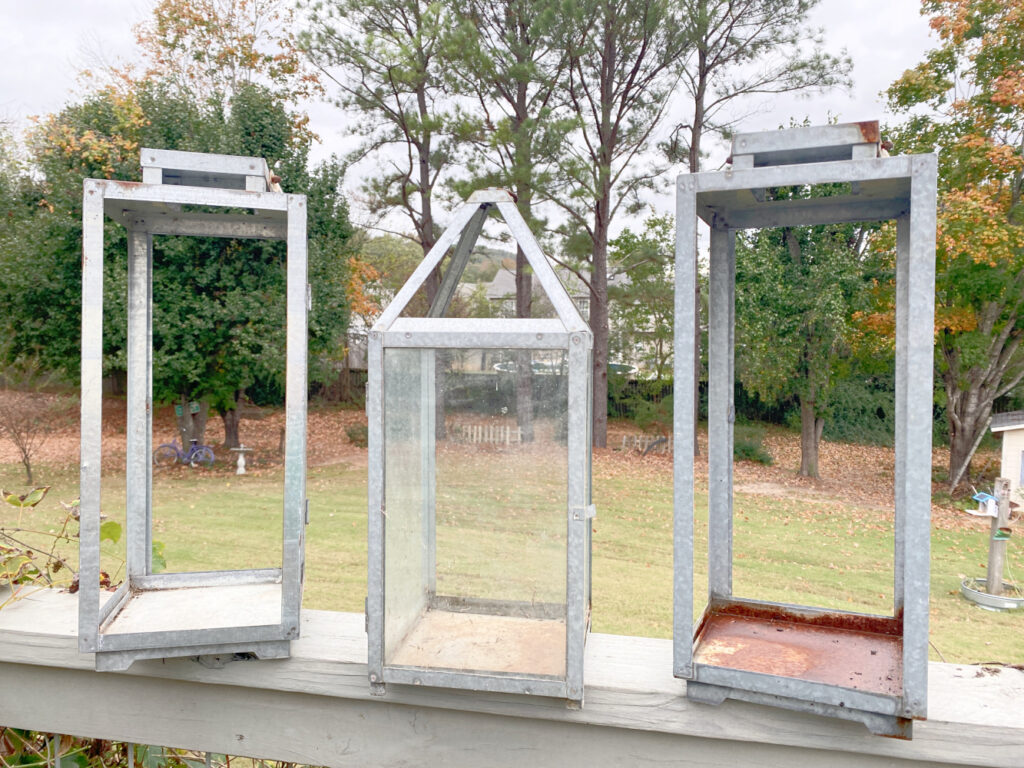
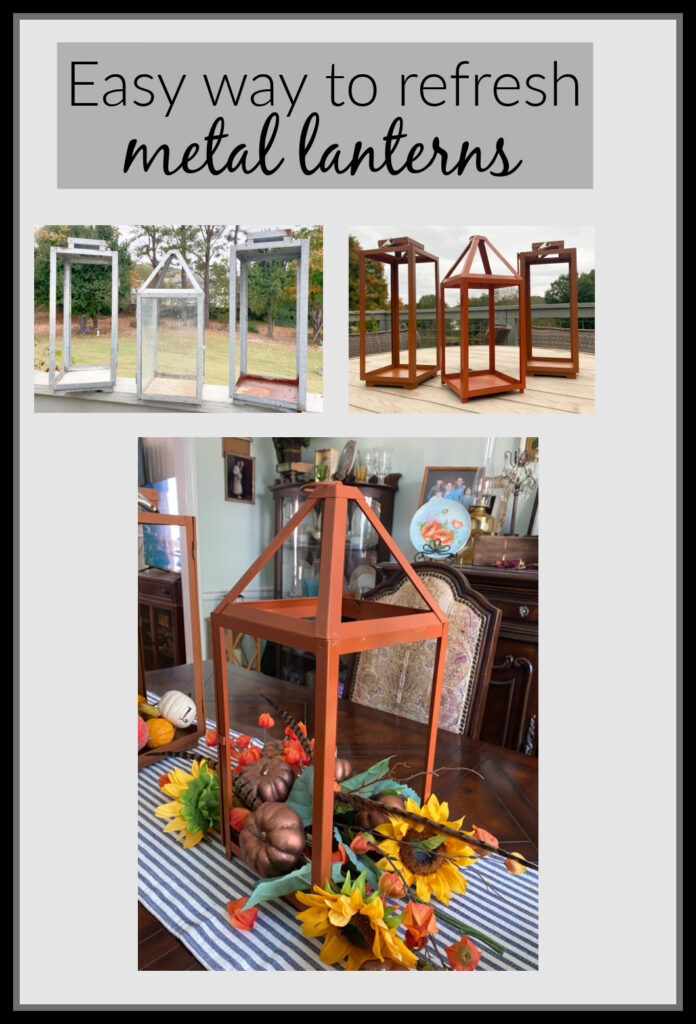
I always see very weathered lanterns at the thrift store and at yard sales. My last trip to the thrift store made me put this project on my upcycle list. These outdoor lanterns have been sitting on and under our deck for several years. Over the years, the wind has knocked some of them over causing the glass to break. So I just removed the broken glass. Every time I walk past these lanterns, I see the rust and missing glass and think to myself…”Those need a refresh, upcycle, and new life”. I always think they will be spectacular on the deck or mantle in spring or fall. Well, it is Fall! And today is the day!

I bet you already knew when I mentioned an upcycle project, that today is the 2nd Wednesday of the month and time for the Thrift Store Decor Team Projects! You will find them all at the very end of this post. I wonder what the team is revitalizing today? Let’s get on with our outdoor lantern upcycle!
Prep your Outdoor Lanterns
My plan is to sand off the rust and use some colorful Rustoleum Spray Paint to refresh these outdoor lanterns. The Rustoleum will have a dual purpose. First, it will stop any rust that is developing on the lanterns and second, it will bring a fabulous new finish to these aging lanterns.
A closer look reveal debris and rust that has accumulated from the lanterns sitting outdoors for so long. So, as with any project piece, lets start with a good cleaning.
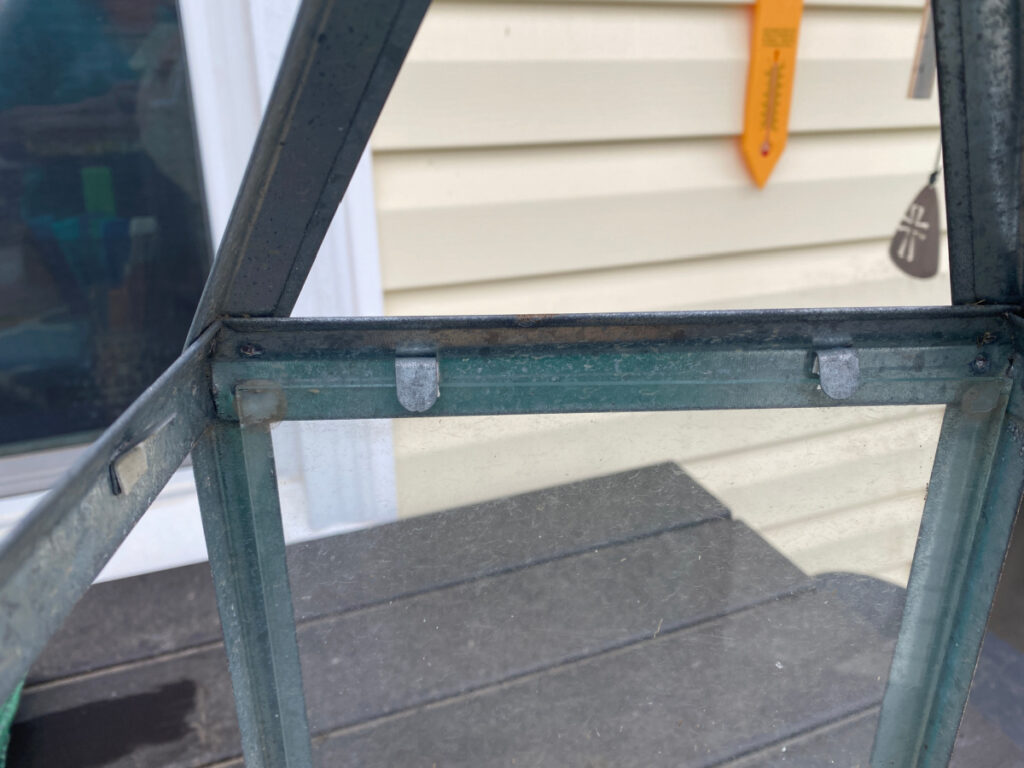
First, I needed to remove any glass. These lanterns are aluminum and have tabs that hold the glass in place.
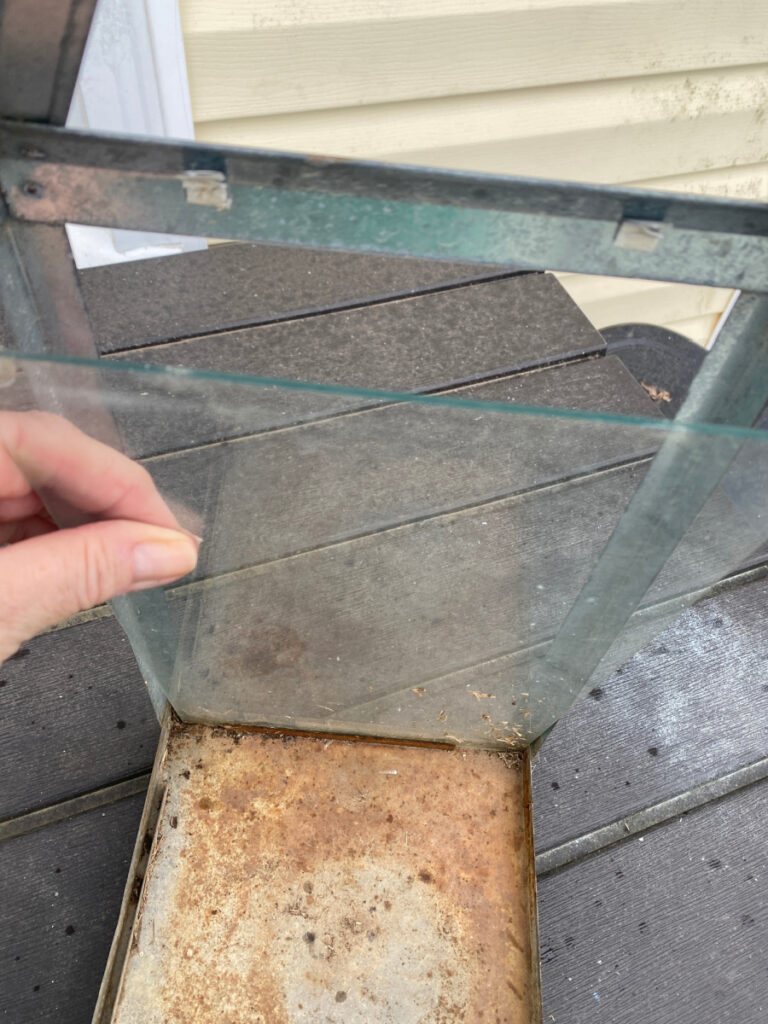
To remove the glass, I simply folded the tabs away from the glass and lifted the glass out.
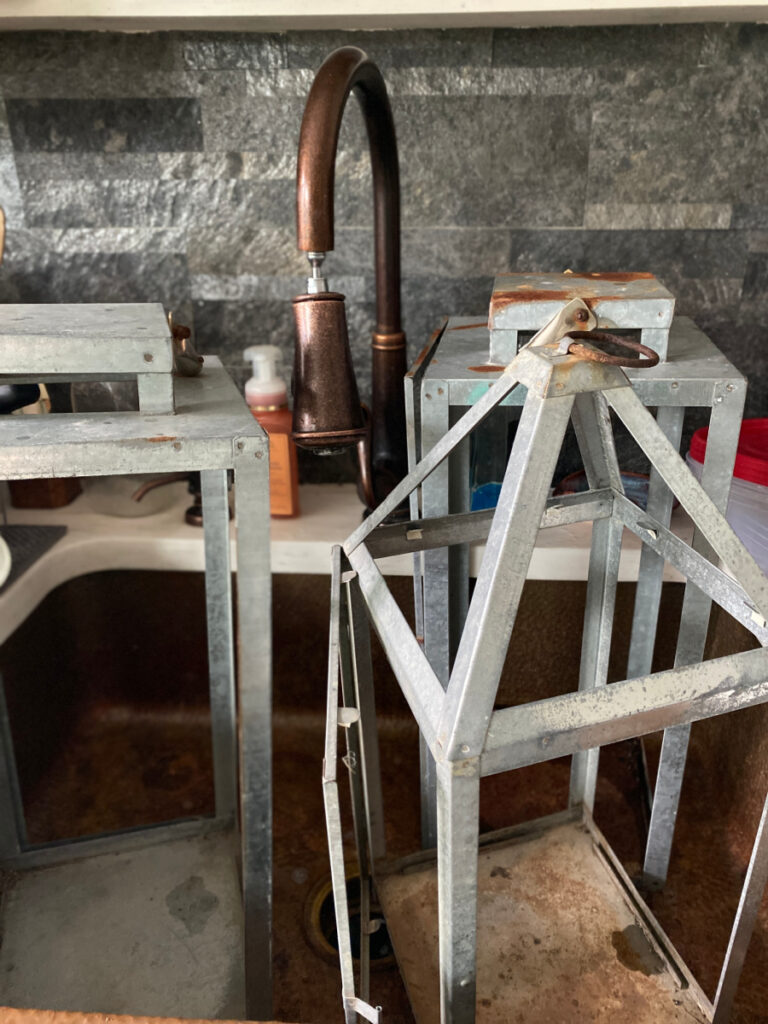
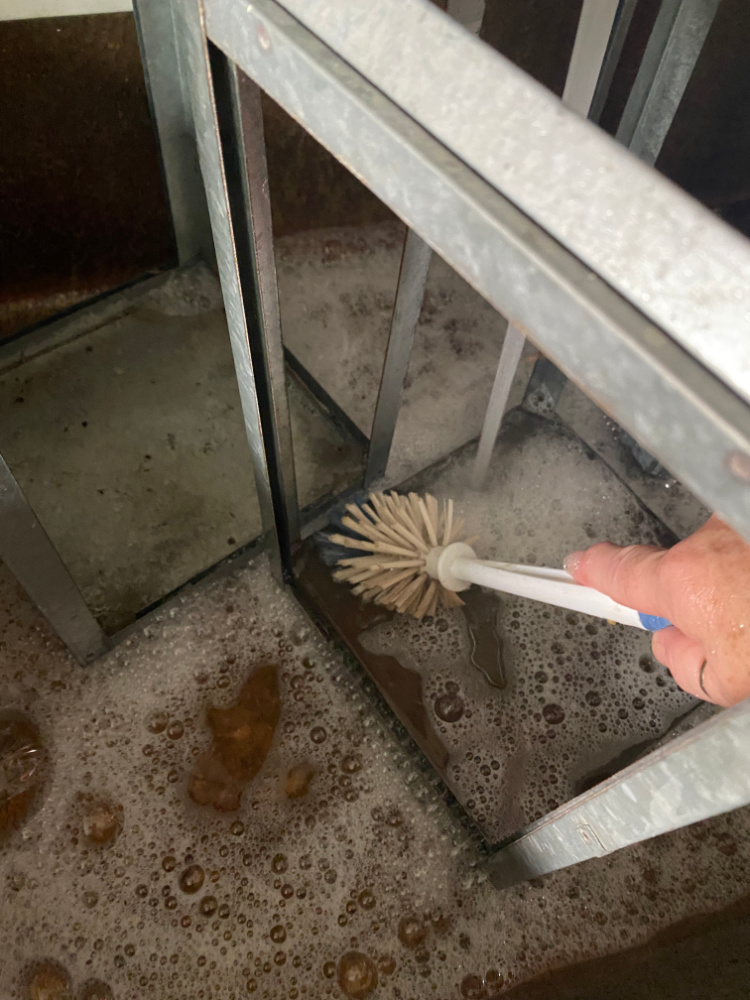
I dusted off the debris and gave each lantern a once over with a stiff bristled brush to remove any surface rust. Next, I set the lanterns in my sink and added warm water and Dawn dish soap.
I used a bottle brush to scrub the inside and outside surface of each lantern.
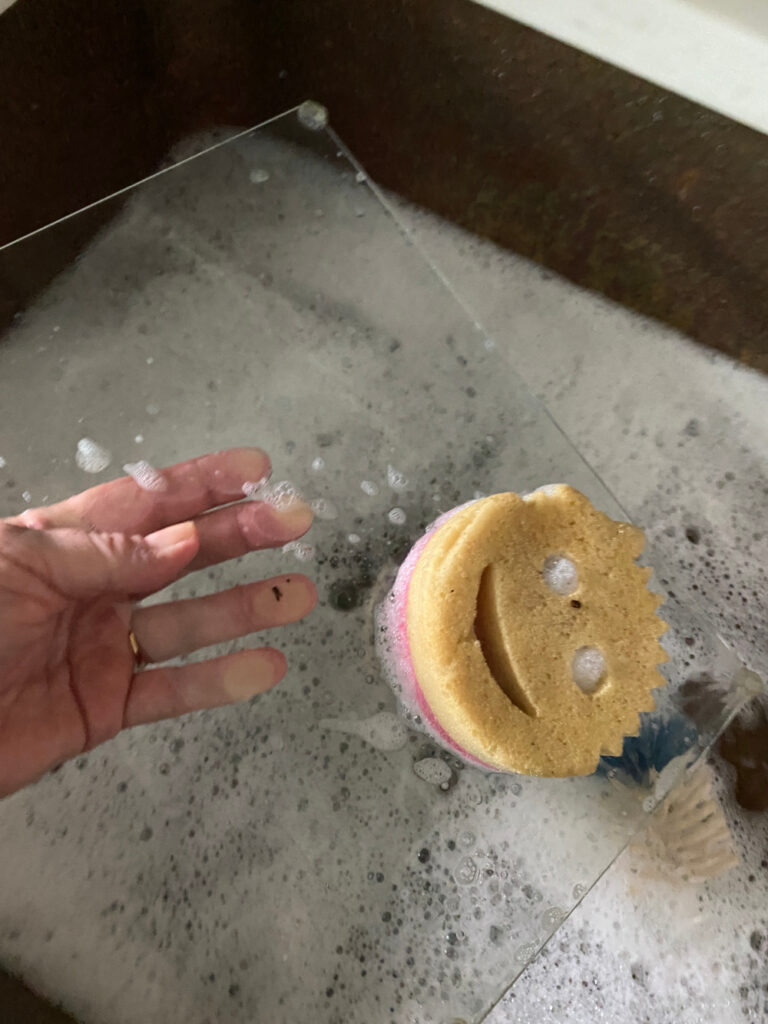
I gave the glass a good bath as well so I can replace it to use the lanterns to hold candles in the future.
After a good rinse, I set the lanterns outside to dry. It was a windy day, so I laid the lanterns on their side. After about half an hour, I flipped them over to make sure they were drying thoroughly.
Time for Paint
Once dry, I took the into the yard and gave each a thin coat of Rustoleum I used fall colors that I had on hand from a previous fall project. I used the Cinnamon and the Warm Caramel.
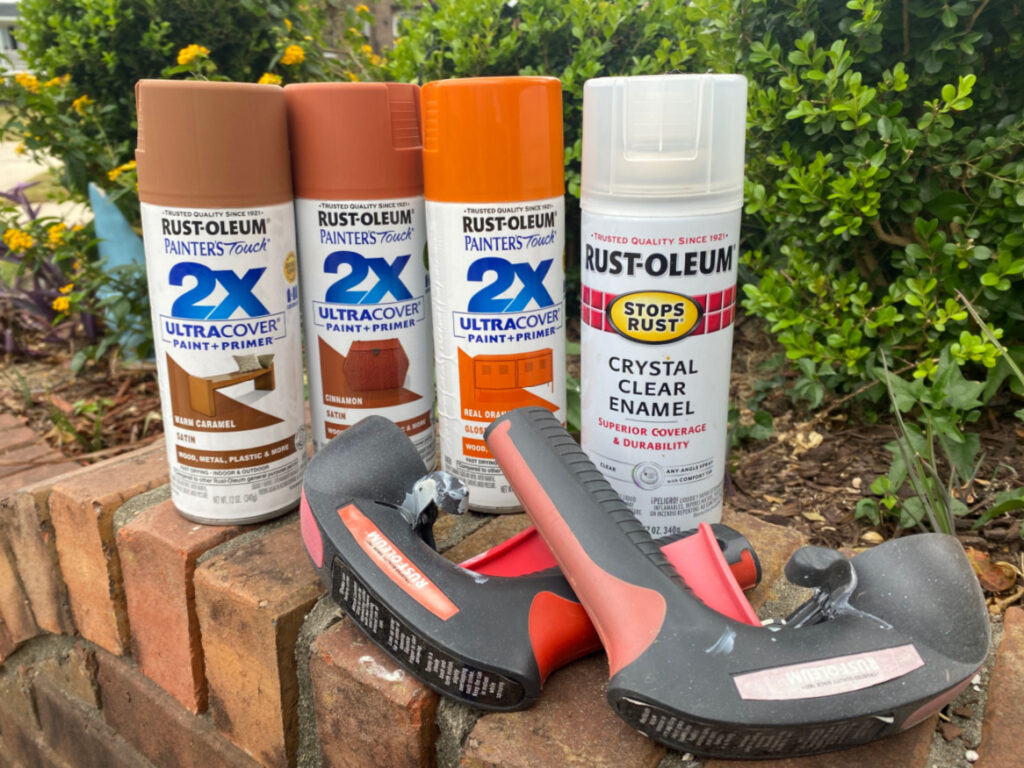
Rustoleum 2X has fabulous coverage and I didn’t even need a second full coat. Also, I recommend the Rustoleum Comfort Grip to hold your can. It eliminates finger fatigue and overspray onto your hands. Great tool!
I gave each lantern a light coat. Rustoleum 2x coverage is so good that I only needed one light coat. I allowed this coat to dry for about 20 minutes.
Then I flipped the lanterns over to finish the insides, bottoms, and any angles that I could not reach previously.
Tips for Spray Painting
Like I said, light coats are preferred because that prevents drips and pooling of paint. If you miss a spot, wait for the coat to dry and flip the piece so you can hold the paint can at a better angle to hit those spots. If you see a drip, tap or dab it lightly with a rag. This usually removes the drip. Sometimes you can go over this area after the paint dries with another light spray, but, amazingly, sometimes the paint self levels and the touch up spritz is not needed.
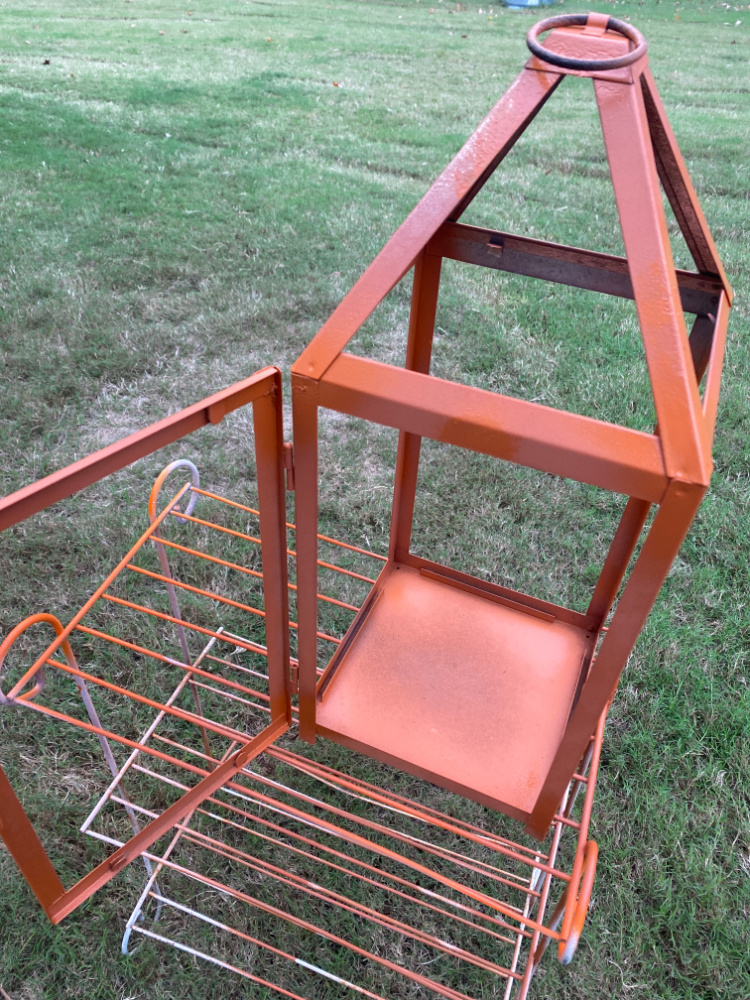
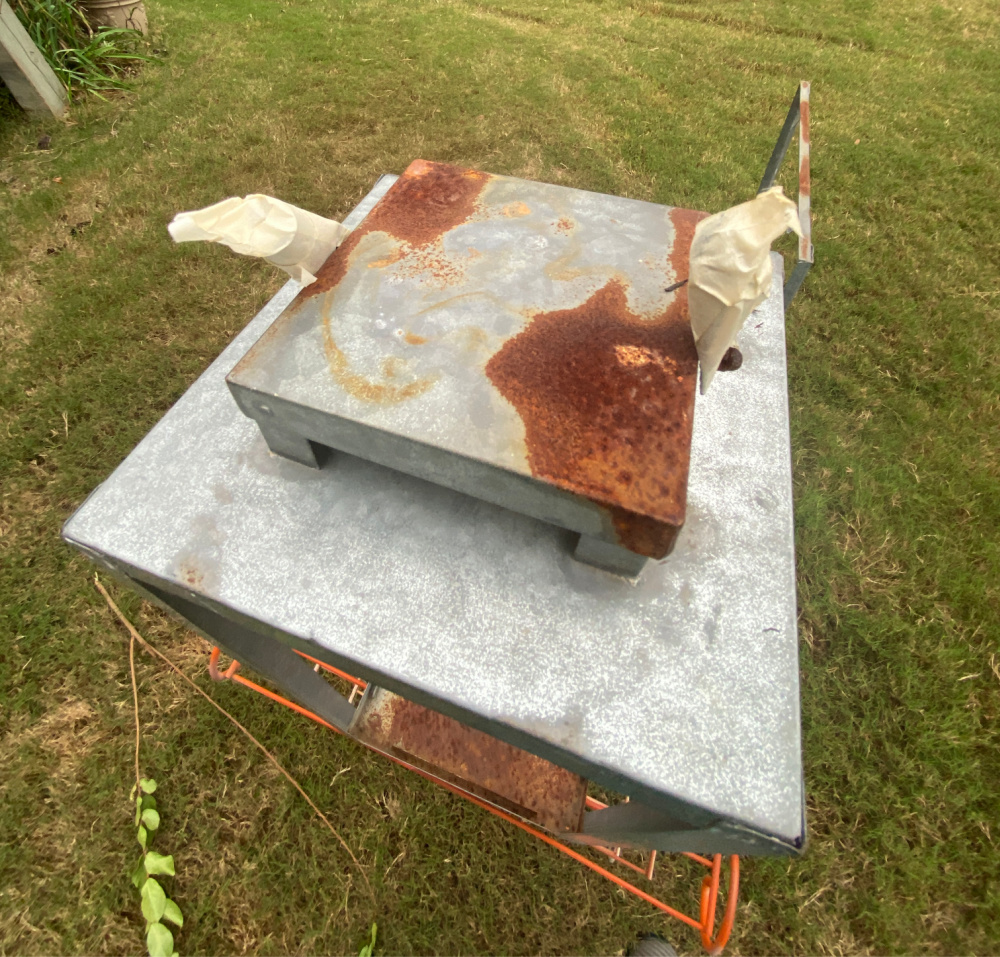
I like to use this small vintage open wire shelf unit for spray painting because it can hold several small items at one. These lanterns were larger so I would spray one coat and move the lantern aside to allow it to dry. I would place the next lantern on the shelf, spray one coat and remove to dry. Repeat.
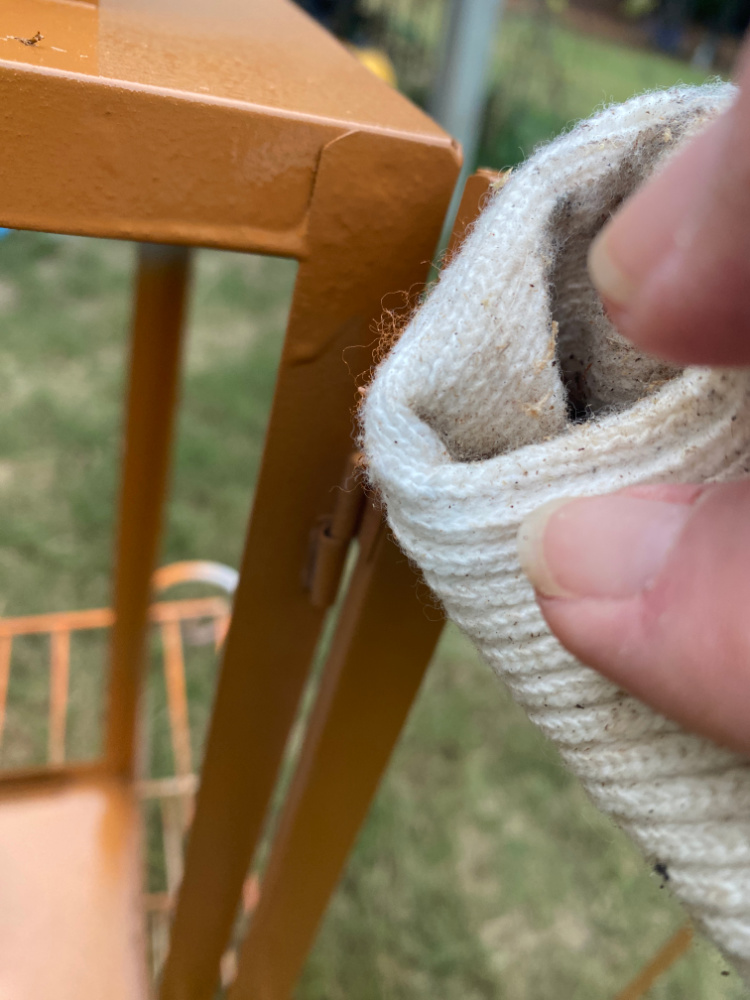
I didn’t want to touch the outside of the lantern as the paint was wet. So I cupped my hand, lifted the lantern from the inside, and set it aside to dry.
Once the lanterns were dry, I moved the to the table on our deck until I am ready to use them inside. So many possibilities.
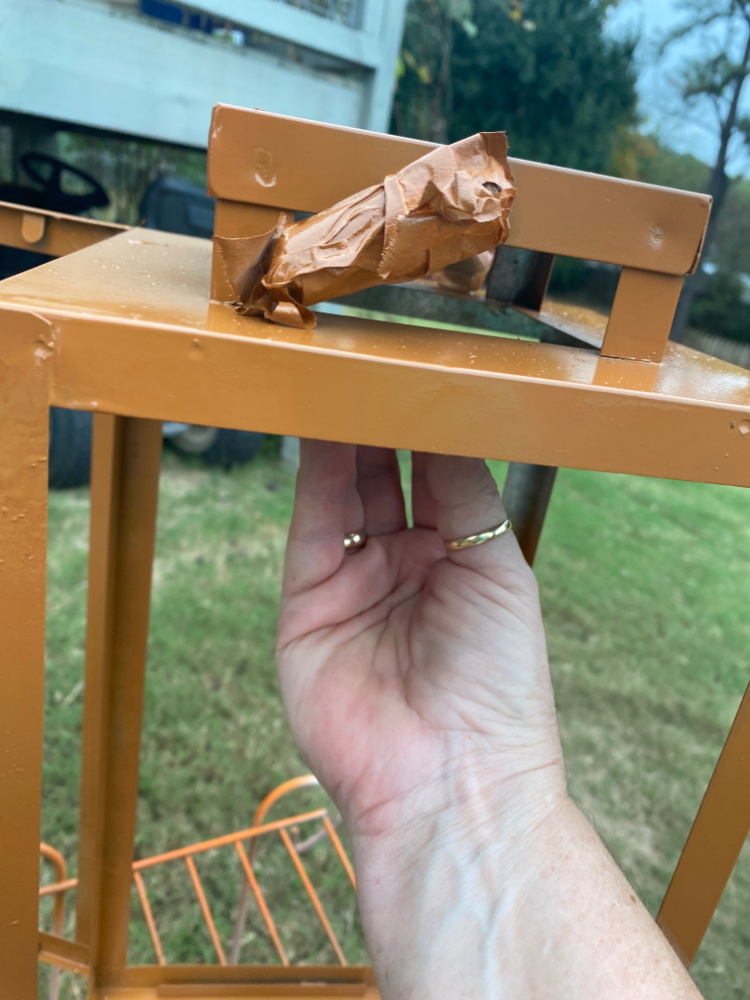
As I said, these lanterns were outside for a few years. The two larger lanterns had rope handles. I will replace them eventually but that is a project for another day. For now, I used masking tape to cover the bases for the handles because I like the chrome metal look.
After painting, I removed the tape. You can see the handle bases in the photo below. Use painter’s tape to mask off any area that you don’t want painted. This is commonly used for hardware, glass, or to make designs.
And here are the outdoor lanterns after being painted.
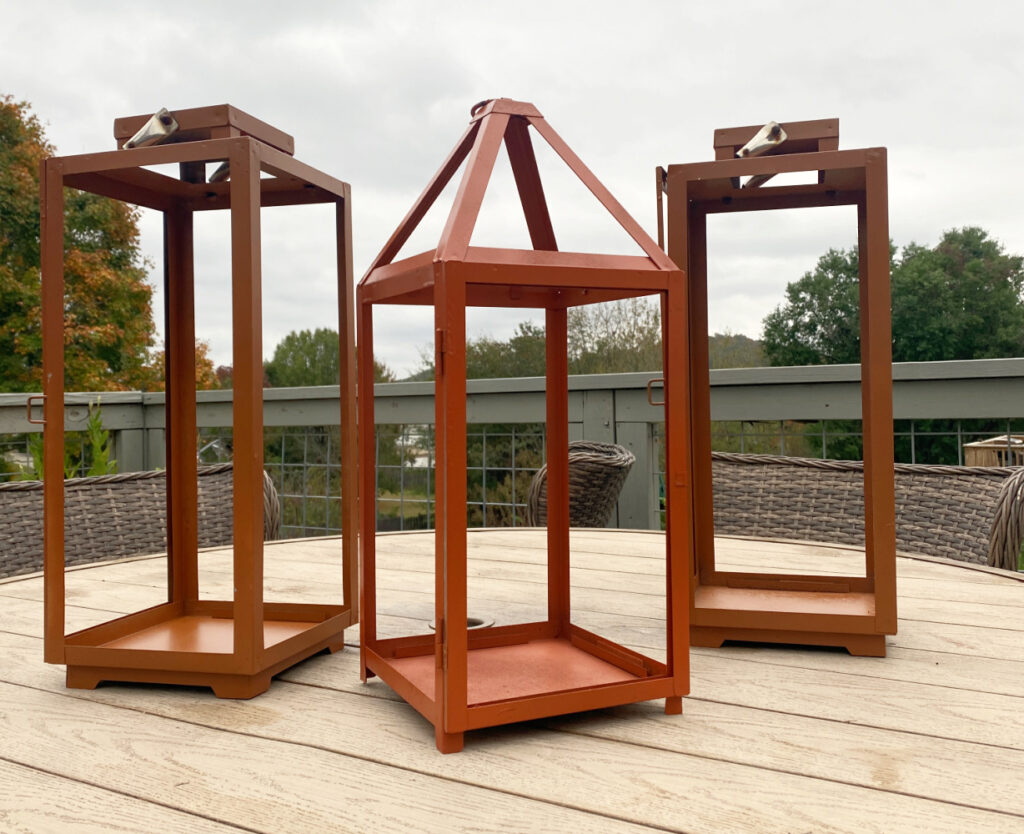
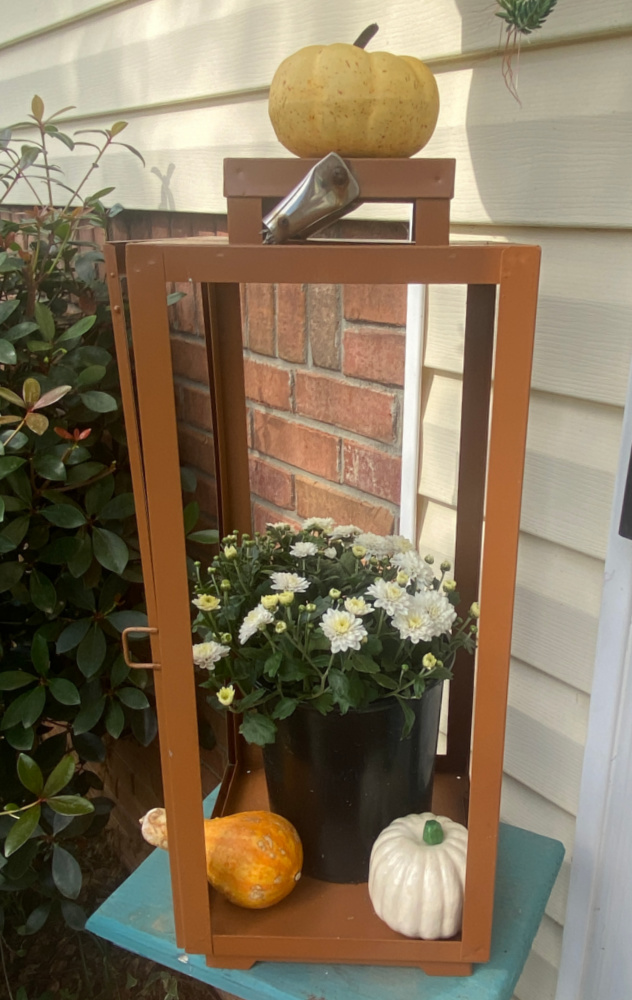
I couldn’t just let them sit there all lonely and empty, could I?
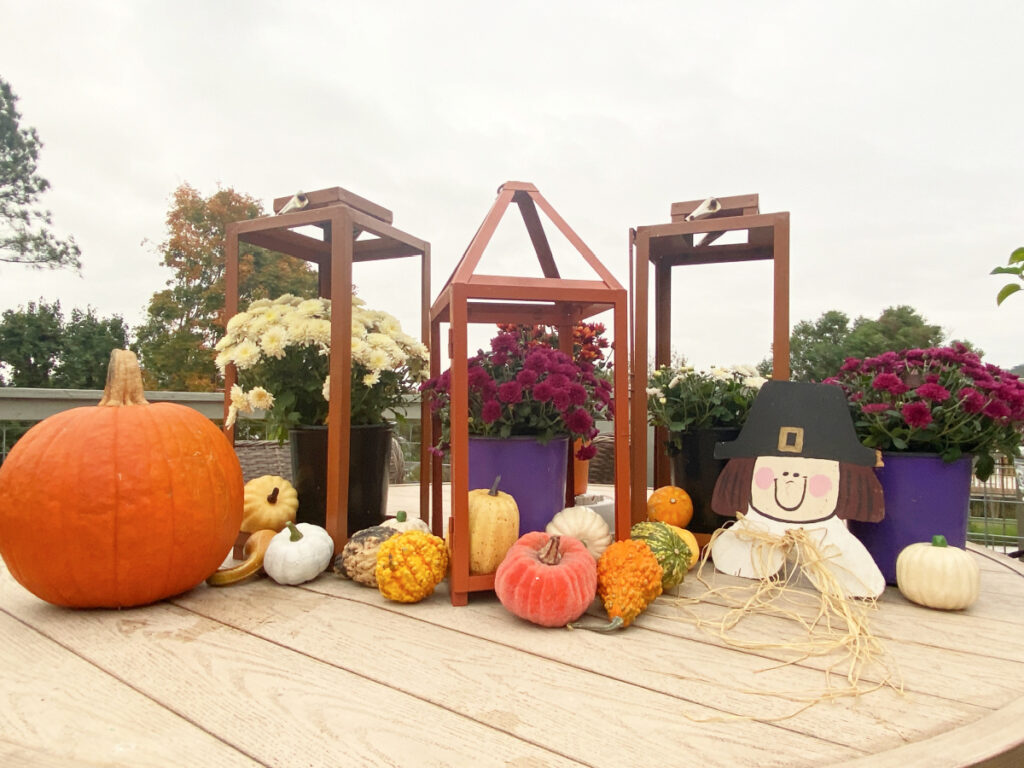
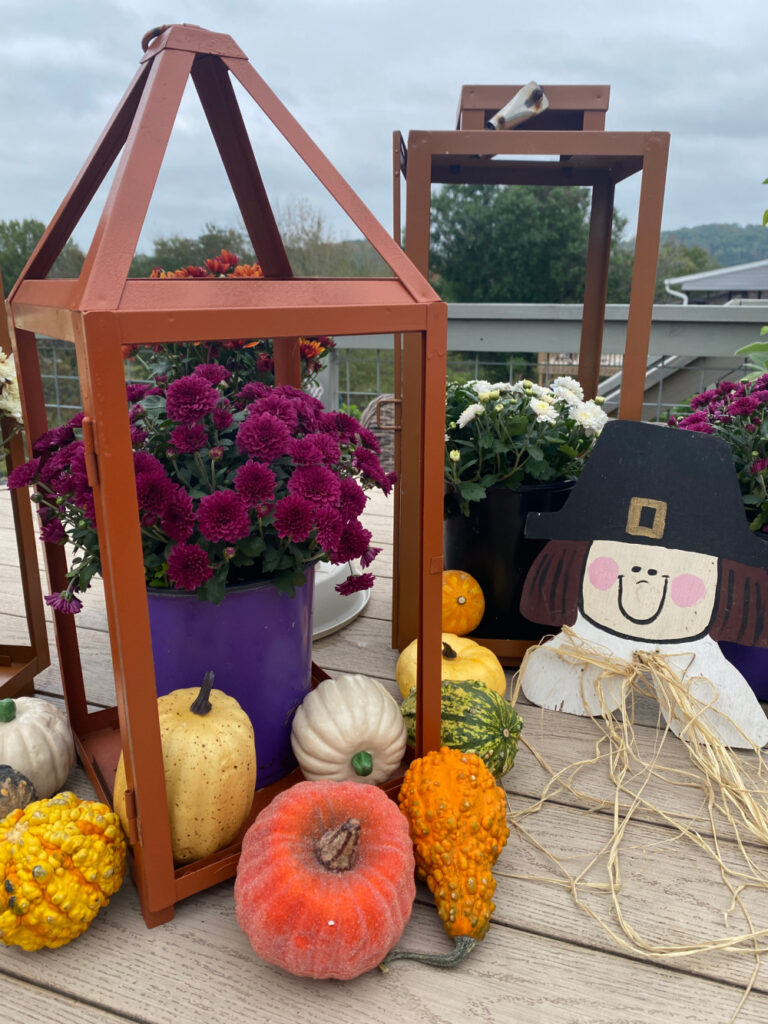
Look at that dreary sky! For once I exhibited some patience and took some more photos the next day.
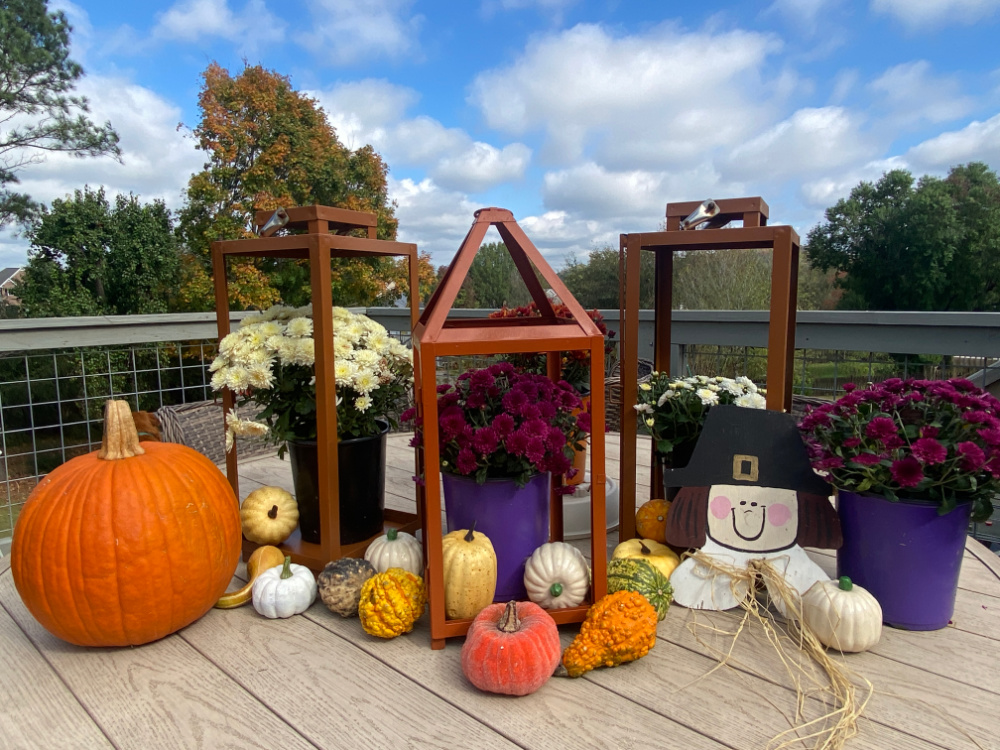
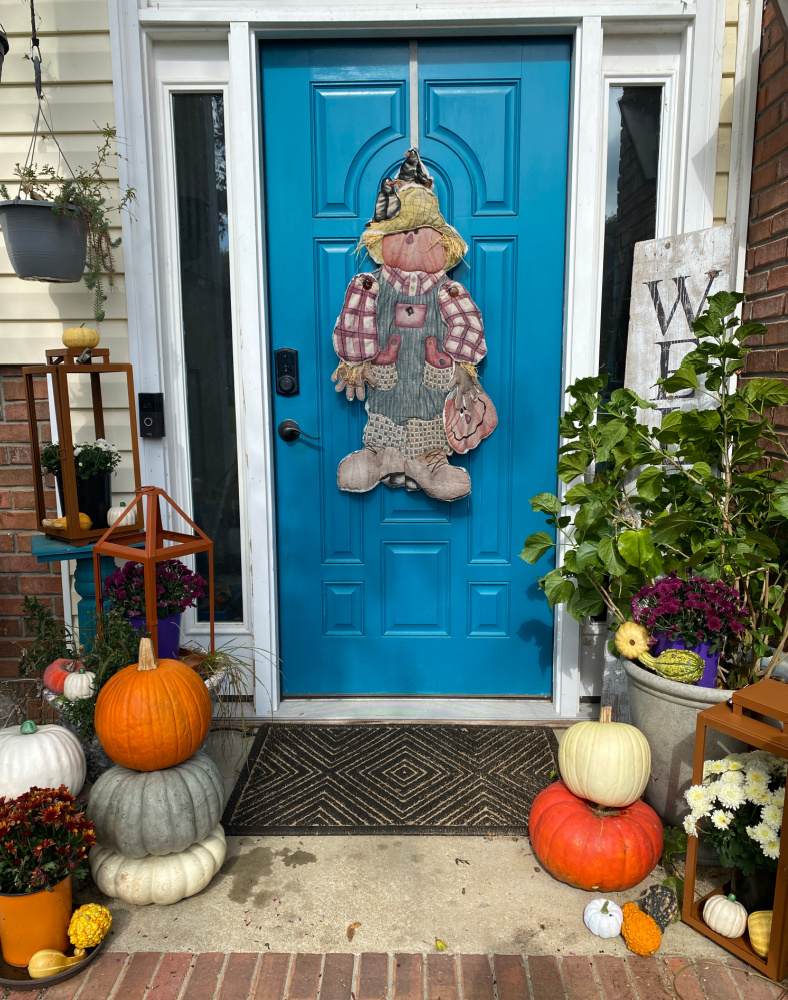
That sky is so much happier! My pilgrim is even smiling.
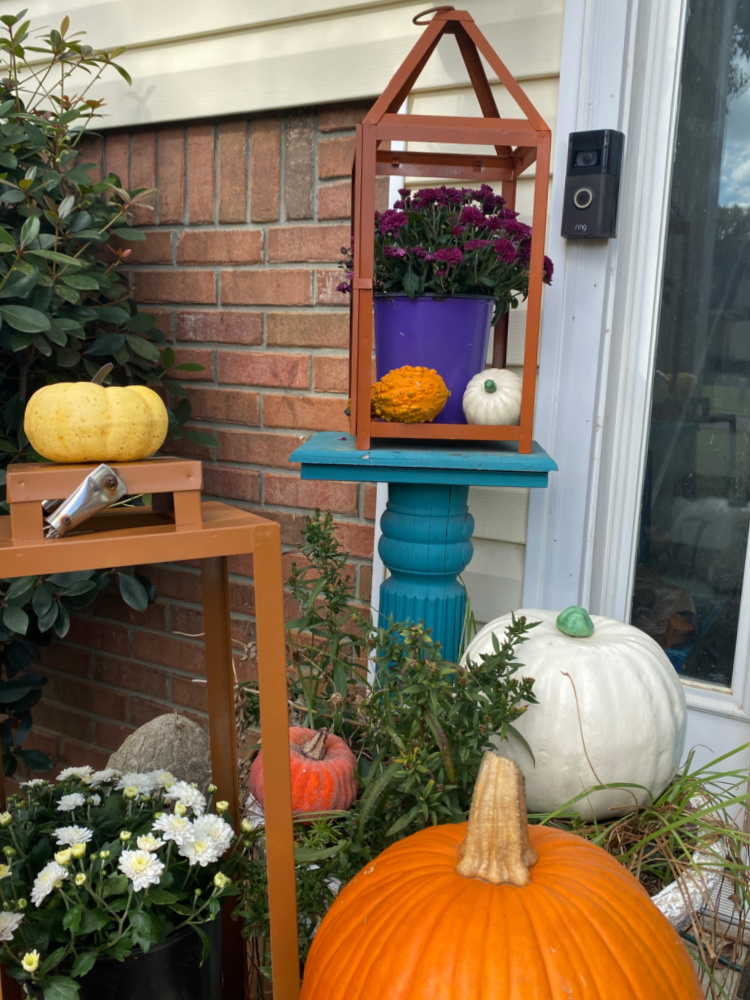
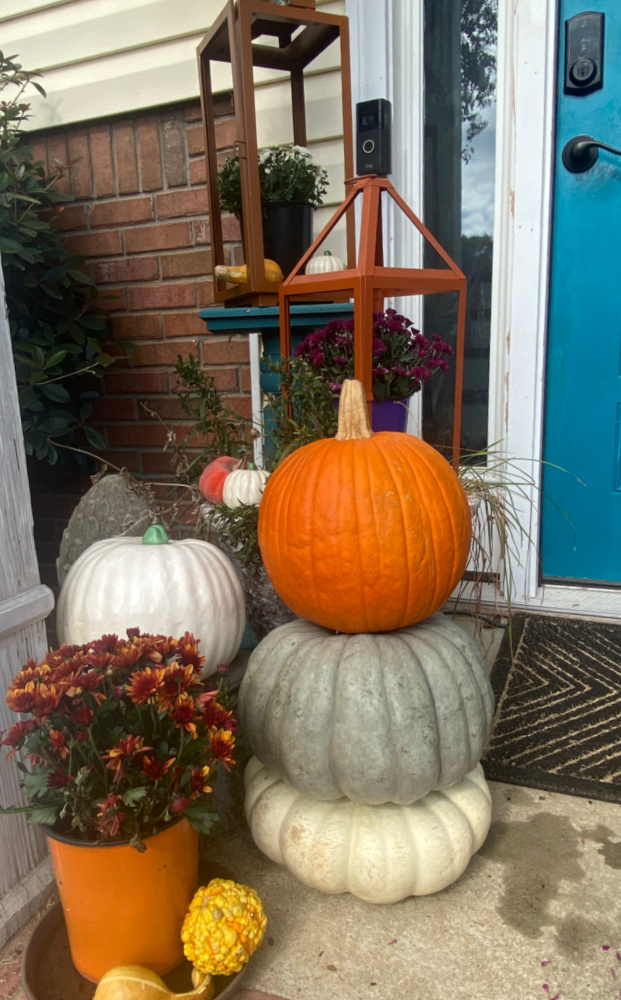
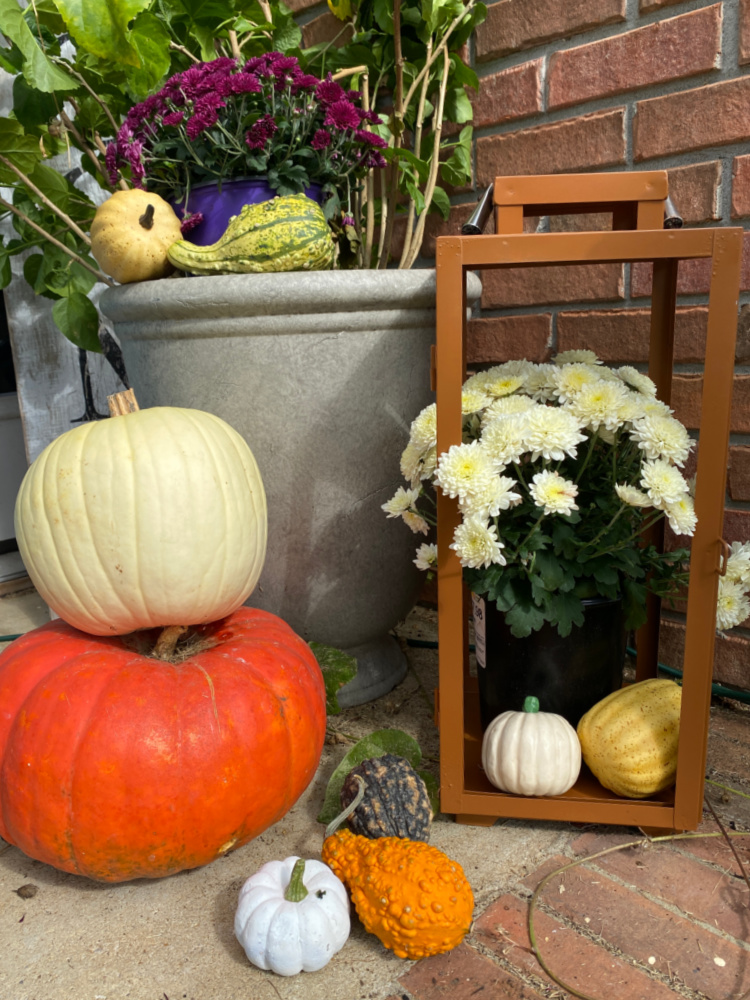
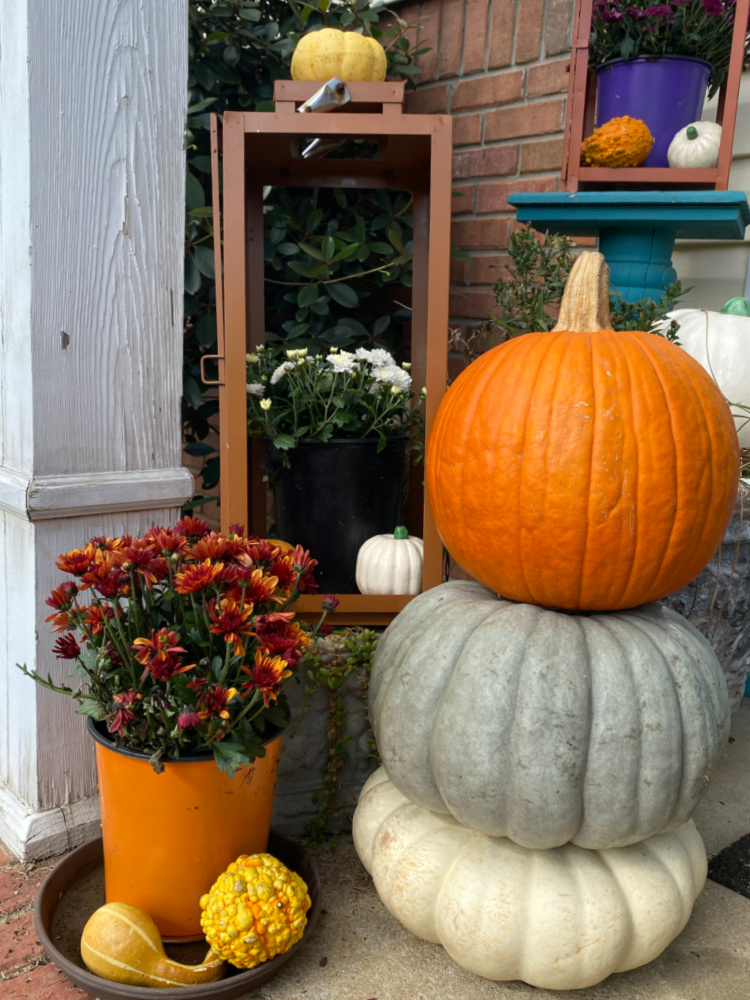
The lanterns look great on our front stoop at the entryway also!
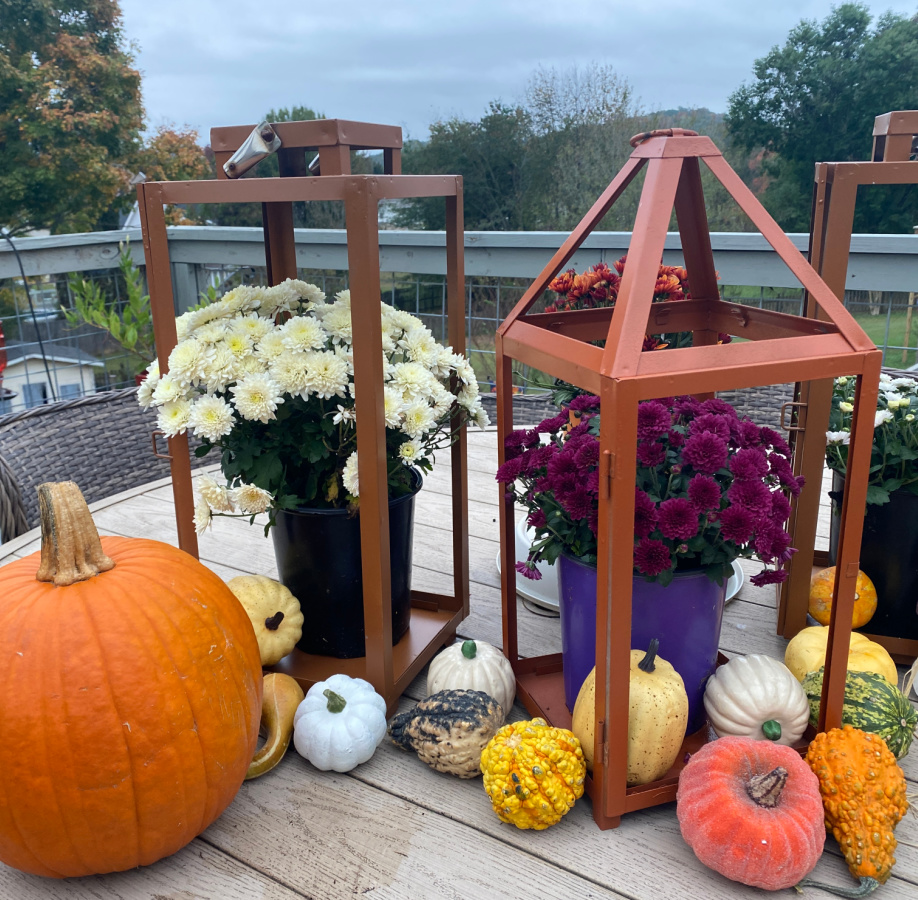
Move the lanterns around to different positions. Use different combinations of mums, pumpkins, and gourds until you find the look that you like.
If it doesn’t look quite, right, move things around again.
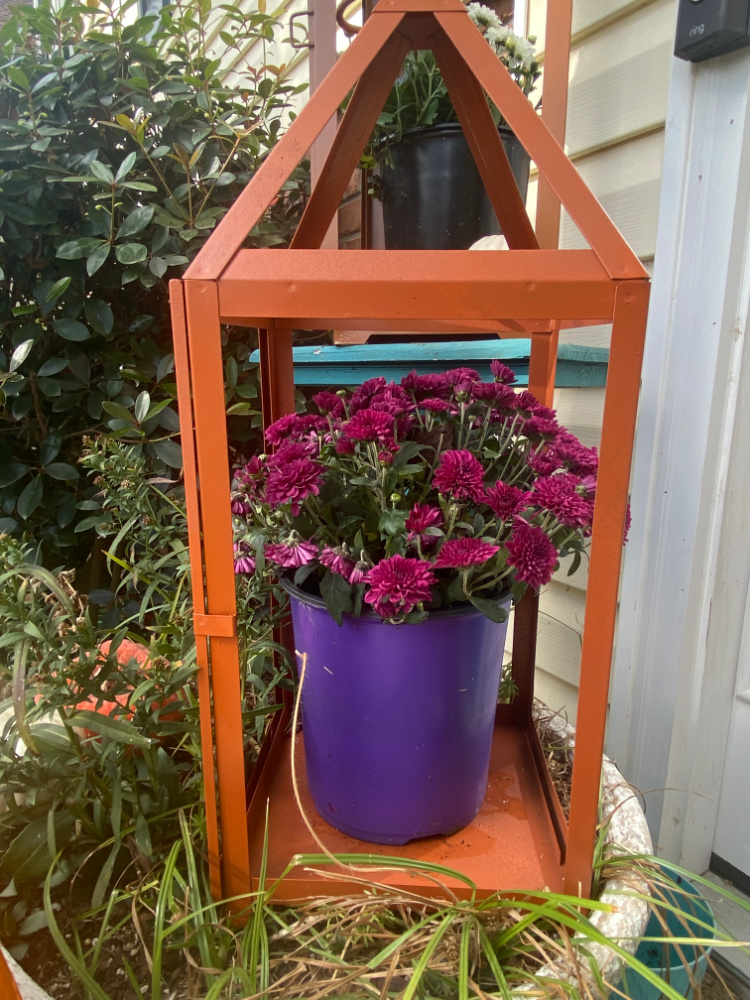
Sit a mum inside of a lantern.
Add some small pumpkins or gourds. Use real or faux…whatever you have on hand.
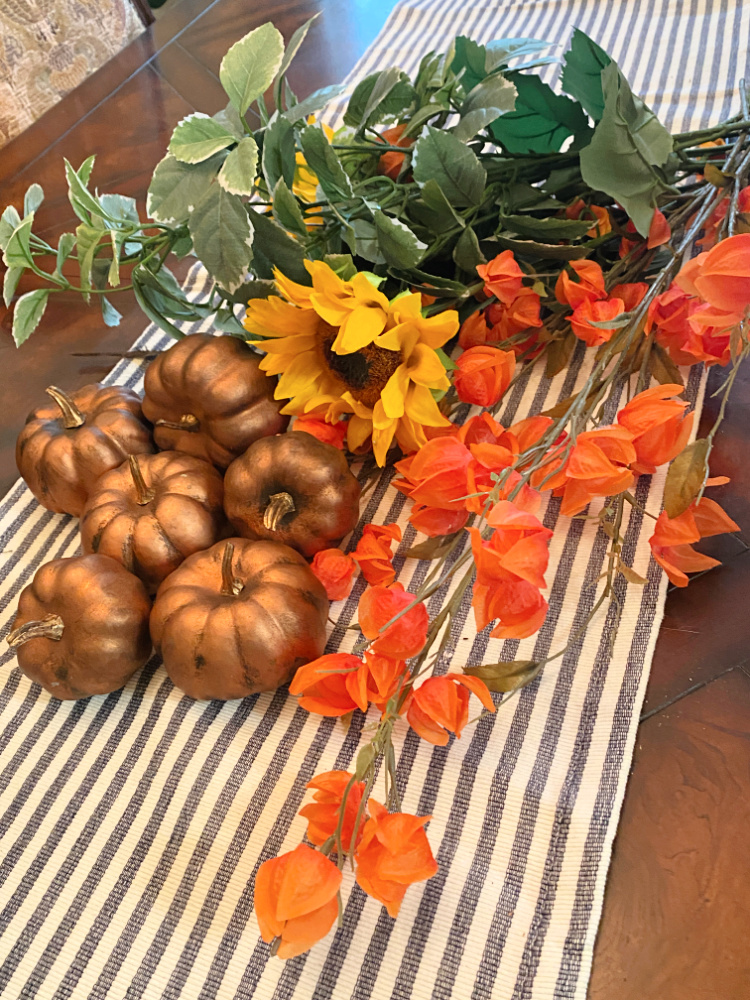
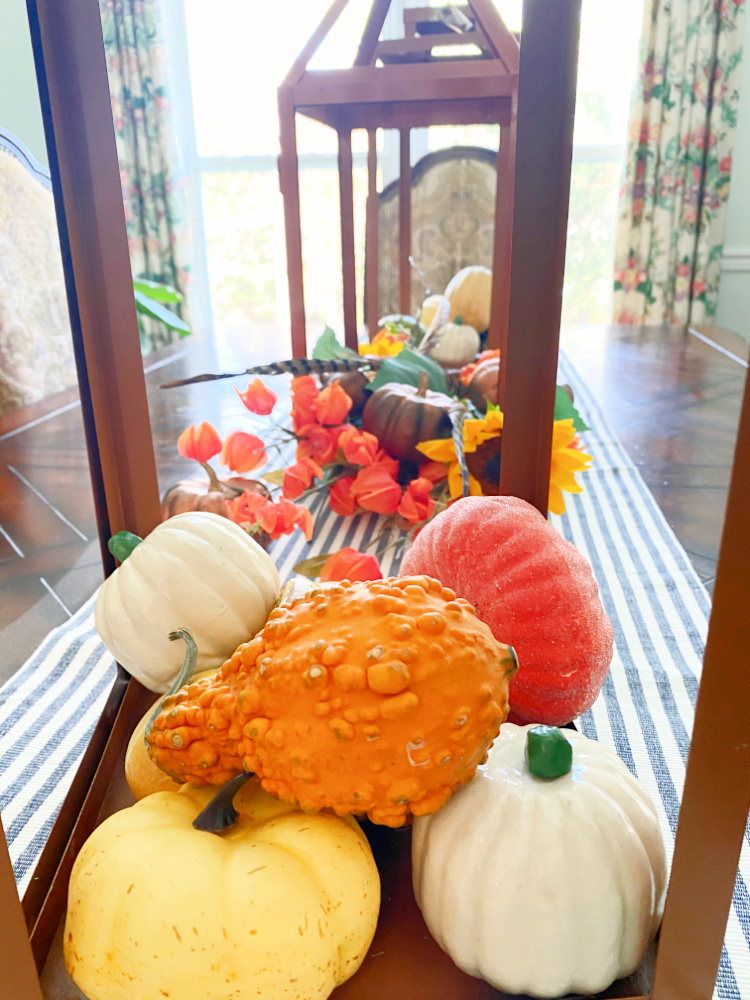
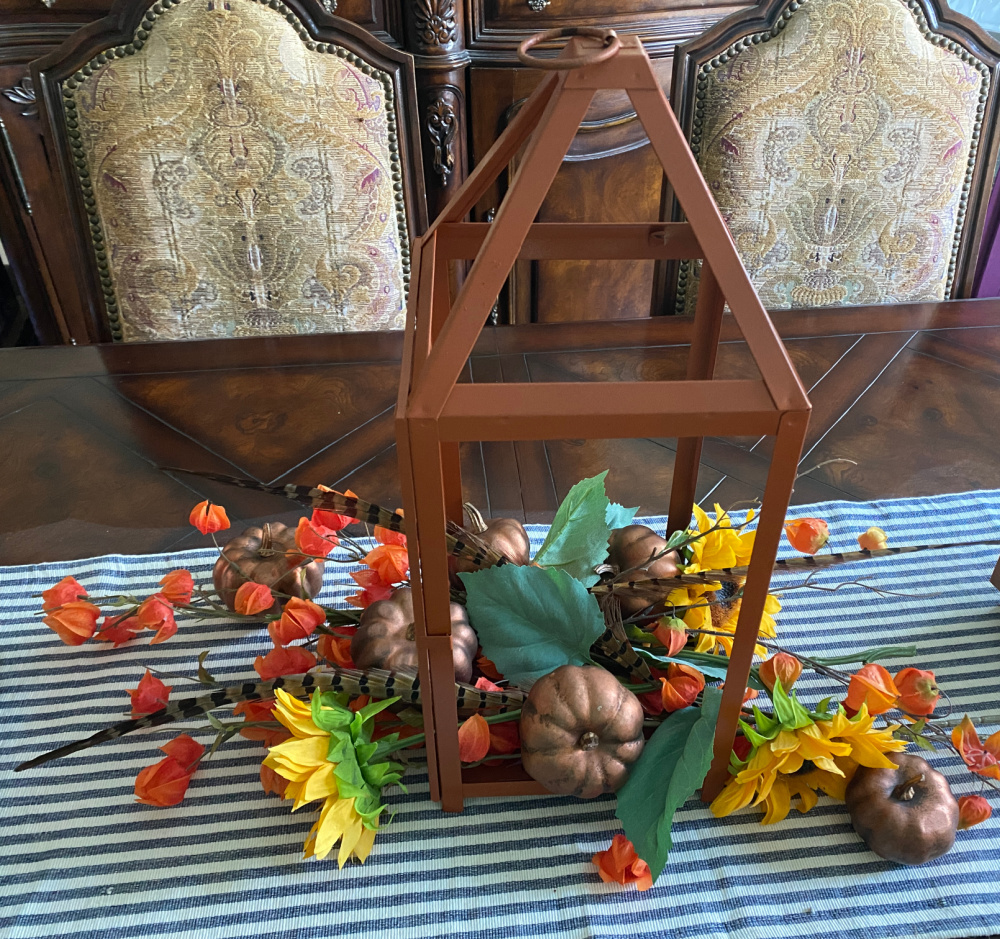
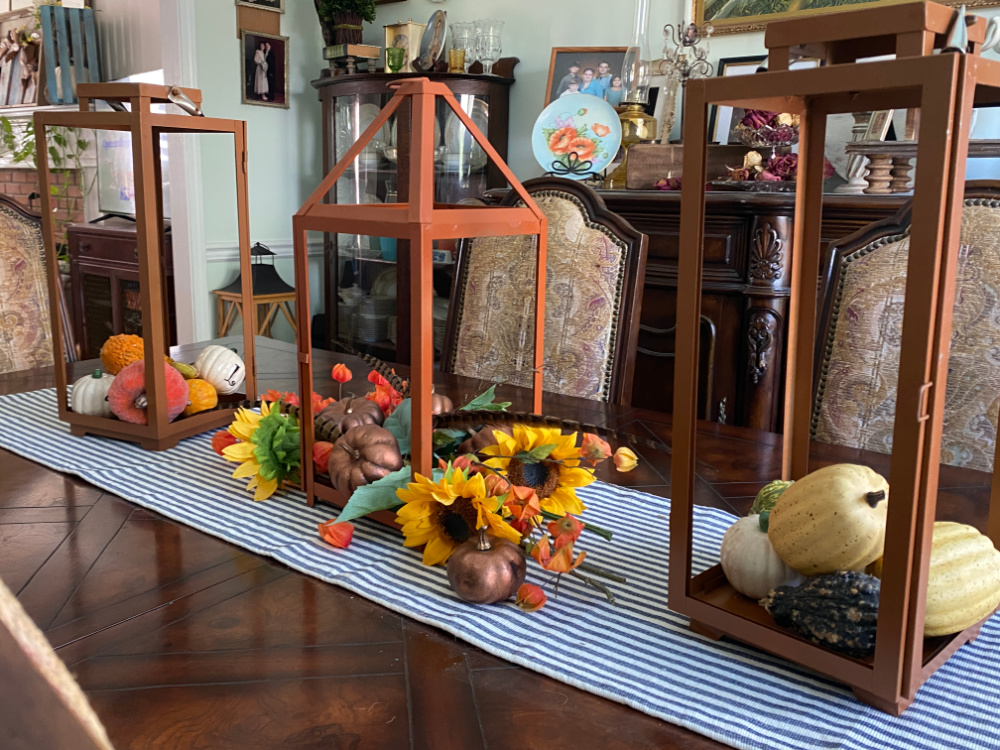
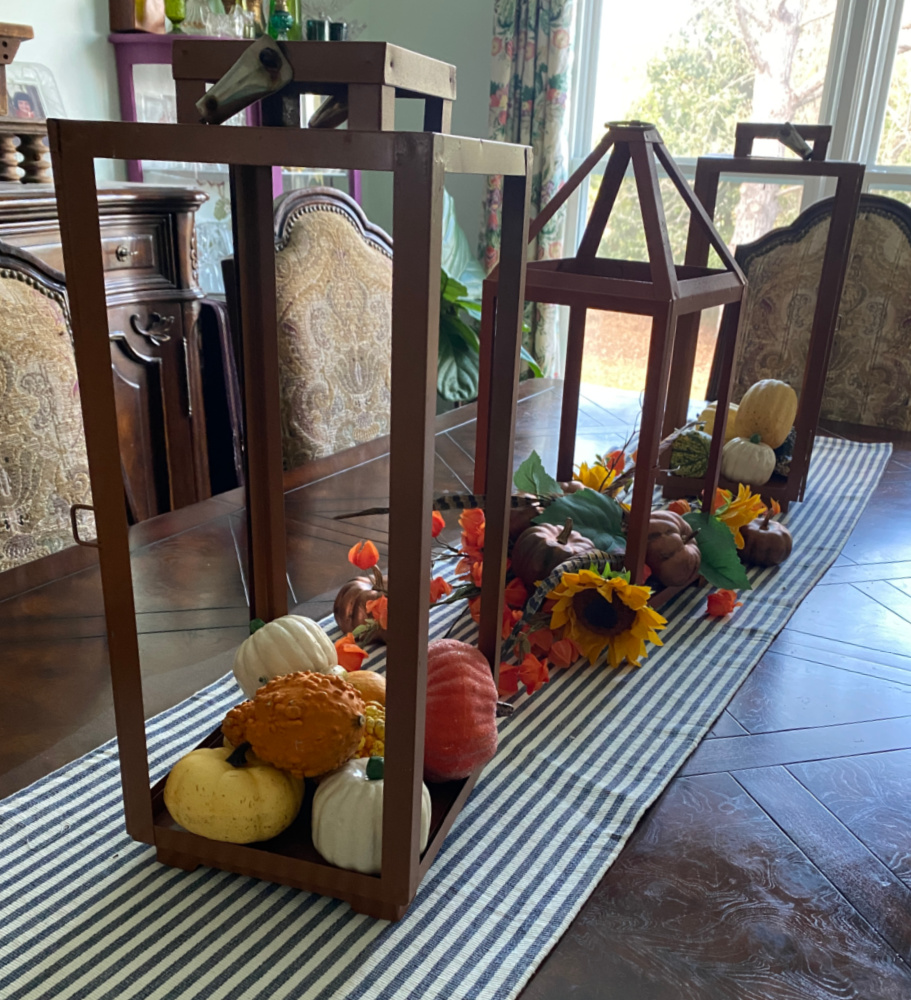
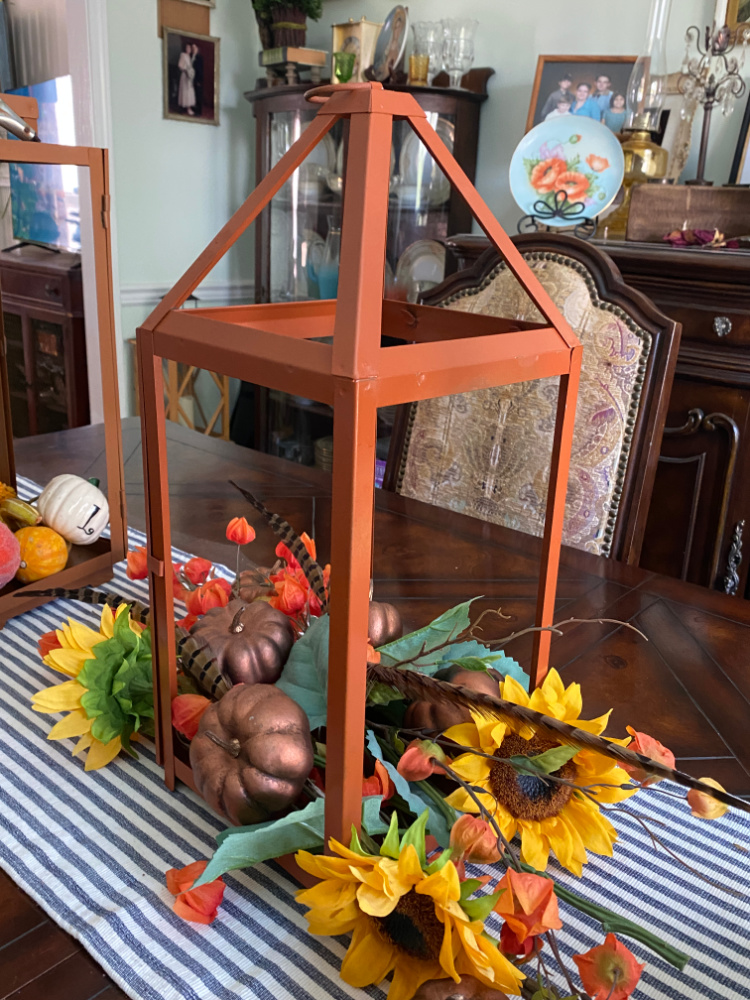
How about using those lanterns inside! Grab some florals.
And some pumpkins.
I even added some feathers.
They make a great centerpiece for an empty table.
The larger lanterns might be a little tall to use for Thanksgiving dinner. You might have trouble looking through them to see your guests. But they would look nice before dinner. Just remove them and replace them with the entrees and the turkey!!
I can see some florals and candles sitting inside of these beauties on Thanksgiving Day.

And here are this month’s projects from my fabulous creative friends!
Upcycled Brass Christmas Bell Decoration
Decorating with a Vintage Toolbox
Refresh Outdoor Lanterns for Indoor Decor – That’s ME! You’re HERE!






I love all of your displays. Beautiful!
Thanks, Kathy!!!
Sue,
I love how nice the lanterns turned out. Most people would have just thrown them in the garbage.
Thanks for all of the decor options for using these new lanterns. It’s hard to choose a favorite, but not difficult to choose my favorite photo. That beautiful happy sky photo is so cheerful during a dull Fall season.
Pinned and shared on FB
gail
Thanks, Gail! I’m working on decluttering but still having trouble discarding things with great bones.
Your lanterns turned out so cute! Perfect for fall decor!
Thanks, Pam! So easy to switch out new colors!
Spray paint is probably my favorite DIY tool. It can give such impact on something that was a bit ok before. This paint made these lanterns fabulous! Yes, that spray nozzle is a must. I hope you have a wonderful Thanksgiving. I so love the way you styled these lanterns.
Thanks, Christy! I’m hoping orange is still my color come spring. lol