Recycle Bin Craft for a Happy Earth Day
As an Amazon Associate and member of other affiliate programs, I earn from qualifying purchases.
In celebration of Earth Day, my friends and I on the Thrift Store Decor Team are grabbing items from our recycle bins and, in the true spirit of the day, fabricating something wonderful and useful. You will all of the projects at the end of this post. We are sharing some of our favorites. This is such a creative and talented group that I know we will all be amazed! So, join us on this Earth Day in using what you have and keeping usable resources out of the landfill! REDUCE, RENEW, REUSE..make a difference.
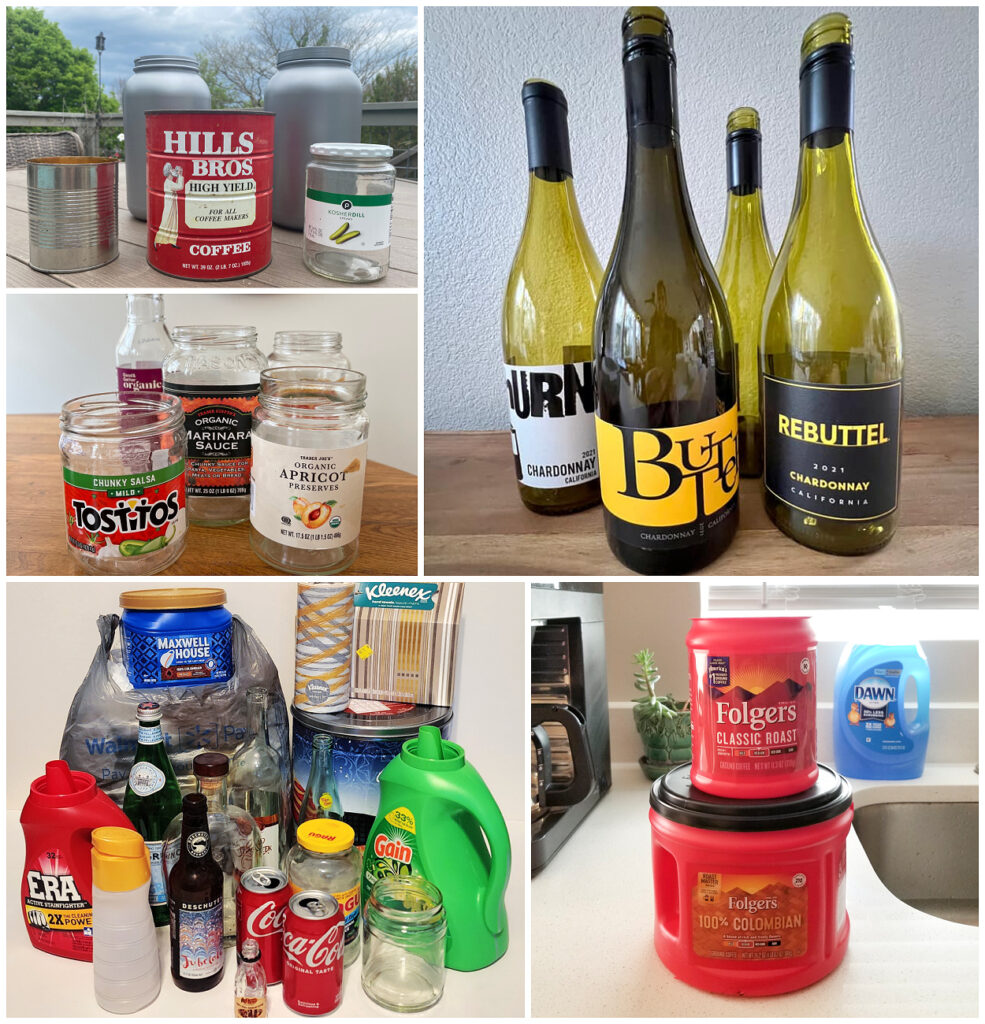
What’s in YOUR Recycle Bin – potential craft items?
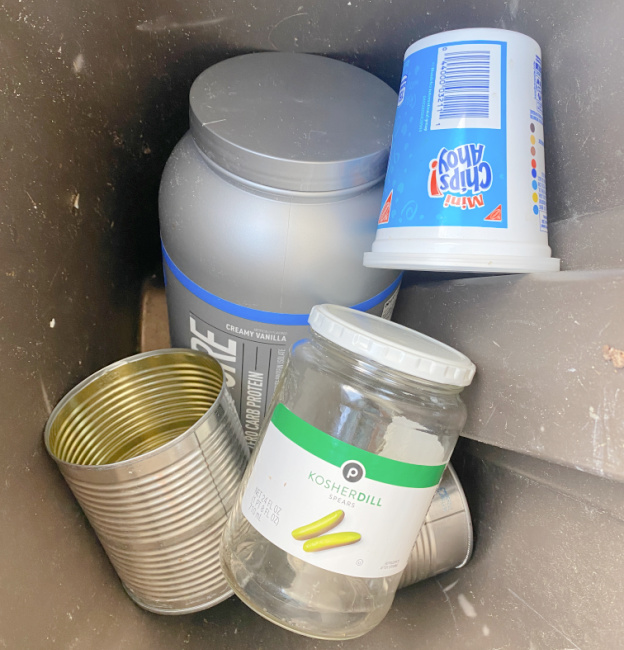
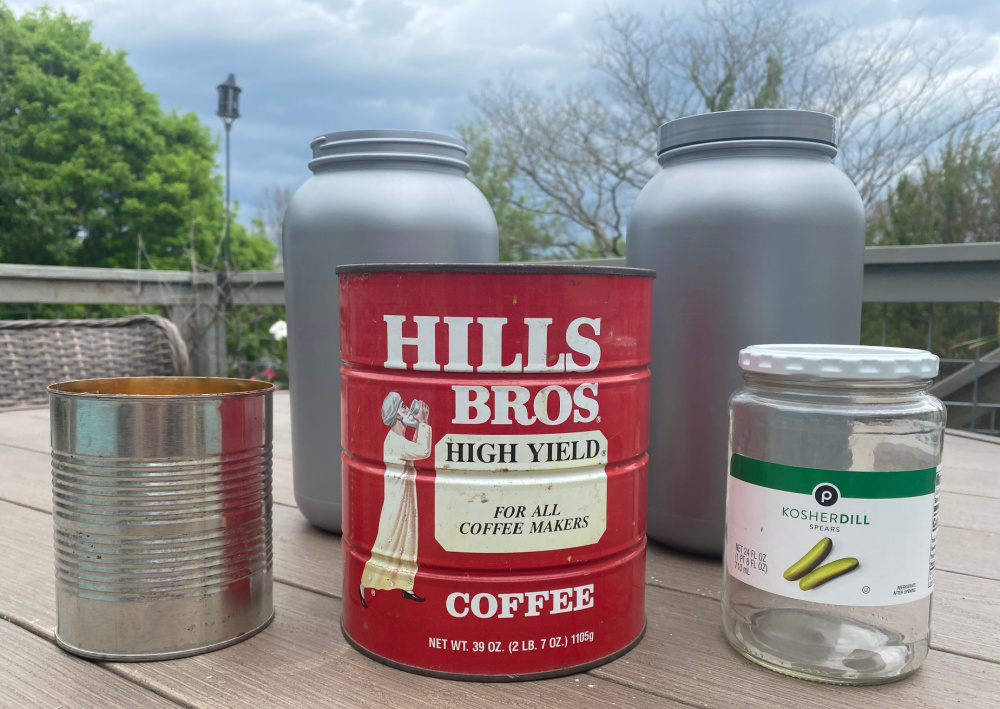
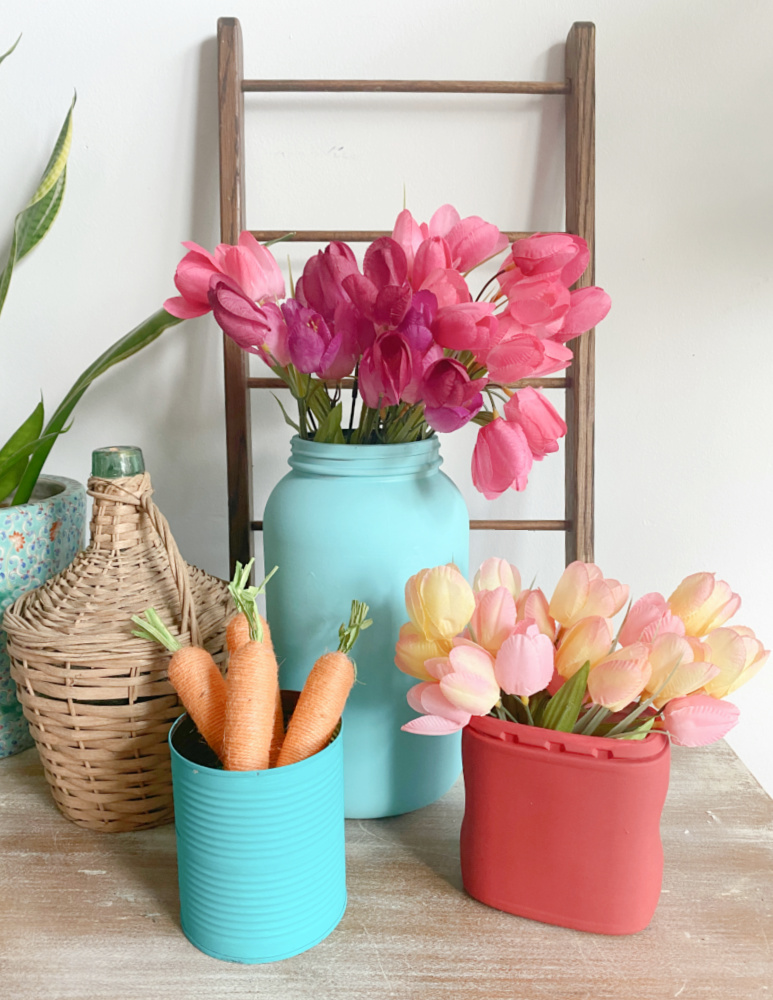
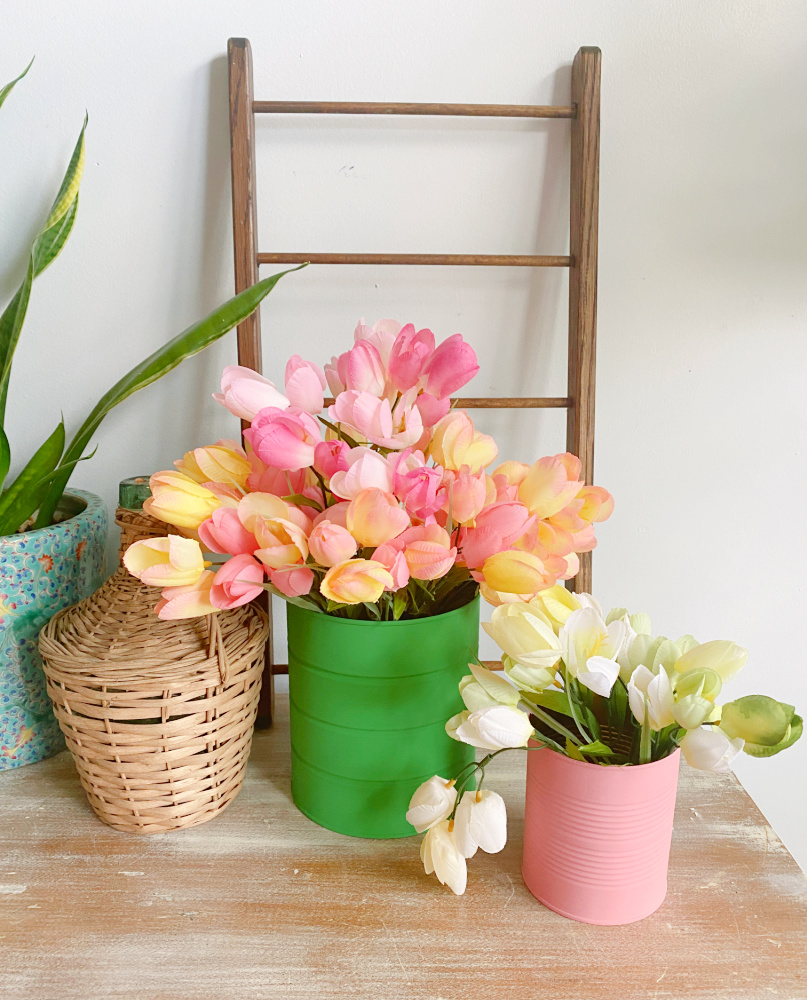
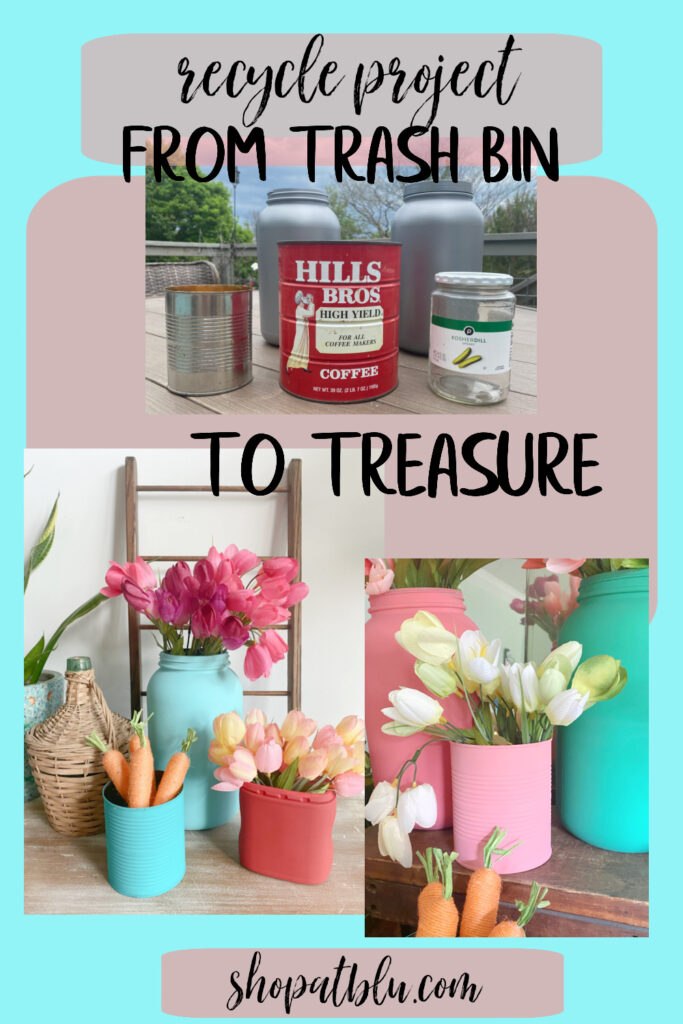
My recycle bin is filled with all of the normal items like cans, plastic containers, cardboard, plastic bottles. I am using containers in various sizes and shapes and of different composition. Some are plastic, some are metal and I’m also using glass. So you don’t need to buy anything for this recycle bin craft project. Just grab your trash!
With spring on the cusp of bursting forth, we’ve been in the garden getting things ready for the planting season. It won’t be long before the flowers are in full bloom. I plan to expand my cutting garden this year. So I will need some additional vase like containers to hold my cut flowers.
I’m not being all that creative in selecting some of these items for the expected reuse as vases. But it is absolutely a re-purpose that literally everyone can execute. The process is super simple, inexpensive, and perfectly striking. Have some fun and use some odd shaped containers as well. Let’s make some vases -a recycle bin craft – from your recycle bin items!
Prep Your Containers
Of course, you will clean your containers. The large protein powder containers had labels that peel off very easily. The large cans didn’t have labels as their labels were painted labels. The jars and cans had paper labels that were sealed with glue. For those vessels with labels that didn’t peel off easily, I soaked the entire unit in warm soapy water.
I would suggest Dawn dishwashing liquid. This is my go to not only for dishes, but for my paint brushes!
After some time, the paper labels pretty much wiped off of the glass and metal. Even the residual glue wipes off easily after a warm soapy bath. Allow the containers to dry completely. You have just completed the hardest part of this project. The rest is simply painting your containers!
Note: I didn’t include any photos because, let’s face it…we all know how to use warm soapy water.
Tips for Choosing Paint
- I find that the best paints for this type of project is chalk paint or mineral paint. These paints don’t need a primer and cling naturally to almost all surfaces.
- You can definitely use latex or craft paint if that is what you have on hand. But, if you are using a latex or craft paint, I would use a primer for glass, metal and plastic surfaces.
- A quick wipe down with TSP will help prep your surface for better paint adhesion.
Remember, You don’t have to buy paint that costs $45 per quart. Home Depot even has spray chalky paint. I haven’t tried it yet, but a few friends have given it good review. You can find very reasonably priced chalk paint at Walmart in the craft section. Look for the Waverly brand.
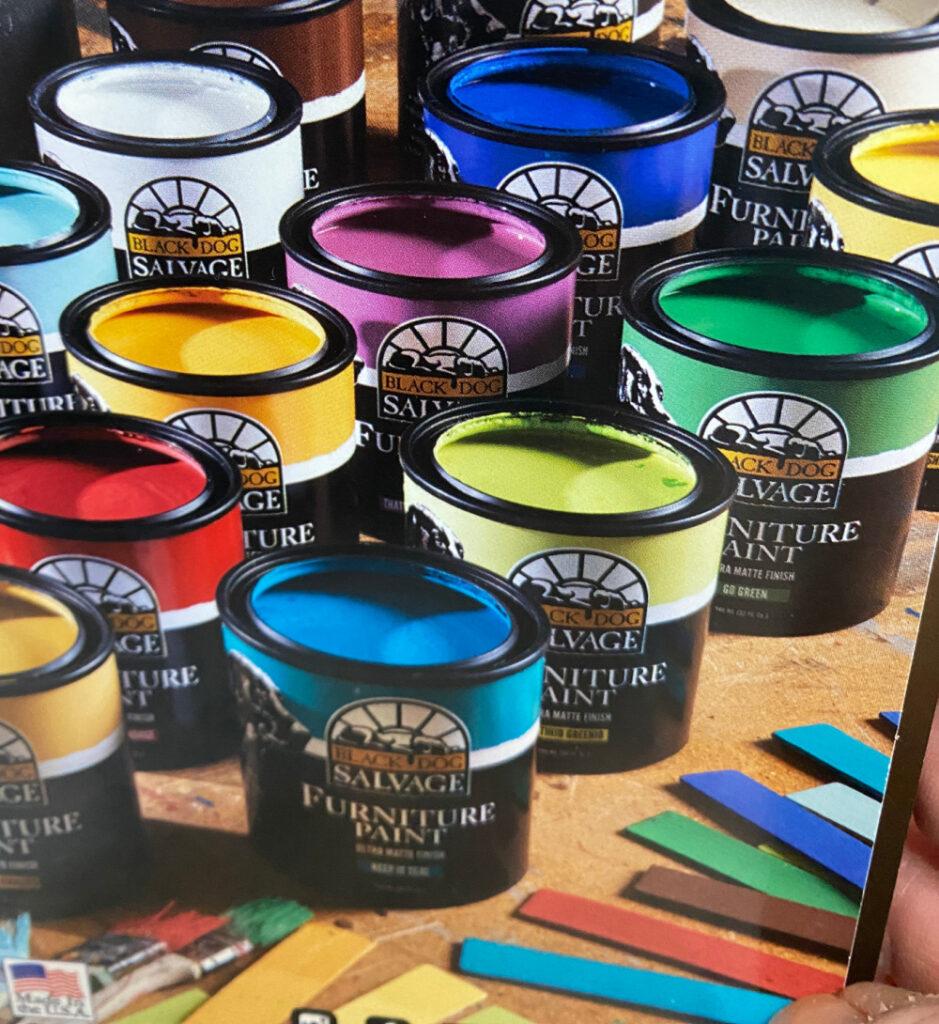
My personal choice of paint is Black Dog Salvage Furniture paint which is a paint line specifically designed for salvaged and antique/vintage materials like architectural surfaces. An added bonus is the vibrant color choices of this fabulous paint line. Coverage is incredible and you can pretty much create any color you desire from their 13 pre mixed signature colors. You can check out their fabulous colors and are welcome to a 20% discount on their products by using my affiliate link HERE.
[show_boutique_widget id=”1281072″]Now, JUST GO!
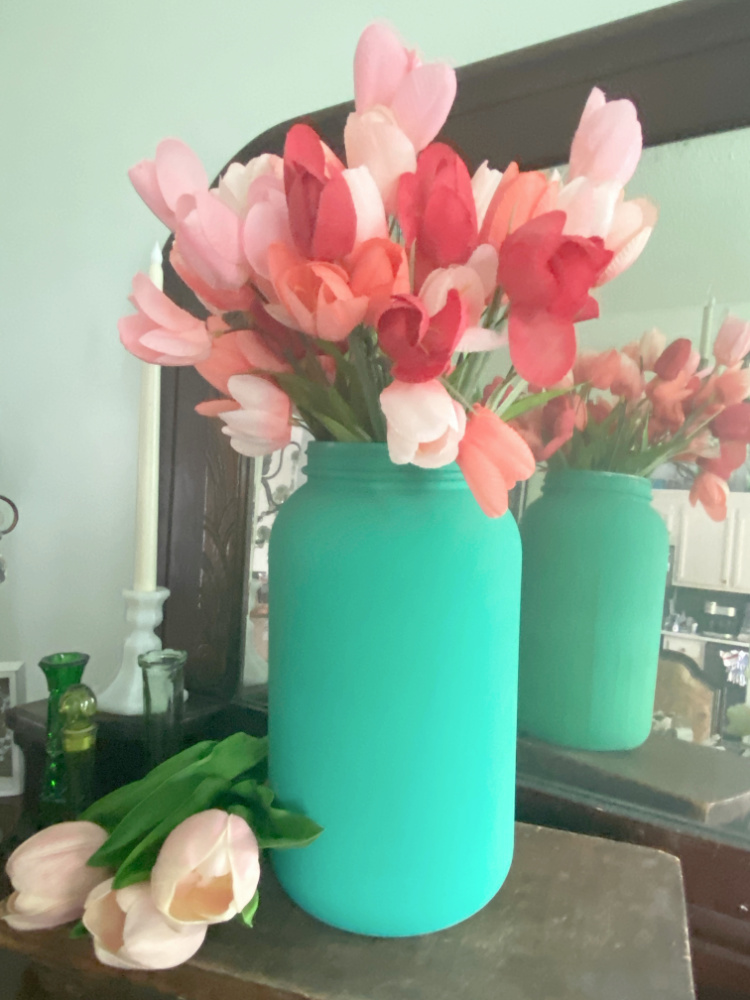
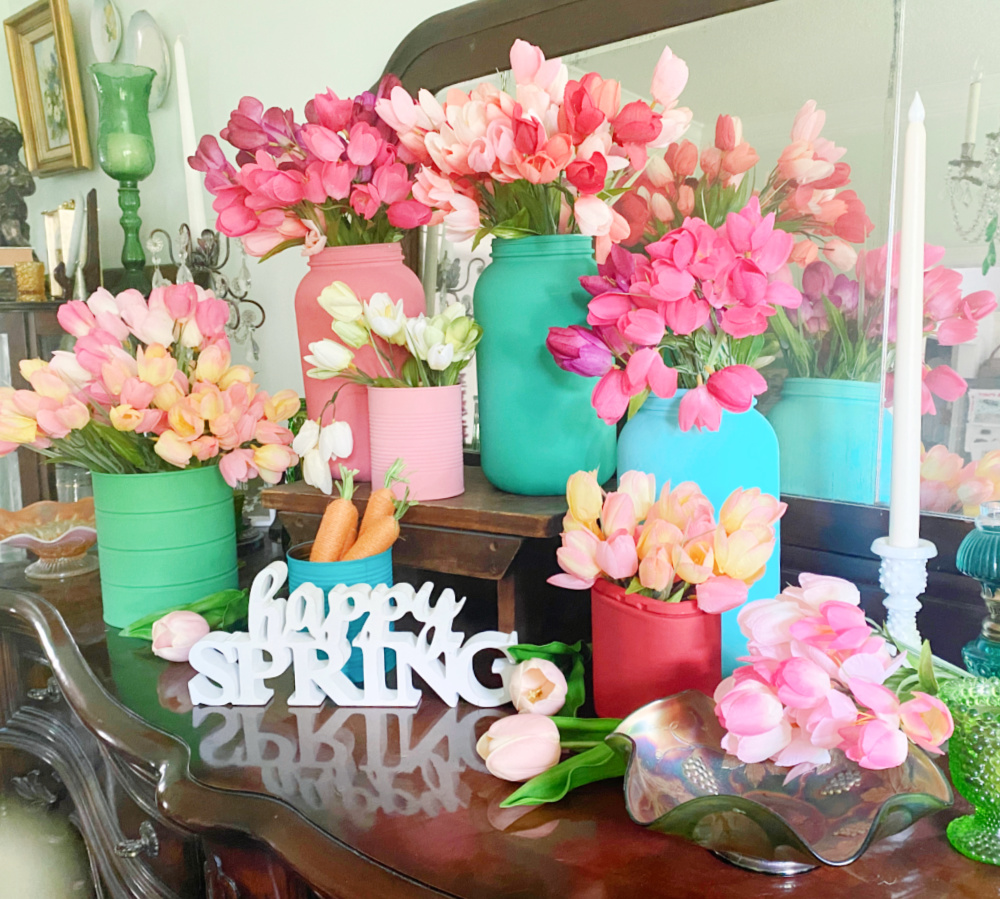
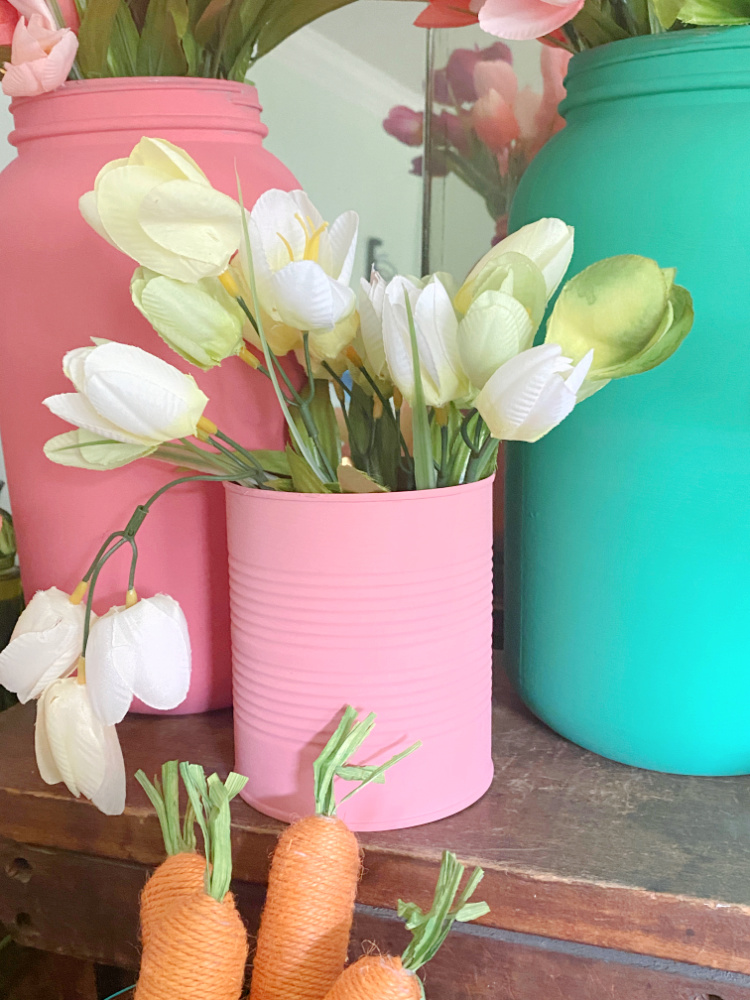
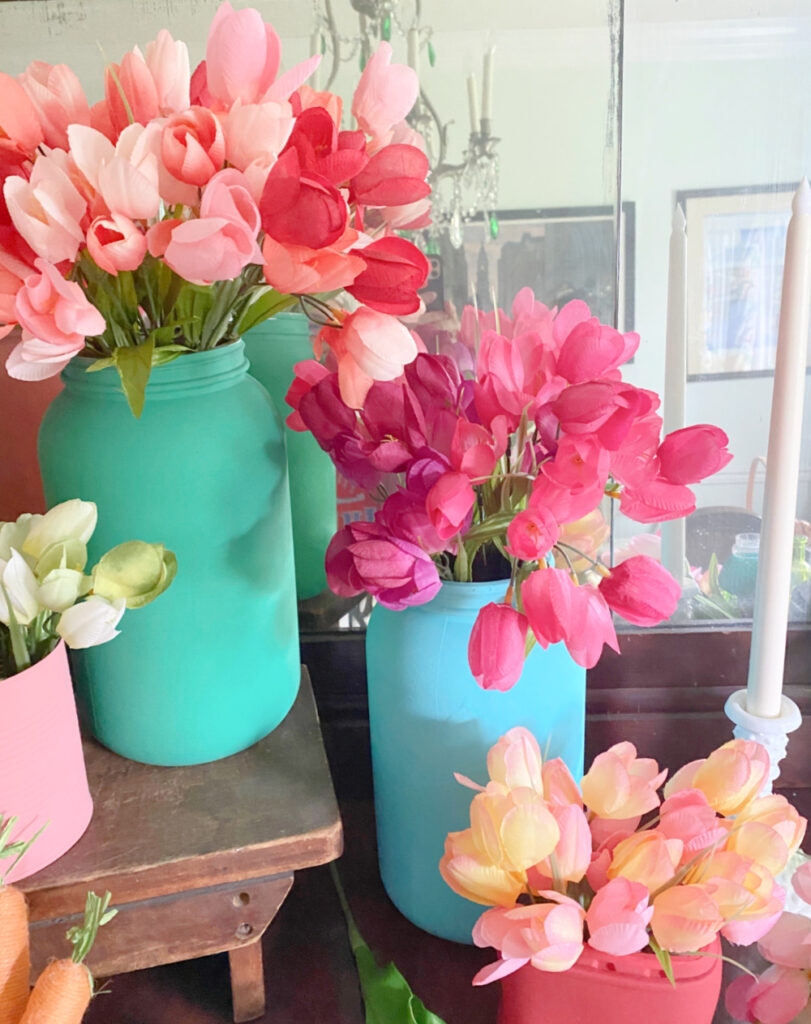
Decide on your colors and start painting. I had a few of the BDSFP signature colors on hand from recent projects so I used them to created more variations! I used a rainbow of colors that I created from combinations of Go Green, Keep It Teal, I Need A Bandage, and Clean Canvas, I created Watermelon, Jadite, Emerald City, The Grass is Always Greener, Retro Blue, and my own pale pink.
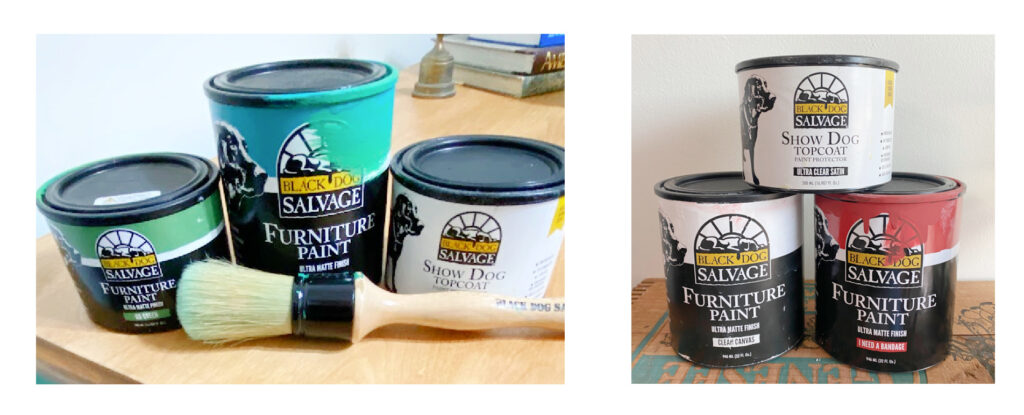
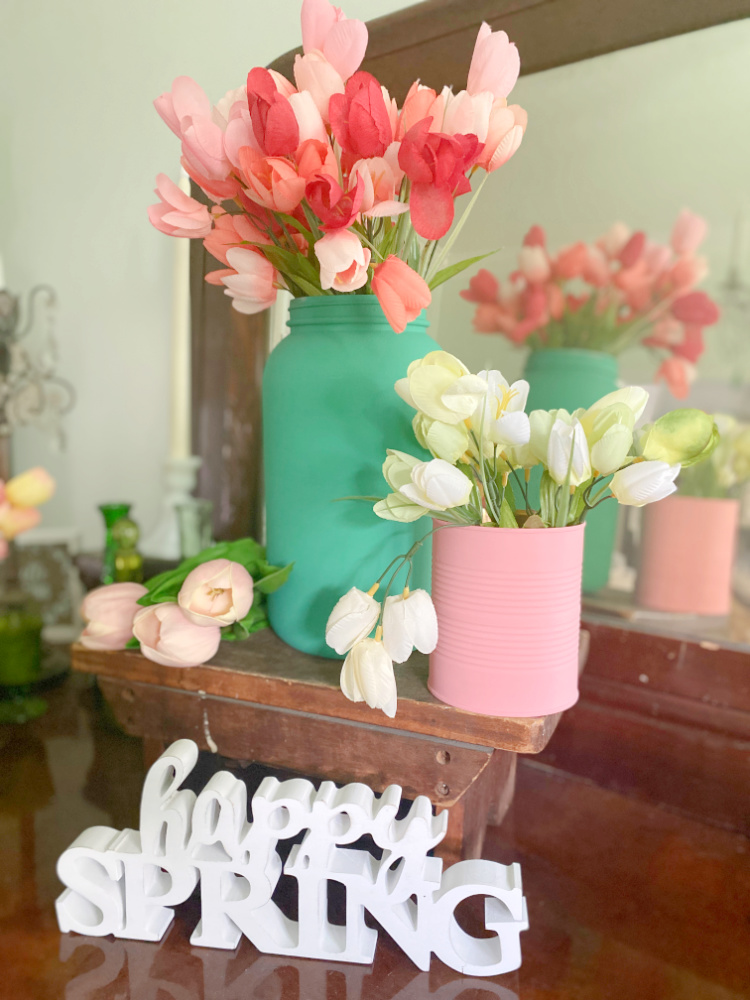
I just couldn’t stop mixing colors. Before I knew it, I had more that enough colors for my vases. I had to open some more cans. Then I grabbed some tulips and had more fun. It ended something like this…
[show_boutique_widget id=”1281073″]Remember to seal you last coat with a protective coat. I love BDSFP’s Show Dog topcoat and their Crab Coat (made especially for outdoor use). The come in various finishes as well. I did not seal my vases because I do like the matte finish for this product and I did not have any matte sealer on hand. So I will be very carful with these until I can get some.
What an easy way to really add some dimension and custom color to your decor.
Remember, decor does not have to be expensive. Use what you have. Do what you can. Add some creativity! The sky is the limit!
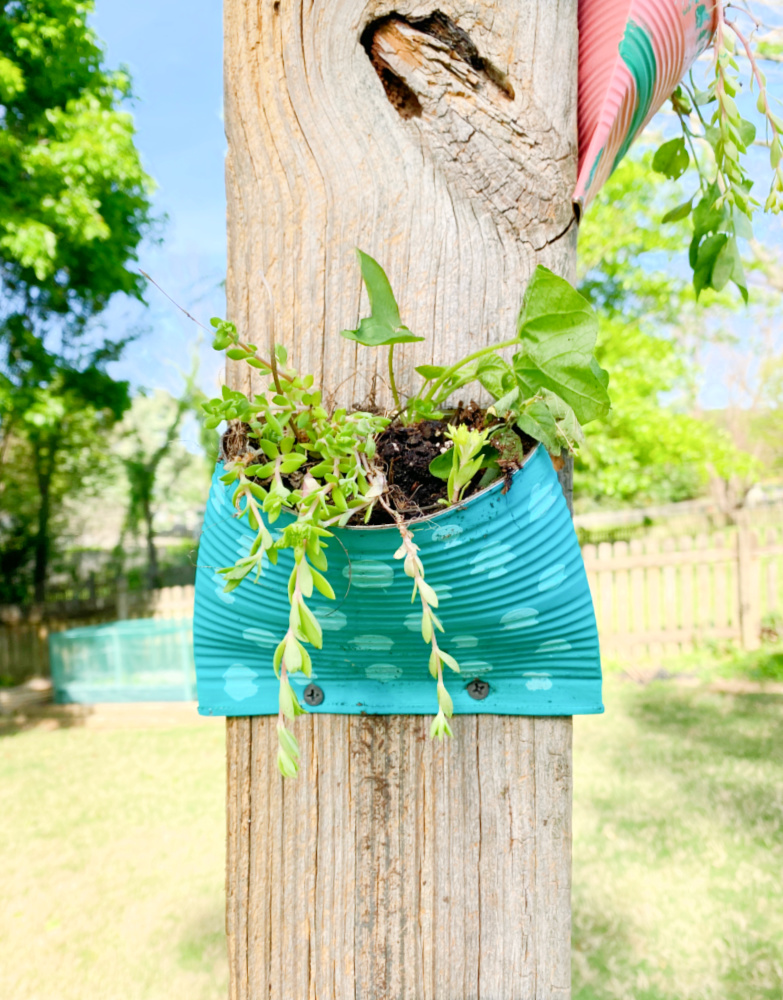
Here is another project using tin cans to make a wall pocket planter.
And, as promised, here are the posts from my creative friends on the Thrift Store Decor Team! I promise, as usual, you will be blown away!
My Repurposed Life DIY Upcycle Ideas from Your Recycle Bin
My Uncommon Slice of Suburbia DIY Wine Bottle Tiki Torch
Sadie Seasongoods Upcycling a Coffee Canister with Cork Fabric
Organized Clutter Recycling Bin Propagation Station
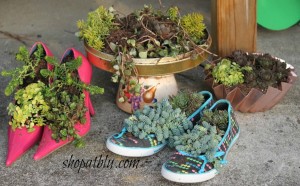
Shop At Blu Recycle Bin Craft for Earth Day
Petticoat Junktion How To Upcycle Aluminum Cans Into Vases
Here are a few more projects using salvaged items:






I love all the colors you chose, so cheerful and springy! We are finally having some beautiful weather here. Awesome makeover on all your “trash”
Thanks Kristin! Weather has been colder here. Weird spring!
Suzanne!
I love all of your new “vases”. The colors are so happy and springish!!!
I’m wondering what the container is that you painted sort of a rust? It’s oval, and looks like plastic.
I know as soon as you tell me what it was, I’ll feel like a dork….. it looks familiar, but I can’t quite put my finger on it.
pinned!
gail
Lol! It’s from the crunchy onions for on top of green bean casserole…Saved it from Thanksgiving. Bahaha.