How to make signs with your Silhouette
As an Amazon Associate and member of other affiliate programs, I earn from qualifying purchases.
Everyone has that simple little something that makes them happy. For me it’s cute little signs. I love to make signs and place them all around my store, The Blue Building Antiques and Consignment . As I’m going about my day, they make me smile. I write down quotes from customers while they are shopping. I transfer them onto signs and place them around the store . Usually, if I’ve copied the saying it is because the person was very sweet, made me smile, or was just enjoyable. I guess they are kind of like little happy memories scattered around the store.
One of my favorite quotes was from an 88 year old man who wandered the store slowly with his cane. I asked him if he was enjoying the store. He said, “Yes but I’m afraid to stand still cause you might put a price tag on me!”
Another customer and I had a conversation about seeing something you love and not grabbing it. A common phrase overheard from customers is “I love it, but where would I put it?” Jeannie’s response was “What life are you waiting to live??? Buy it!”
I have about 50 still tucked away awaiting a slow day where I can concentrate on these cute little signs. One of these days…
My middle son, III, bought me a Silhouette for Christmas. I love it! The only bad thing is that I don’t get to use it regularly. So every time I pull it out for a project, it seems I am starting all over again. I am now trying to use it twice a week so I stay sharp and the learning curve diminishes.
This week’s projects are to make 10 signs. I used several techniques.
Paint over vinyl letters
- Apply a base coat to your sign. Allow paint to dry.
- Cut the vinyl letters and apply them to your sign.
- Burnish (rub the letters firmly onto the sign).
- Paint over the vinyl letters and the sign with a second complimentary or contrasting color.
- Allow paint to dry.
- Peel vinyl letters off to expose the first color underneath.
Some details:
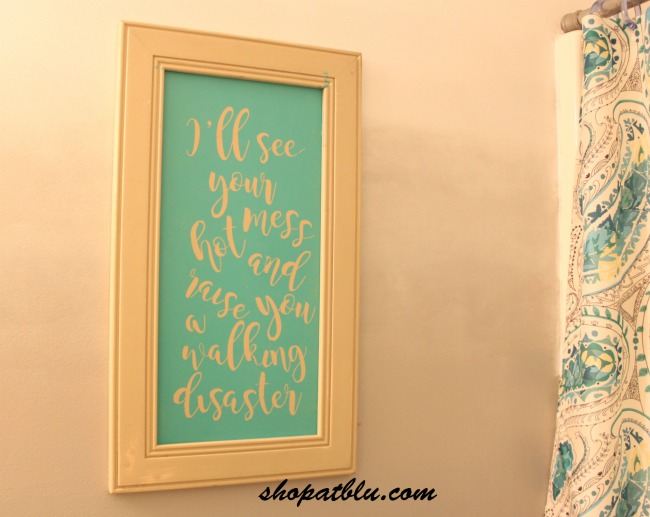
I use contact paper to make a stencil for my signs. I used Magnolia Sky font and created my design. I cut the vinyl on my Silhouette and use transfer paper to place the saying onto the sign neatly.
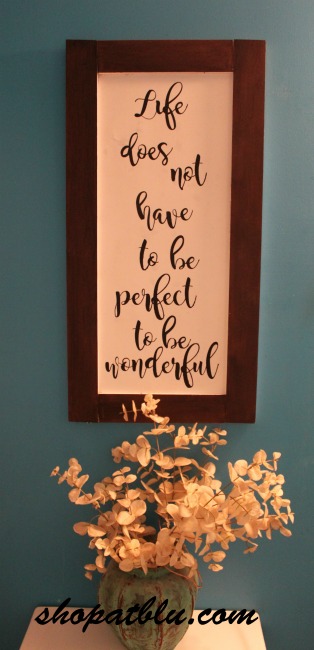
Here is one sign using the painted letters technique:
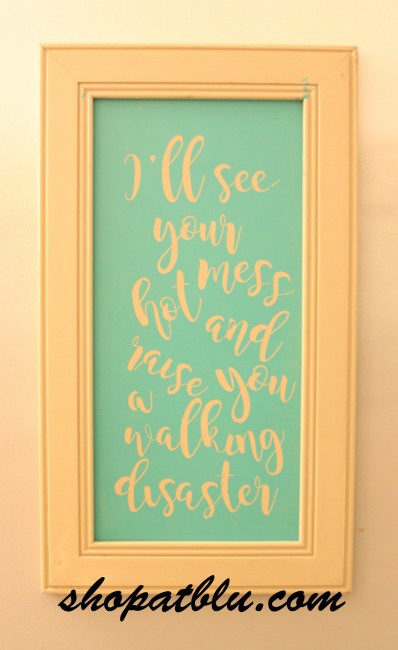
Create a stencil
- Create a design on the silhouette.
- Cut the vinyl.
- Apply transfer paper.
- Weed out the letters leaving just the stencil.
- Place vinyl stencil onto the sign base.
- Burnish.
- Remove the transfer paper
- Burnish again to reduce chance of bleed through
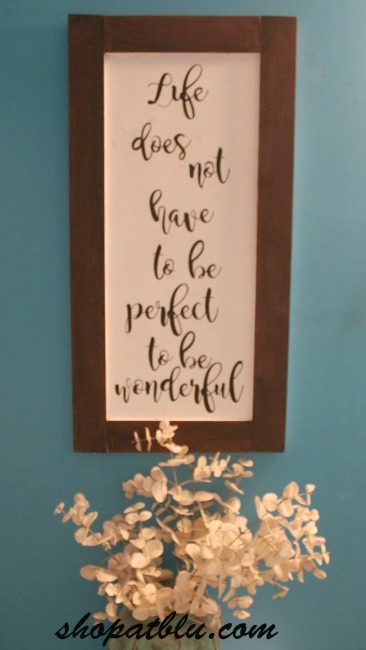
- Use craft paint to fill in the stencil. Use a dabbing motion with just a little paint on the brush
After paint has dried for about 10 minutes, remove stencil.
This sign was made with the stencil technique:
It was a little tedious weeding out the letters for both signs. I will search for an easier font that will minimize the need to weed…haha!



I have been wanting to get the silhouette, all the projects are amazing! I know many bloggers who love this tool.
Thanks Maria
Yes! I wish I could spend one day a week on strictly Silhouette projects!
What a wonderful sentiment and it makes a great piece of art. Would make a wonderful house warming gift.
Oh Patti that’s a great idea! I love this saying…kinda sums up my arrived at the threshold of 50!
Suzanne,
I love that “raise you a walking disaster” that is the way I feel most of the time!
gail
Me too! It made me laugh out loud!
The Silhouette is on my wishlist. It makes projects so much easier. That is a cool idea to collect sayings from your customers and make signs .
I’ve been practicing and am getting quicker with the Silhouette! I’m way behind on getting the signs on the wall but the customers are tickled when the return and see their quotes!
I don’t use my Silhouette enough, either. Mainly just use it to cut out price tags. But you’ve inspired me to make some signs! Now if I’ll only follow through……
There is a little bit of a learning curve but these are the first 2 I’ve actually done and I can see how I will get quicker! I’m tackling a larger one today!
I love the phrase! I’ve thought about getting one of the vinyl cutting machines, but that’s as far as I’ve gotten. It’s so nice to meet you, Sue!
Thank you Carol! Get one…you won’t regret it. I can’t believe how many projects can be enhanced by the Silhouette!
What a lovely little sign and sentiment!!
Thanks Lory! I’m enjoying reading all of the posts on this Hop. So much great advice and sentiments here!
Love the sentiments on your signs! Oh how I wish I had a silhouette machine – Santa are you listening????
Haha…Santa has great ears!
Thank you! Endless possibilites!
I love both your sayings and even more that you collect them from customers! How special is it that you’ll have a memory attached to each saying. Pinned on my inspiration board!
thanks Wendi! So many little comments make me laugh…we need these happy reminders!
I really want a Silhouette so bad and it is on my Christmas list! I have just realized that we live close to each other. I live in Trussville. I know of you because we post on some of the same fb groups and I saw something on your Instagram and realized you were from my area!!
Small world Sherry! You are really close. I love when I stumble upon local folks! Please introduce yourself if you every get to stop by Blu! And watch for deals on those Silhouettes around the holidays. There will be substantial savings offers available!
I love your signs, I’ve never tried anything like this it looks fun and the effects are great.
Love your sign Sue. I could have a lot of fun with that machine.
Thanks Debbie! I’m enjoying it!
Beautiful sign and a great quote. We Fifty and Fab bloggers know it all too well.
What a great way to gather fodder for your signs…from the things people say! Thanks for the tutorial. I’ve not done signs yet, but there may be a sign in my future.
It gets easier each time!