How to make chalkboard frames
As an Amazon Associate and member of other affiliate programs, I earn from qualifying purchases.
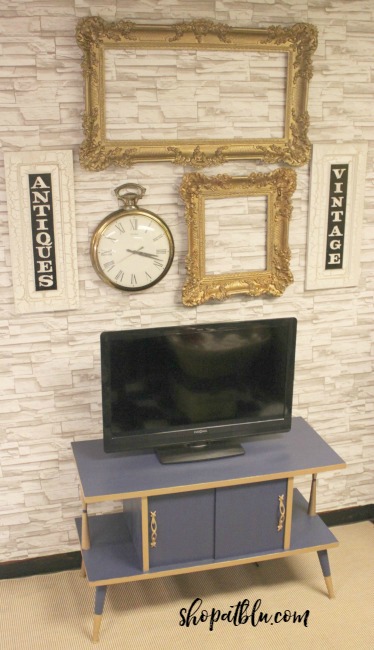
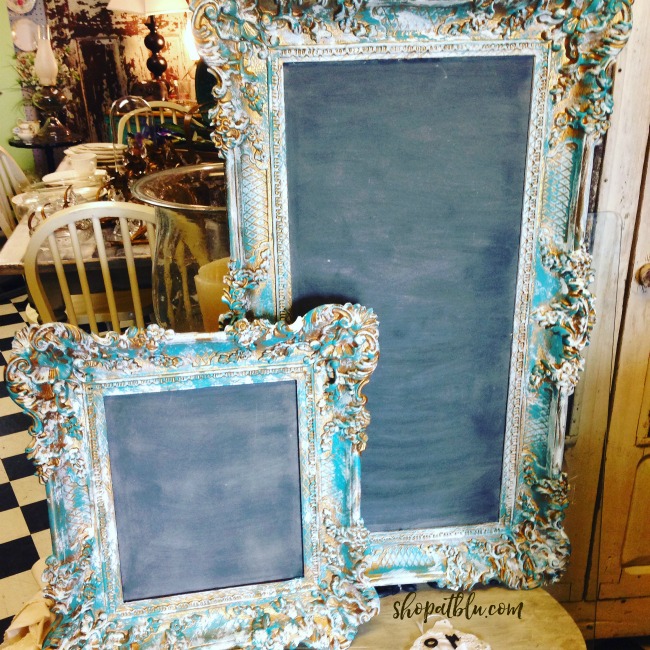
I had some really great picture frames sitting around the store. They had no glass but great character so I decided to make decorative chalkboard frames out of these picture frames.
Make a the chalkboard insert for your frame
- I used a piece of backerboard to make my chalkboard back. You can buy backerboard at Home Depot or Lowes in the section that sells luan and small pieces of beadboard. They sell it in 8 foot sheets and in smaller more manageable sections like 2′ x 4′. Measure the dimensions of the inside of the frame and cut a piece of backer board to fit to fit into the frame . You can also subsitute strong cardboard or wood for the chalkboard back.
- If necessary, lightly sand the backer board.
Paint your chalkboard
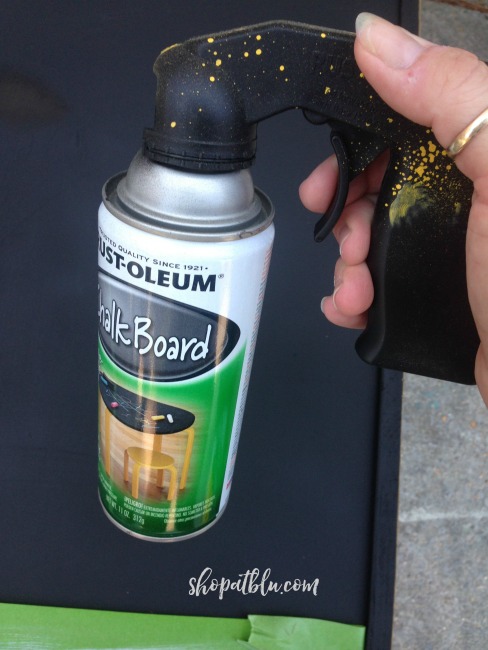
- I used Rustoleum Chalk Board spray paint. Spray the smoothest side of your custom cut piece of backer board with 2 coats of chalkboard paint.
Prime the chalkboard for use
- Priming the chalkboard makes your strokes flow more evenly and makes the chalkboard easier to use and to erase.
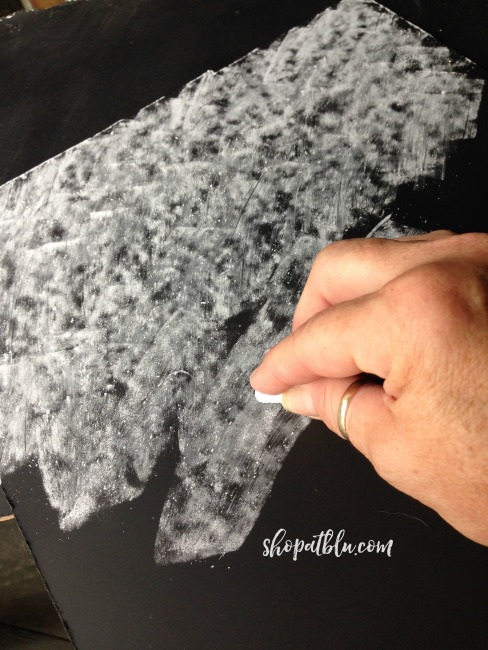
- To prime, hold your chalk with the longest side against the chaldboard surface and drag it across the entire surface.
- Once you have covered the entire surface, wipe with a dry paper towel or cloth. Your goal is to remove the excess chalk dust but not all of the chalk dust. The board shoul appear gray in color with a slight dusting of chalk.
Paint your frame
- Select a paint and paint your frame in whatever finish you desire. Chalky like paint should be sealed. Refer to the instructions for whatever paint you select to determine if the frame needs to be sealed. Many decor paints do not need to be sealed.
Assemble your chalkboard frame
- After all of your paint has dried, secure the board into the frame. I used my Ryobi airstrike. You can use small finishing nails or even a hot glue gun.
I’m sharing this post in the following Linky Parties so click on over and check out some wonderful projects:




Gorgeous frames and the color is stunning. I love the frames as a chalkboard it beautiful. I would love it if you could share this post at the link party I am co-hosting. I hope to see you there. http://diy180site.blogspot.com/2016/09/dishing-it-and-digging-it-link-party-112.html
Oh Thanks Vanessa! I added my link! Just starting to do linky parties! Excited about participating!
Love the coloring on your frames!! 🙂
Thanks Lori! I think this is my fav finish of all time!
These are still my favorite, thank you for linking up at Dishing it and Digging it link party. I hope you will join us tomorrow at 4pm eastern time. We love having you.
thanks Vanessa! I will definitely be popping in!