Vintage Wooden Box Upcycle
As an Amazon Associate and member of other affiliate programs, I earn from qualifying purchases.
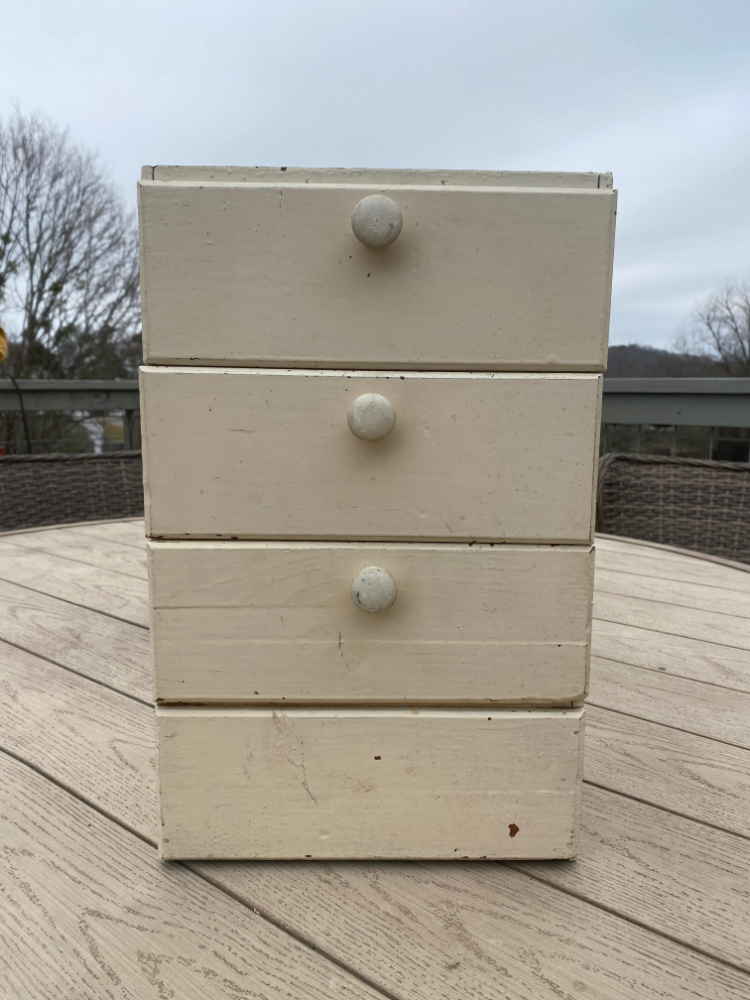
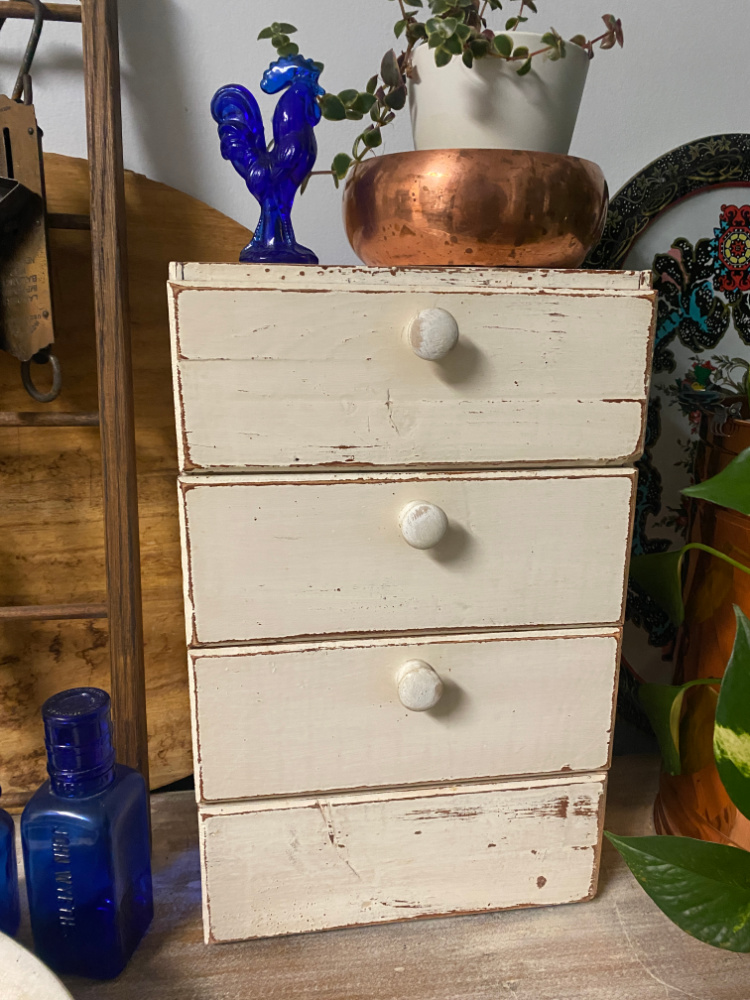
One of the perks of having an daughter living in Tennessee is impromptu trips to the plethora of antique stores in the area every time I visit! I’ve even developed some absolute favorites over the past few years. Today, I’m finally going to get create a chippy look onto this sweet little unit that I picked up at one of my favorite stores in Elizabethton, TN. Let’s upcycle this vintage wooden box!
Yes, I said upcycle! And yes, it’s time for this month’s Thrift Store Decor Team projects! You can expect our posts on the second Wednesday of every month. Be sure to visit each of my friend’s blogs which are linked at the end of this post.
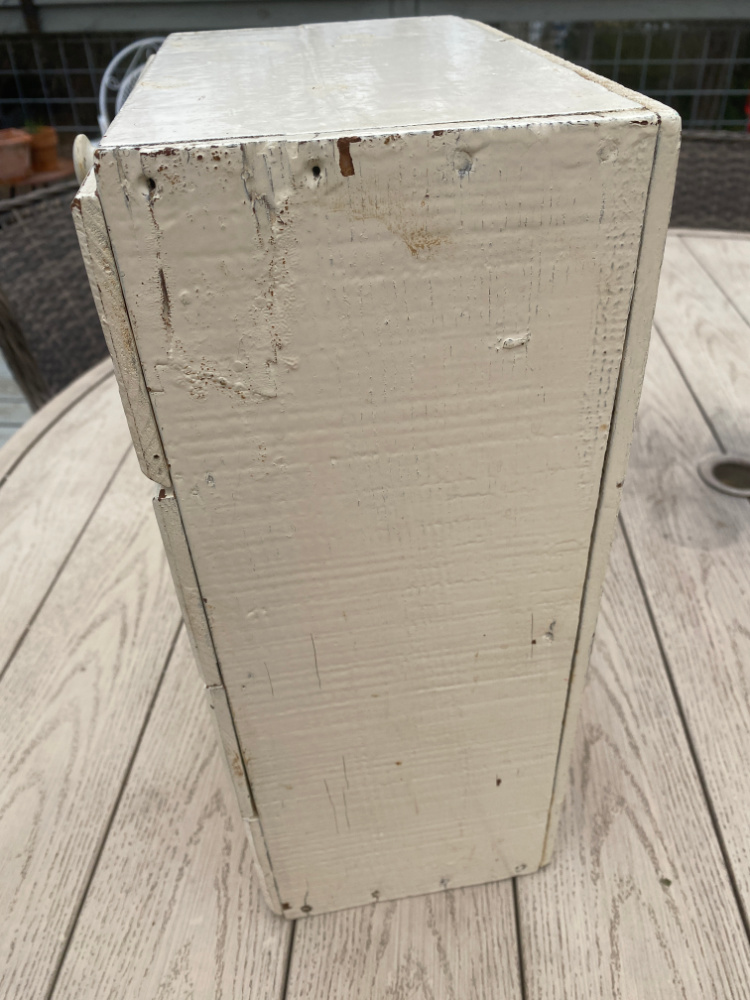
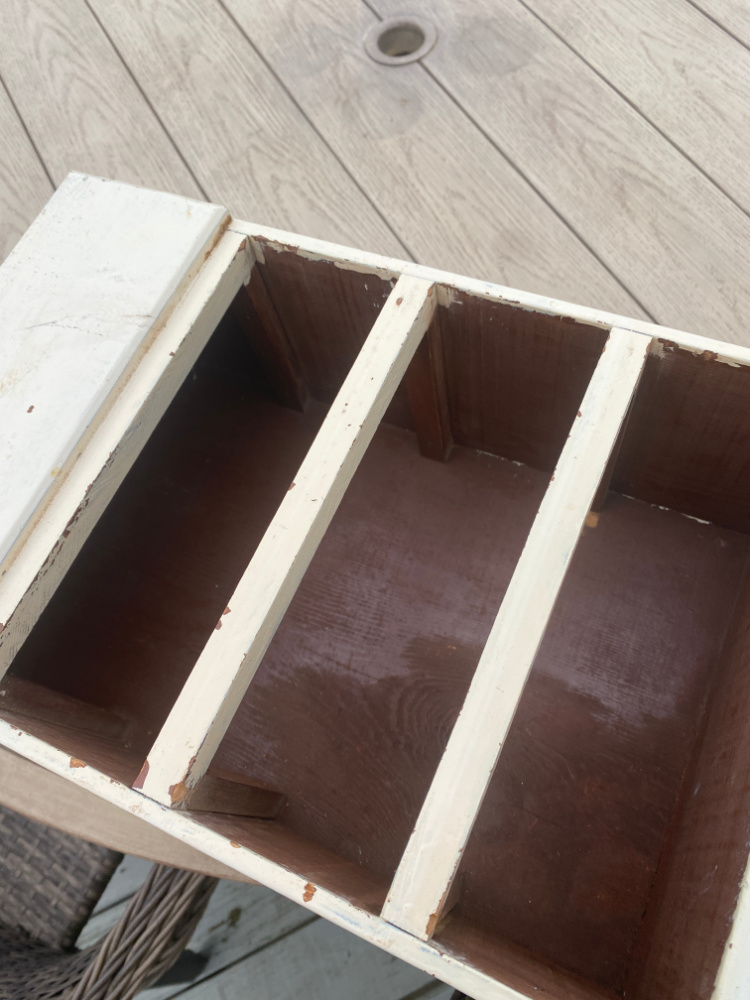
I’ve been on a whim, lately, upcycling storage units and items to use for storage. It’s a never ending battle for me to maintain and display my love of stuff in an orderly and pleasing manner. This little beauty measures . So it a great countertop unit or you could sit her on your bathroom vanity, mantle, or sideboard. She is made of wood with a flat back so she could even be mounted on a wall, under a counter, or just about anywhere. She’s perfect to sit on a shelf as well.
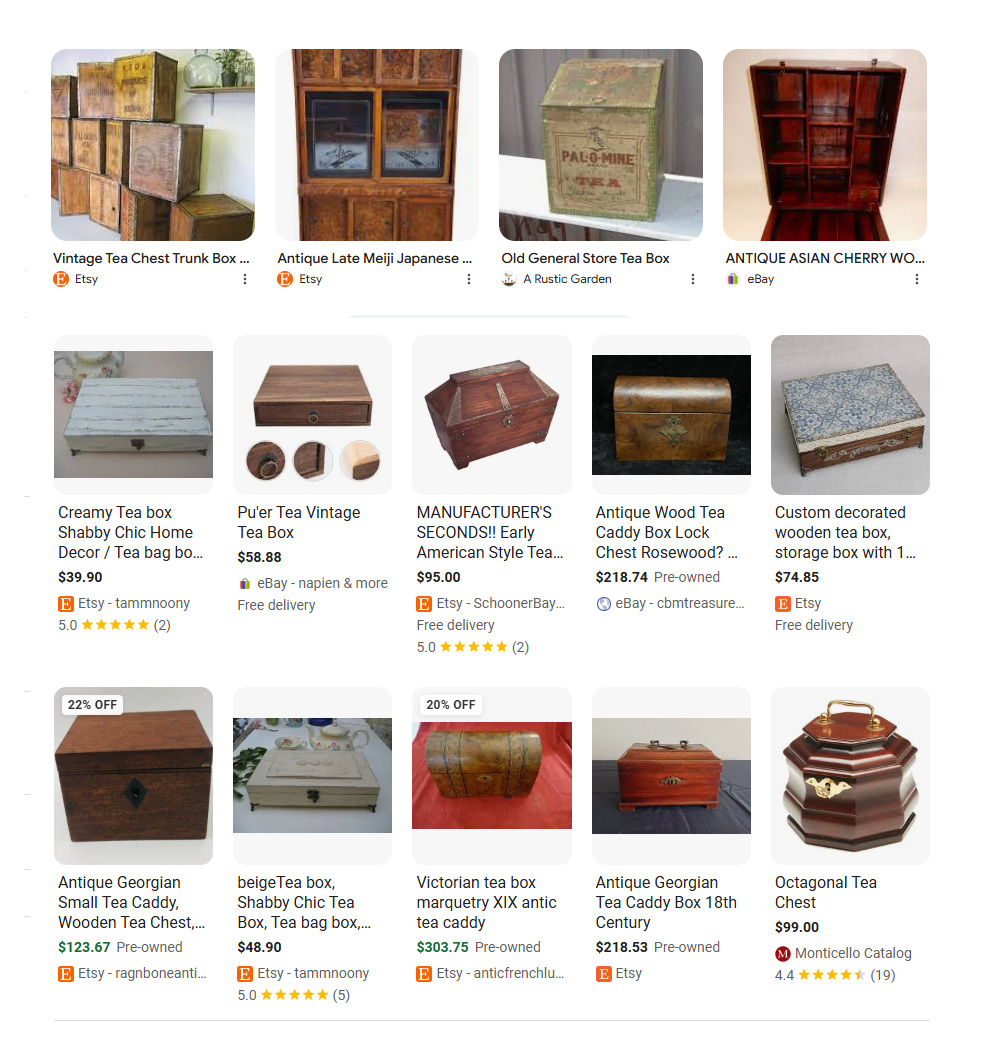
My first thought when I saw this cutie was “Oh, what a cute little tea box!” She definitely may have been constructed with easy access to a countertop tea collection in mind. Here are a few tea boxes that I found on line.
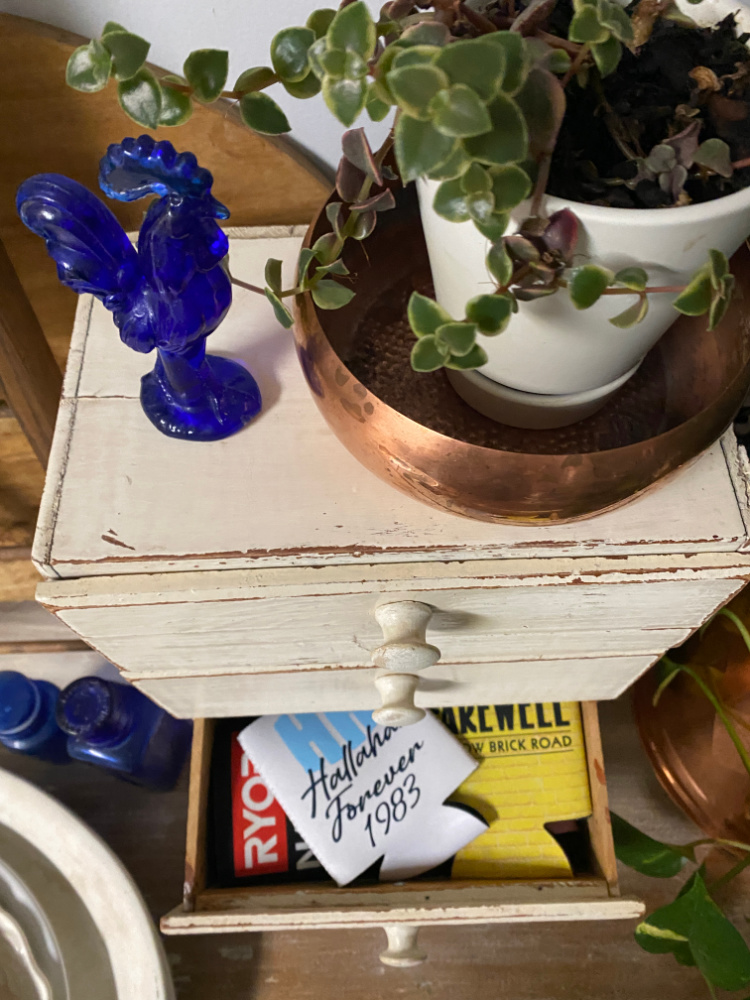
I guess we will never know why she was constructed or for what specific intended use, but I do know that she was handcrafted. You may wonder how I knew? The answer was inside of the second drawer.
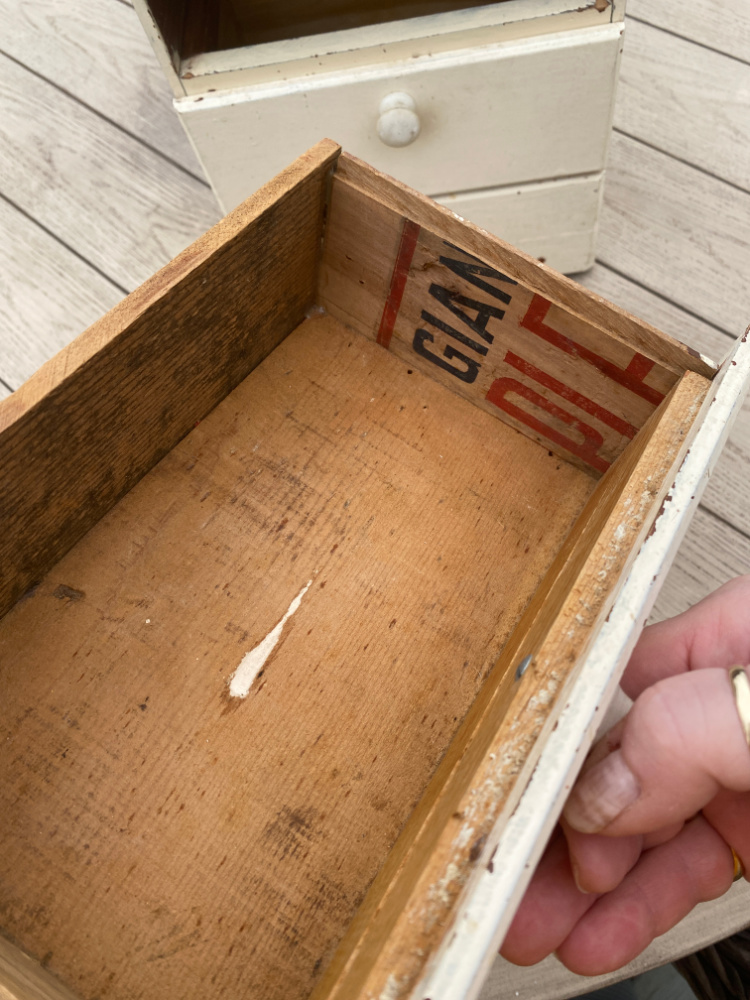
Someone built this out of old fruit crates! But they must have run out of stamp free panels because only one of the drawers contains the advertising print.

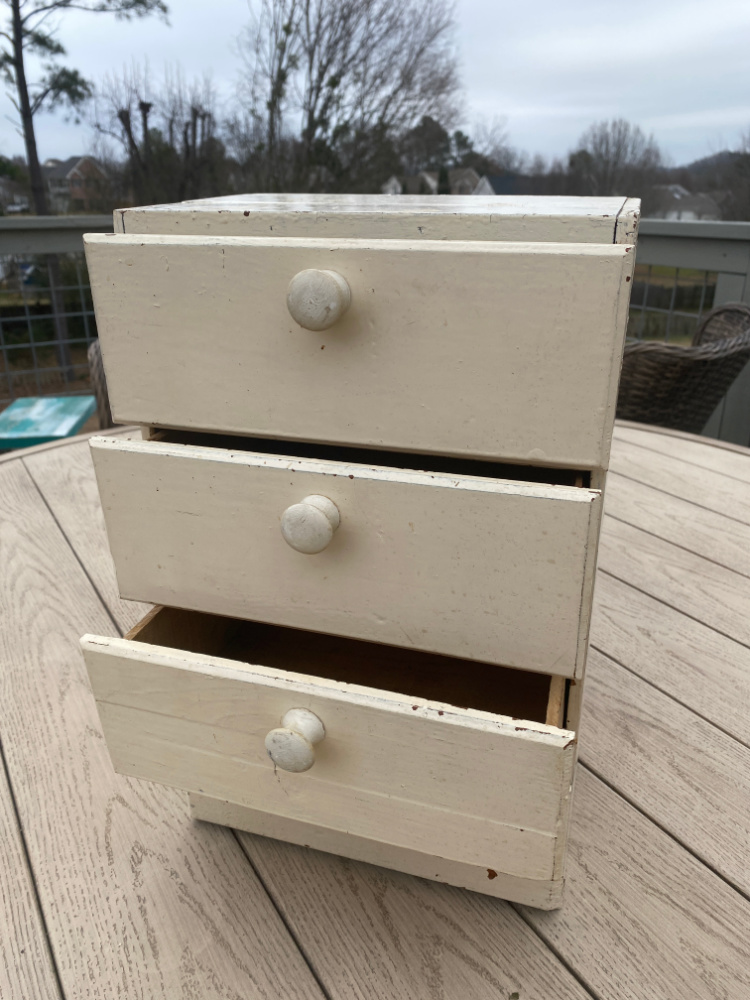
Another telltale sign of handcraftsmanship are the nails and joinery. I love this rustic touch. And I can imagine someone in their workshop fitting these pieces together. This is a great primitive functional piece.

Recycling was big even back in the day. What better way to build a custom piece? And the craftsmanship involved is crazy! You just don’t grab some scrap wood and start gluing things together. You develop skills over time. So to have found as handmade creation like this that is actually well built so so rare.
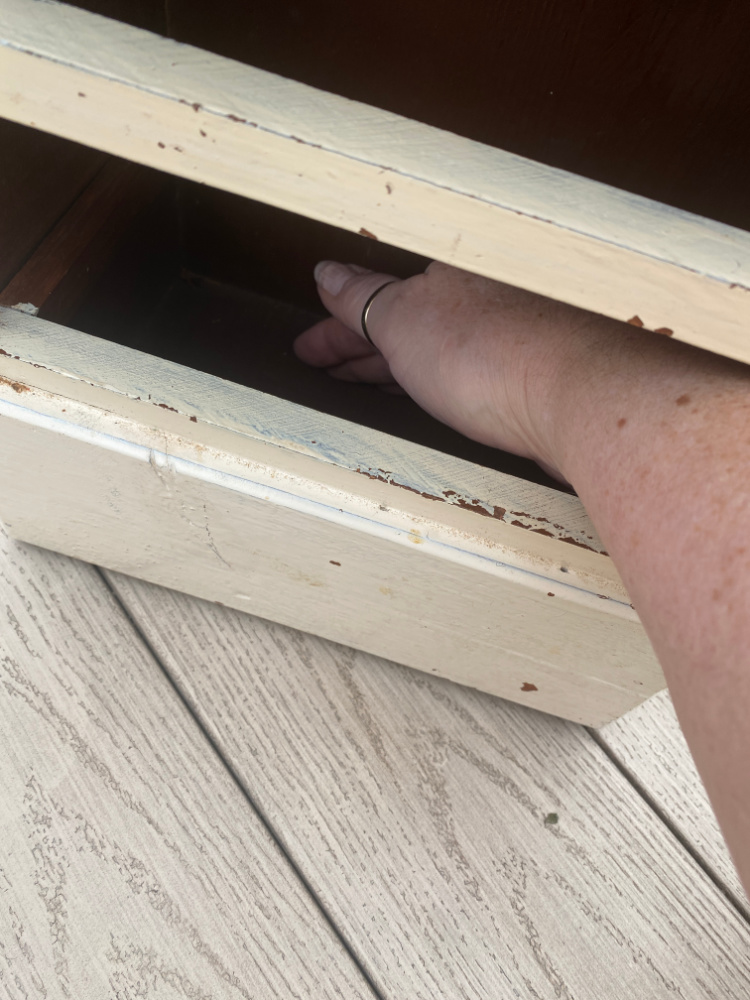
This little beauty even has a false bottom of sorts…extra storage!
Natural Chippy Paint
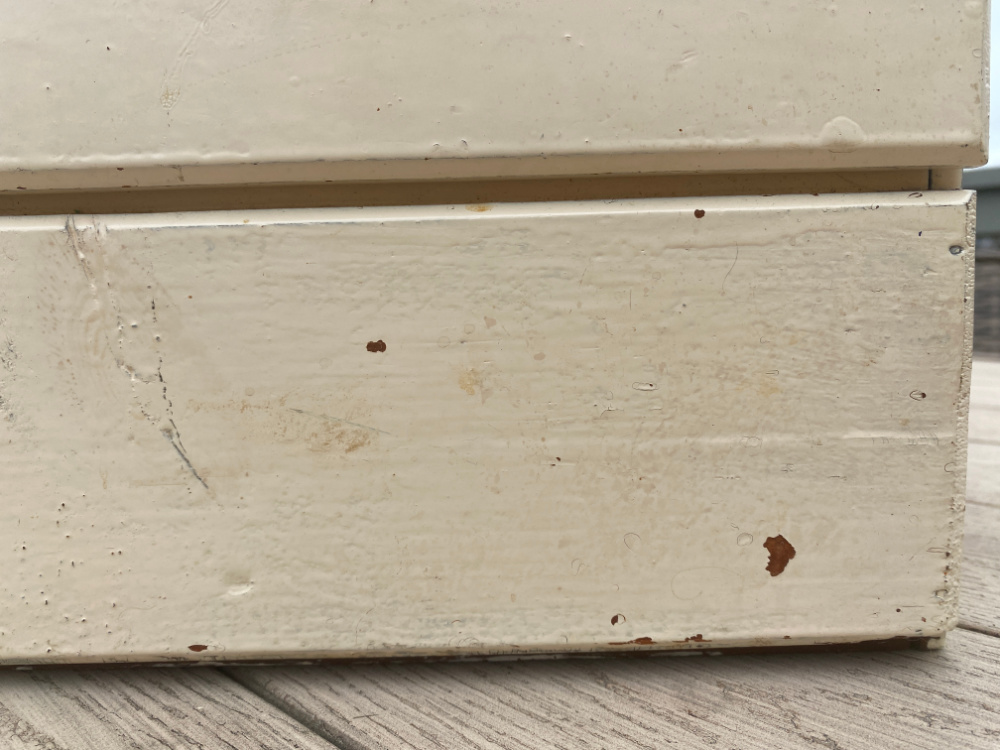
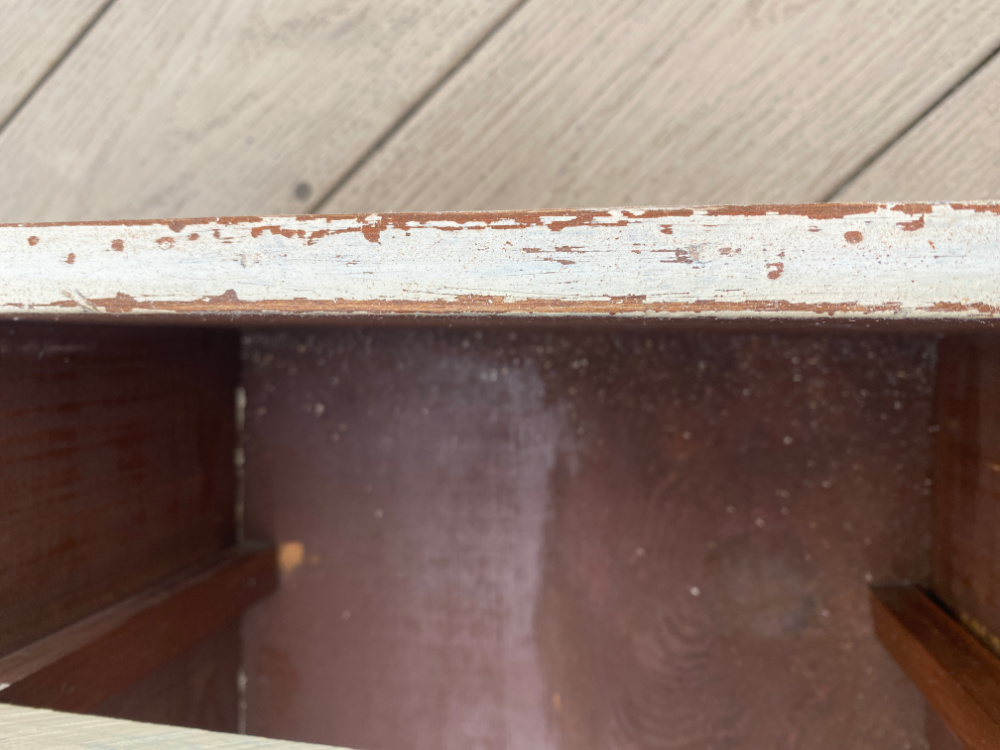
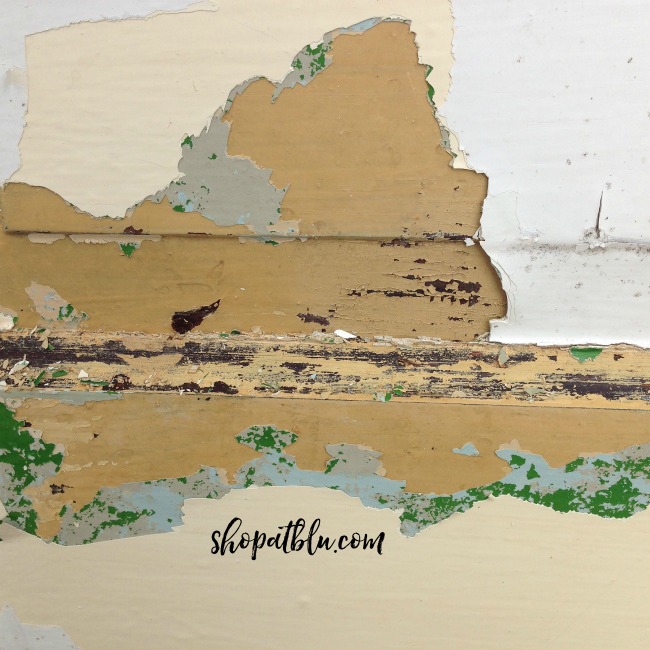
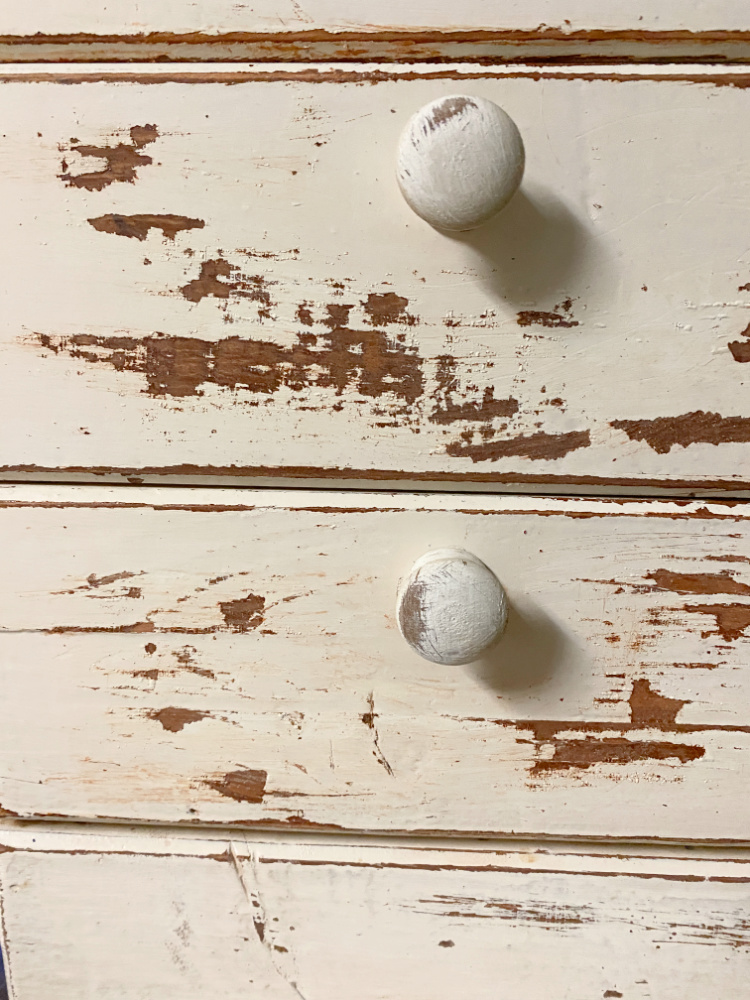
Another reason why this type of find is exciting is the finish. The paint is oil based. Back before the 70’s, I’m thinking the 40’s – 50’s, people used oil based paint. Oil based paint would chip if it was applied too thickly. And sometimes it would peel. So overtime, painted pieces develop chippy spots and small knicks that will eventually chip a little more. Like these…
As I type this project, I’ve already finished. But I’m feeling the urge to take her to the next level of chippy. We will see if I can resist.
Hand Sanding for a Distressed Finish
I decided to hand sand this piece. Normally, I use an electric sander because it removes the paint faster. And I like to move through my projects as nice pace. Since, I am starting with a huge amount of determination to NOT over distress, I opted to hand sand. It’s okay to have a piece with just a little chippy distressing, right? My resolve is waning. LOL. Already.
First I removed all of the drawers.

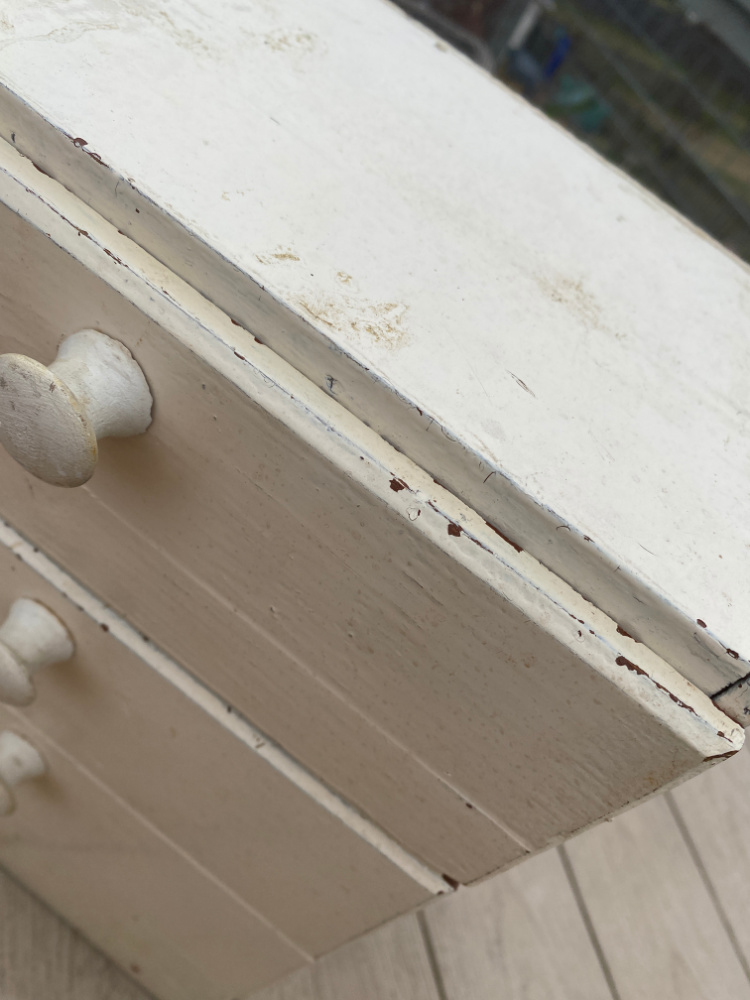
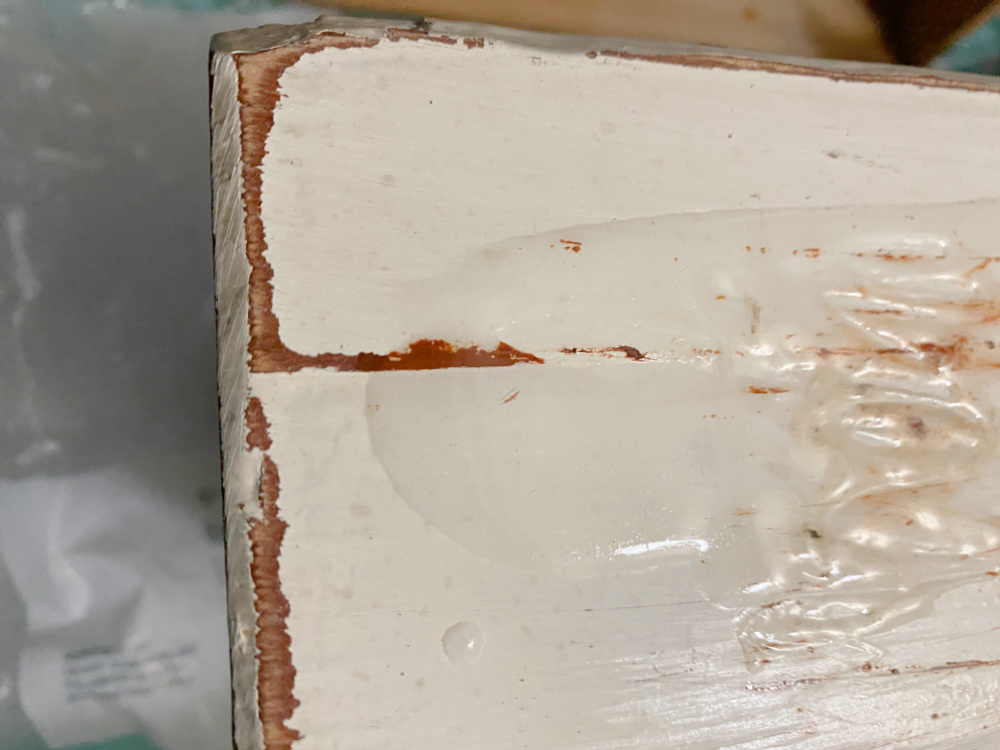
I started by sanding the edges. The paint is a little thinner here than on the drawer fronts. I suspect because the creator anticipated less wear and tear on this area. So the hand sanding reveals more underlying wood more quickly. Not much sanding or pressure was needed to get this effect. Sandpaper is available in different grits. The lower the grit number, the coarser the sandpaper.

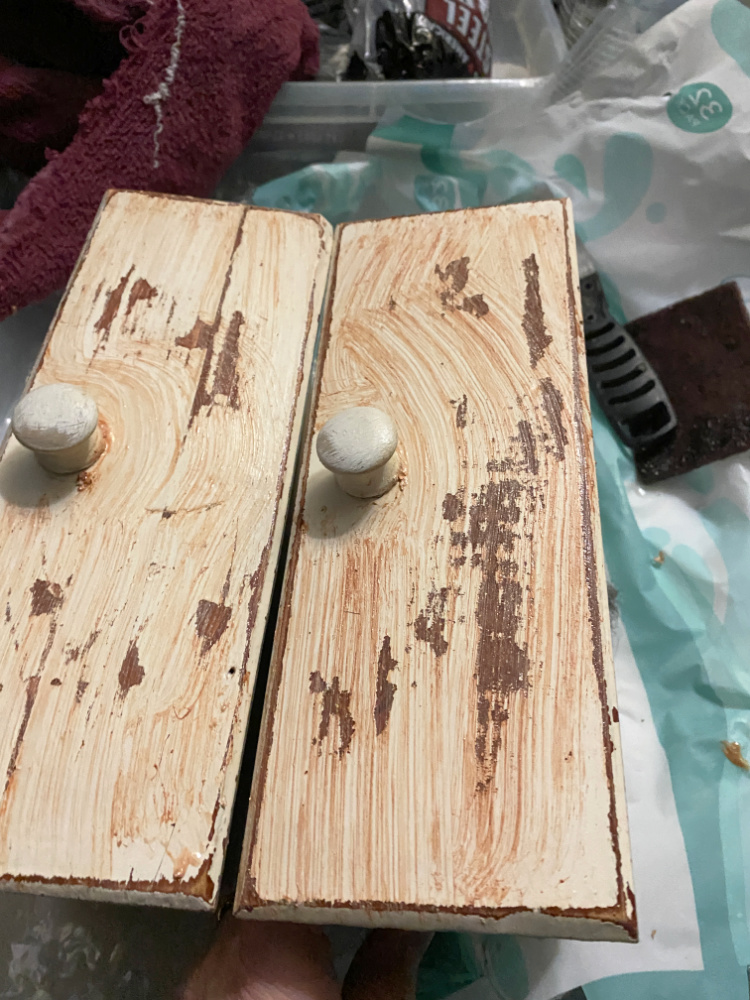
Then I moved to the center of the drawer fronts to give the surface area some texture. I need to see a little of that wood.
The oil based paint is quite resistant to sanding. This helped my resolve not to over distress. It was very very hard to get through the oil based paint finish. I’m lazy. So, I gave up. And that is how I discovered how NOT to overdistress…select old pieces with oil based paint. Too much work.
That’s where I lose my resolve. EVERY. STINKIN. TIME. I must see more wood. Not this time! Do you believe me?? We shall see! Still undecided.
A side effect of gently distressing old paint is that you remove the top layer revealing a fresher look of the underlying paint layer. Bonus!
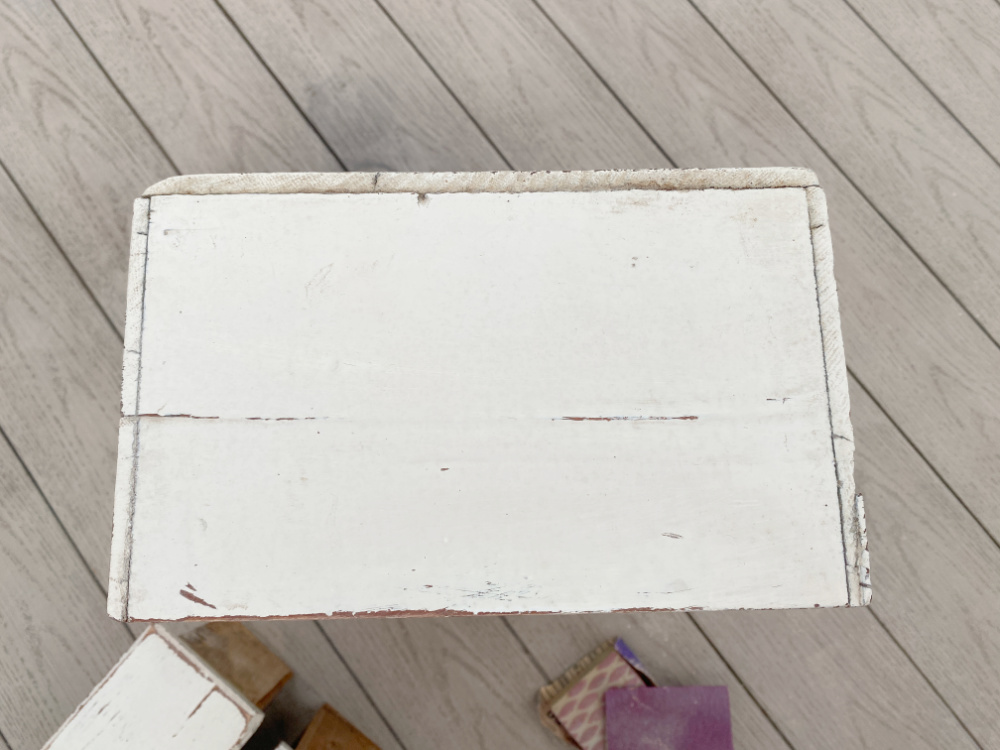
Here is the top of the piece before a light sanding.
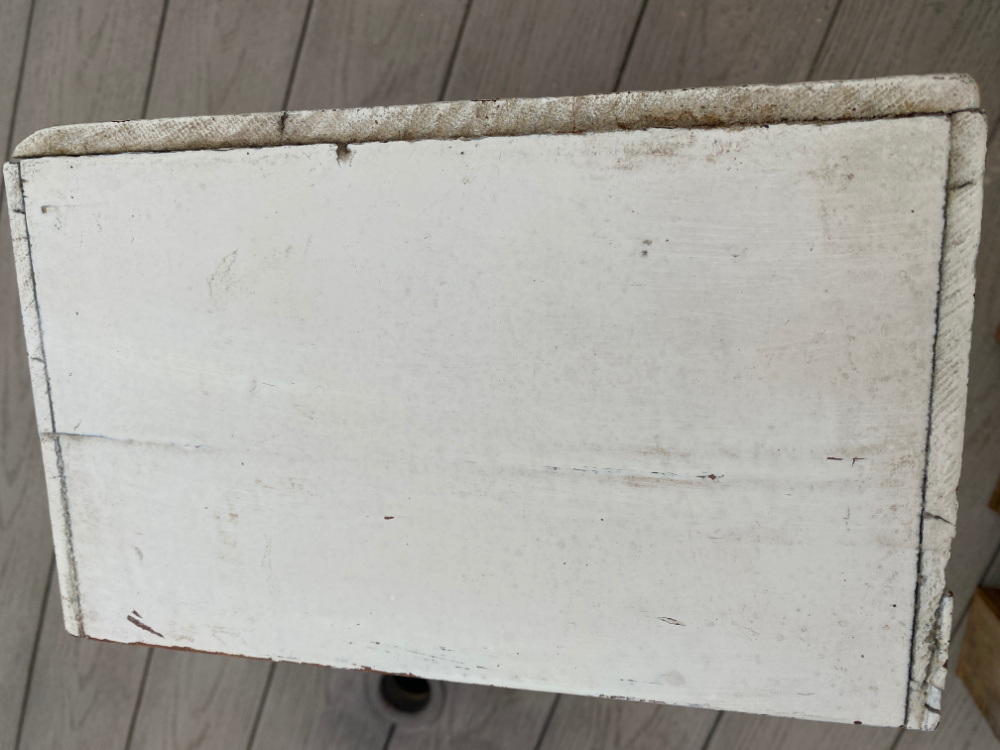
And this is after. You can see the fresher appearance of the paint. Not a hug difference, but a cleaner look without repainting.
Here are a few of my older posts about chippy finishes:
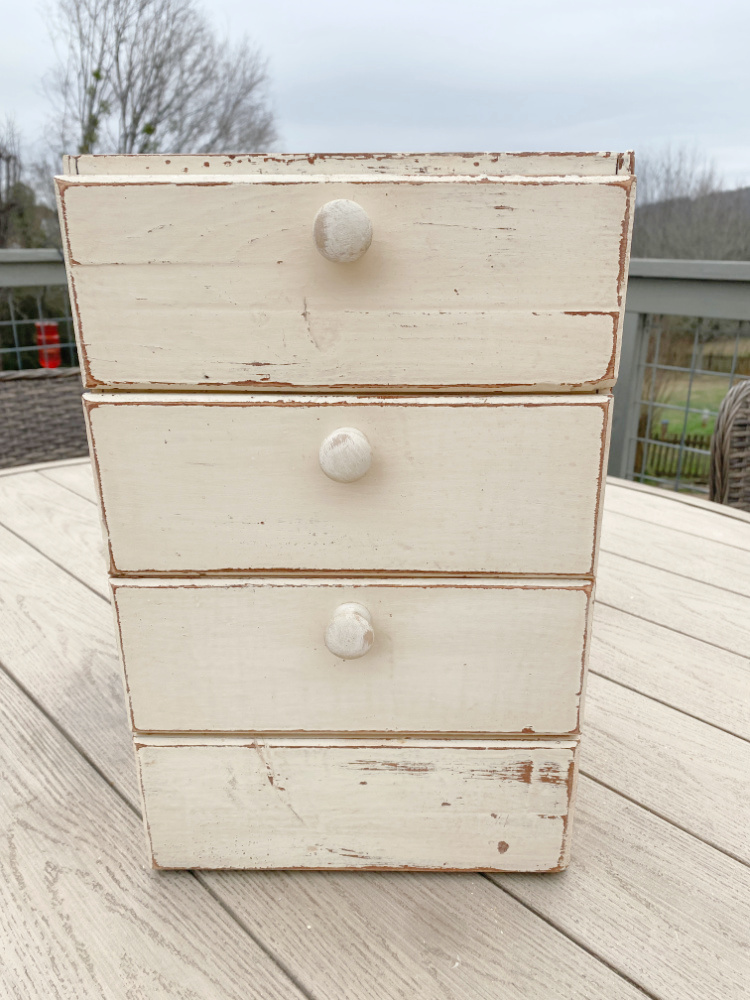
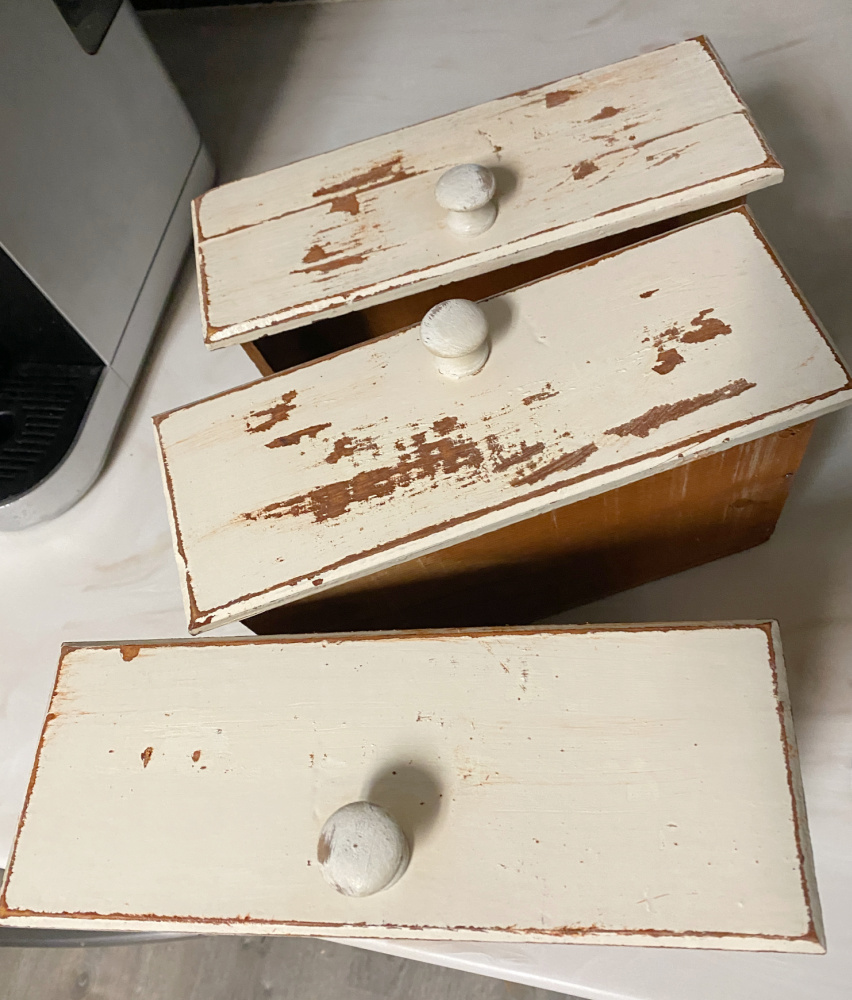
Reassemble the drawers. Take a step back.

I think you will agree that there is a slight difference but nothing too dramatic. She now has a more rustic and worn look. I’m really trying to stop here. She looks pretty good with minimal distressing. Don’t you think?
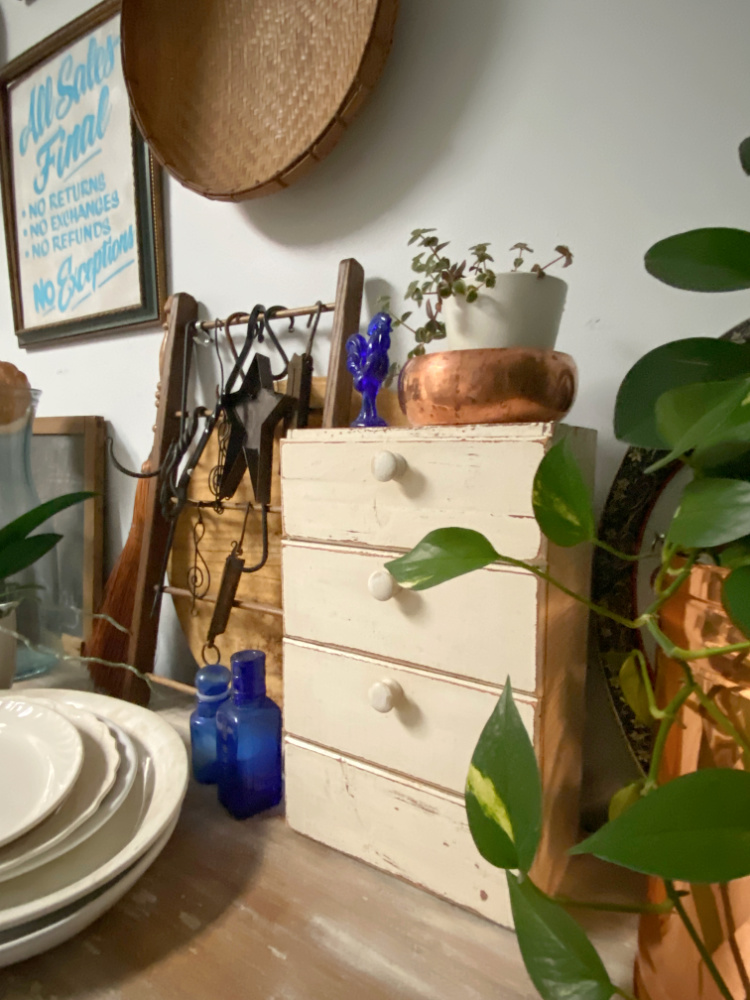
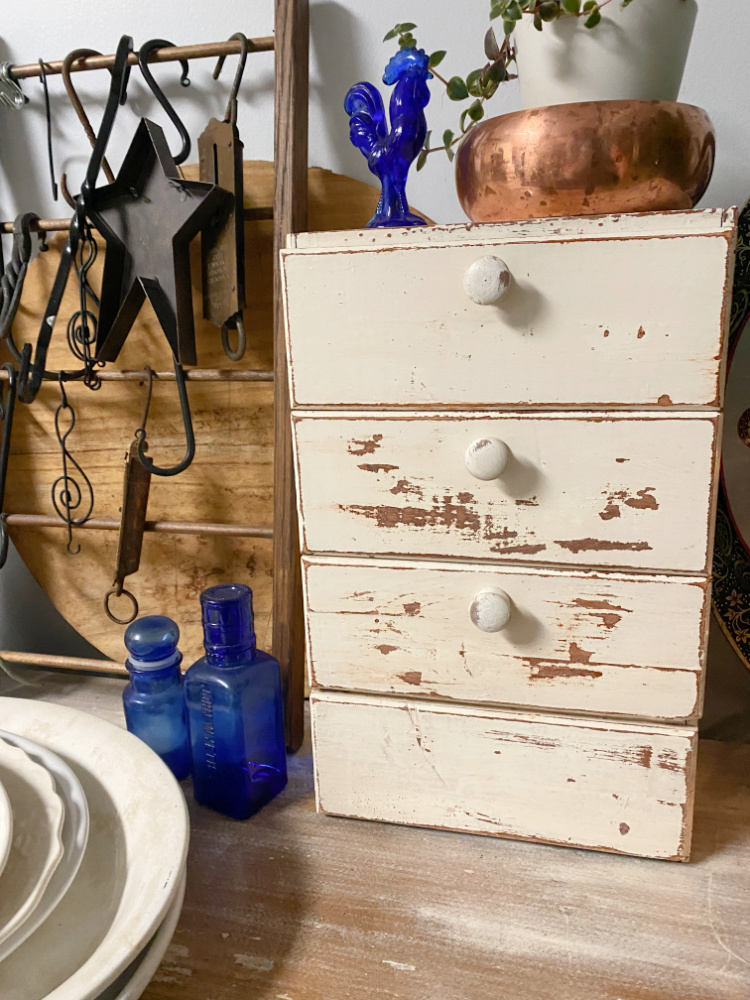
She looks great on the sideboard in my kitchen.
Who doesn’t need extra storage?
I love her!
BUT……..!!!!!
I love her more like this…
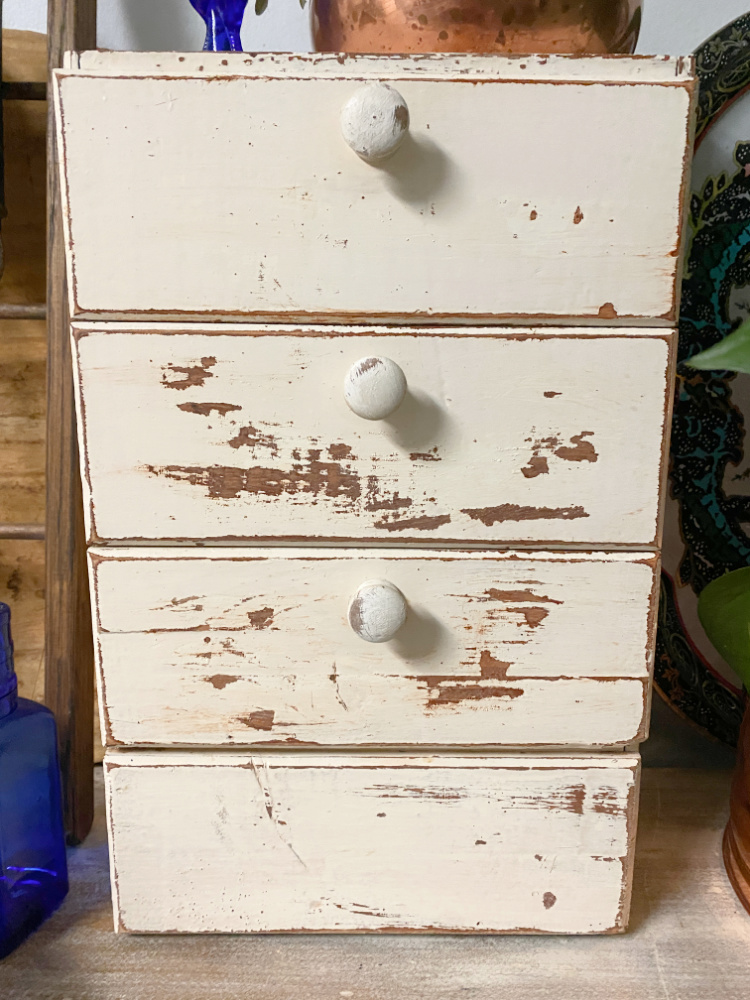
Friends, I really really really tried! But I just had to see more of that wood!
And, believe me, I had to work for it.
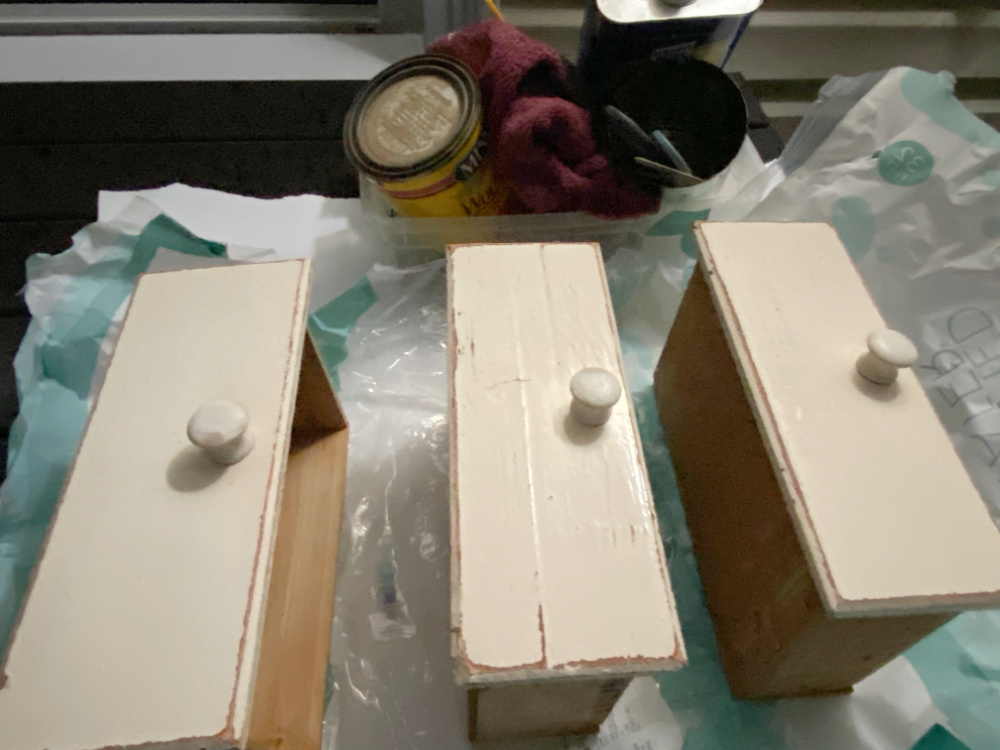
But just the drawers, not the entire unit. I grabbed my sheet plastic, stripper, scraper, and steel wool and got to work.
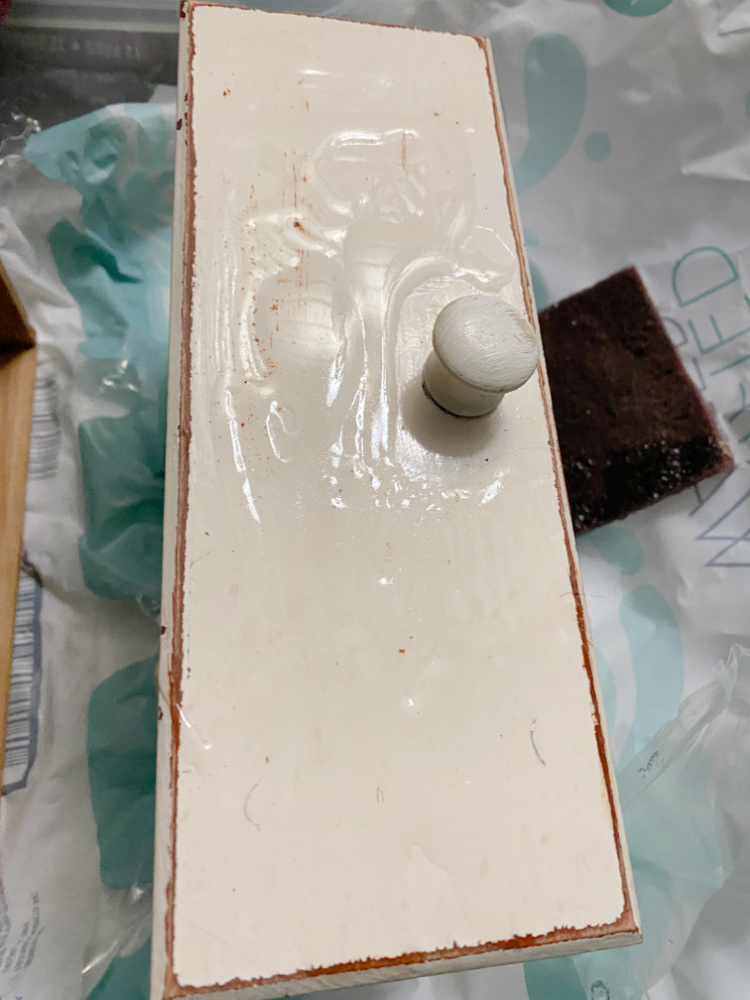
I’ve shared the secret to stripping wood before…patience! Apply the stripper and wait. Then wait some more. When you think it’s ready, wait some more. Watch for the signs that the stripper is working (that sounds a little risque)!
You will see tannins seeping through or perhaps bubbling. This finish did not bubble. But I did see that there had been a primer coat! Basics are basics, even back in the day.
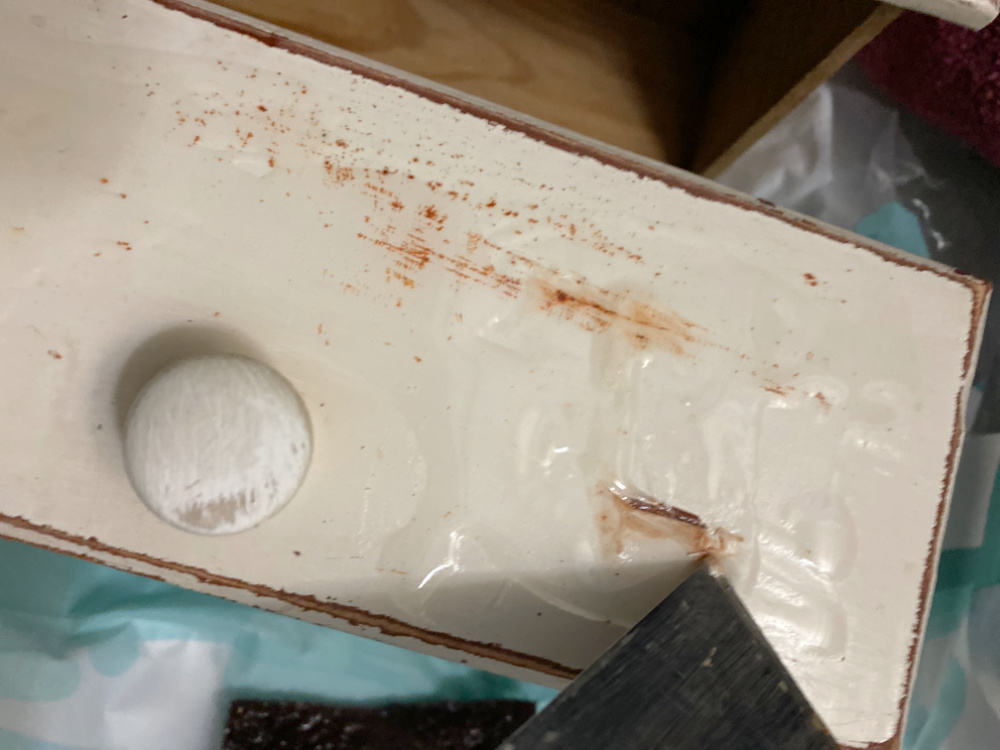
I used a scraper/putty knife to create some chips and scrape a few spots to help the process along.

It still was not an easy process but after I was happy with the amount of chippy and distressing, I used some steel wool to remove the chemicals.
I gave the drawer fronts a good bath and let them dry.
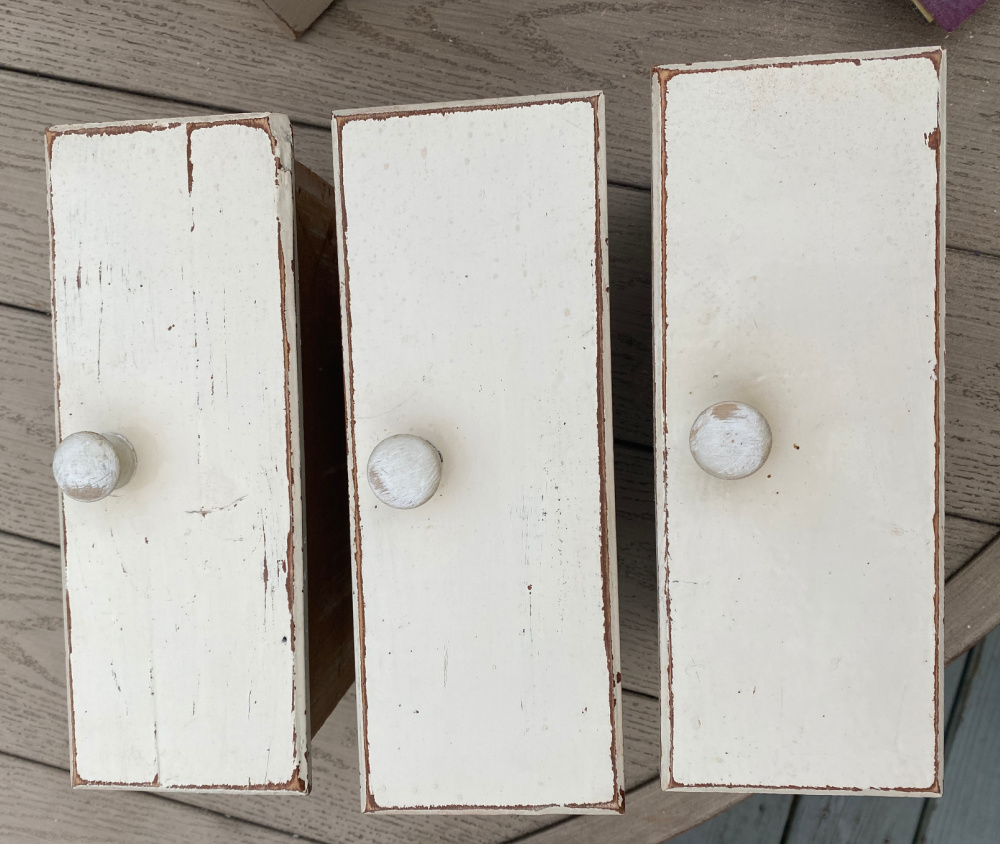
The last little detail was to touch up the knobs. After sanding the knobs, I noticed they were made of a different wood. See the difference where I sanded them. If you look closely, you can tell that the knobs are made of a different type of wood, probably some pine knobs that the craftman had laying around.
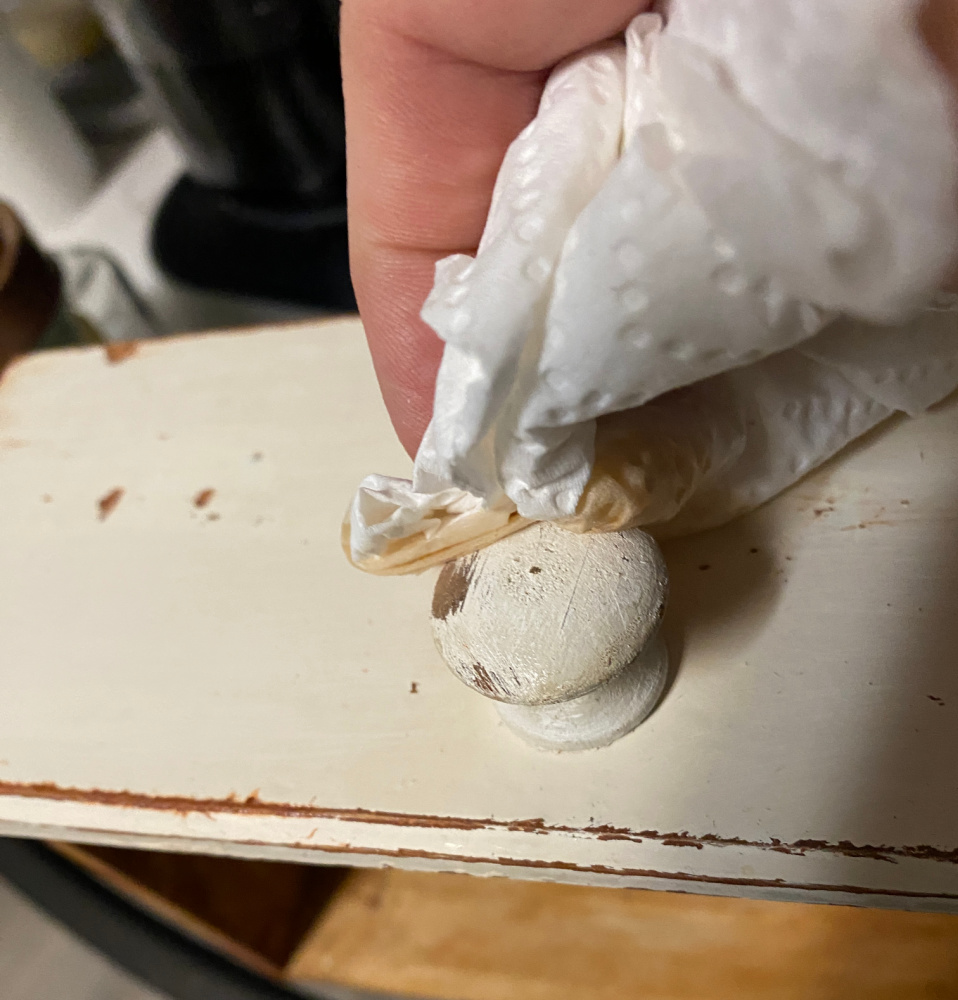
The beauty is in the details so I touched up the sanded knobs with a little bit of stain that I though would match. It worked!
I slipped the drawers back into place. And VOILA!!!~

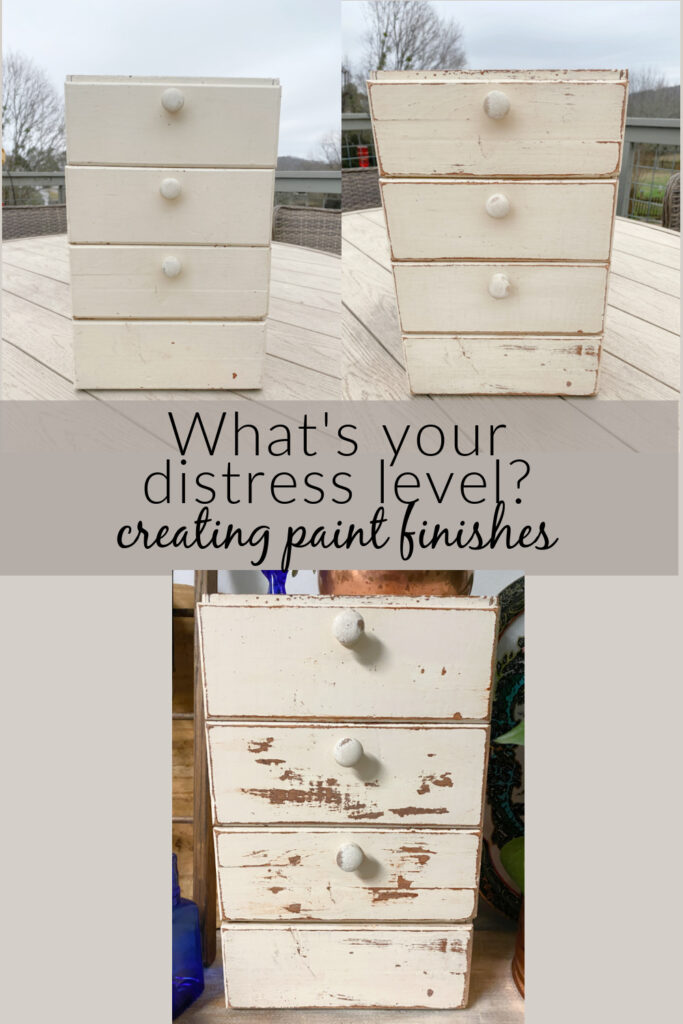
So much more to my liking!

My tip for the day: Keep going until you are happy! In life, and in creating chippy finishes!

And here are all of this month’s projects from my talented friends on the Thrift Store Decor Team:
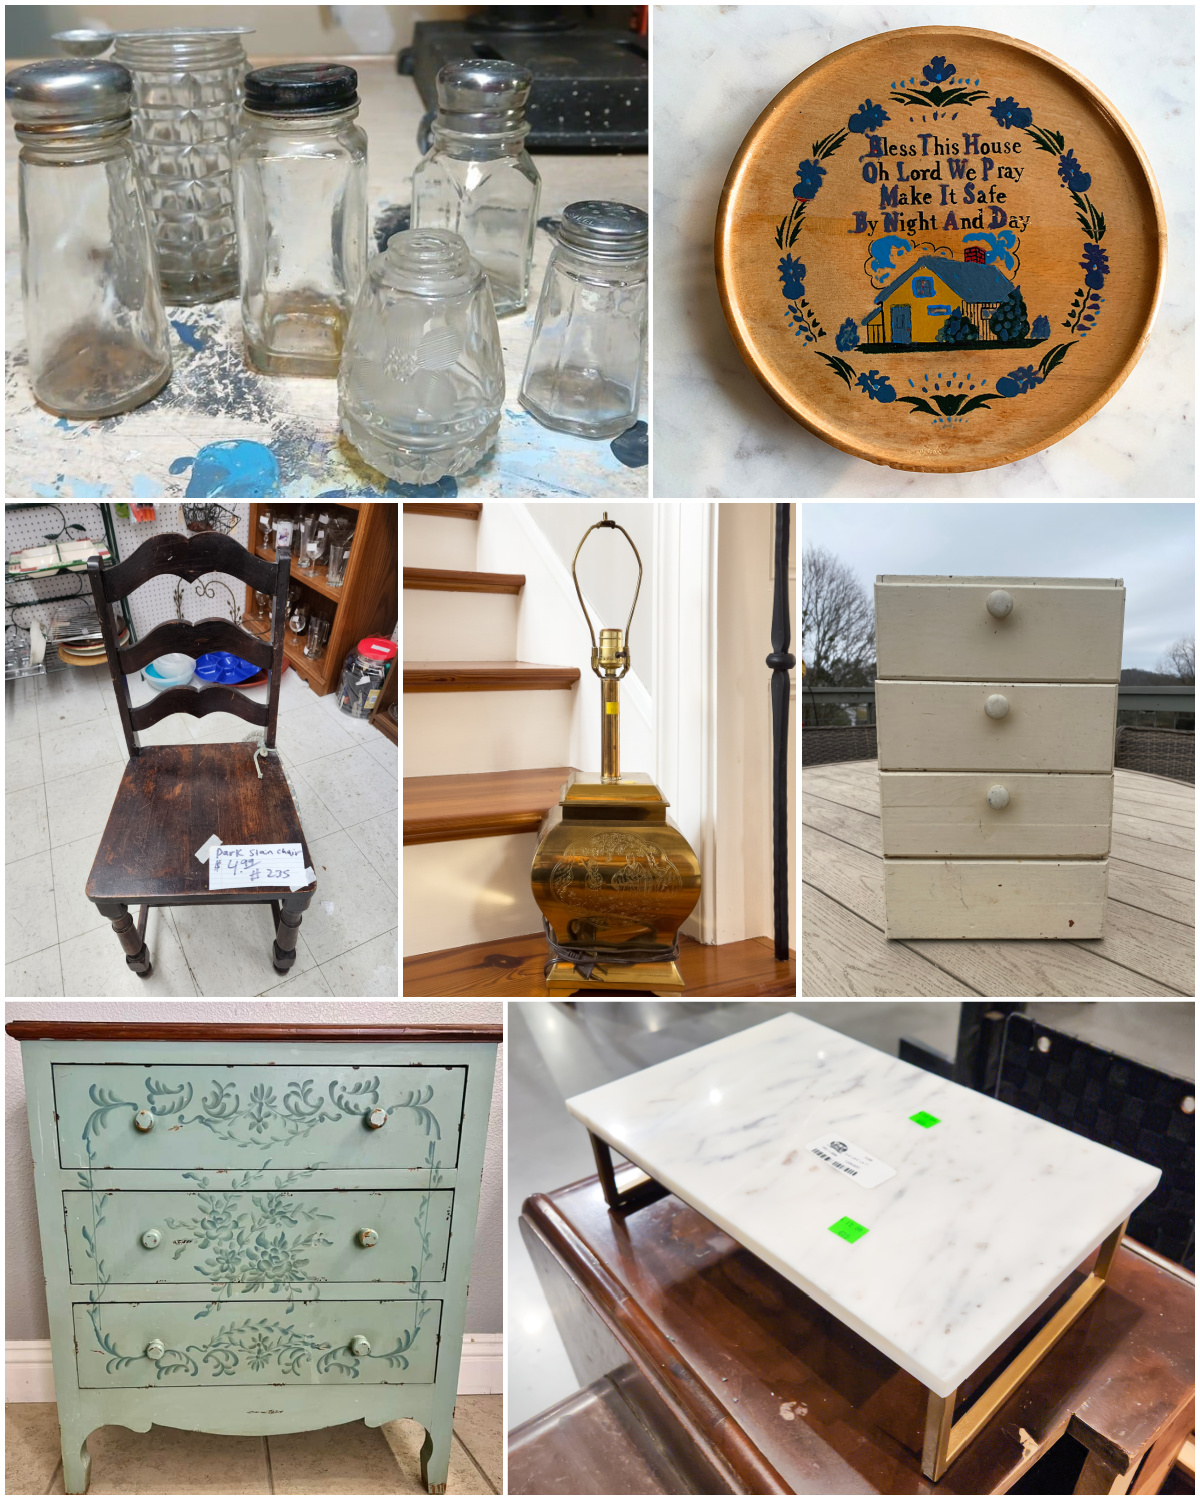
How to repurpose miniature glass dishes-Petticoat Junktion
Rub-On Transfers For Thrift Store Upcycles-House of Hawthornes
Cutting a Kitchen Chair Down to Size-My Repurposed Life
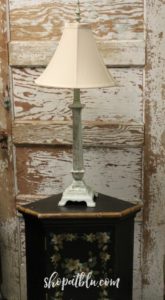
Thrift Store Lamp Makeover-Our Southern Home
Vintage Wooden Box Upcycle-Shop At Blu
How To Paint Furniture To Look Like Wood-My Uncommon Slice of Suburbia
Fixing a Cracked Marble Tray with Kintsugi-Sadie Seasongoods
Sue,
What a gem! I guess i like in all stages, including at the end. But If I hadn’t seen the follow through, I would like the first sanding. 🙂
Pinned!
Thanks, Gail. No such thing as too shabby for me.
Love this little cabinet and it has the perfect amount of distressing! How fun that your daughter lives in Nashville, I’ve only been once but it’s such a fun place to visit.
Thanks, Kristin. Yes, makes for fun exploring inside and outside!
I’m an extra-distressed kind of girl myself! Love how it turned out. It looks great on your sideboard!
Thanks, Pam. I really tried to make it minimally distressed. Just couldn’t do it.
LOL @ Wait for Signs that the Stripper is Working!!!
Lol. I giggled when I typed that.
Relate to your ideas. Especially the lazy part!!!!
Lol. Birds of a Feather! Thanks for stopping by, Kay.