Tin Can Wall Pocket Planters
As an Amazon Associate and member of other affiliate programs, I earn from qualifying purchases.
I remember seeing a tin can wall pocket planter project pop up on my Pinterest feed and made a mental note to get back to it once the weather was nicer. Well, spring has sprung here in Alabama What better time to make some tin can wall pocket planters??!!
This project makes me especially happy because I am not spending a penny on it. I am using tin cans from my recycle bin, plants from my garden and paint that I already have on hand. I’m sure you will agree that fabulous projects are that much better when they are completely free!
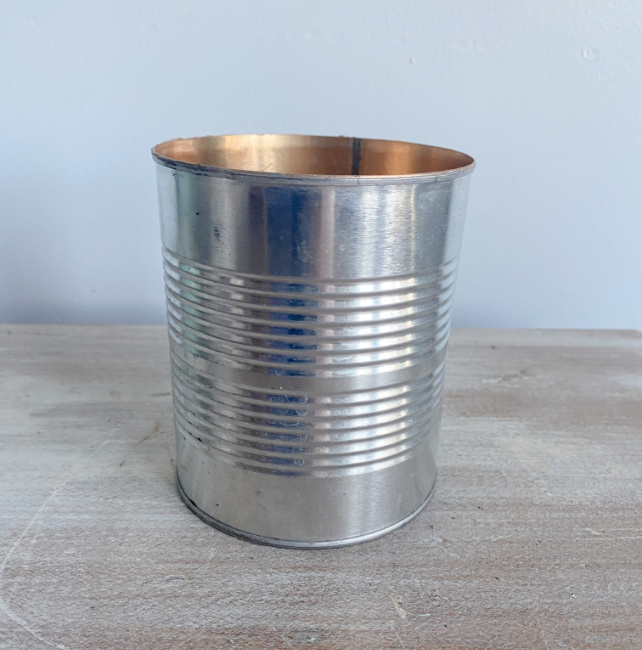
Here is what I started with:
I’ve been working on a few projects for a special post about Recycling with my friends on the Thrift Store Decor Team. That post will go live later this week. But I am using some of the cans, that were repurposed for that project, in today’s project. So how about that for multi-purpose, refresh and renew?? The tri-facta!

I was pondering how to “smash the cans” and, as usual, the solution was so much simpler that it was in my mind. Here are the steps:
How to SMASH a Can for Tin Can Wall Pocket Planters
Grab a can. Remove the labels and glue and clean it thoroughly.
- Use a can opener to remove the bottom of the can. Now you should have a can with neither a top nor a bottom.
- Squeeze the can slightly in the middle so it will lay flat on the floor. Place it on the floor.
- Use your foot to squish or crush one end of the can.
- Flip the can over and squish or crush the other side of the can in the same place
- Seal bottom of can as desired (see below for details)
- Make holes for a hanger of screw to some wood
After you crush the bottom of your can, you can apply some all purpose glue ( like E6000 or gorilla glue) to the metal and clamp it together to keep the bottom tightly closed.
For my project, I wanted to allow drainage for the plants that would be inside so I left the bottom as is.
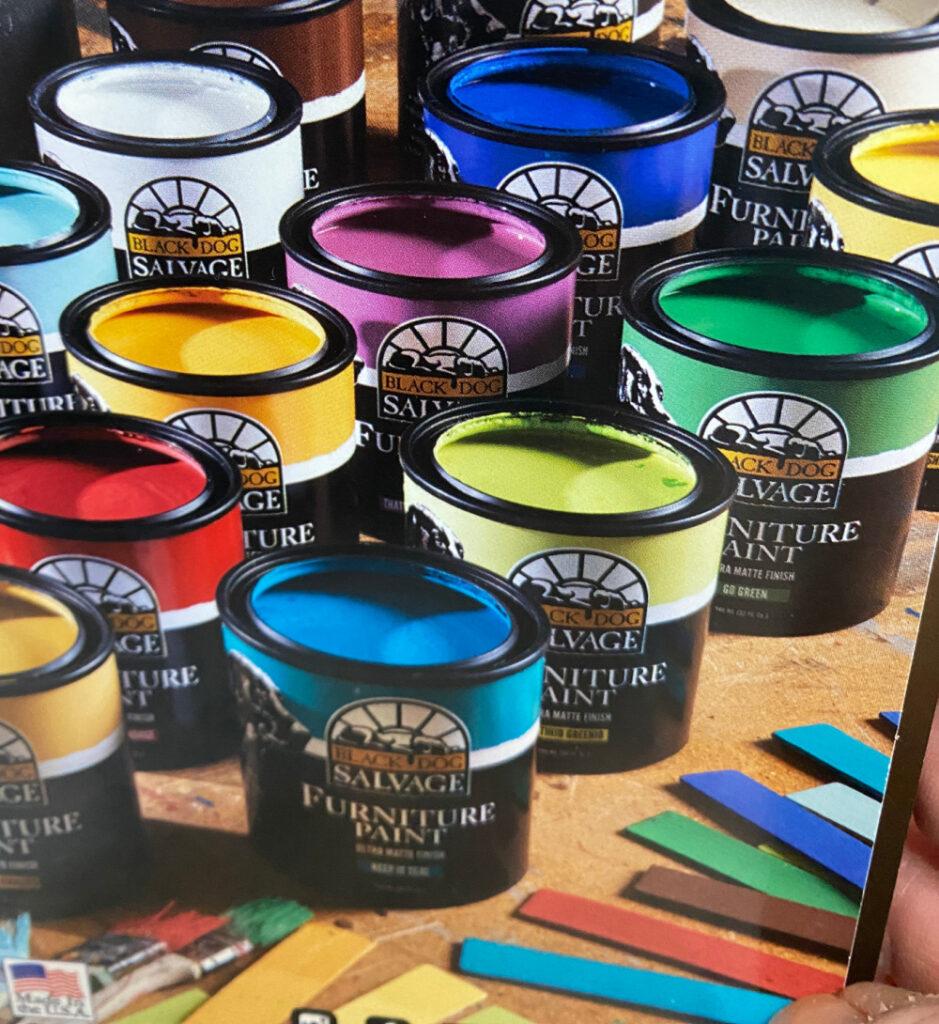
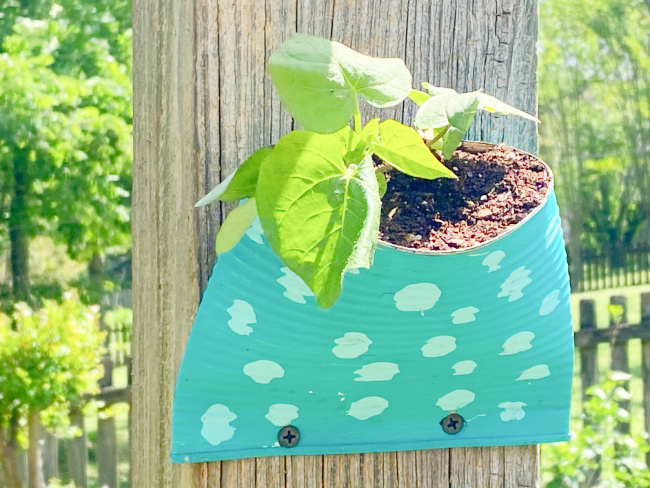
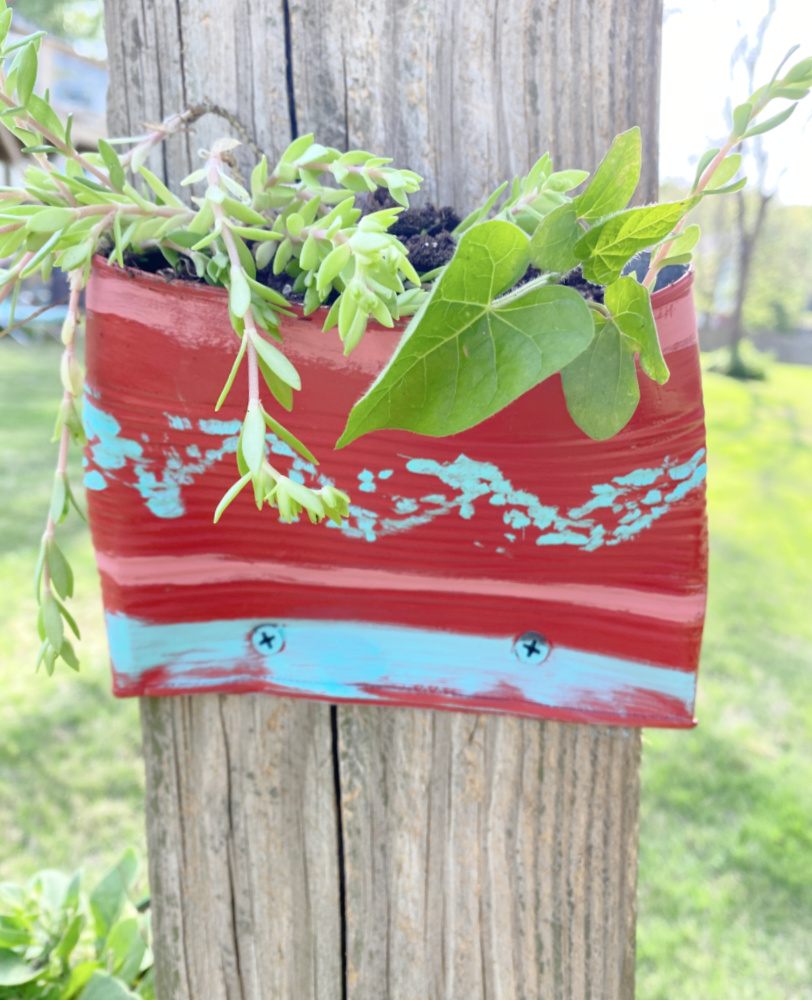
Decorate your tin can wall pocket planter however you like. I used vibrant colors and made some random quirky designs. If you are using your planter outside, be sure to use an exterior spray paint or to seal your paint with a top coat to withstand the outdoor elements. I used Black Dog Salvage Furniture Paint which was designed for a variety of materials and surfaces.
Be sure to check out the fabulous colors on the BDSFP website and use my affiliate link for 20% off by clicking on the photo below:
Remember to Seal Your Tin Can Wall Pocket Planter
The colors are absolutely fabulous and the coverage is exceptional. I used BDSFP’s marine grade outdoor sealer, Crab Coat. These tin can wall pocket planters will probably outlast the pressure treated post on which they are mounted. That’s how great this sealer is!
Hang Your Planter
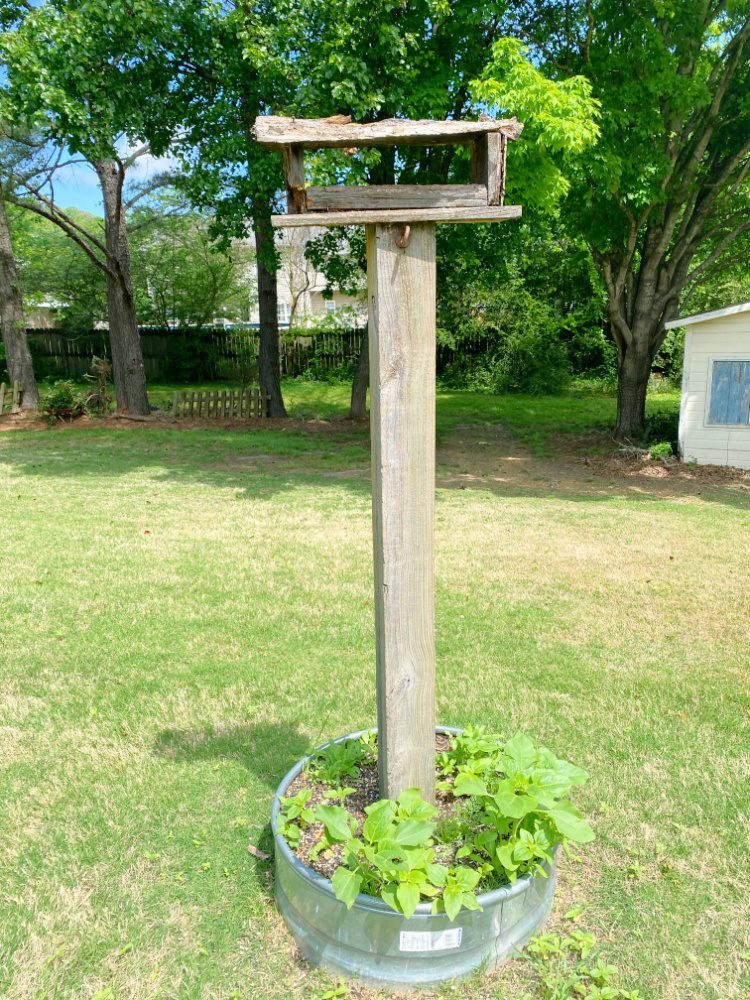
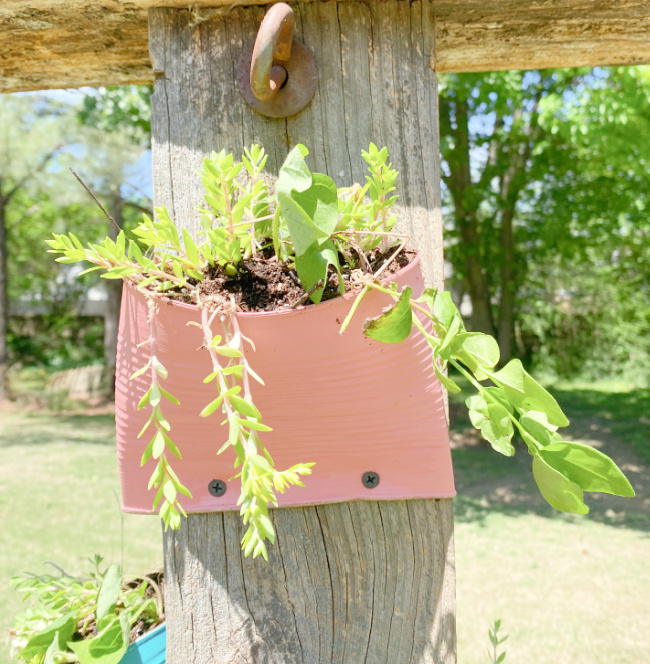
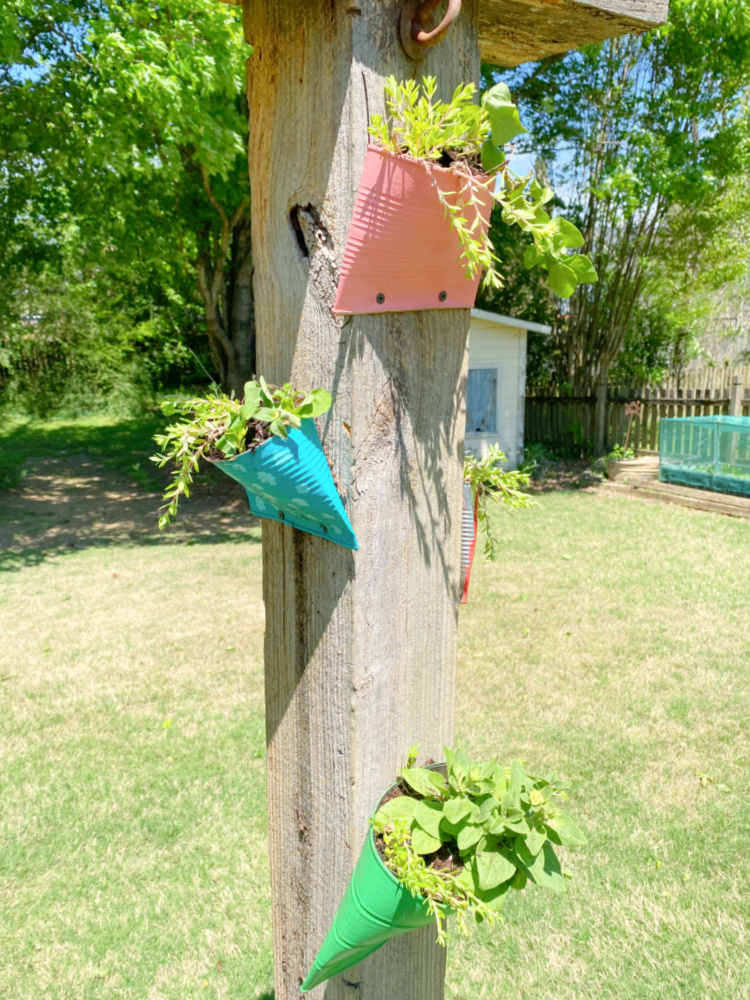
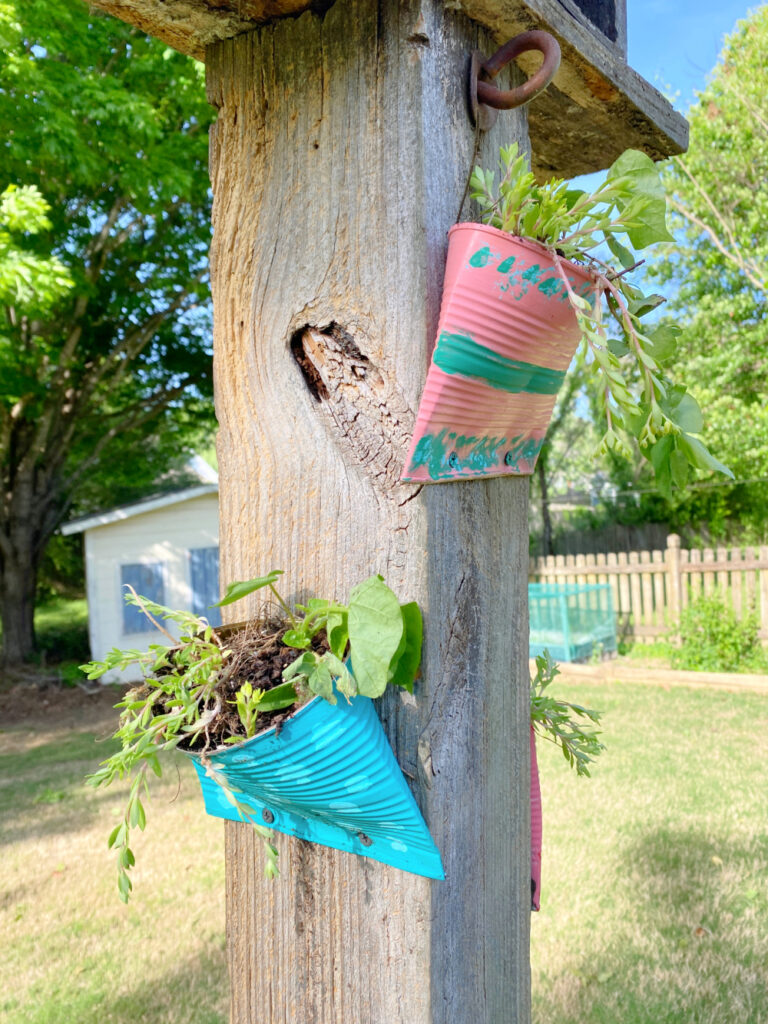
I am mounting my tin can wall pockets on this post in the middle of my yard.
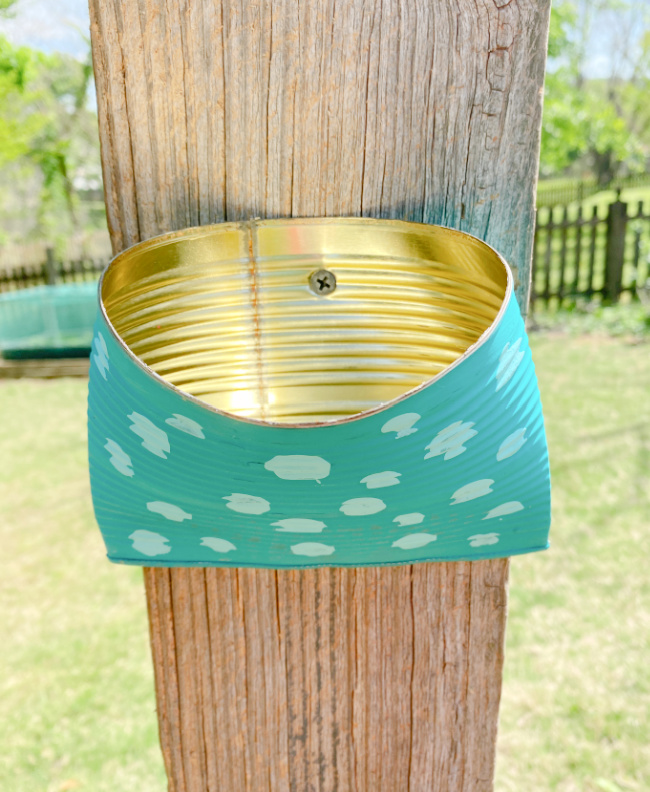
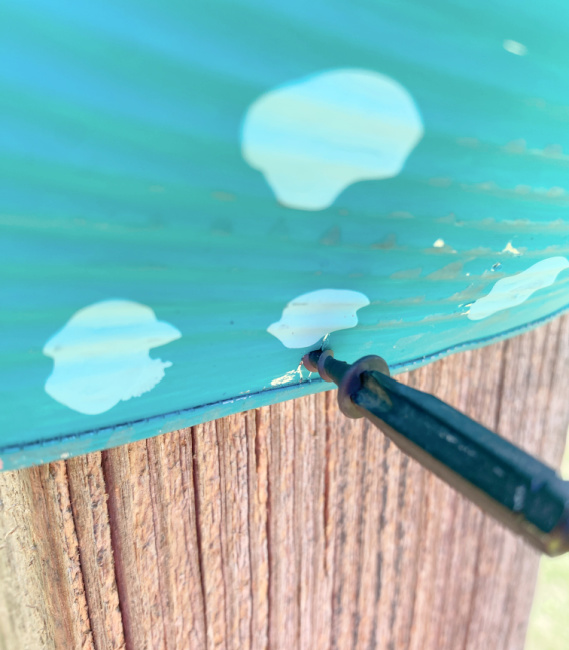
I staggered the cans around the post and attached each can to the wooden with one screw in the middle of the back of the can…
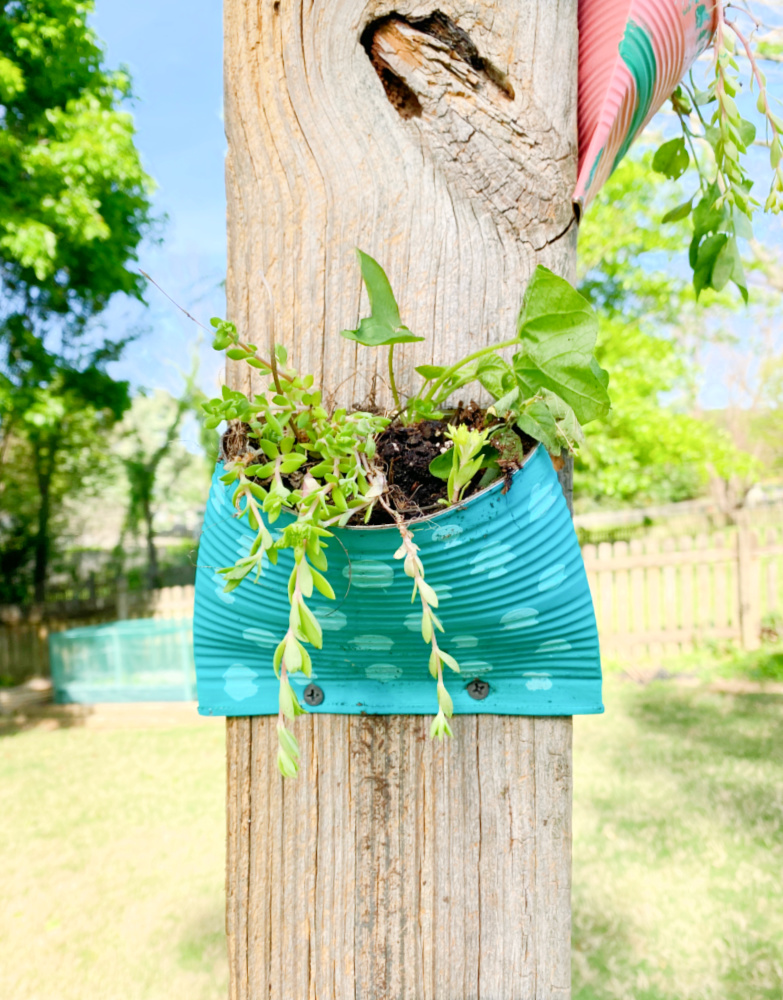
And just two screws across the bottom of the front of the can to allow the planter to drain.
Fill Your Tin Can Wall Pocket Planter
Once attached to the pole, I filled them with potting soil and my choice of plants.
I had some morning glories coming up already from last year’s seeds so I grabbed a few of those along with some succulents from my yard to fill in the tin can wall pocket planters.
I added more plants until the planter looked full. Remember that the plants will expand and grow and you can continue to add or remove plants as desired.
I also embellished the designs on the planters after they were mounted onto the pole. Sometimes I’m anxious to get to it and I overlook some of the details. It’s ok though, I’m good at playing catch up! I just used ramdon brush strokes, my fingers, and some bright paint.
I expect the morning glories to really take over and cascade beautifully down the post. I will be sure to post pictures as the plants mature.
Check back tomorrow for a special edition of the Thrift Store Decor Team projects as we share creative projects completed with items from our recycle bins!!!


I simply love this idea. Very cute. Thank you for sharing.
Thanks Rebecca. I hope to make some more of the larger ones.
Love this site!
Thanks,Joyce! Glad you stopped by!