May Upcycle Challenge with The Shabby Creek Cottage
As an Amazon Associate and member of other affiliate programs, I earn from qualifying purchases.
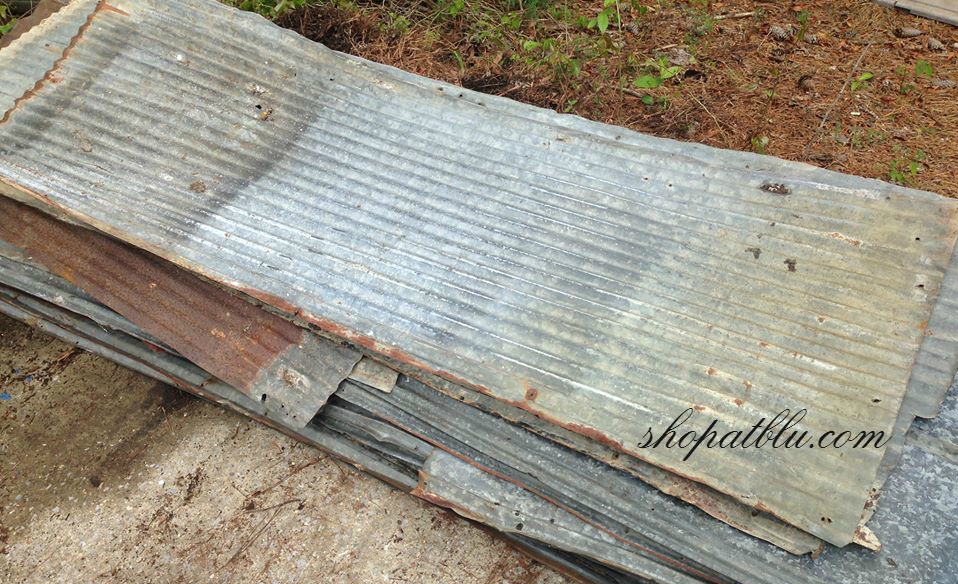
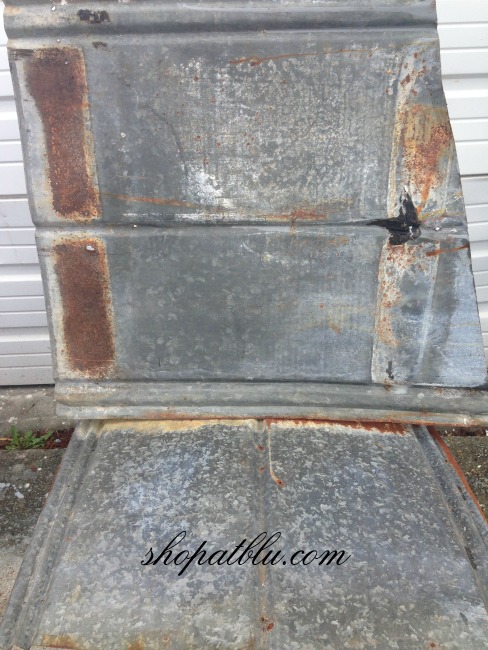
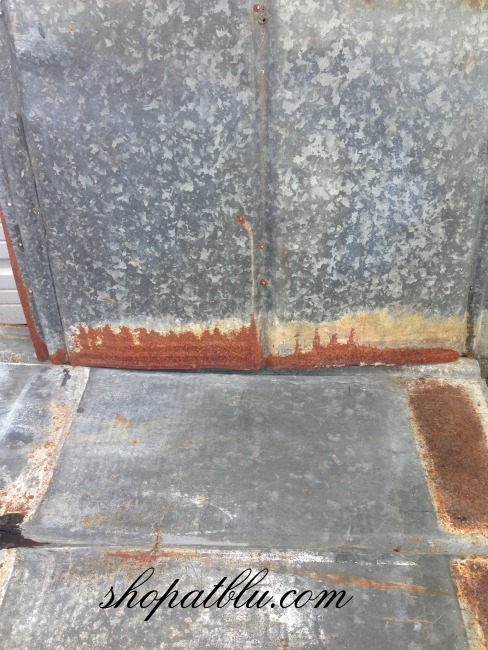
Time for yet another challenge from Gina at The Shabby Creek Cottage! This month Gina challenged a group of bloggers to complete an upcycle challenge project, which was wonderful because of the unlimited possibilites! Since I have as store, The Blue Building Antiques and Consignment, we are constantly in the middle of about 15 upcycle projects on any given day! Gina was kind enough to pass along to me some vintage metal that was salvaged from her old barn during demolition. Gina is in the process of building a garage and a creative studio. The studio will stand where her father had build a barn many years ago out of metal that had belonged to Gina’s grandfather. Talk about the ultimate upcycle challenge!!! Kindhearted Gina offered me some of the metal! How do you say no to that??? So I hopped in my van and made a road trip to the Alabama Tennessee border to gather my treasure!
So many possibilities…big, small…where to start! Gina had saved me about 20 pieces of the metal. Most of the panels were about 8 feet long by 2 feet wide. But there were several smaller pieces that were easy to handle so I immediately put them to use as a small backdrop for photos!
With Gina’s upcycle challenge approaching, I had several ideas running through my mind. Usually I choose a smaller project that is simple in construction and won’t require a ton of time. Because I run a retail store, I simply never know when my time will be completely consumed on any given day by the demands of the retail business. So, what better upcycle project that one that is simple and completed within 30 minutesl?!!
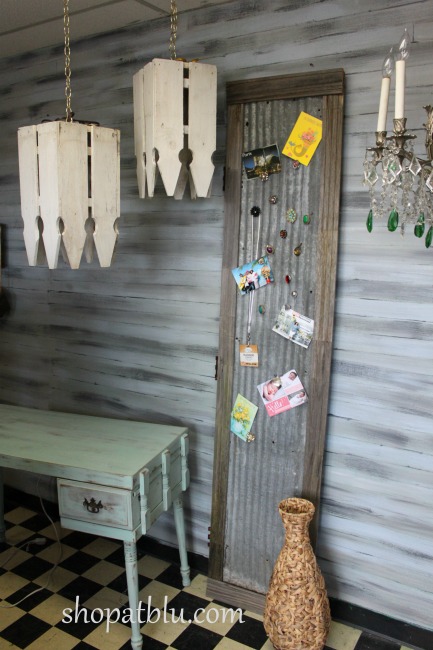
One piece of metal just caught my eye. It is a strange size but manageable. Small enough to handle but large enough to make a statement. In my business, I am constantly struggling to stay organized and on task. So, I decided to make a huge message board to help me! Surely, I can’t misplace this list of things to do, right???
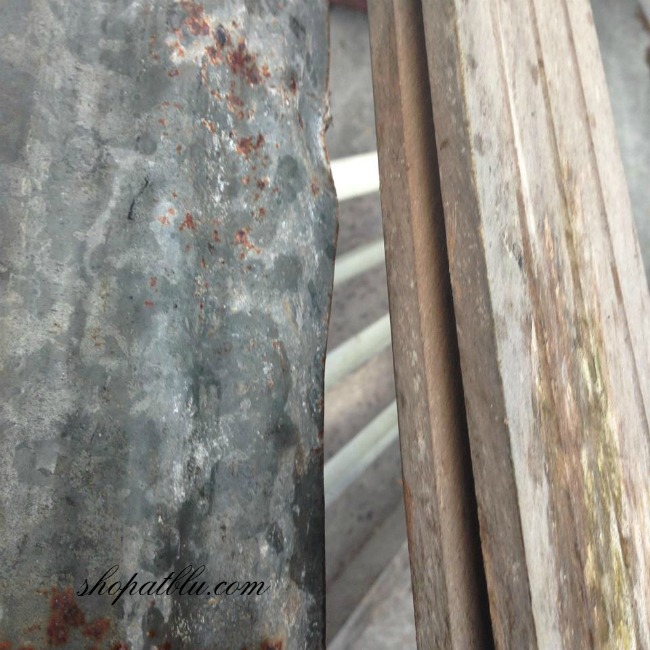
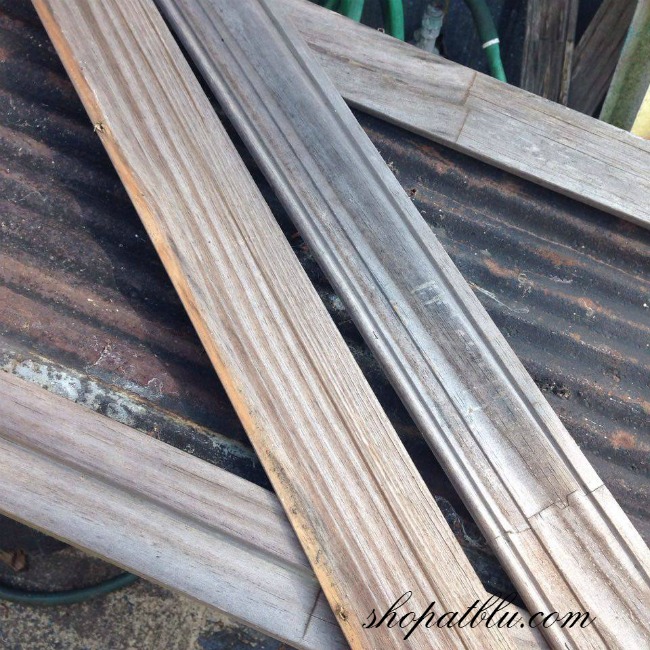
I measured the metal. It was 82 inches by 14 inches. I loved the rough edges of the metal and considered leaving them exposed. I could grind the edges to make the edges smooth and safe. I was a little concerned that it would hard to hang because of the size so I decided I would use some salvaged wood to create a frame that could be used to lean against a wall. As luck would have it there was an old door frame in my salvaged wood pile. It even had grooved edges and I hoped to be able to slide the metal right into the grooves.
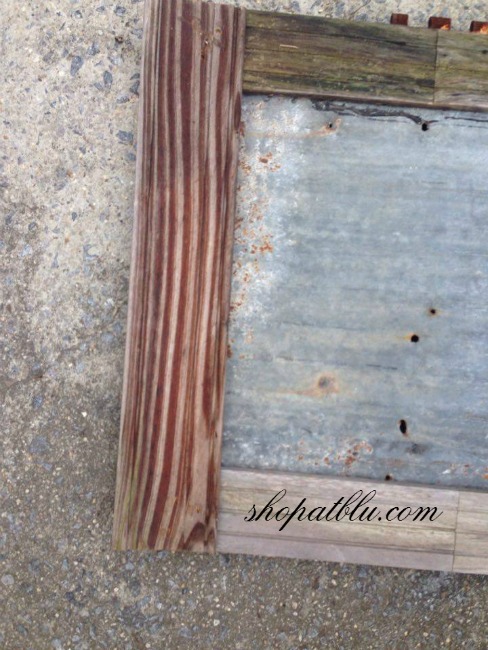
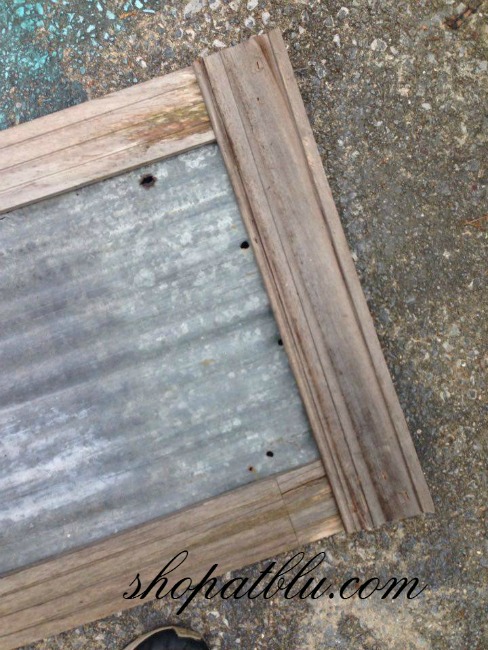
Yes, perfect fit. I measured the width of the partially constructed frame and cut 4 pieces of wood to use for the horizontal top and bottom pieces of the frame.
I grabbed my handy dandy Ryobi Airstrike cordless stapler and stapled these pieces into place.
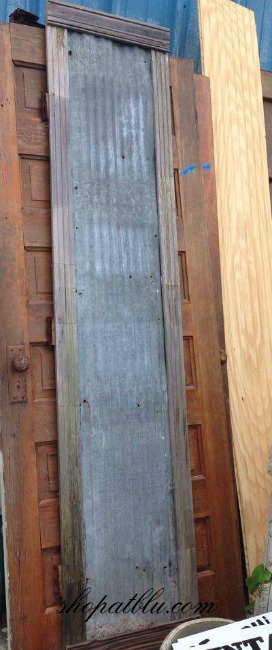
I cut a piece of backer board to fit the back of the frame. This helps to stabilize the unit so that the frame will lay flat against t a wall if hung. It will also lean nicely against the wall should I choose not to hang it. I used my Ryobi Airstrike stapler to secure the backerboard. I considered painting the frame but decided that for now, I loved the combination of the raw weathered wood and the patina of the salvaged metal. What do you think?
I think this board would be great horizontally as well…mounted above a massive desk!
I have really enjoyed participating in these monthly challenges. Here are my last two projects using 2x4s and pallet wood.
Hop on over to Gina’s blog to see her awesome project for the May Upcycle Challenge. Then be sure to visit each of the bloggers who have linked up at the bottom of Gina’s post to experience the unbelieveable creativity in this group!


