How to Make Pumpkins Out of Scrap Wood
As an Amazon Associate and member of other affiliate programs, I earn from qualifying purchases.
It is Thrift Store Decor Wednesday! And the Thrift Store Decor Team has some incredible projects for you! My project is how to make pumpkins our of scrap wood.
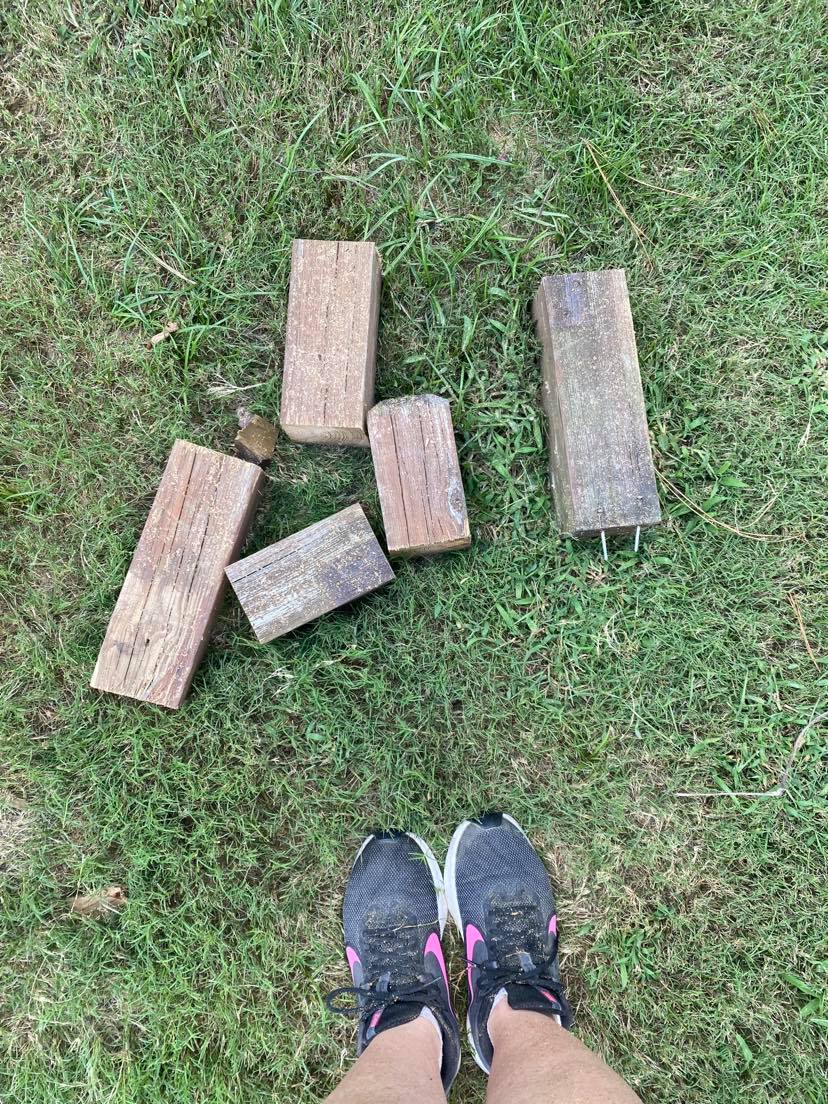
We recently replaced our deck (read about it here). So we had some scrap wood lying around. The demolition of a 16 foot x 10 foot deck produces of quite a bit of old wood!
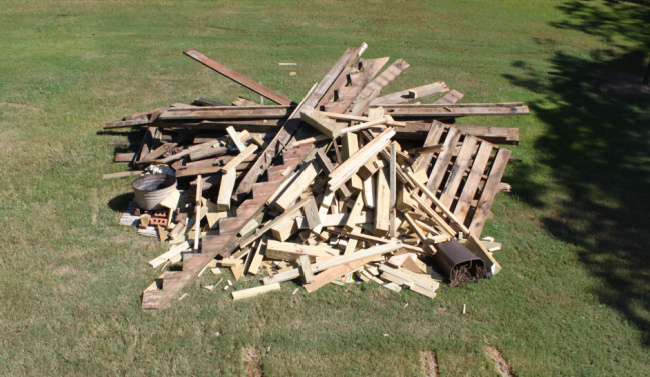
Scrap wood is a crafters dream. But that was a lot of wood. We ended up burning most of it.
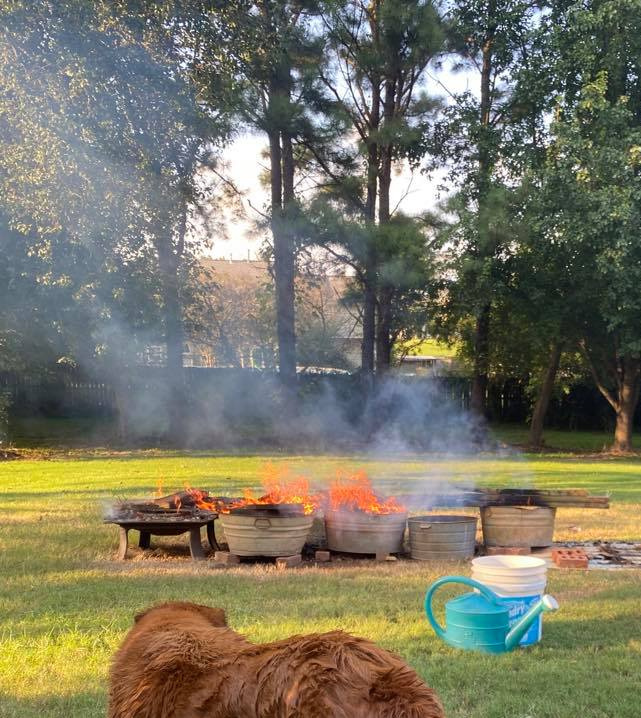
But you know I did save a few pieces for some projects. I mean, it was like shopping in the thrift store with $50 in your pocket and a free weekend…the possibilities. I sorted some wood with projects in mind and limited myself to a few pieces from each of these piles.
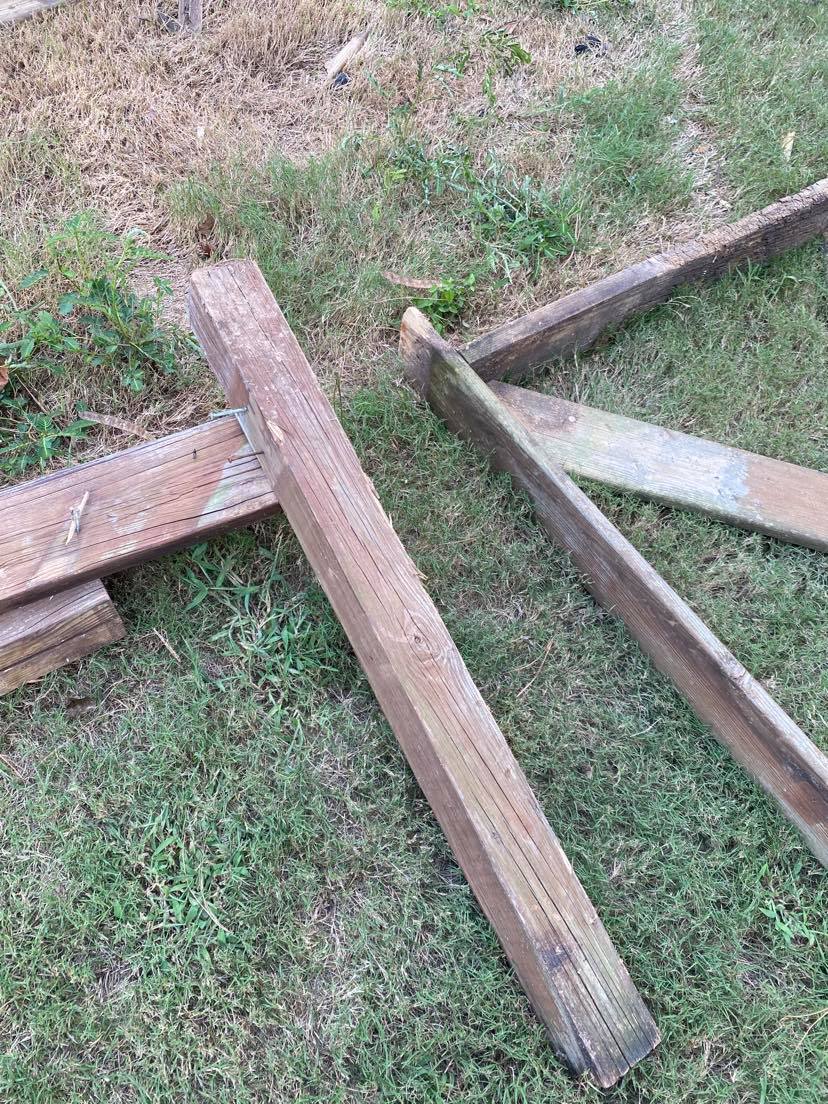
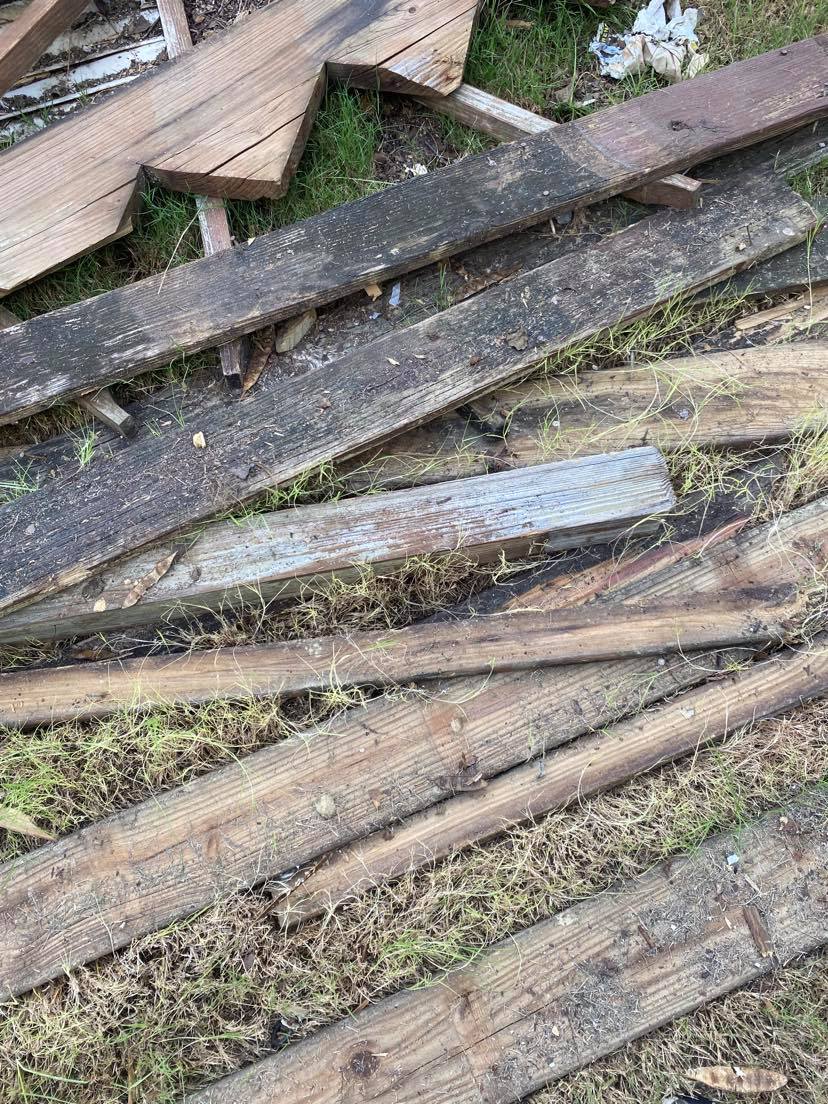
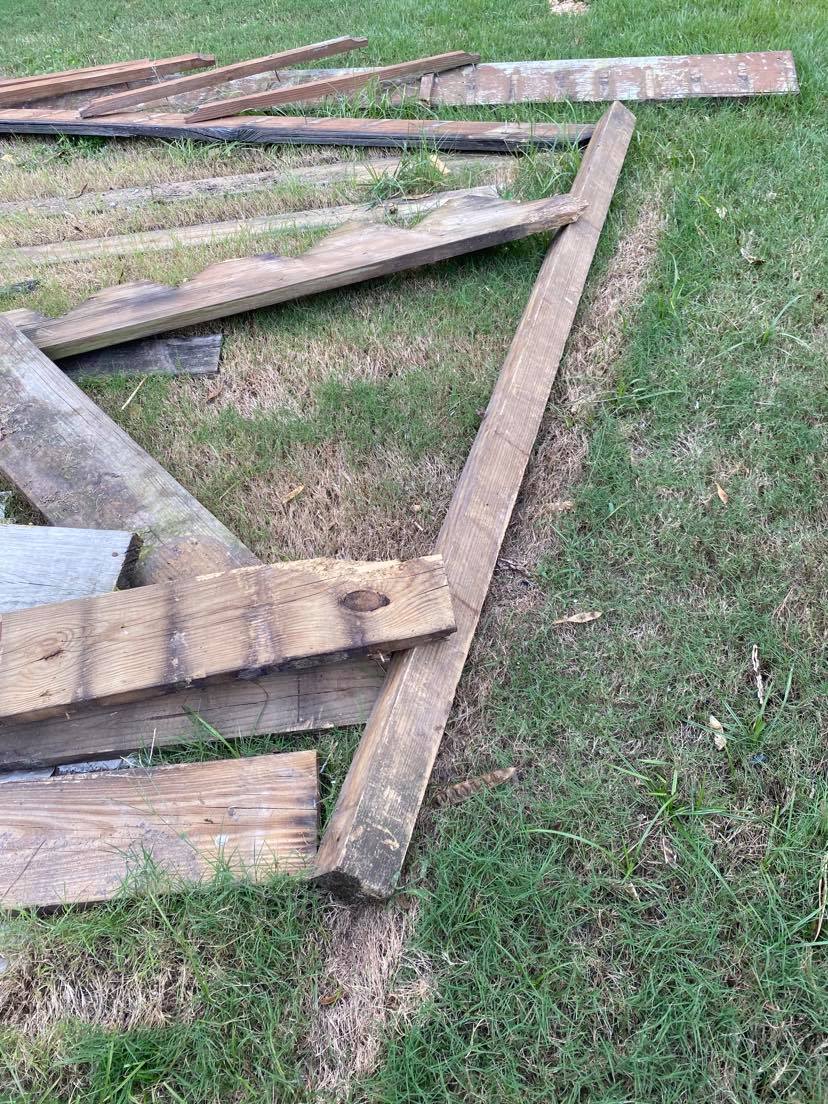
With fall approaching, these old 4 x 4’s will be perfect to make some pumpkins out of this scrap wood.
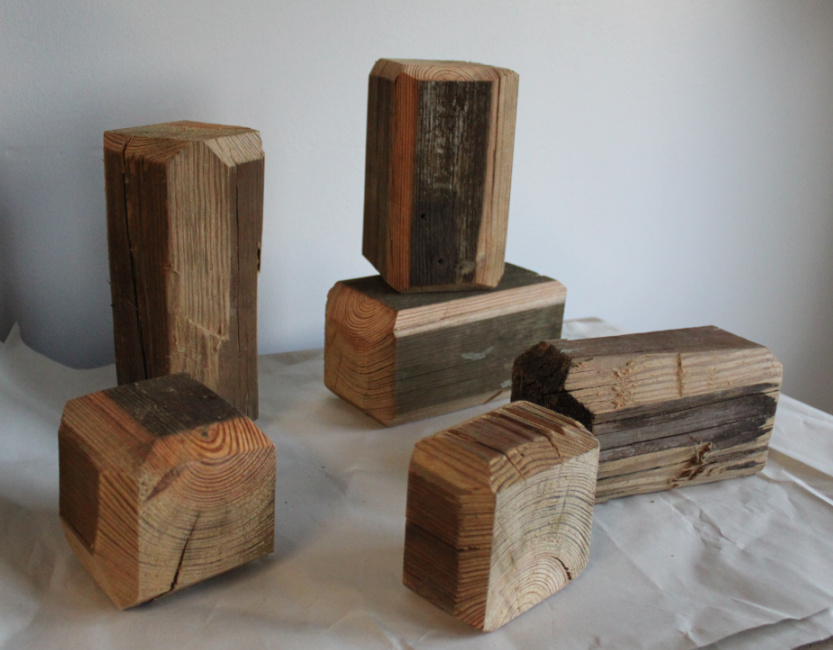
I grabbed a couple of old 4 X 4″s and headed to the miter saw. I cut the 4 X 4’s into random sized sections varying from 3 inches to 8 inches.
These display best in groups of 3 or 5. I had so much wood that I made a few sets to give away as gifts.
The Simple Process
Here are the steps:
- Cut the 4 X 4 into varying sections.
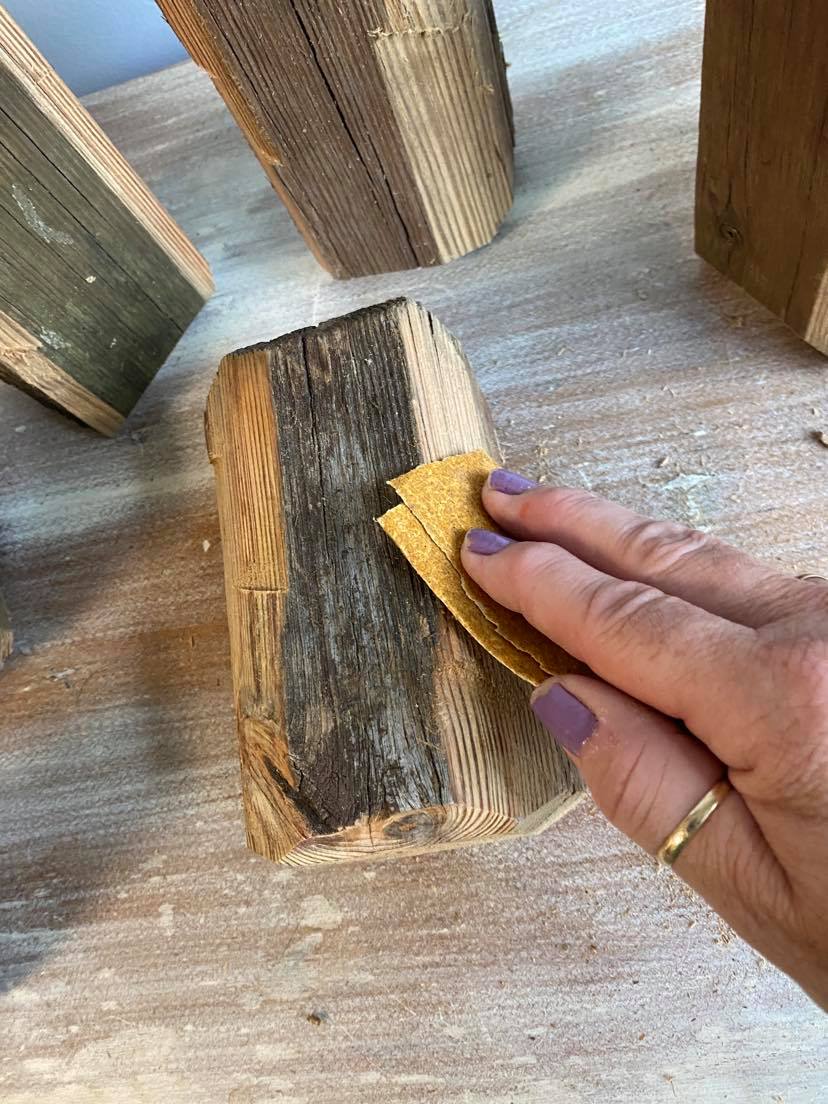
- Sand the rough edges.
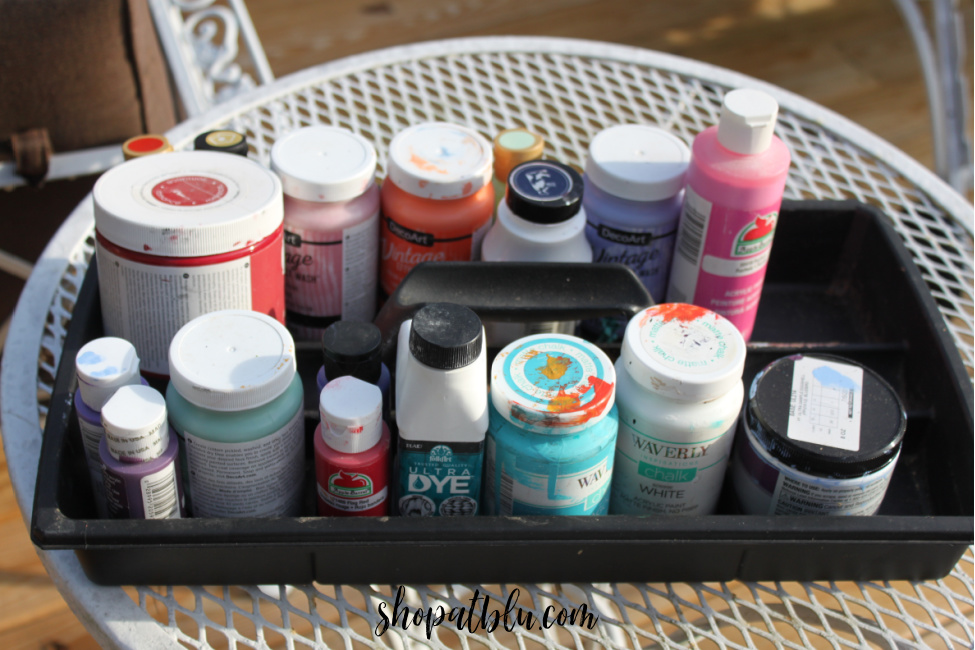
- Paint the wood.
- Use a Hot glue gun to attach twig sections for stems.
- Add moss, leaves, or raffia to adorn the tops of the pumpkins.
- Display your pumpkins.
Use Your Vision – As Simple or Detailed as You Like
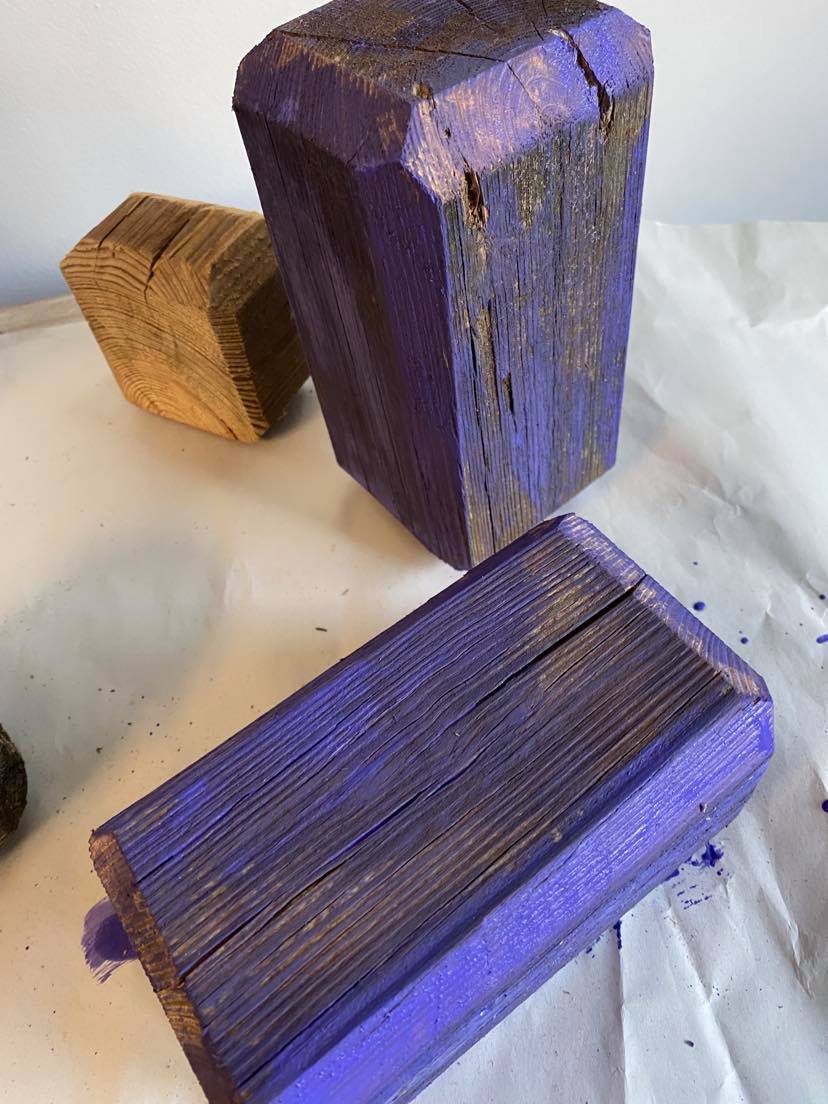
I decided to get a little fancy with my pumpkins. I used my miter saw to trim off some of the squared edges so that the pumpkins were a little less square. I would only recommend this if you are comfortable and familiar with a miter saw. Be certain to use proper safety precautions, safety gear, and recommended operating techniques. If you don’t have a miter saw, use a sander! It will take a little longer but you can get the same effect. The square pumpkins are absolutely adorable too! And so much faster and easier to make.
Sanding Makes Handling Safer
Always sand the rough edges for a smooth appearance and to reduce the chance of getting splinters when handling your pumpkins.
Paint Choices
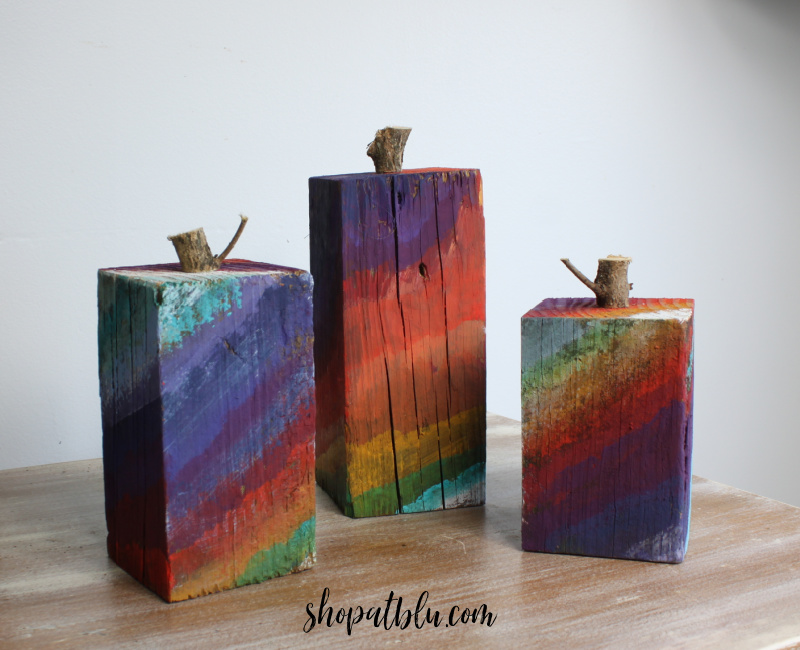
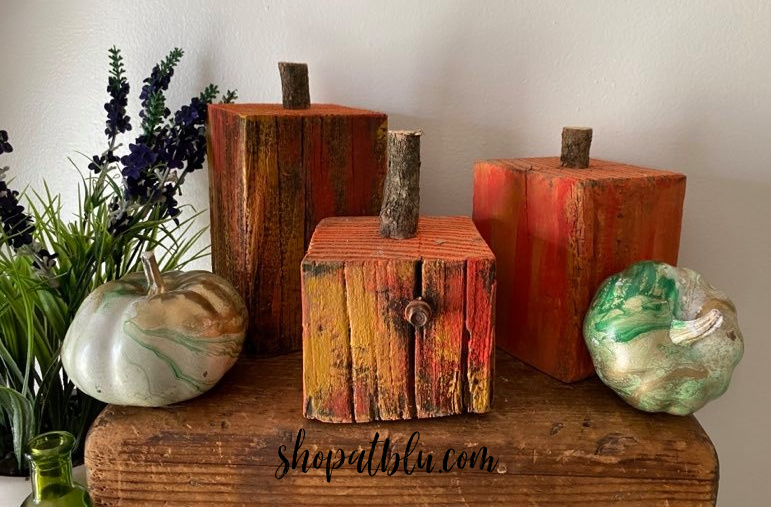
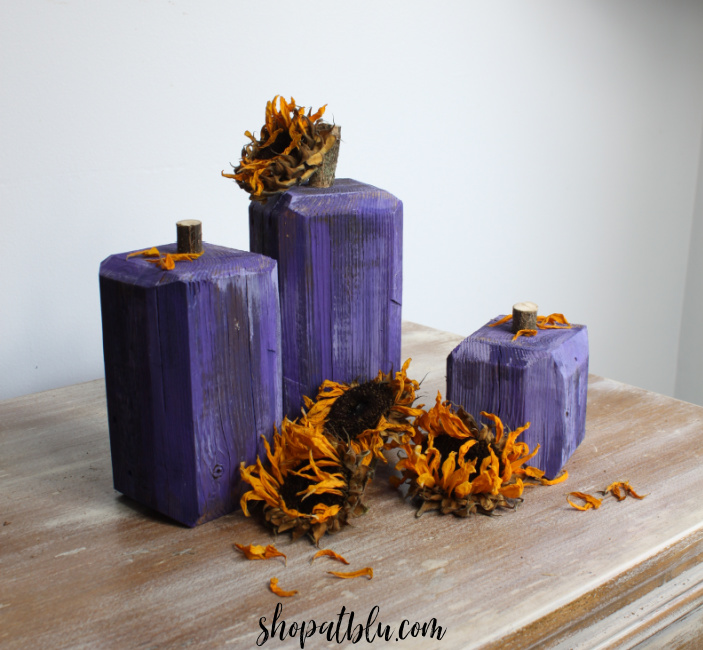
Select a paint of your choice and use whatever technique you prefer to paint your masterpieces. I made two sets by simply painting the pumpkins a solid color. On my third set I used 3 different variations of purple paint to give the pumpkins some dimension. For the fourth set, I used many colors for a rainbow effect.
Use any colors that you like! Be creative!
Adding Stems
You can use a variety of items as stems for your pumpkin creations. I tend to use whatever is on hand in my yard or my garage. Last week, my neighbor trimmed his crepe myrtles so I grabbed the loppers and snipped a few branches. I also trimmed a lavender bush recently. I saved a branch to use for stems. Yesterday I was walking up our front sidewalk and noticed the lovely the bleeding hearts in my garden. These would be darling around the stems! Or lantana or leaves or succulents.
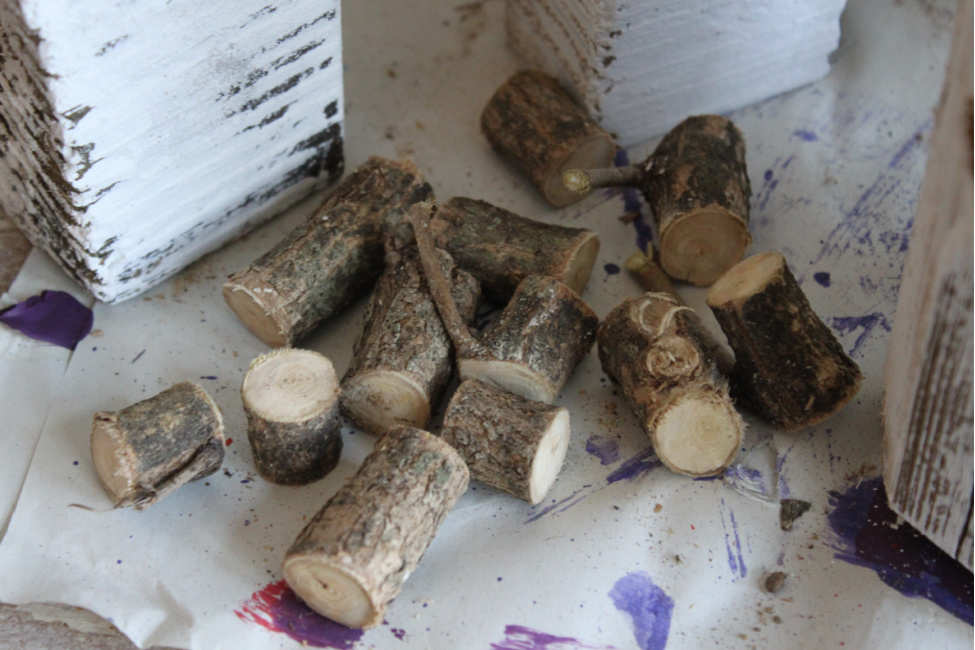
Be creative. Use what you have. Play around with possibilities until you find the combination that you love.
The Final Pumpkins!
Purple seems to be my color of this fall season so my first set of pumpkins were painted purple.
Color is fresh on my mind from the Color Your World contest so why not have some rainbow pumpkins?? Rainbows elicit happy and joyous feelings. I can see myself moving these gems from room to room to brighten spirits as needed.
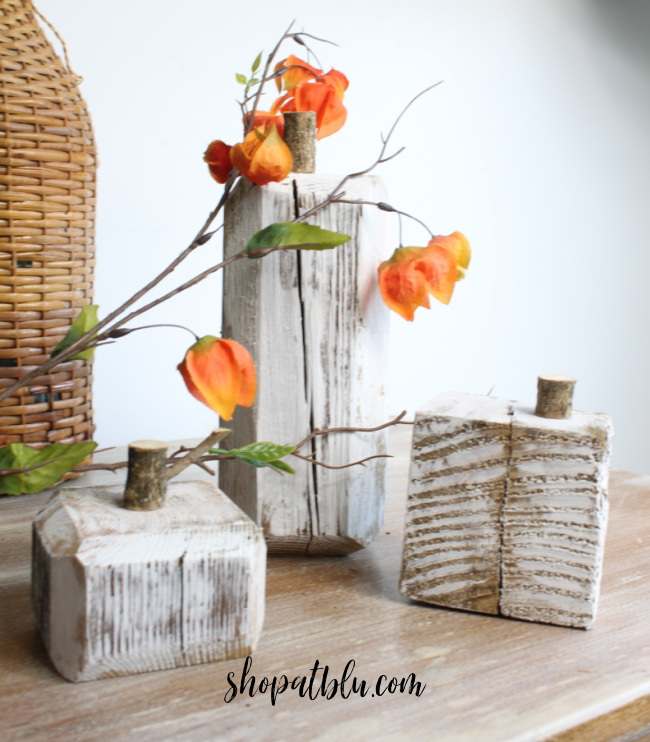
The final pumpkins are a combination of traditional orange and farmhouse white because neither of those decor themes are going anywhere.
So many possibilities!
Thrift Store Decor Team Projects
Here are the projects from the entire team! I am always blown away by the creativity in this group of friends. Click on through and leave comment telling these fabulous creative souls that I sent you. Pin some photos and try some of these projects. The inspiration is endless!
Thrift Store Metal Pumpkin Domestically Speaking
Bar Stool Makeover My Repurposed Life
Rustic Home Decor Wall Sign Petticoat Junktion
How to Update Thrift Store Art Our Southern Home
DIY Mini Succulent Garden In A Sugar Mold My Uncommon Slice of Suburbia
Boho Candle Holder (and Crazy Brass Cleaning Hack!) Sadie Seasongoods
Quilted Mason Jar Makeover House Of Hawthornes
Goodwill Shadowbox Fall Decor Makeover Organized Clutter
What to do with Old Shutters Reinvented Delaware
How to Make Pumpkins from Scrap Wood Shop At Blu


Super fun rustic pumpkins!
Thanks Carlene. I just can’t stop with the pumpkins this year.
Suzanne,
I love all of your scrap wood pumpkins! However the white washed ones are my favorite.
Pinned!
gail
Thanks Gail! Can’t go wrong with white.
These turned out to be so cute! Smart keeping some of that wood from your deck, wood is crazy expensive right now.
Right?? Thanks Kristin.
Super cute & great way to use up scrapwood!
Thanks Maryann. I’m learning to keep things out of the landfill.
Great use of your old deck Suzanne!! These pumpkins are so adorable! Pinned!
Thanks Cindy! Happy Fall!