How to Make Pumpkins from Vintage Wood
As an Amazon Associate and member of other affiliate programs, I earn from qualifying purchases.
One of my very favorite things is vintage or antique wood. There is nothing like a piece of old wood. I think my love of beautiful wood came from hours in my dad’s workshop as a little girl. My dad was a craftsman and absolutely loved working with wood. One of his first jobs out of high school was refinishing pianos. On weekends, I would join him in the basement of our Philadelphia home and watch him bring old pieces of wood back to life. I am still amazed at the absolute beauty of a freshly stained piece of wood.
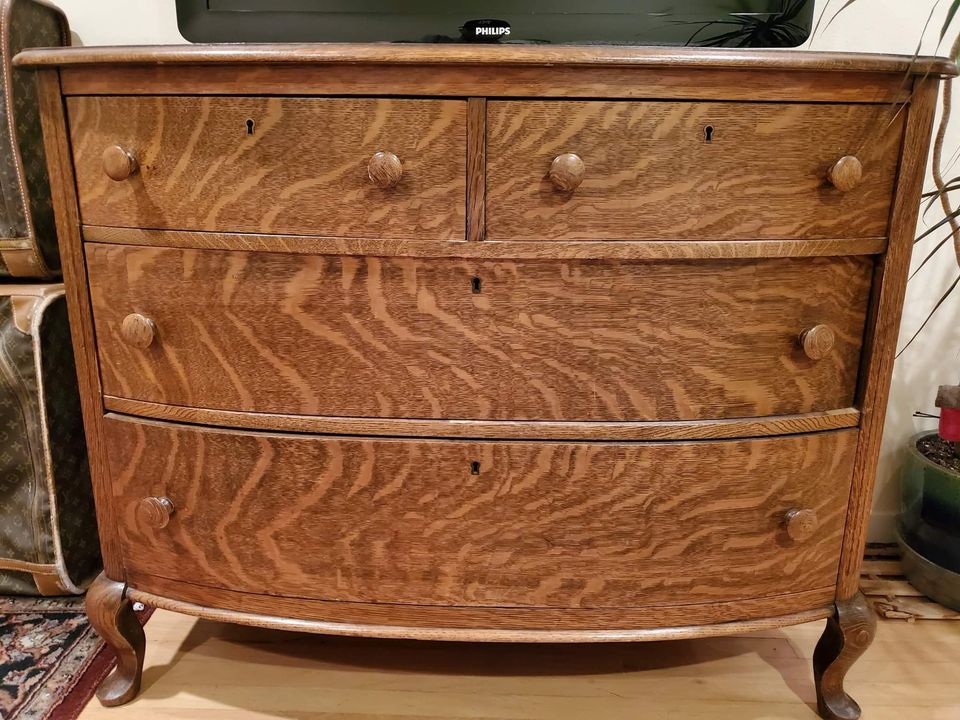
Many of the most beautiful antique American furniture pieces from the 1800’s and 1900’s were created from tiger oak. Tiger Oak is characterized by very distinct horizontal grain and was featured in 19th-century oak veneer furniture. The stripes appear light in the dark wood because they showcase the medullary growth rings of the oak tree. Tiger oak is a distinctly American style, popular especially with the emerging middle class. Here is an example of tiger oak:
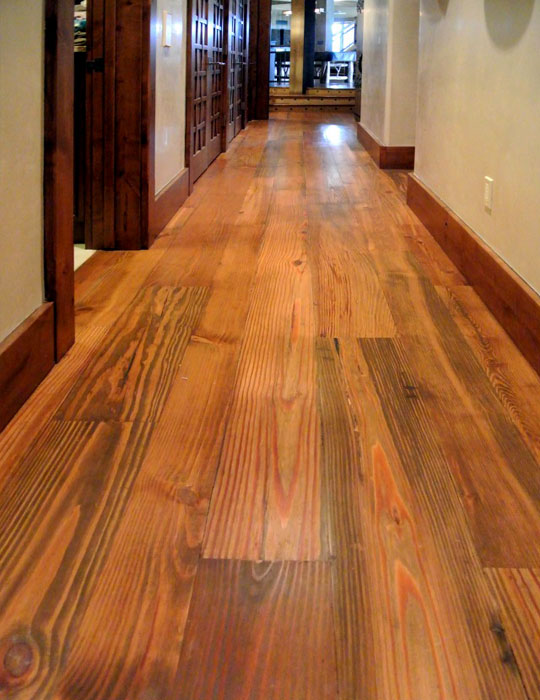
Another favorite antique or vintage wood is heart pine, often used for floors, pilings and poles in the construction of homes. Heart pine, before the 1900’s, was the go to wood for building due to its strength, hardness and golden red coloration. It was nearly extinct due to logging and overharvesting. Before the 18th century, in the United States, longleaf pine forests, covered approximately 30-60 million acres along the coastal plain from Virginia’s southern tip to eastern Texas. These pine trees, 80 to 120 feet tall, require 100 to 150 years to become full size and can live up to 500 years. An inch of heart pine requires 30 years growth. Due to deforestation and over-harvesting since colonial days, only about 3% of the original Longleaf Pine forest remains.(source: Google)
The source of much of the available heart pine found on the market is longleaf pine from old buildings. Currently heart pine for building and woodworking is procured by reclaiming old lumber and recovering logs, felled pre-1900, from rivers. Here are some examples of heart pine:
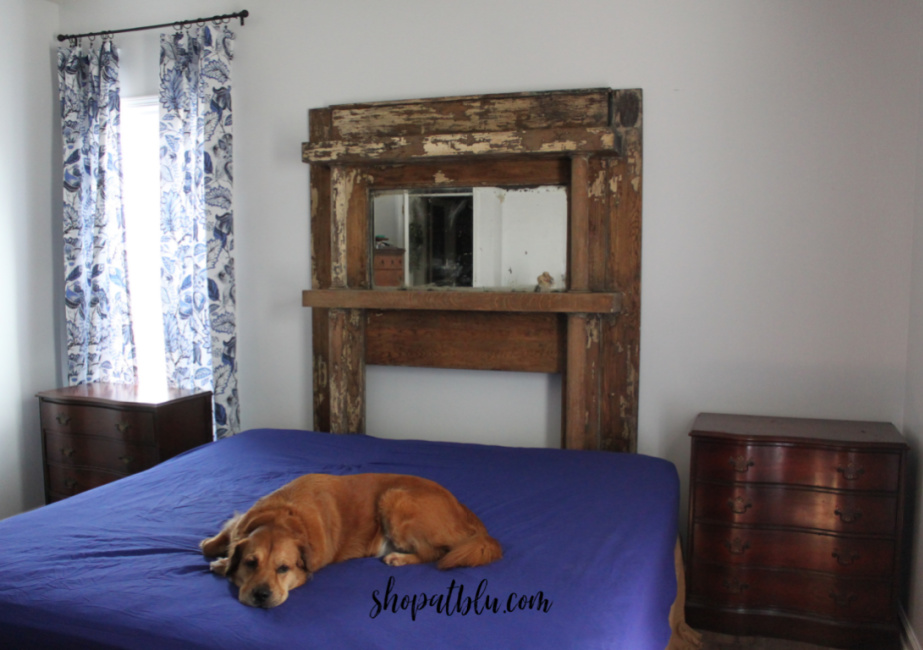
Both tiger oak and heart pine are super strong and durable. I often find these woods in old doors and old furniture. Here is one project where I refurbished an old tiger oak mantle:
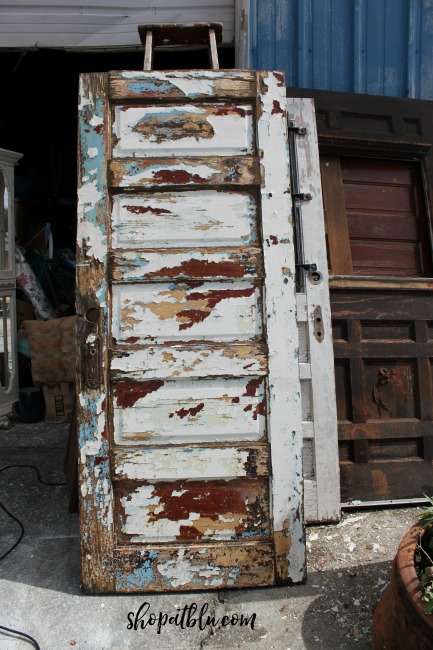
While old wood is fabulous when restored, there is something about old wood peeking from beneath layers of old paint that just sets my creative heart on fire. Look at these doors:
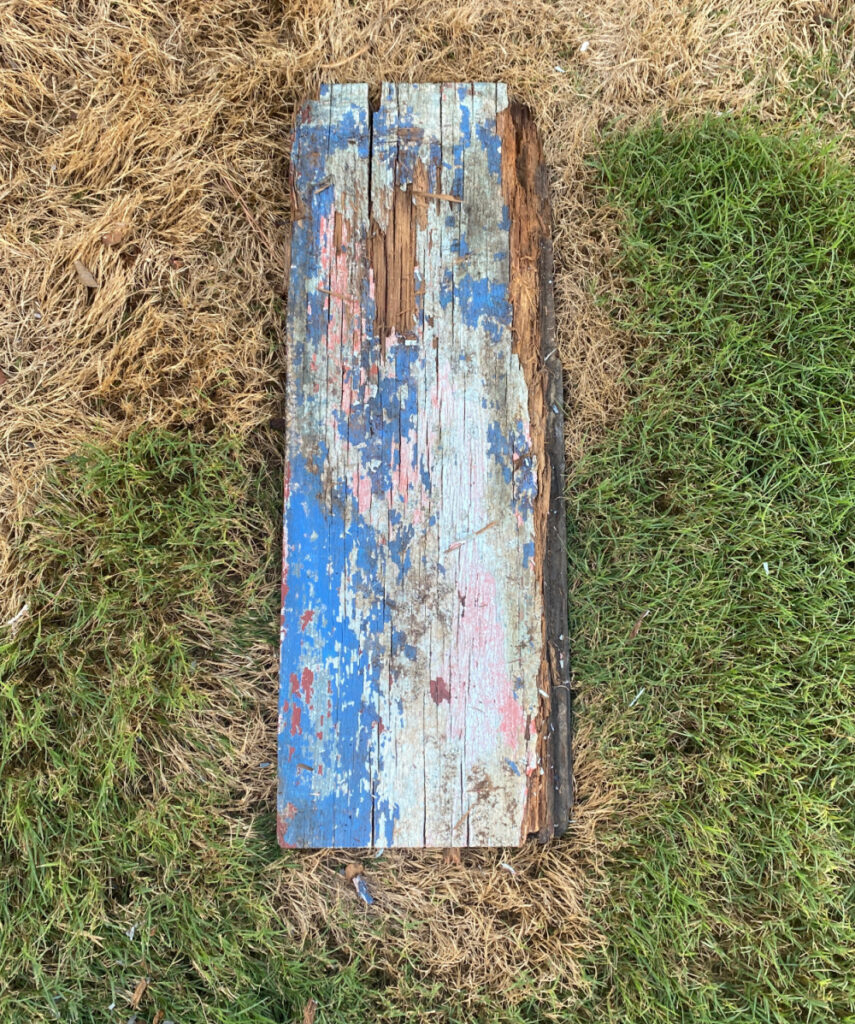
When I closed my antique and consignment store 5 years ago, I had many antique doors. Sadly, some were left outside due to storage limitations and recently, we cleaned up that pile. I was able to salvage a few pieces that resisted the heat and weather. I could not simply discard them.
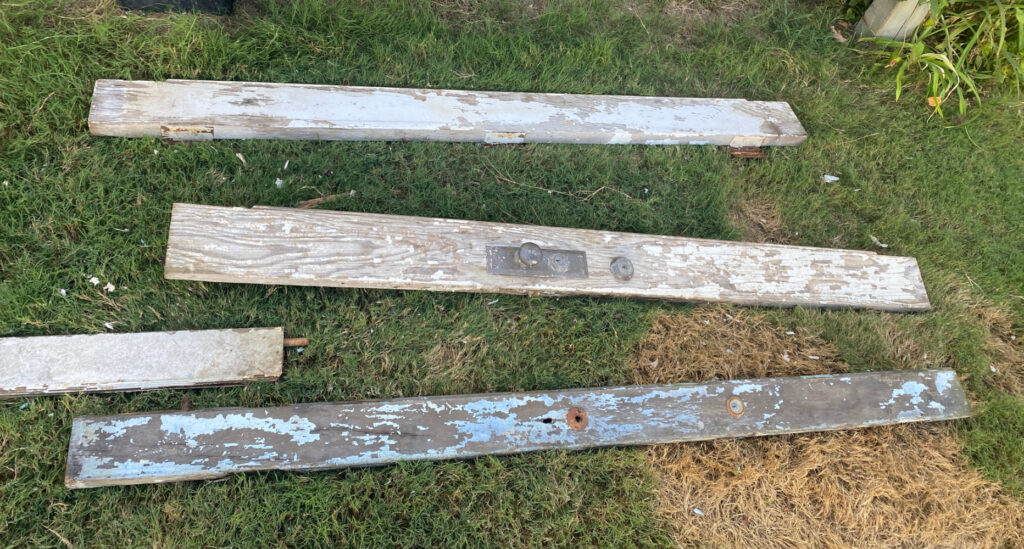
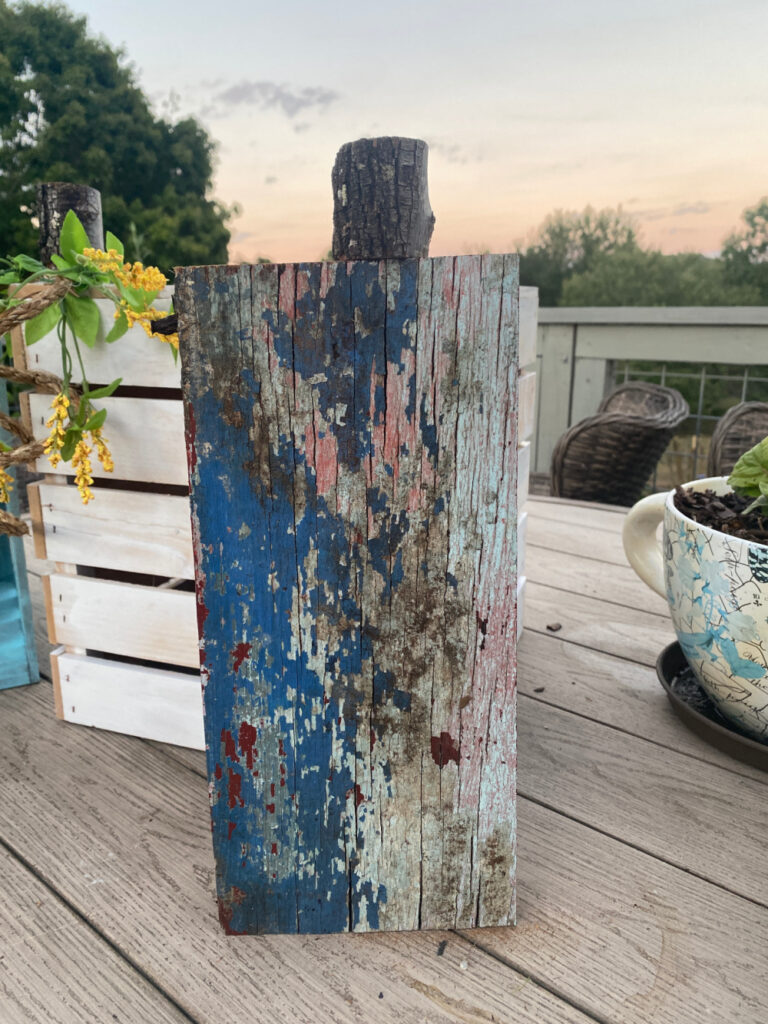
Just look at that patina!
With fall almost here, let’s make some pumpkins from this antique and vintage wood!
Cut the Wood to Size
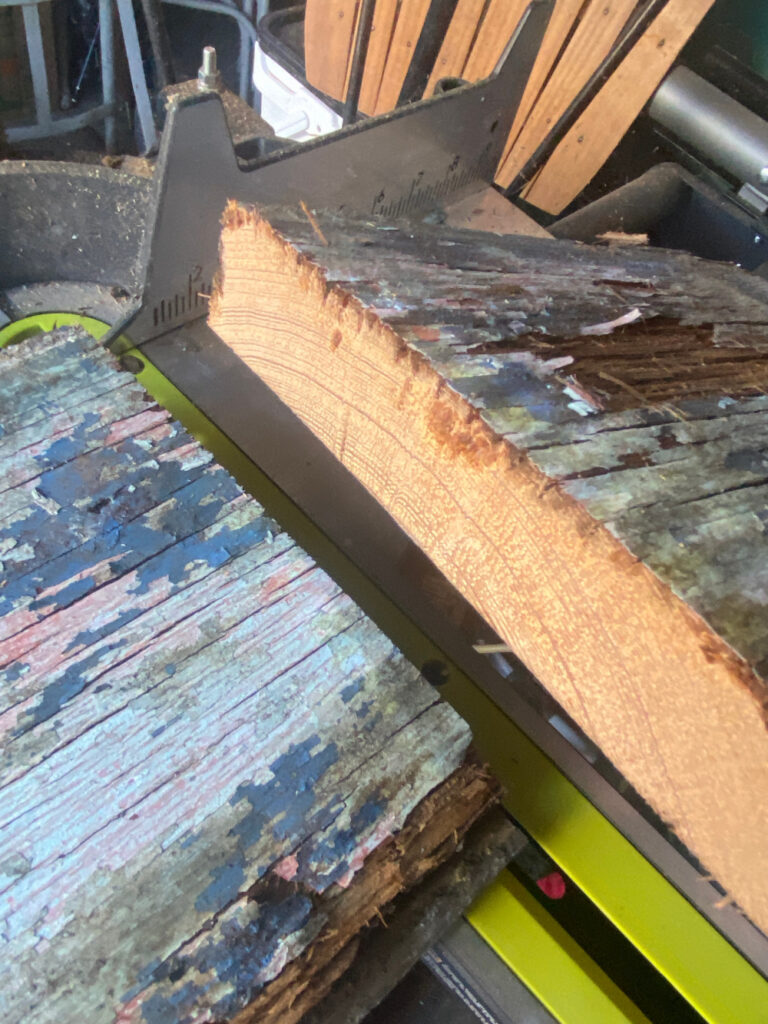
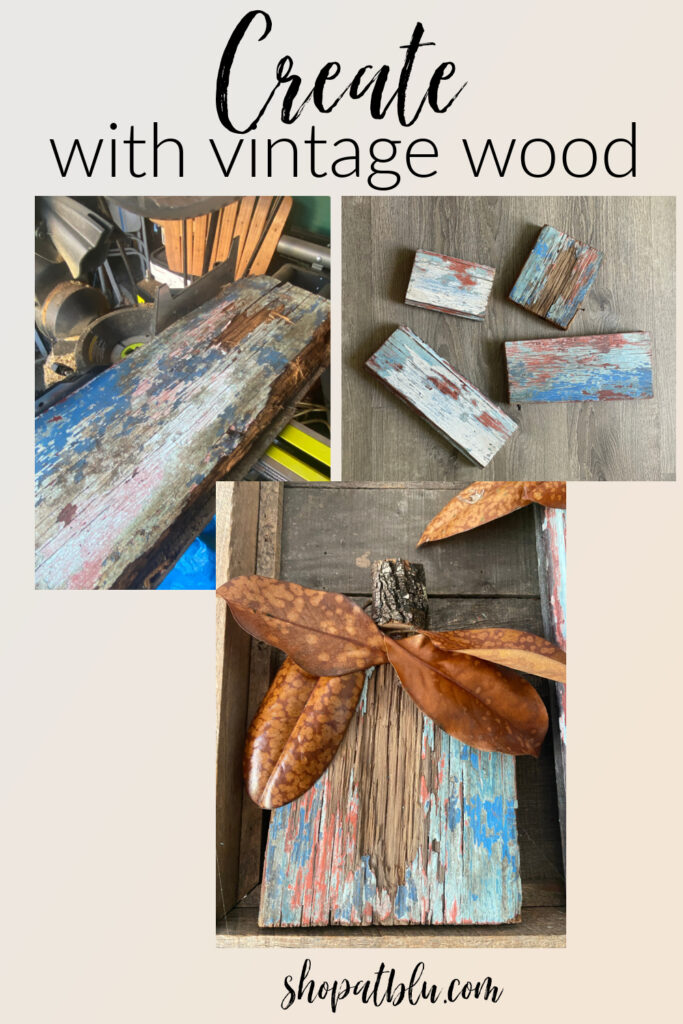
I cleaned the wood and headed to the miter or chop saw. This Ryobi compound sliding miter saw is battery operated and my new favorite Ryobi tool. I cut the wood to various sizes that I though would displace nicely together. After all, a pumpkin patch has pumpkins of varying sizes.
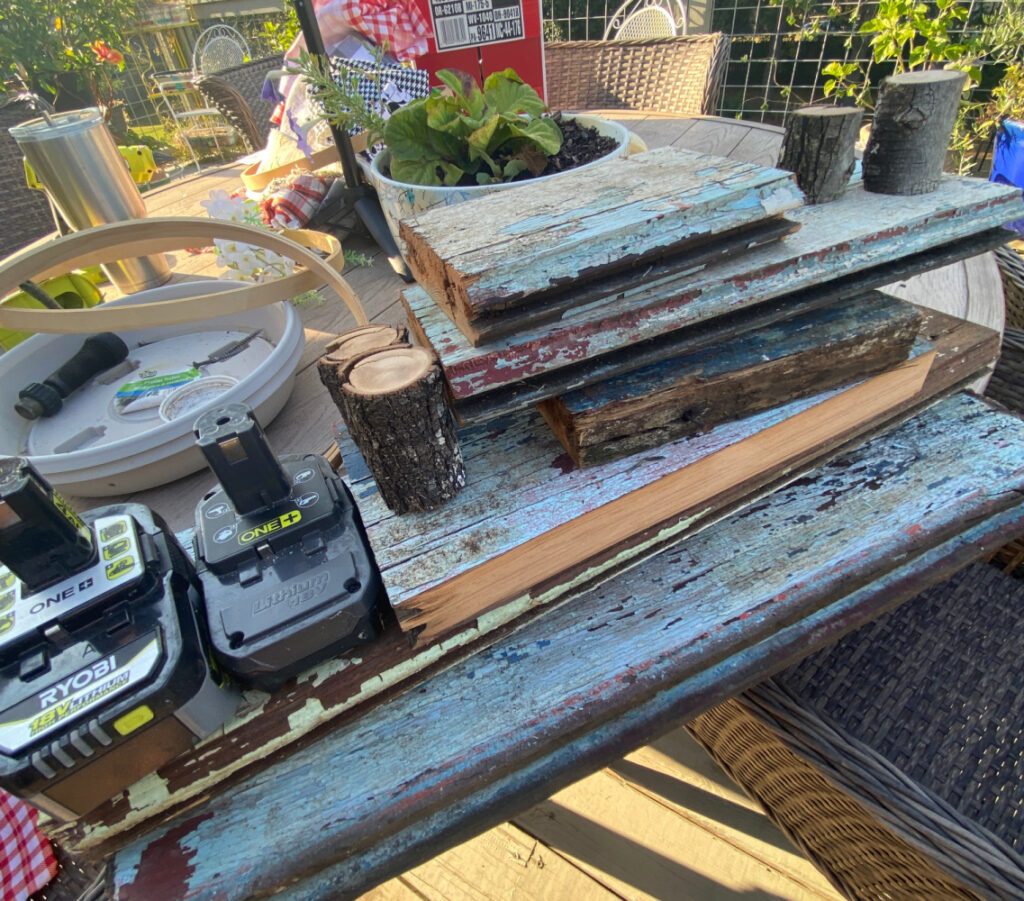
Here are pieces of wood that I was able to salvage. Some have more paint on them than others.
I did give these selected salvaged pieces a light sanding to remove some of the dirt that had built up. Light sanding removed the thin layer of dirt and freshened the paint colors.
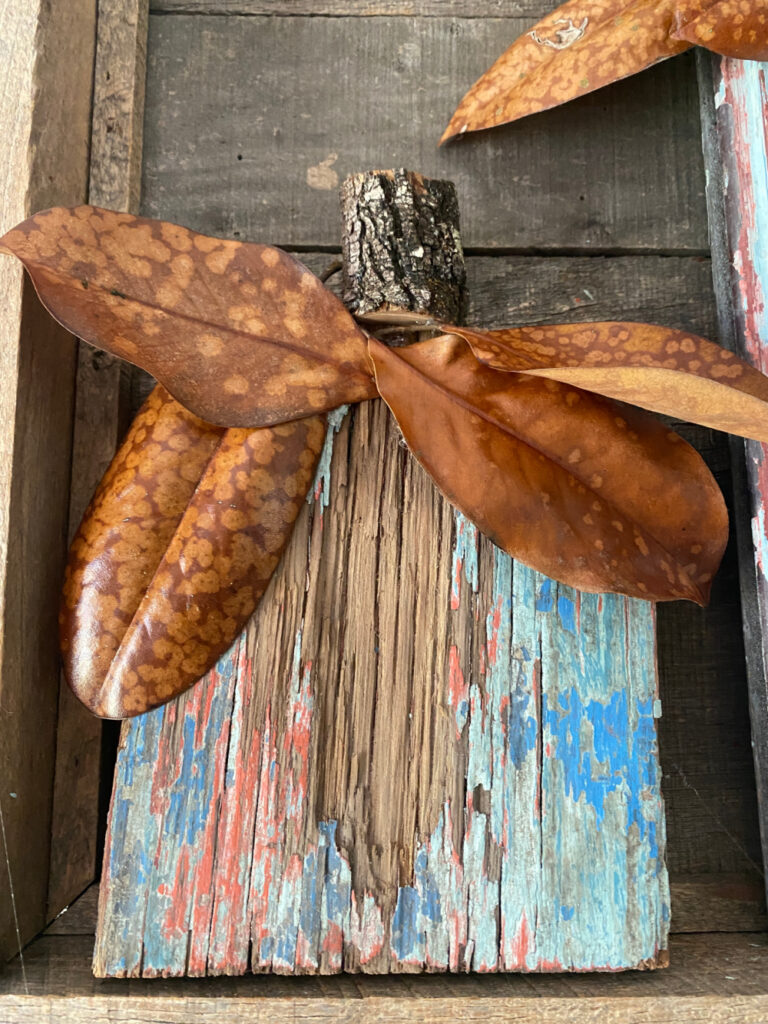
Here is the practice pumpkin, before I sanded the surface to renew the paint.
Pumpkin shapes are quite easy and simple. I’m considering these to be funky and quirky because, really, when have you seen a chippy blue pumpkin? But isn’t decor about creating and matching your home to your very distinct likes and styles? It’s about making things unique and personal. So here we go.
Creating Your Pumpkins
I cleaned up the wood. I also gave some sections a very light sanding to make the colors pop and remove any lingering residual dirt.
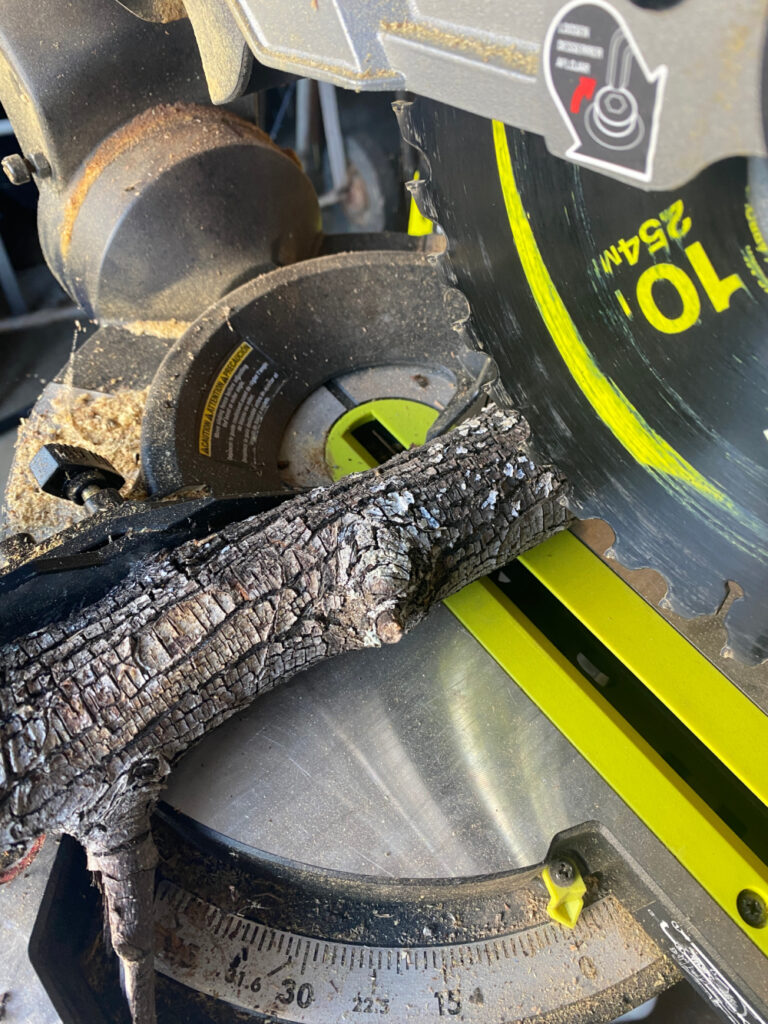
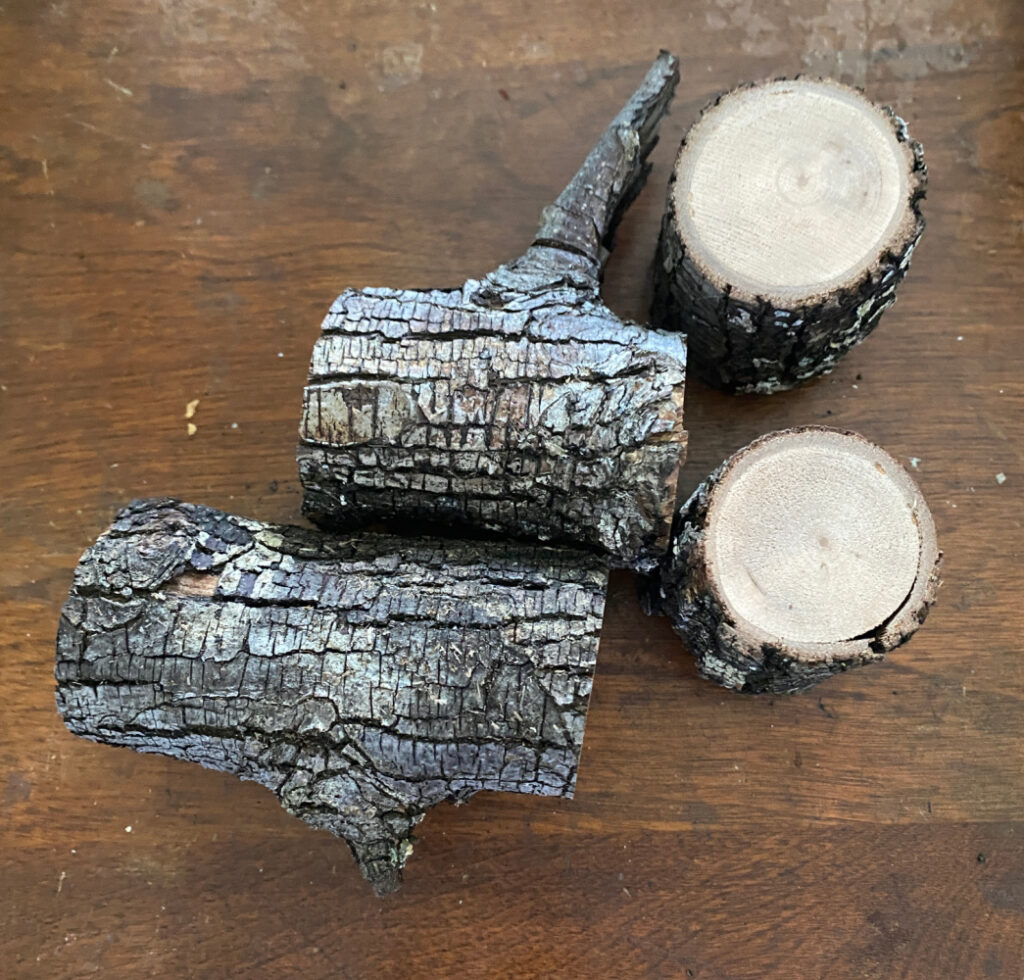
Pumpkins need stems. I grabbed a tree branch from the yard and chopped off sections to use as stems for my pumpkins.
Perfect!
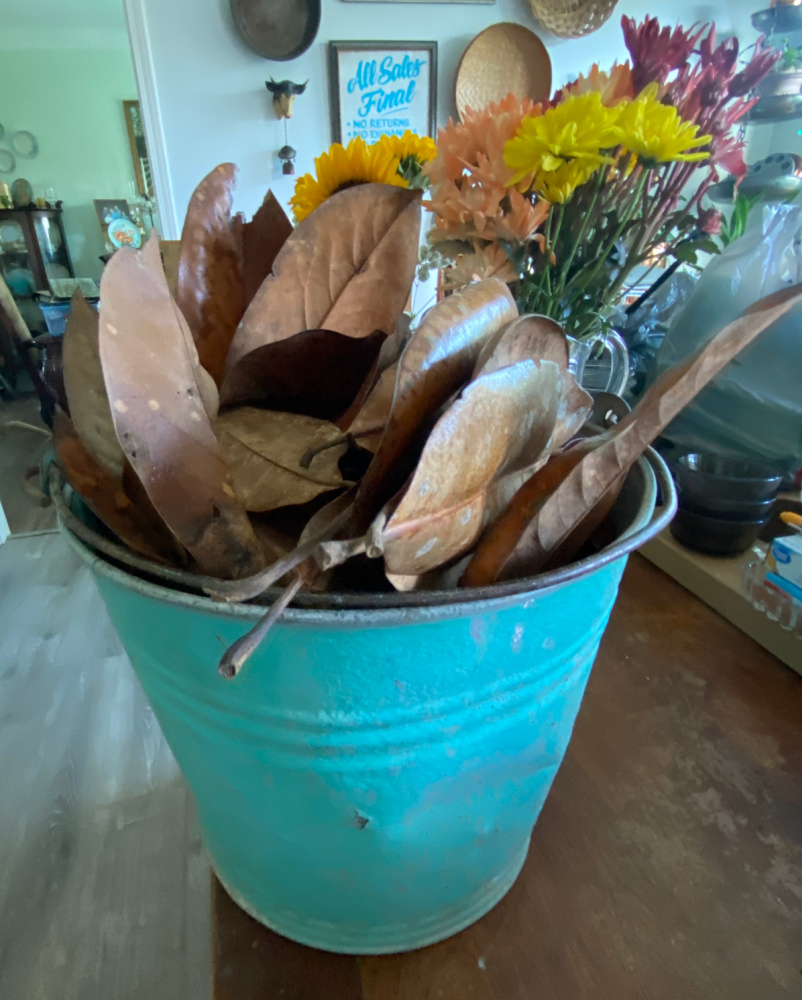
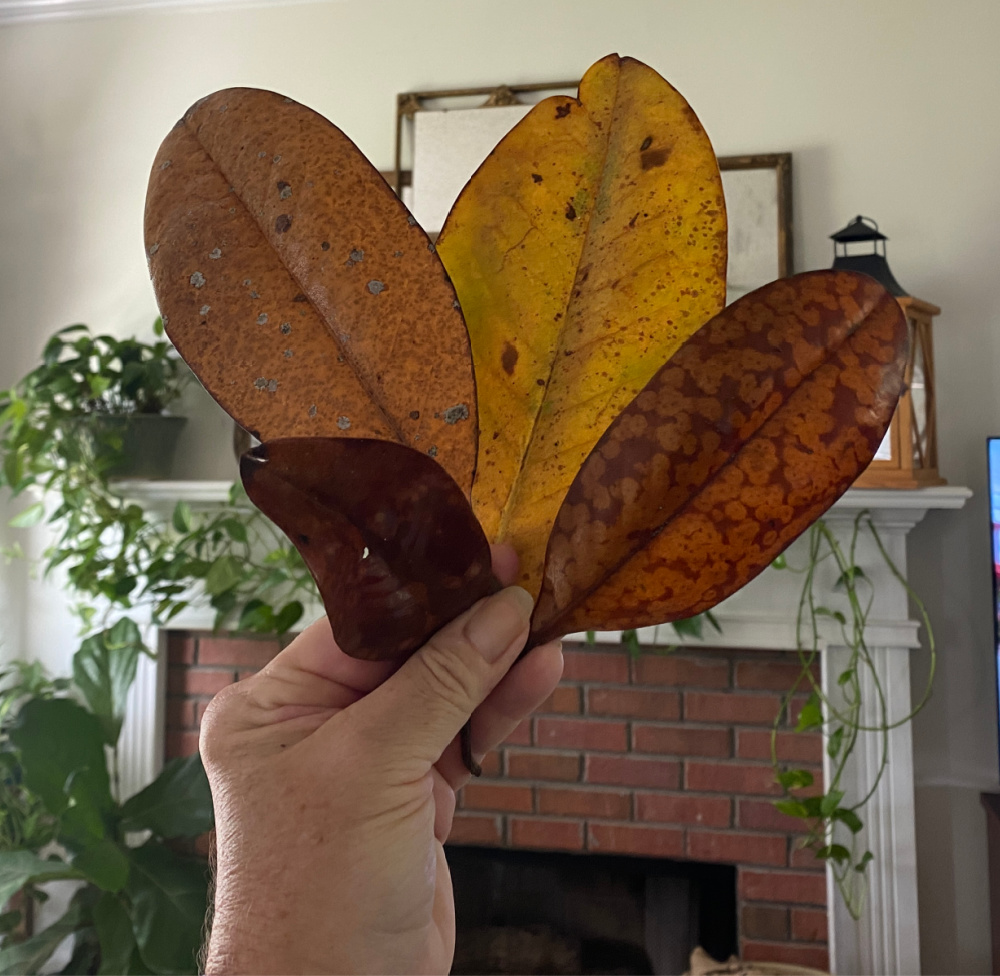
I needed some leaves for my pumpkins. My choices were to cut some leaves out of fabric or gather some leaves from my yard. It seemed so much easier to forage than to dig through my overflowing fabric stash. So I headed to the corner of my yard to grab some beautiful leaves from my neighbor Cindy’s gorgeous magnolia tree. I grabbed as many small magnolia leaves as I could find.
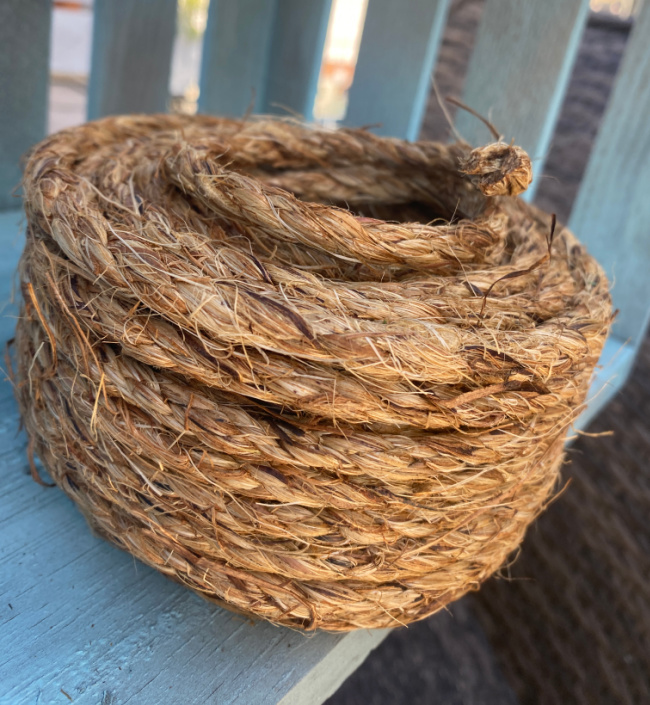
Last month I use some jute/twine to embellish some wooden crates that I made into pumpkins. l liked that look for the tendrils so I planned to use some of that for these vintage wood pumpkins.
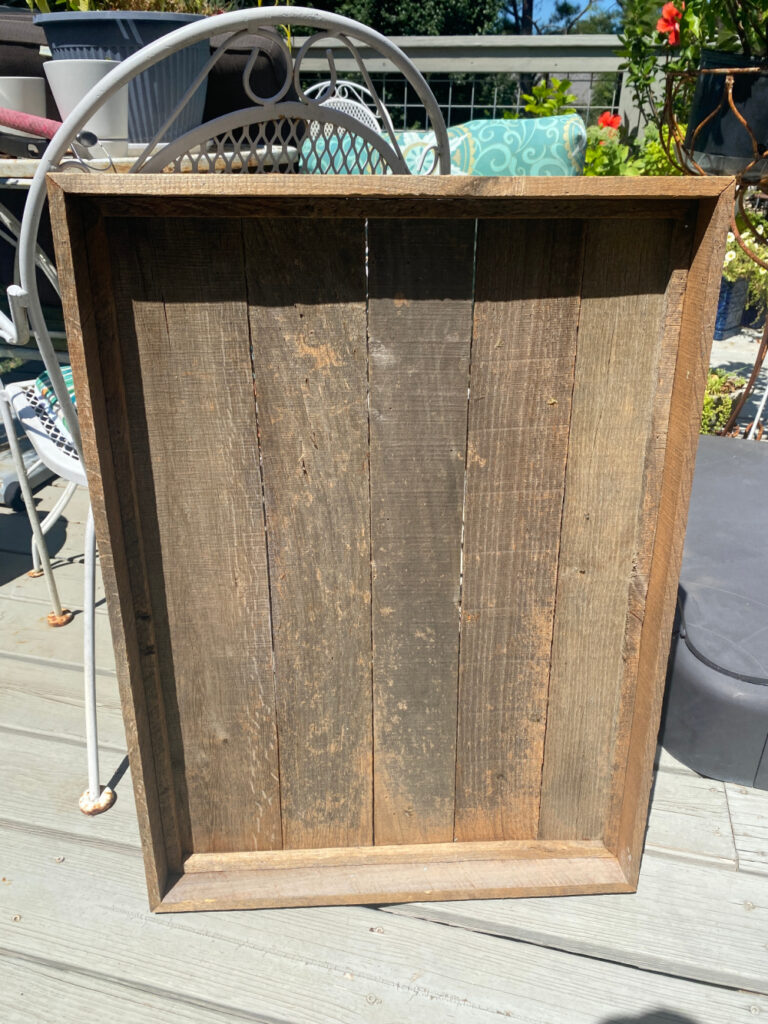
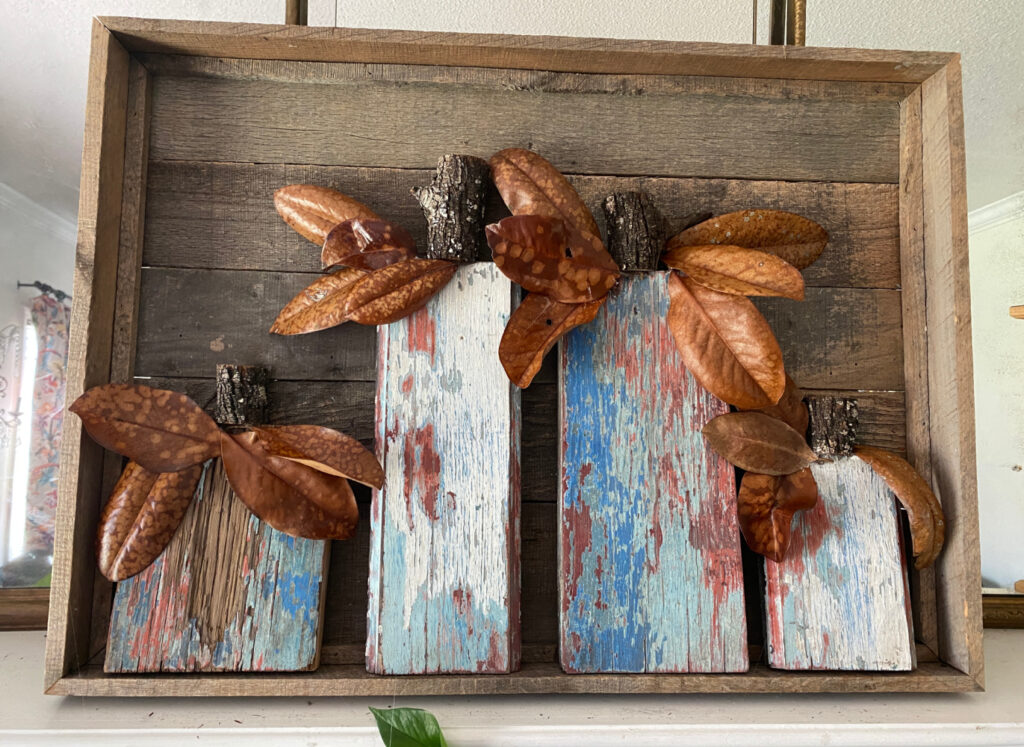
I had this old wooden frame in my garage. It’s been waiting for a project. It will make the perfect backdrop for my mini pumpkin patch.
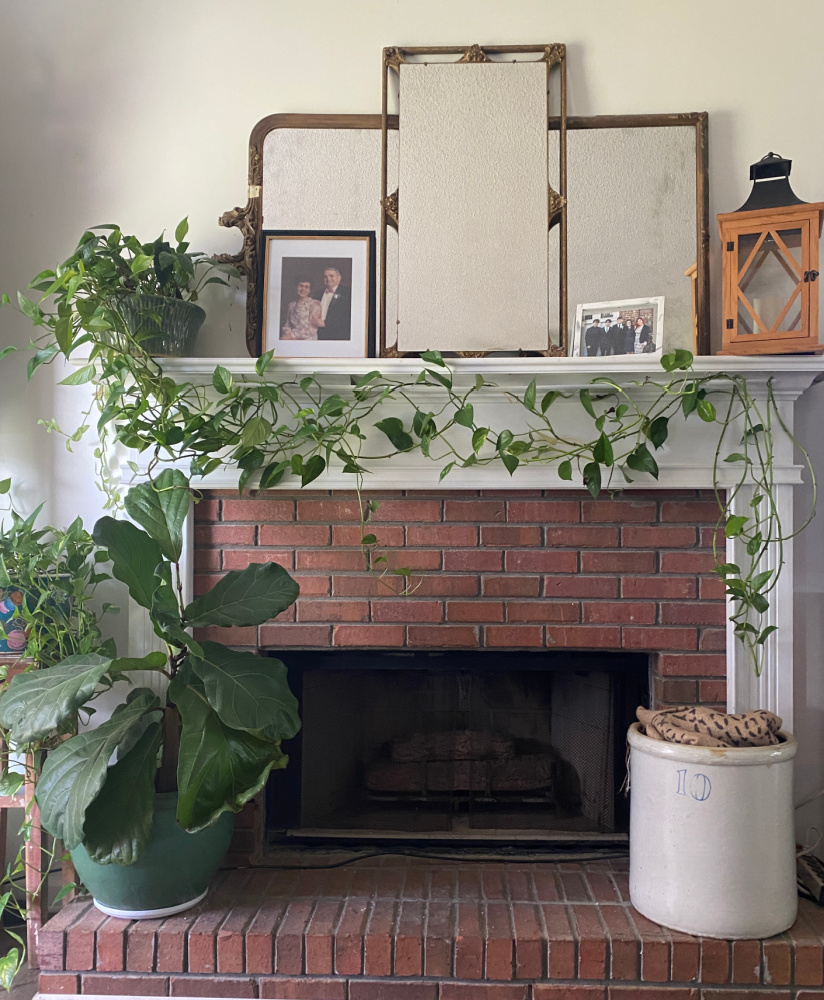
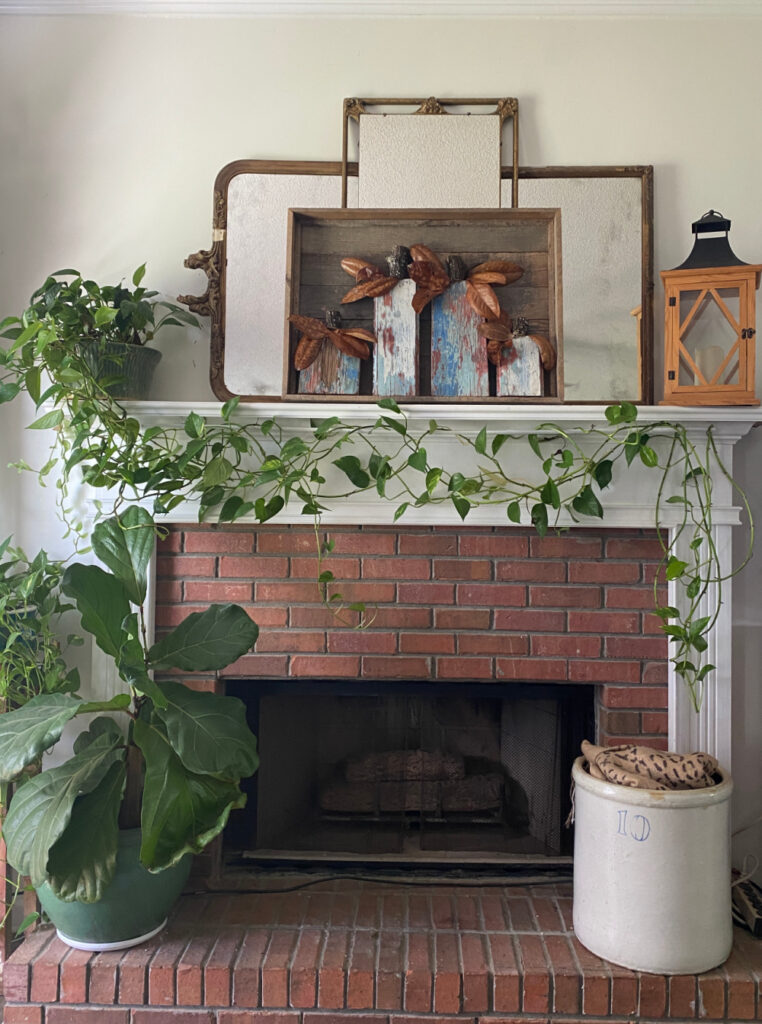
I gathered all of my supplies and began to create my little pumpkin patch right on my mantle. Here is the mantle before:
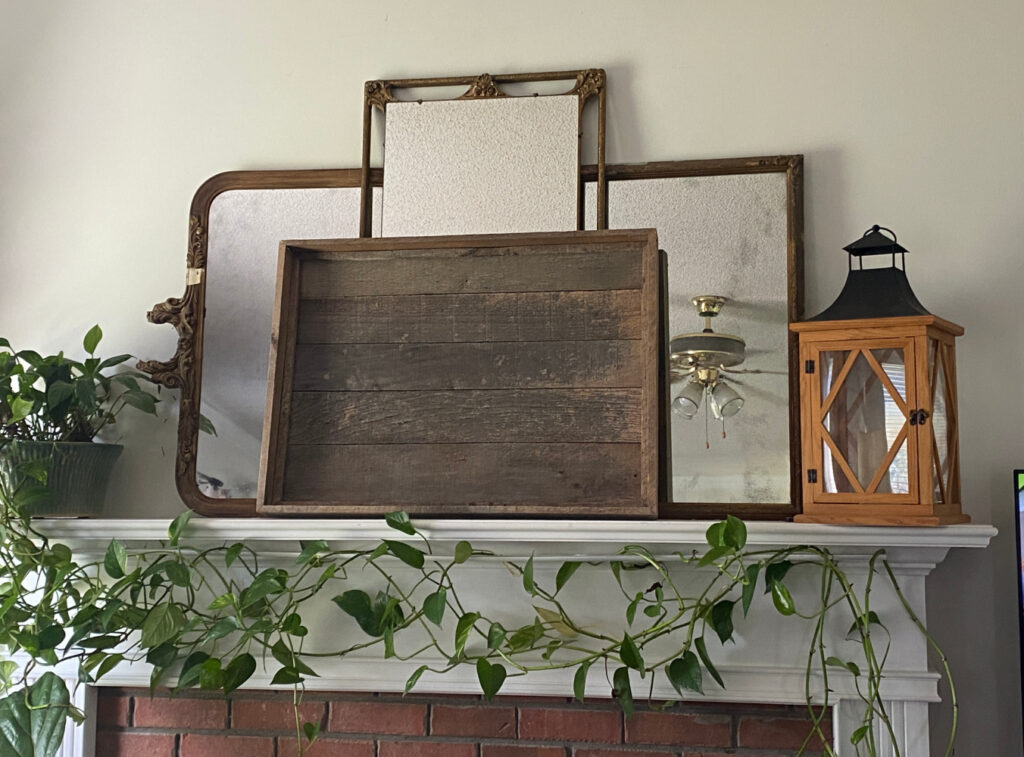
I added the wooden backing.
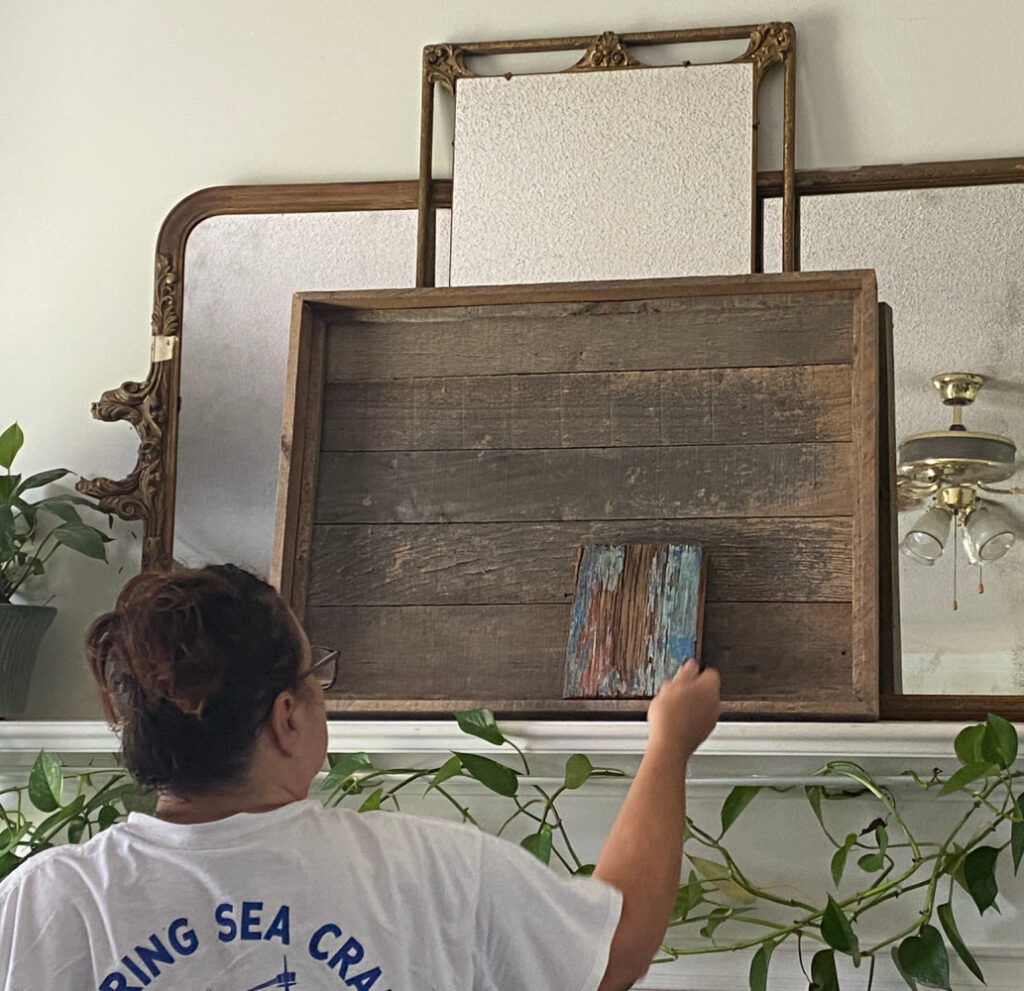
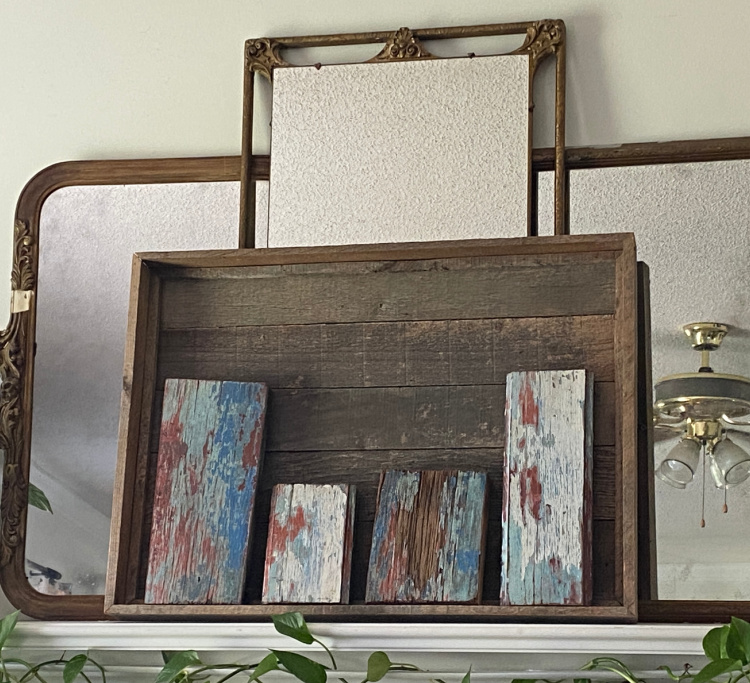
Then, I started in the center with the base pumpkins and arranged them to my liking…
I moved them around until I had the look I liked.
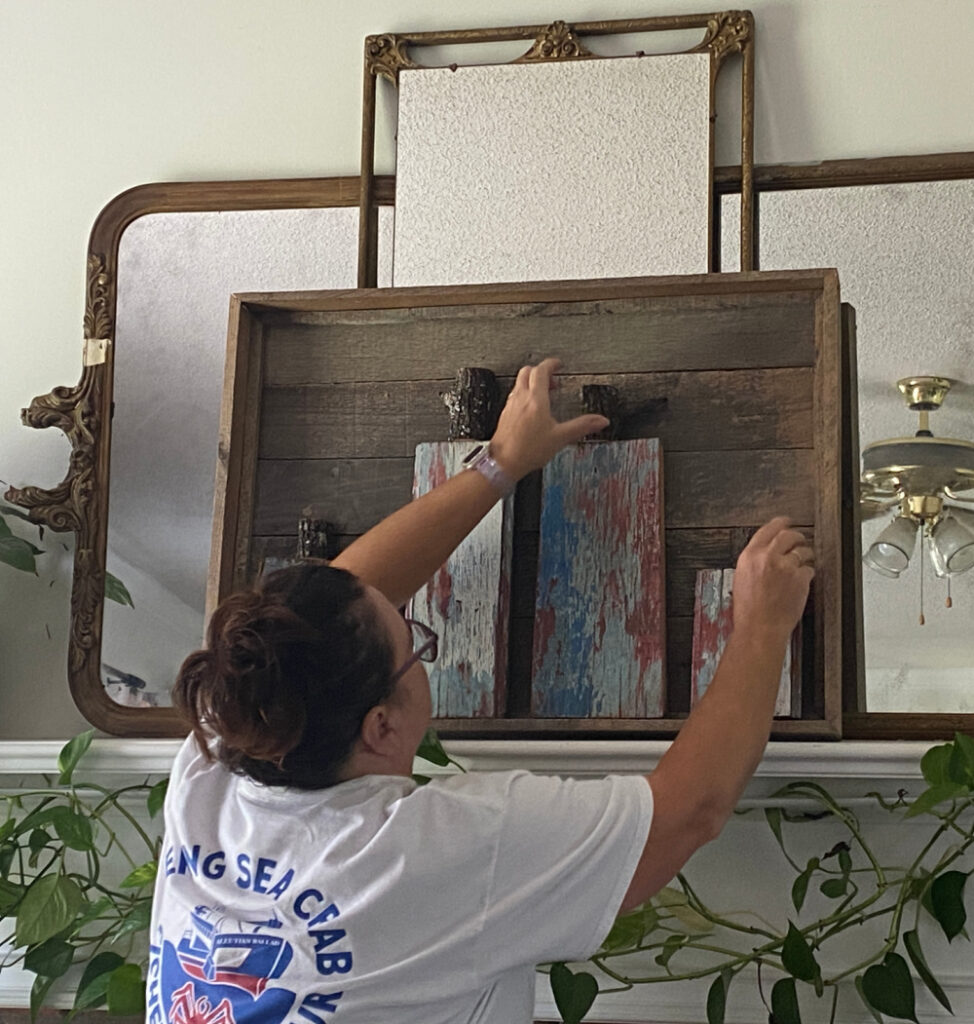
Once I was happy with the position of the pumpkins, I added my stems.
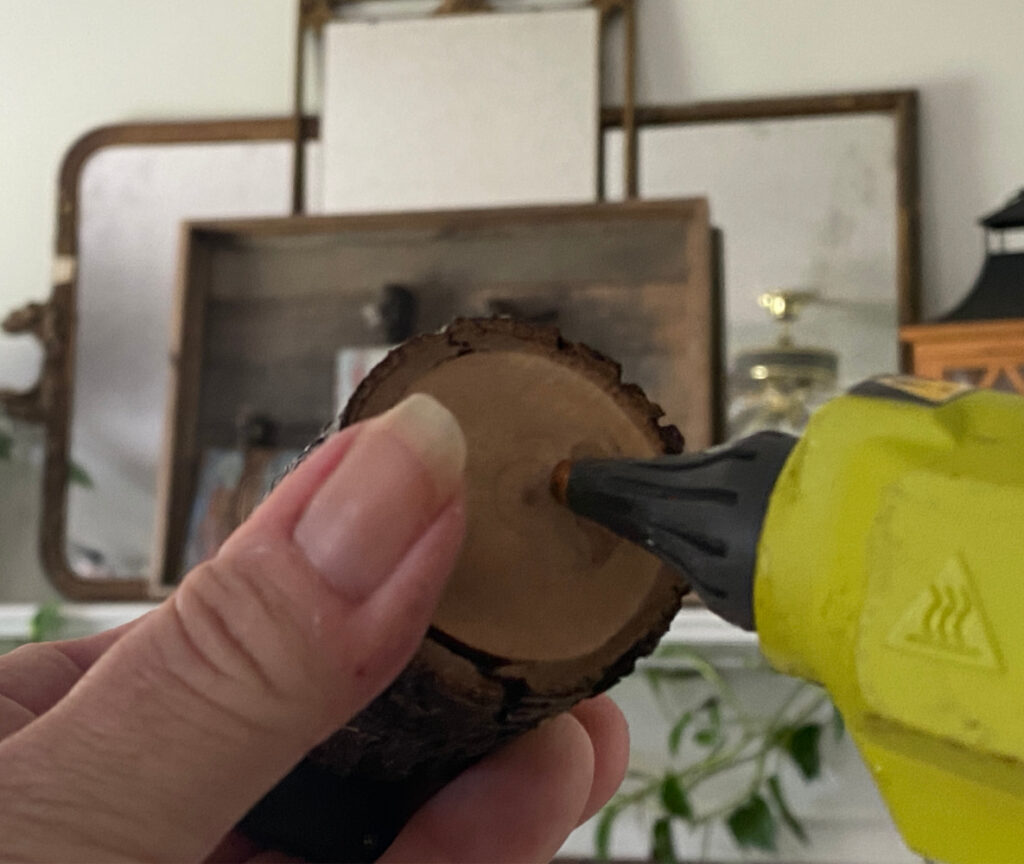
Once the arrangement was pleasing, I hot glued the pumpkins…
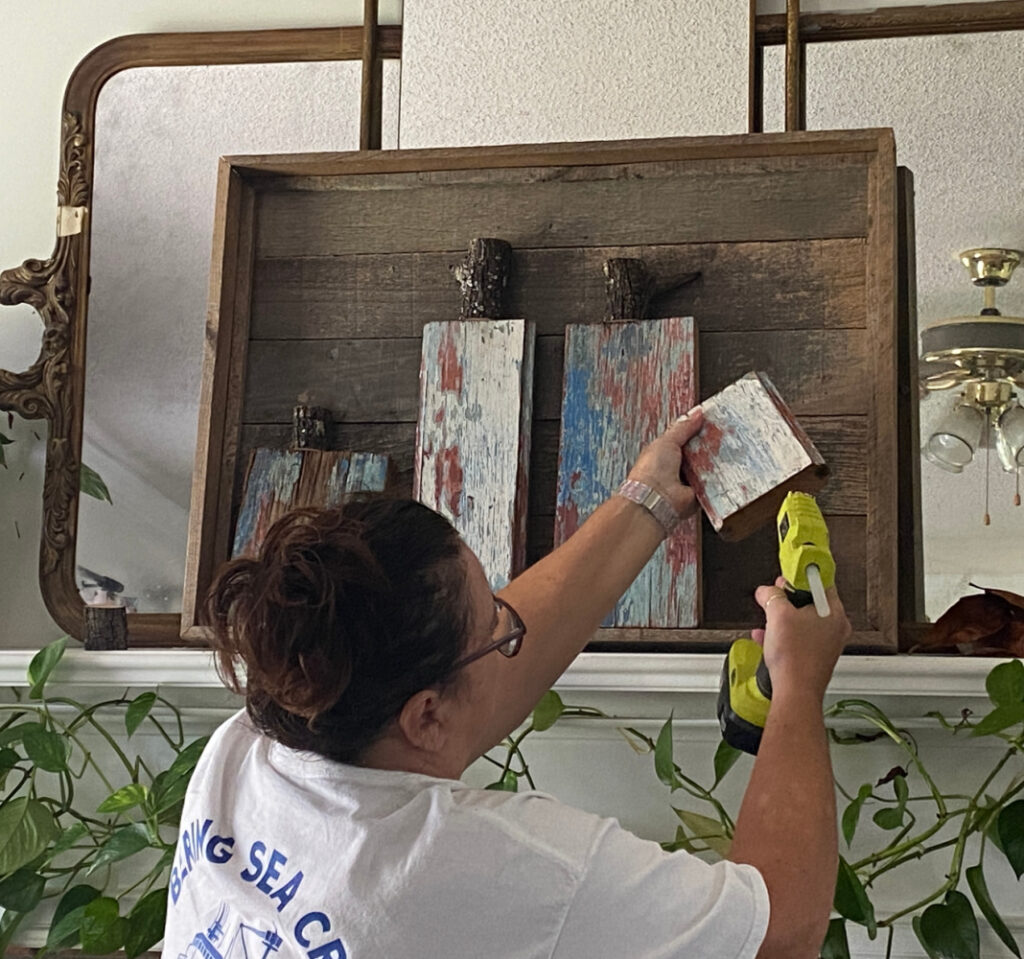
And the stems into place.
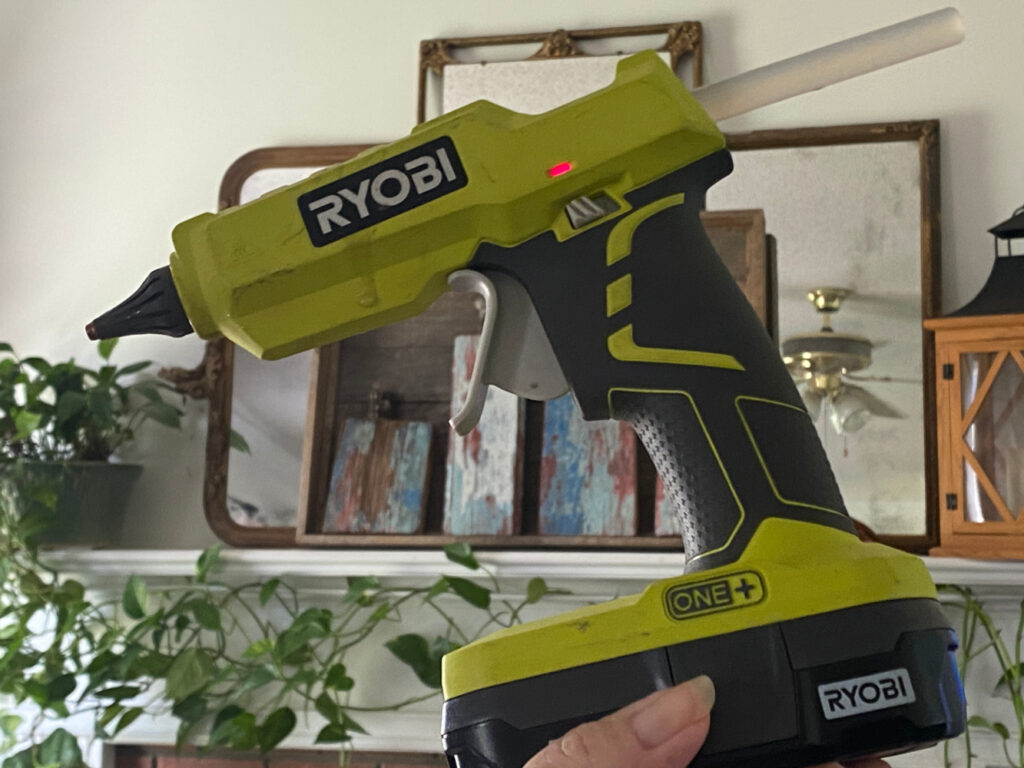
Next up, were the leaves. My Ryobi cordless glue gun was perfect for the job.
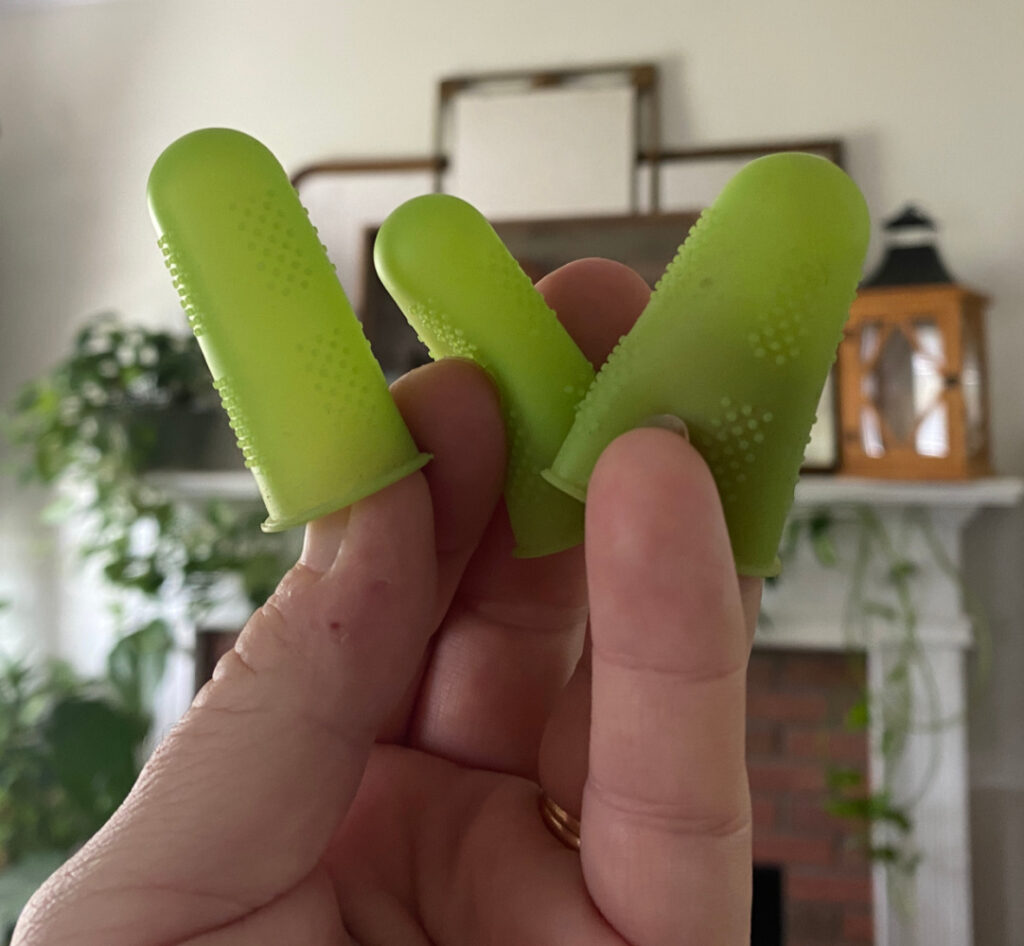
I found these silicone fingertip protectors a while back. They are perfect for protecting your skin from that hot glue. With the leaves it was necessary to hold each leaf in place until the glue dried. This only took a few seconds for each leaf but these little doohickeys are a literal godsend. No more blisters for me!
These leaves are the very best for projects for two reasons…they were free and came in a variety of sizes.
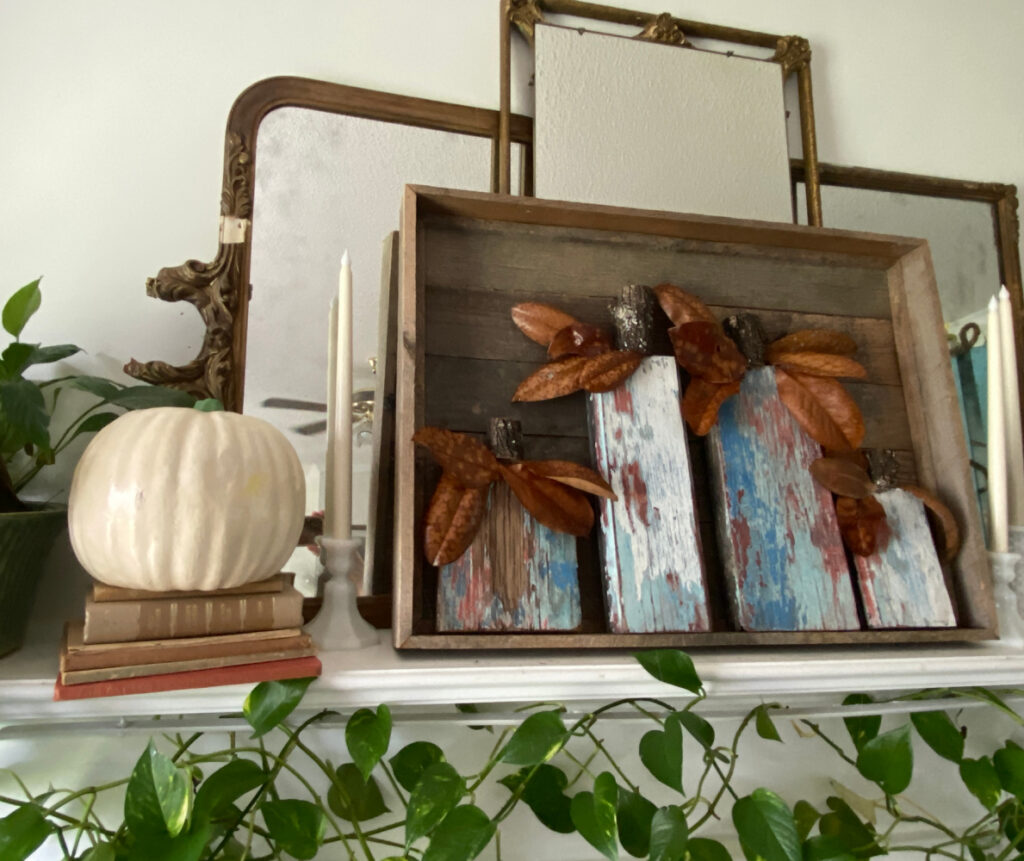
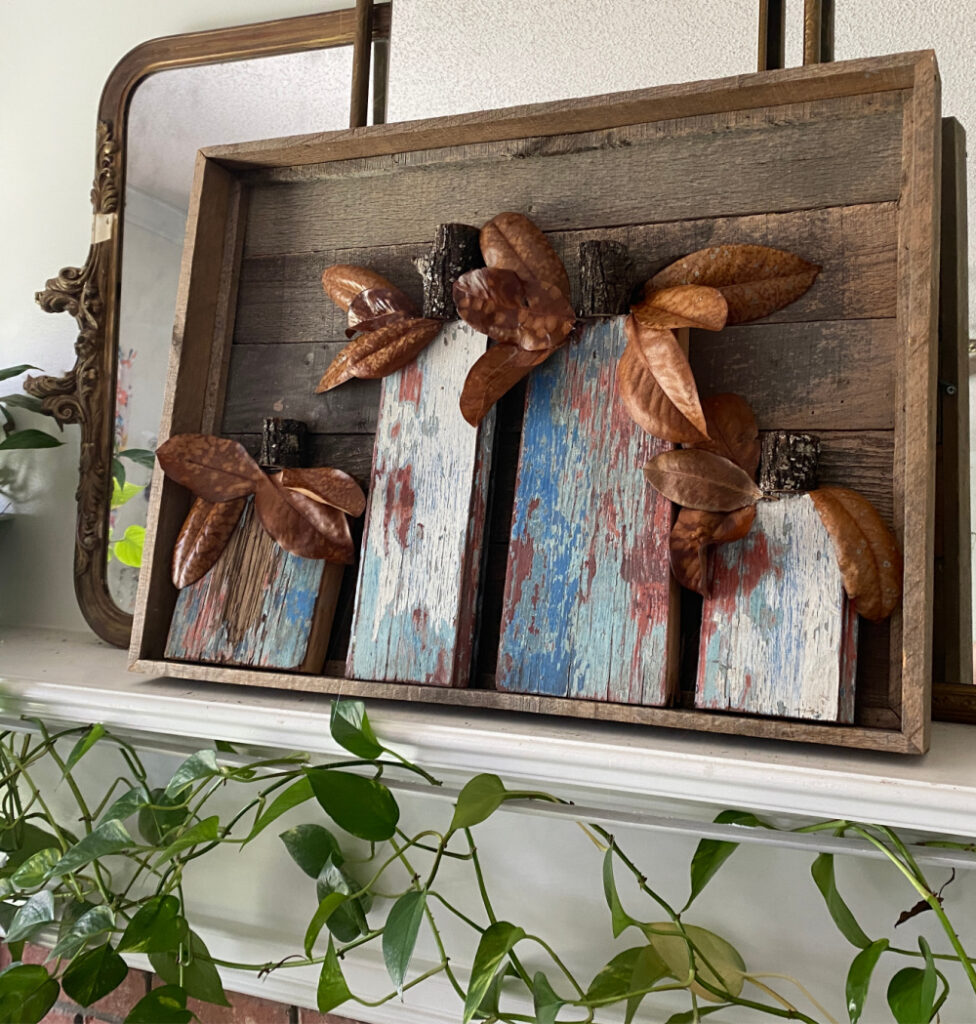
After the leaves, I had planned on adding the jute tendrils (YES, THOSE LITTLE SPIRAL FLY-AWAYS ON A PUMPKIN STEM DO HAVE A NAME). But with the chippy paint and the textured leaves, I though there was enough going on so I skipped the tendrils this time.
Sorry my little pumpkins, no tendrils for you!
I might add a little sign or some words later, but I sure do like her just like this!
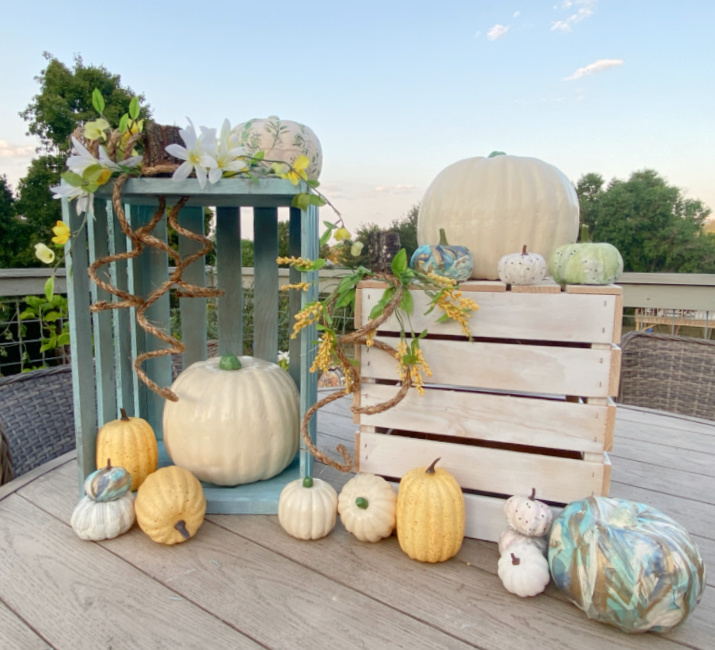
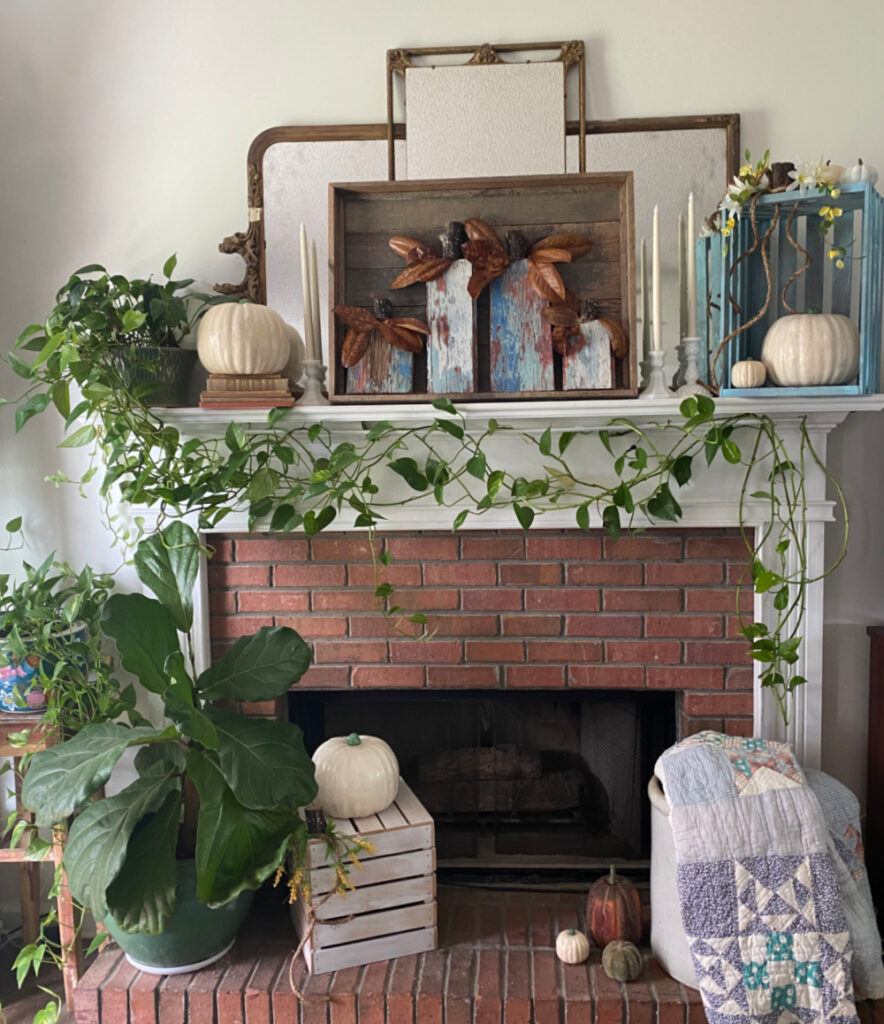
I finished of the mantle by adding these wooden crates from a project last month for the Thrift Store Decor Team. If you love super quick and even easier projects, click on the photo to see that post.
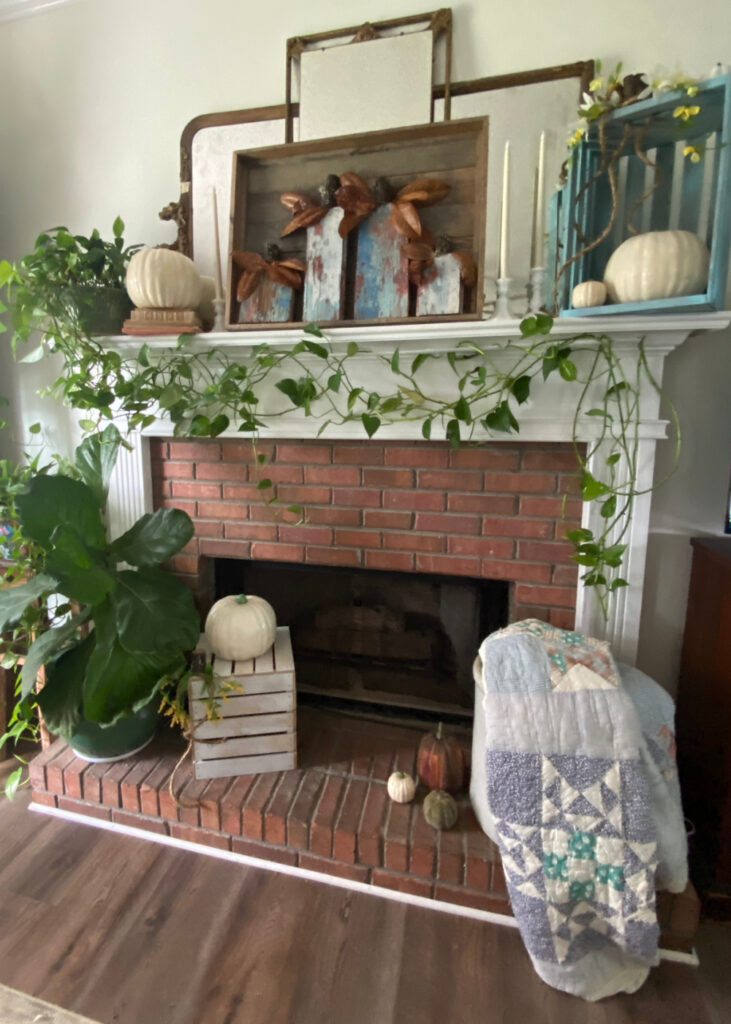
The mantle came together nicely.
Here in Alabama, the temperatures are just starting to drop to the mid 80’s. Being from Pennsylvania originally (Philly girl), I have a hard time jumping into fall with the vibrant traditional fall colors when I still have my a/c running full blast. So, a few years ago, I started easing into the fall season with neutral colors. I always gravitate toward blues and pale greens so I start with those colors and, of course, whites and beiges. But the time I’ve enjoyed these for a few weeks, we will be into the 70’s. And I can’t wait!
Guess what? Are you ready for some more projects and fall inspiration? How about 11 other posts from my Amazing Creator friends??
I’m joining friends, some new and some old, in sharing some October happiness. Below is a list of blogs joining me. Please swing by and meet some new friends. Enjoy the projects. Maybe learn a new skill. and definitely absorb the inspiration!
Shop at Blu -that’s ME! You are here!
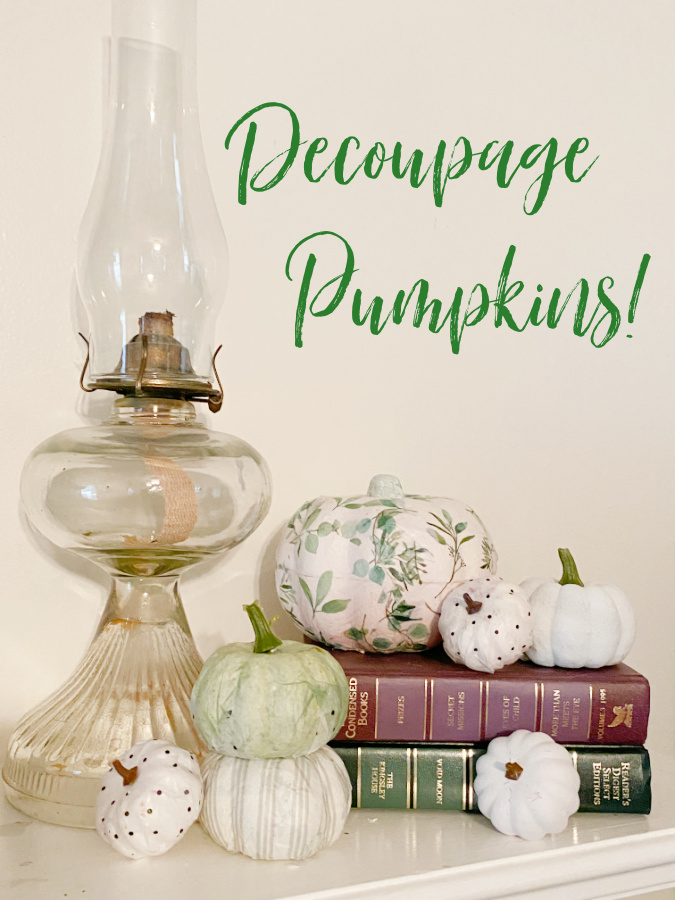
Here are some of my favorite fall projects from the past:




The paint on that old wood is just stunning. Love how these turned out.
Thanks, Rachel! I appreciate it.
Your pumpkins are absolutely darling! The colors of the weathered wood and those leaves are just too much! What a great way to welcome fall!
Thanks, Kim. I wasn’t sure the leaves would be light enough but they seem to work! Fun hop!
Your DIY pumpkins are adorable! This is such a great idea to upcycle old wood! They look perfect grouped in the tray! Pinning now!
Thanks, Donna. I thought the tray would be different than just plopping them on the mantle!
These look great! I love a repurpose project! laura in Colorado
Thanks, Laura. I just couldn’t part with this wood!
Love your pumpkins! There’s nothing like the colors and textures of reclaimed wood!
Thanks, Ann. I agree…you never know what’s under the top layer.
What a cute idea! I really love the patina and all of the layers of paint on the pieces of wood you chose to make into pumpkins! Also…I’m admiring your pothos vines!! WOW!!! Love how you draped them along your mantle! Genius!
Thanks, Stephanie. I’m a patina girl. And the pothos has grown so quickly that I don’t have any room for more pots so this is my option. Glad you like it! There’s great light there. I don’t know where I’m gonna move it for the holidays!
I love old wood too. Such a cute idea for fall.
Thanks, Sharon! Fun hop!
Your mantle is brilliantly simple and elegant! So glad you were able to save some of that wood; that patina is amazing! Thanks for the tip on the silicone finger protectors; those are a fingerprint saver for sure lol!
Thanks, Sara. It’s all about that patina!!
This looks amazing.
You are so kind! Thanks, Carol.
You had me at vintage and antique wood, Sue! I love the patina and weathered character these pieces have, and the endless possibilities to use them into our homes, whether as is or repurposed. And I simply adore how you’ve repurposed some of your old wood into beautiful pumpkins for fall!
Thanks, Kristy. It’s these little things that make our styles unique.
These pumpkins are simply adorable! Now I wish I would have kept more old wood from the farm! Thanks for sharing this adorable idea!
Thanks, Kim! It was an easy project.
What a great way to use up some of that scrap wood we all seem to have around. With the old paint, it made the rustic look even better.
Thanks, Rosemary! Fun Hop, great variety!
Love your pumpkins. You are right, the patina is so pretty.
I appreciate you stopping by! Thank you!