Fun Fall Resin Projects
As an Amazon Associate and member of other affiliate programs, I earn from qualifying purchases.
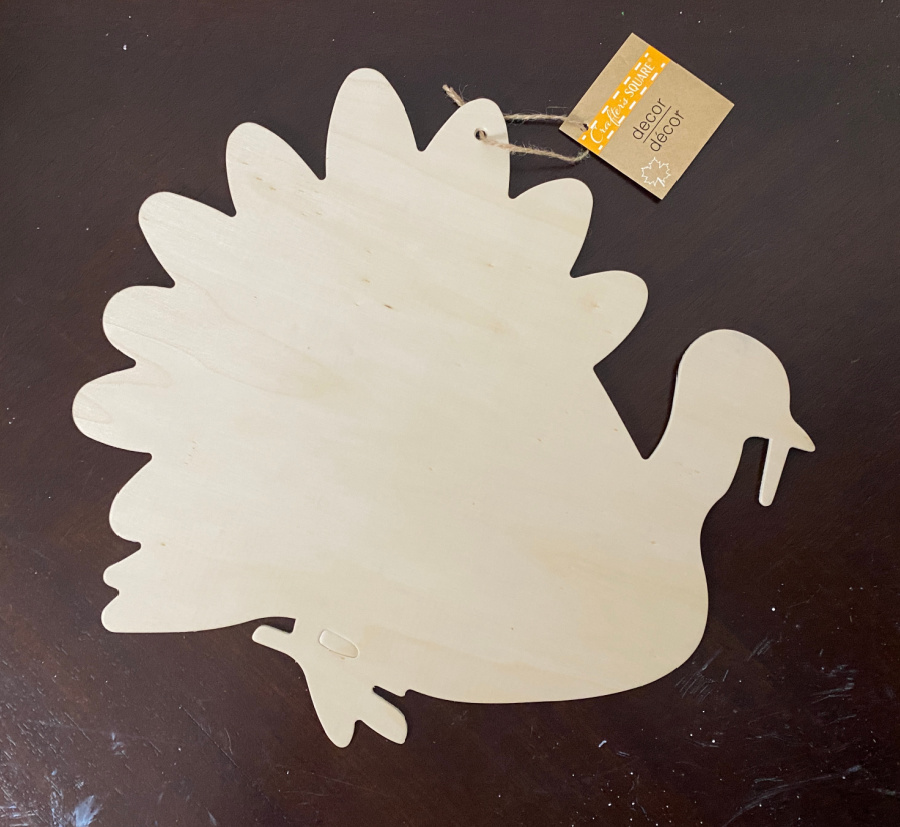
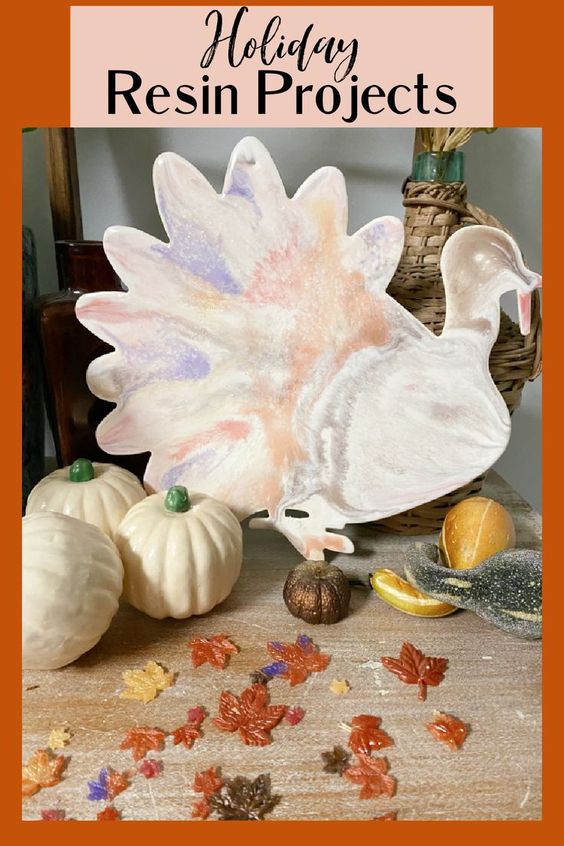
I needed some unique Thanksgiving decor so I decided to use some of my resin supplies to get ready for the holiday. I found this wooden turkey form at the thrift store. I have also seen them for sale at The Dollar Tree. I thought he would make a great door hanger or accent for my mantle decor. I may even use him in a centerpiece but I will finalize that plan after I see how he turns out. Lets get buys with some resin projects!
Let’s dress this guy and have some fun with a couple of fall resin projects.
Today is Thrift Store DecorTeam Wednesday. What a great time to share this turkey upcycle!!! Remember to check out all of the projects from the Thrift Store Decor Team at the end of this post. What skills will you be introduced to this month? Let’s start with resin!
Past Resin Projects
I’ve been tinkering with resin on and off for the last 2 years. Here are a few recent posts:
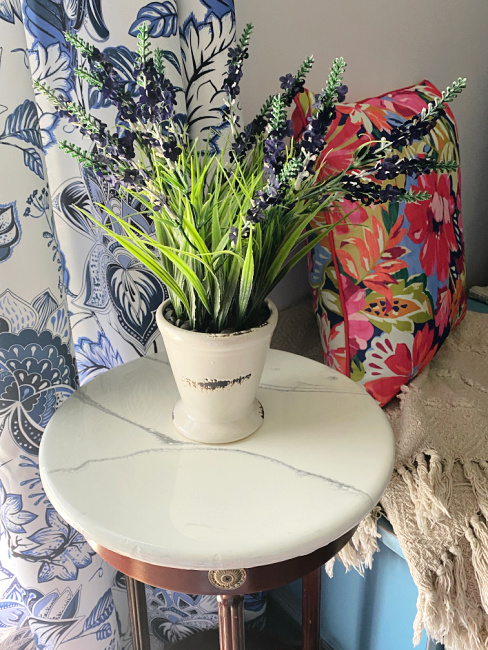
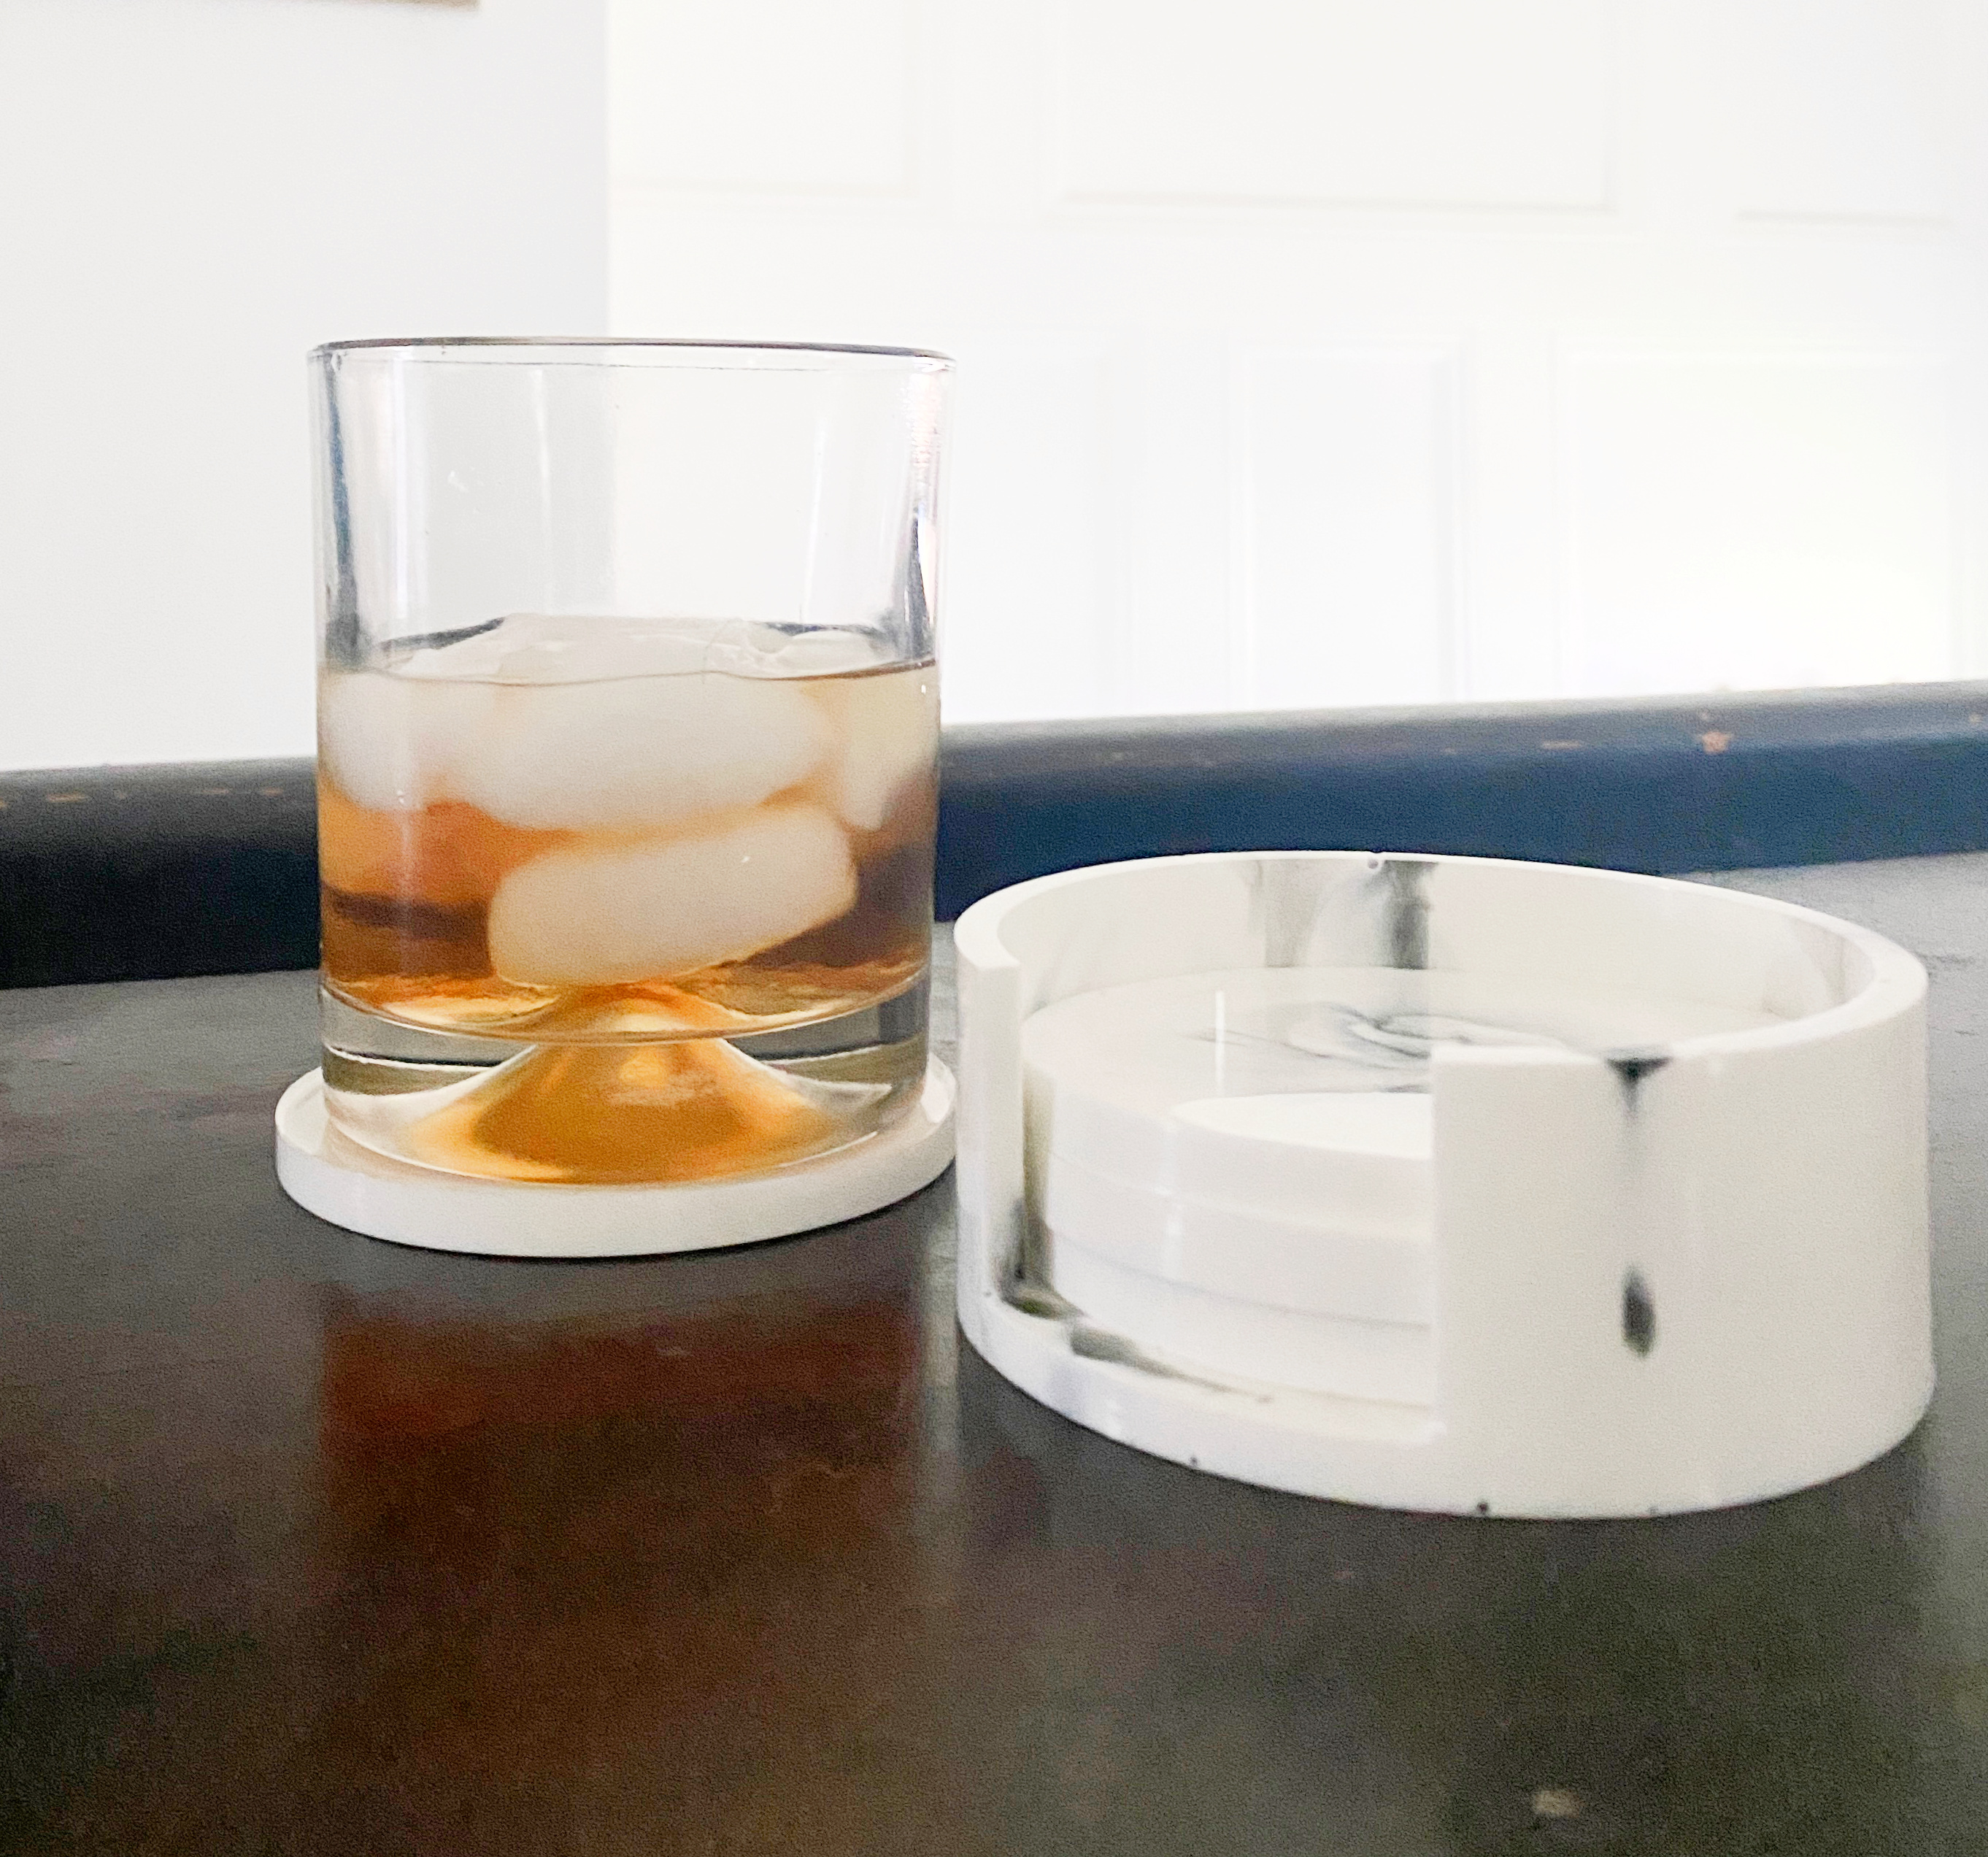
Since I went into detail in the posts above about the resin process, I won’t repeat that here. I’ll just share the basics and variations pertinent to this project. I’ll share the turkey project first. I used the excess resin from the turkey to make resin leaves to use for a tablescape and to scatter around on my side tables.
Prep Your Turkey
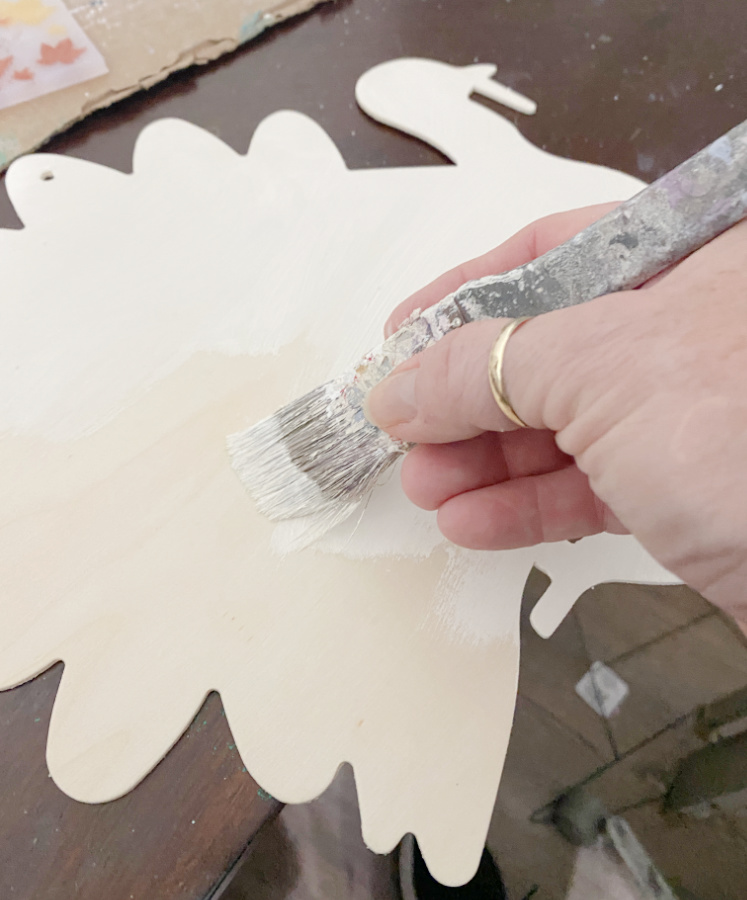
I gave the turkey a base coat of white since I would be starting with a white resin base coat on this guy.
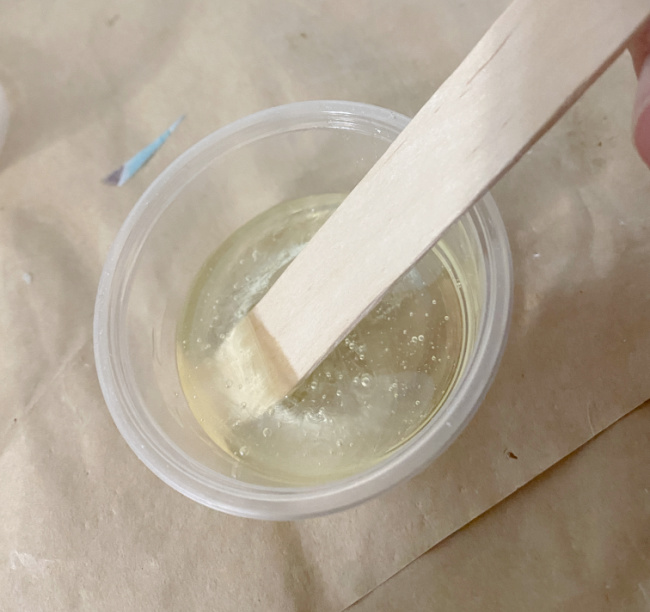
Once dry, I mixed enough resin to cover the turkey and use for additional colors.
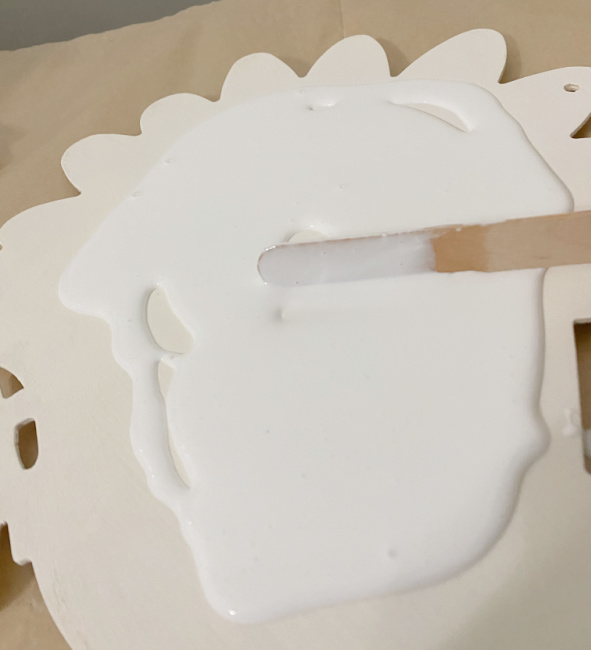
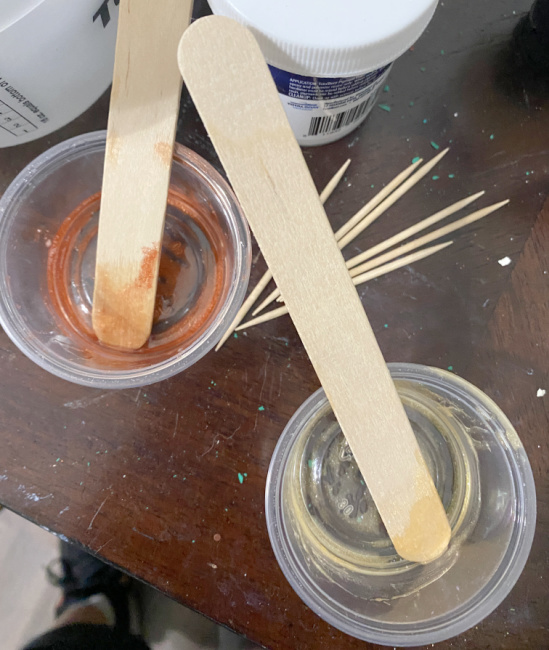
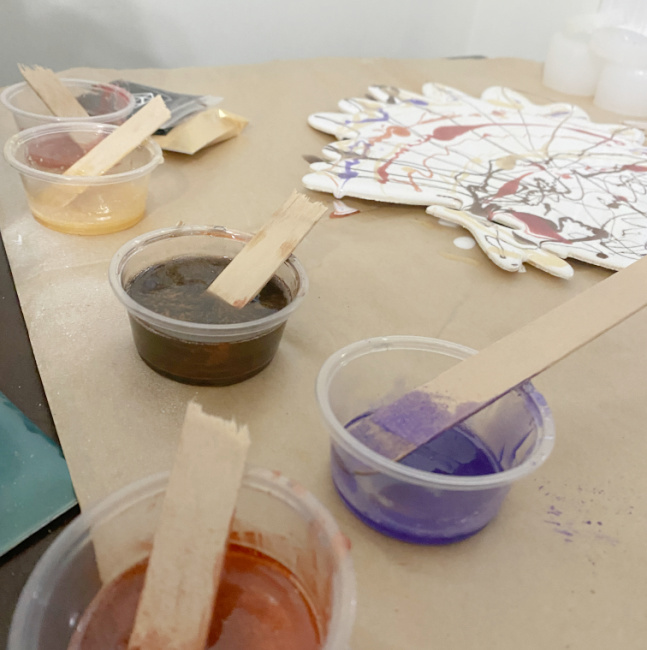
First I created the white resin base by adding white pigment dispersion in a large cup. I added resin to 6 small cups to use for my additional colors for the turkey. Pour the resin onto the turkey and use a spreader or stirrer to distribute it across the surface. Total Boat Maker Epoxy is self leveling.
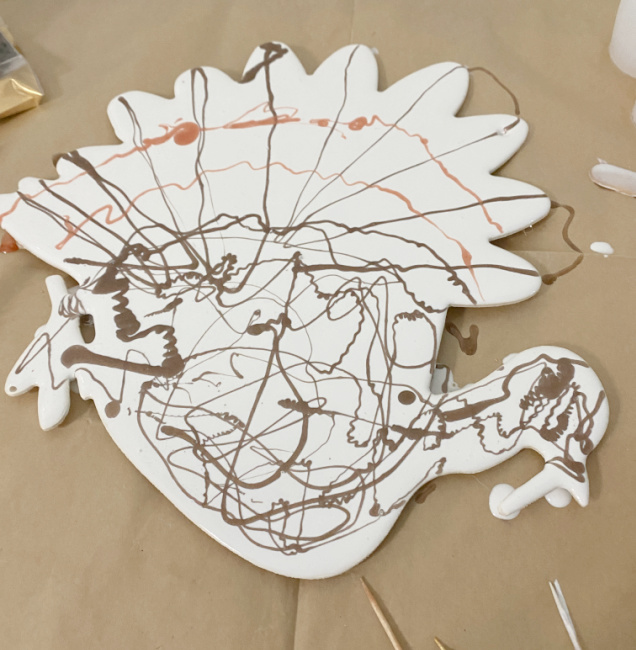
I added the brown first as a base for the turkey’s body. Then I added some color for his feathers. I used copper, gold, red, and a vibrant purple.
After you add your colors, you use a heat gun to move the color around. The heat gun also serves to release any bubbles from the resin that may have developed in the mixing process.
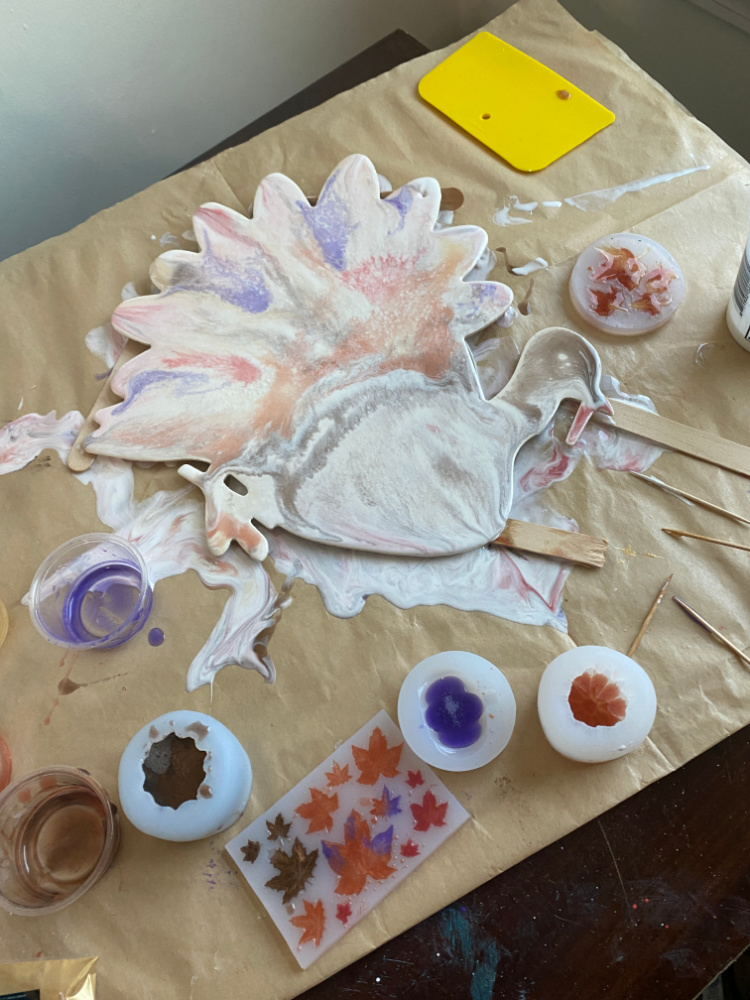
As the heat gun moves the colors around, it also distributes the base coat evenly across the wooden turkey surface. I added more color until I was happy with the result. Remember to set your turkey on something that lifts him off of the surface allowing the excess resin to run of the edges. I did have a part of the turkey that was stuck to the paper on the table. I just used a craft knife to score the edge and get him free.
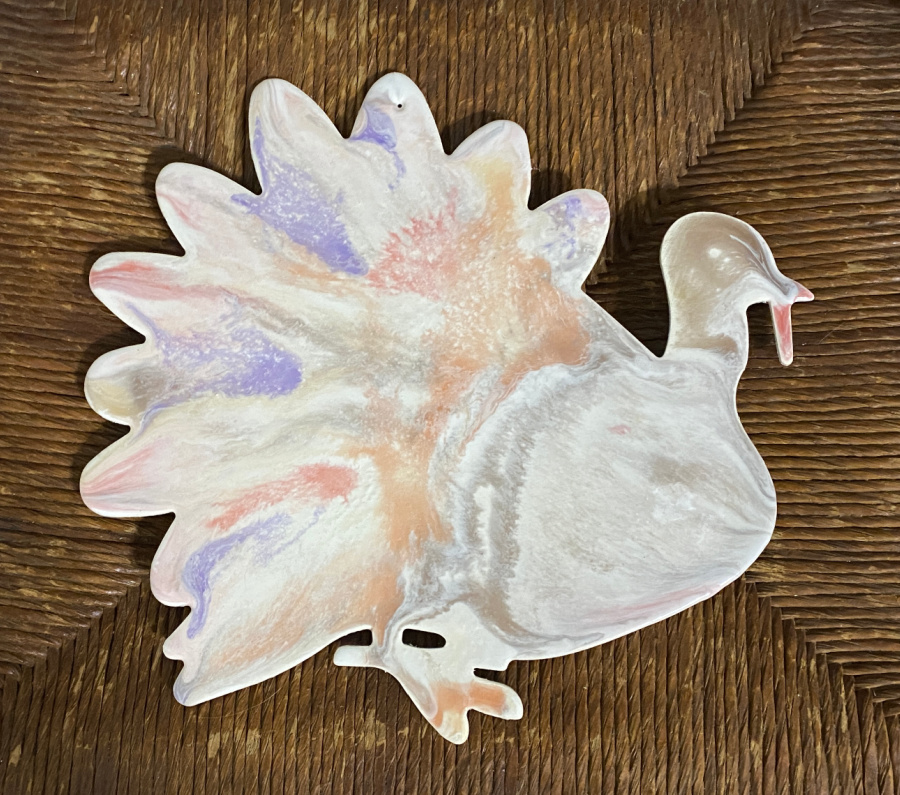
I poured the resin in the morning and when I checked just before dinner, the turkey was dry. Usually I let the pieces dry overnight. So I guess 10-12 hours is a good dry time. Allow more time for thicker projects.
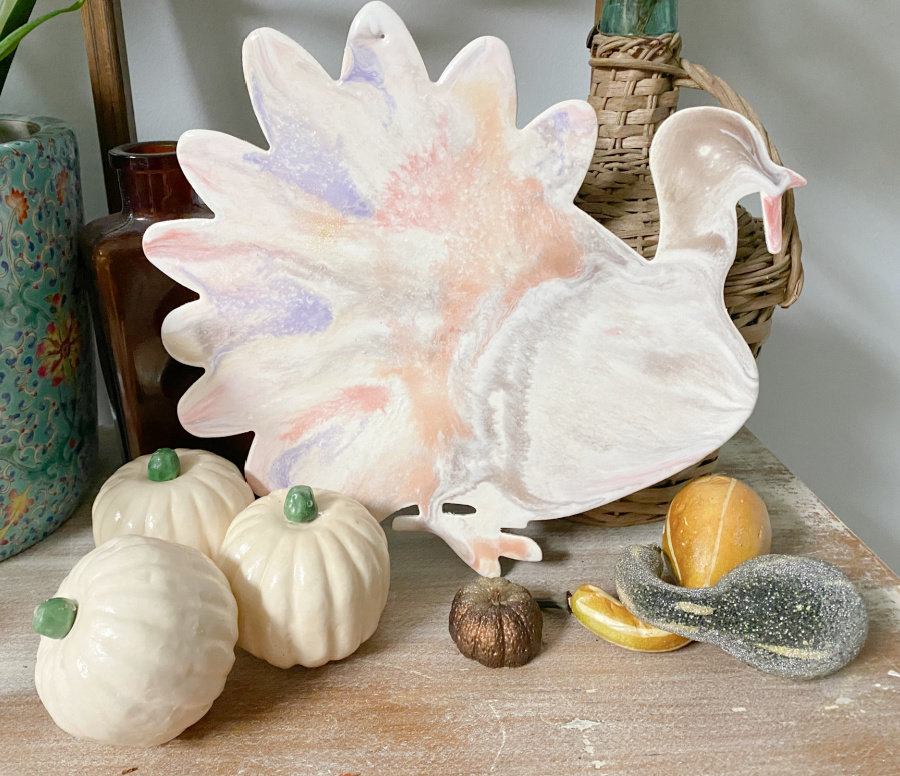
I am so happy with the muted colors. He is such a cutie!
Bonus Resin Project: Fall Leaves
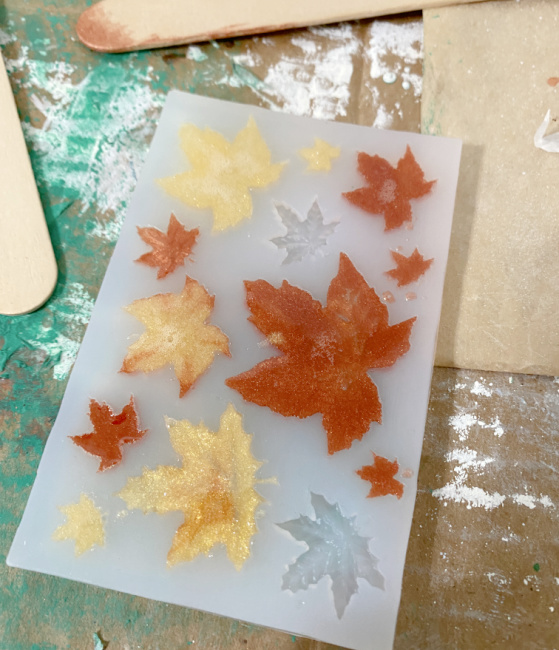
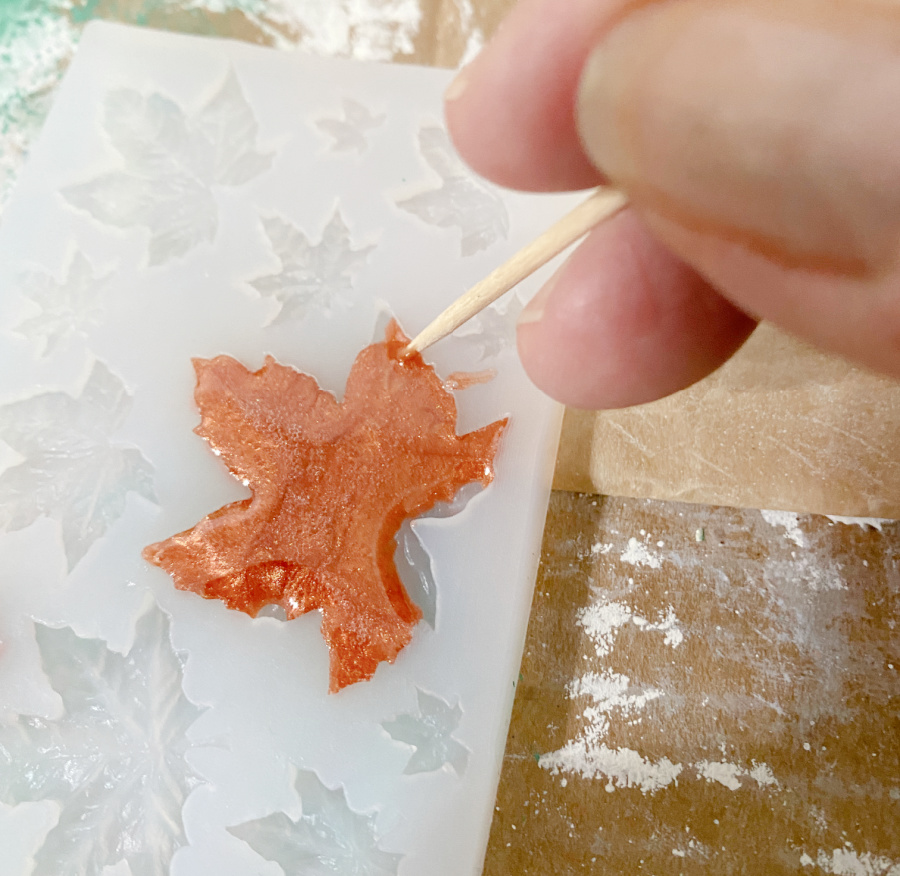
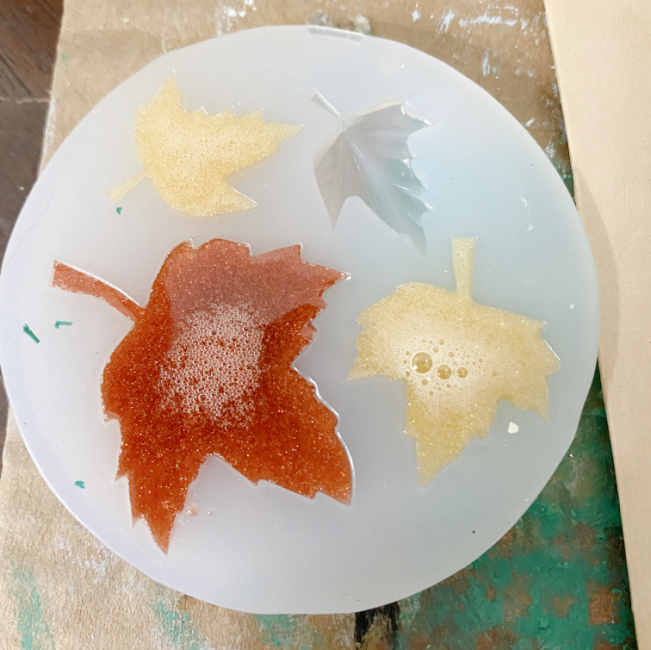
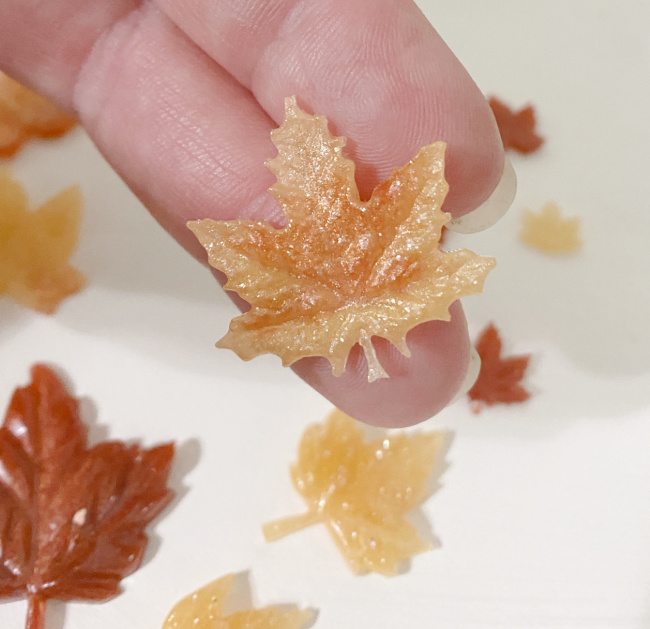
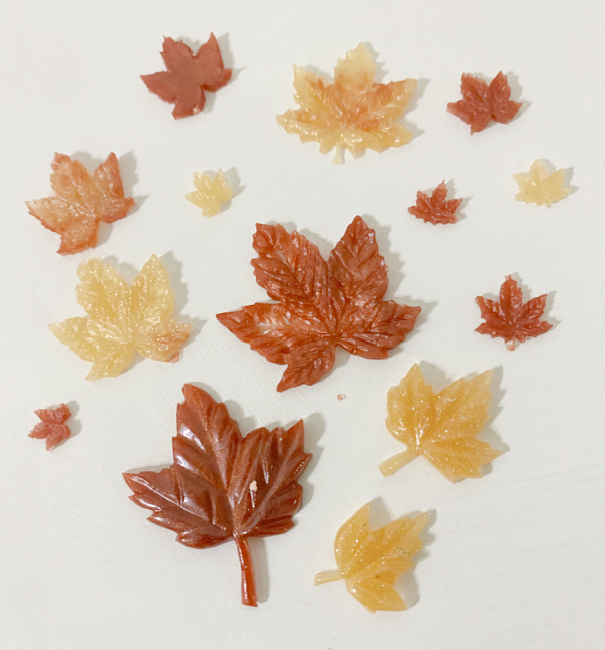
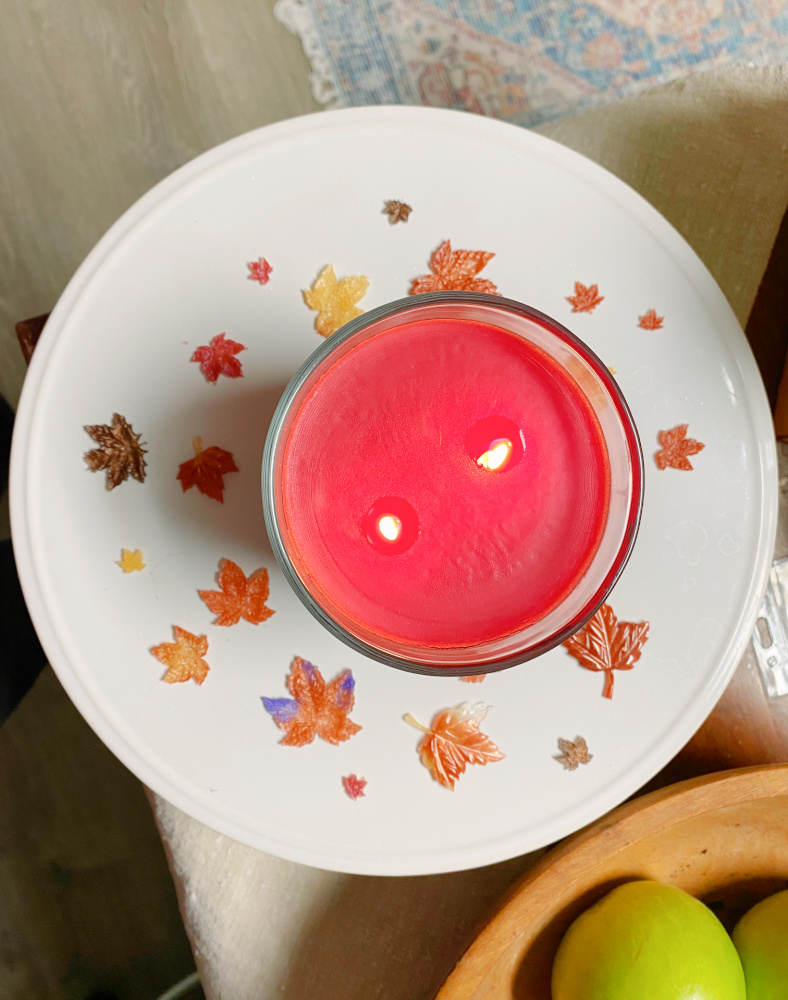
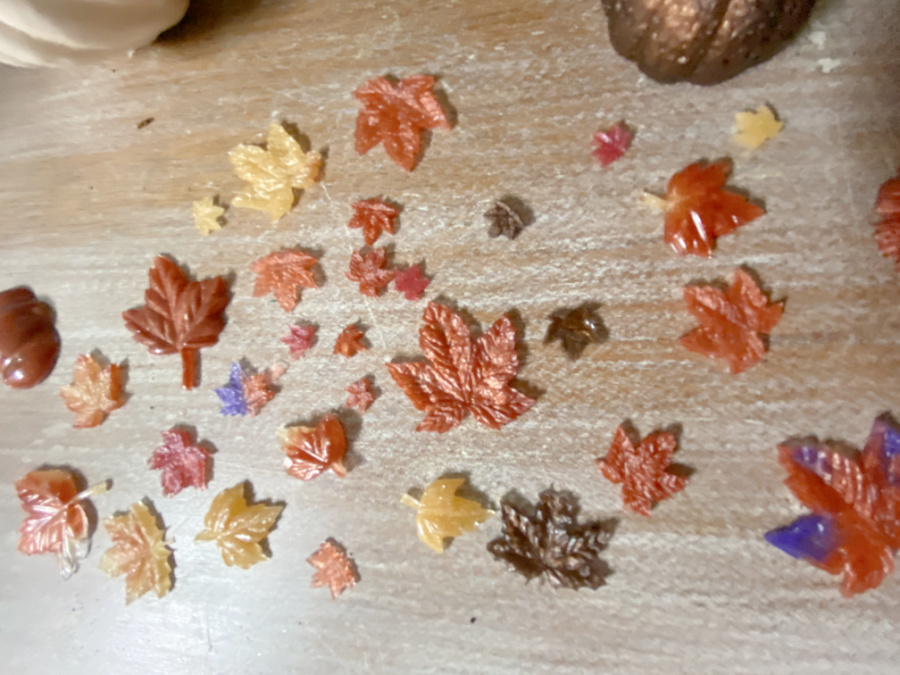
As promised, I used the excess resin to fill these little molds to make resin leaves for my tablescape. How cute are these?
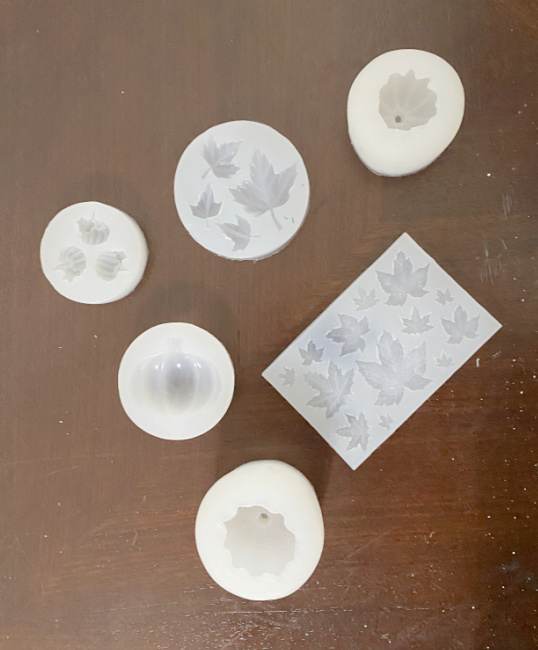
I found these silicone molds on Amazon. They come in many different sizes. I might need to grab some of the larger molds to make leaf coasters. These were perfect for using the left over resin from the turkey project. I will keep these handy for future projects. I mean, you need leaves in every color, right?
I used a toothpick to make sure the resin got into all of the pointy tips of the mold.
The heat gun will remove all of these bubbles.
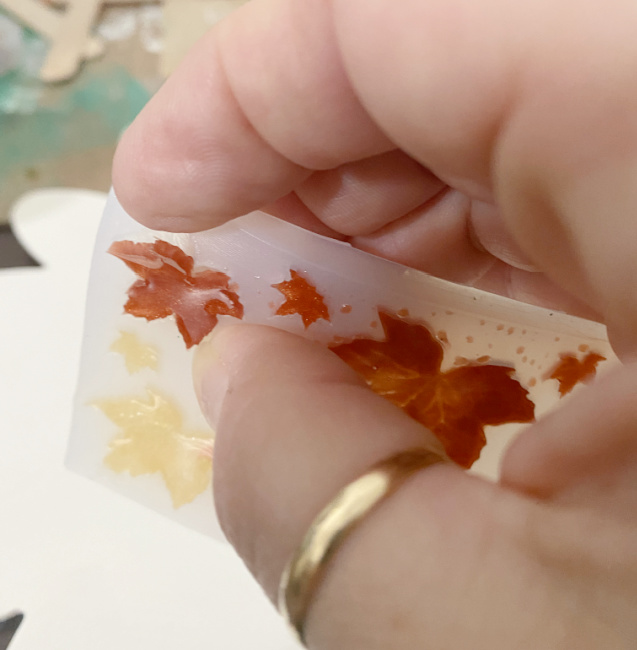
After the leaves were dry, they easily pop right out of the mold.
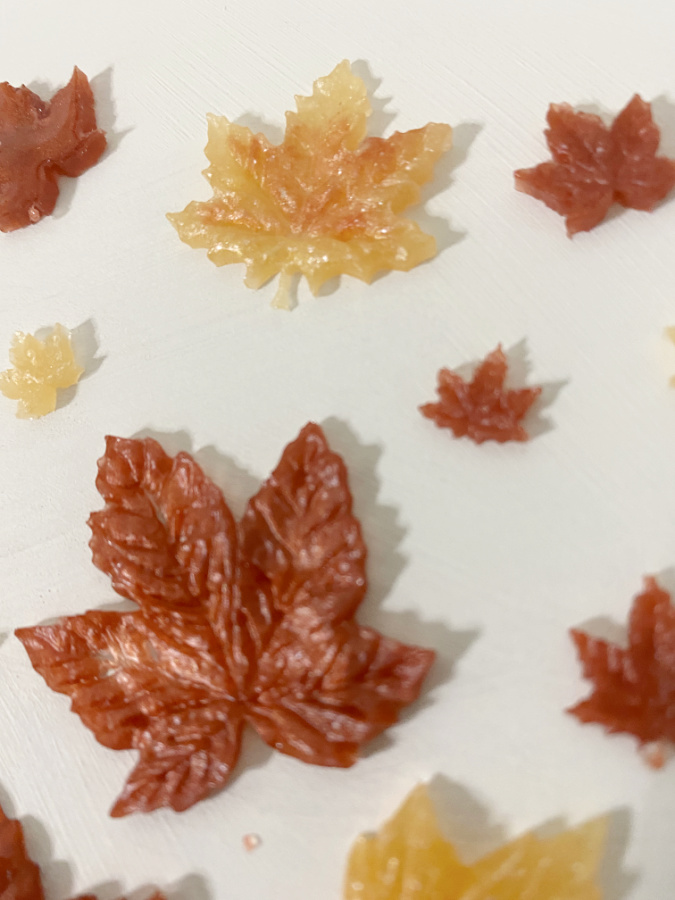
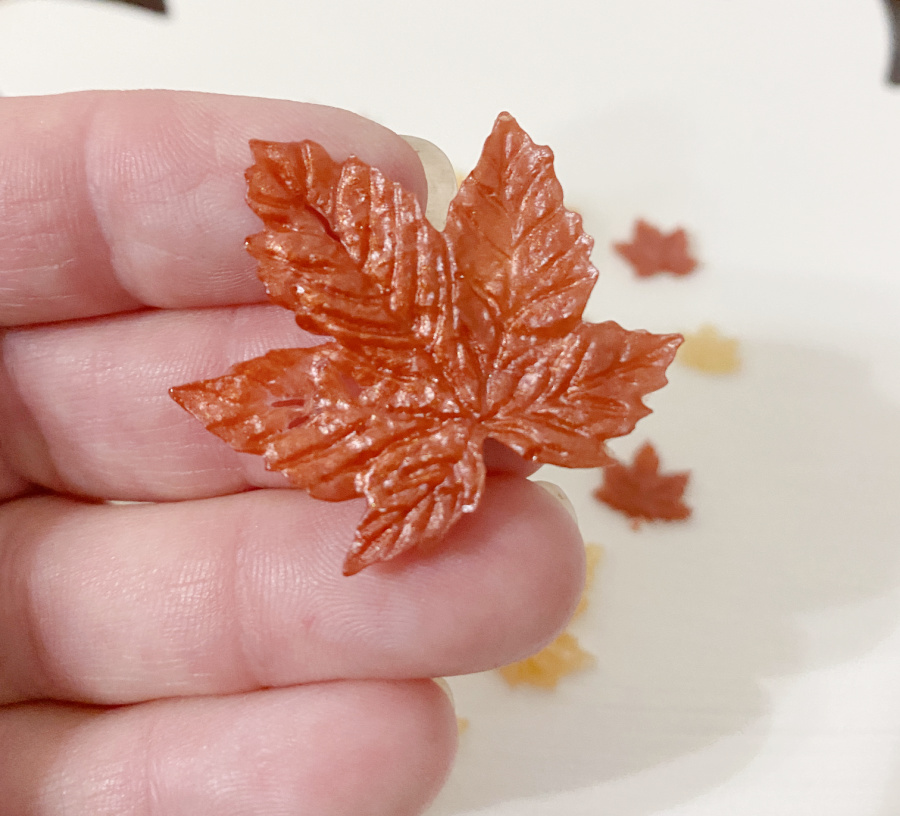
I was amazed at the detail on these little beauties.
I was even able to create a few two toned leaves.
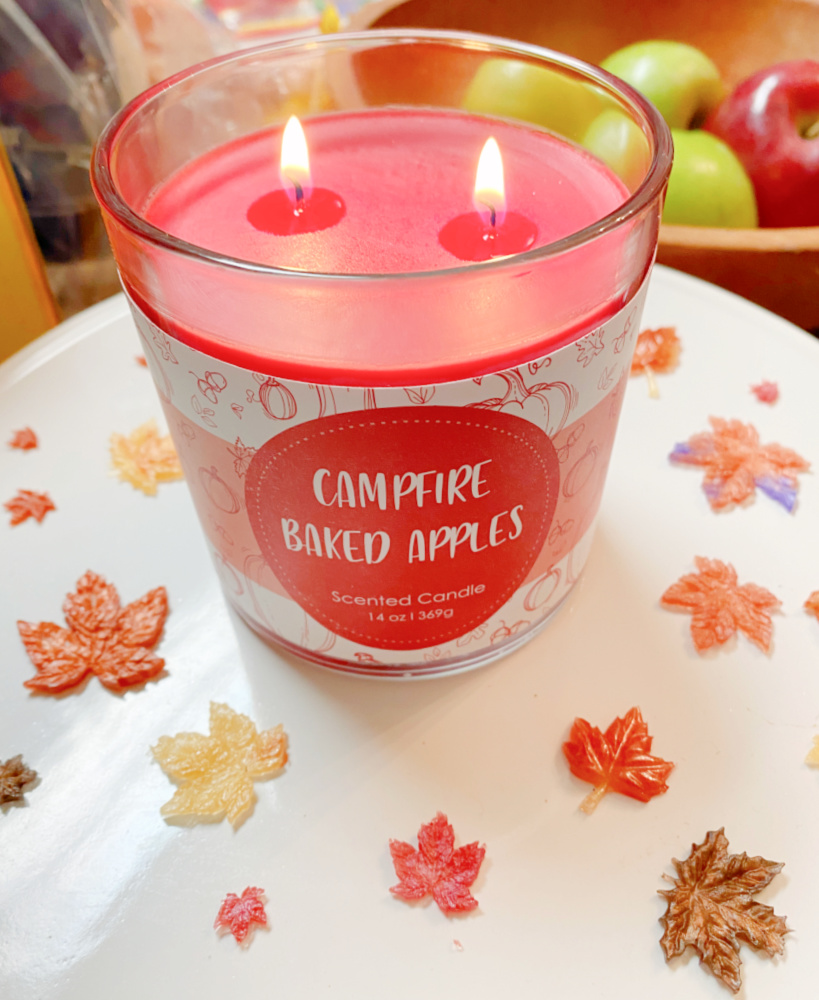
Scatter Your Leaves
THRIFT STORE DECOR TEAM
And here are the other projects from my wonderfully talented Thrift Store Decor Team members. Be sure to visit each friend and leave a comment on what you liked. We always welcome suggestions on what you would love to see next!




I have never worked with the resin. Really love the table leaf scatters! Pinned!
Thanks Carlene. They were super easy and I need to do some more!
Cute! I’ve never used resin. I’ll have to try it.
You will love it!
I love your cute turkey and the leaves. I really can’t wait to try out resin, I have so many ideas twirling around in my head 🙂
Once you try it, you will have so many more ideas! It is easy!
I have never tried working with resin, but I am so intrigued. This is such a cute craft for fall. Love the muted color of the turkey. I’m totally clicking over to see the details on the marble side table!
It’s one of those products where you try it and then everywhere you look you see potential. Thanks Christy.
Thanks Christy! You will love it!
Thanks Maryann. You will have a blast with resin!
Wow! I must say, I was a little skeptical when I saw the first image where the colors were added. Let’s just say, I know nothing about resin. lol
But the END result of the turkey is fabulous! Love it!
Also, think the resin leaves turned out oh so cute!
question???
are the turkey and leaves fragile? As I said I know nothing about resin.
Pinned!!!
gail
The resin is quite durable. It’s commonly used for counters and table tops so it’s quite fun to use it on smaller projects. And it is quite amazing because the final always looks so very different from what you start with. Thanks Gail!