Faux Vintage Ceiling Tile Christmas Ornaments
As an Amazon Associate and member of other affiliate programs, I earn from qualifying purchases.
Less than 2 weeks until Christmas! How are you holding up? Today I’m sharing a thrifty fun project that could come in handy for you. If you are here for the Ornament Exchange Blog Hop, welcome! I’m so glad you stopped by. At the end of this post, you will find links to the other ornament projects! So fun!
During the hectic holiday season it is difficult to do it all. Between shopping, hosting, attending celebrations, visiting, working…there is so much to do. Here is a simple craft that can literally be done in about 5 minutes, costs less than $5, and can be multi use as well. The end product faux vintage ceiling tile trees can be used as ornaments, gift tags, or simply embellishments for gifts, cards, and many other purposes. Let’s make some faux ceiling tile tree ornaments.
Find a Good Faux Vintage Ceiling Tile Source
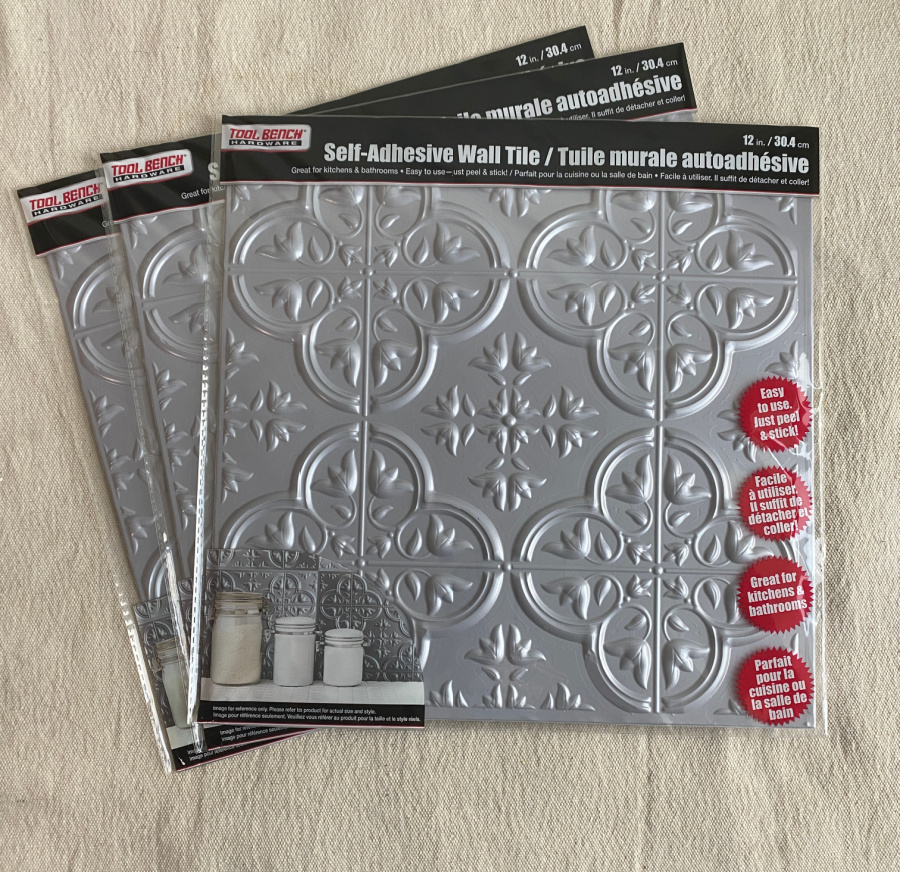
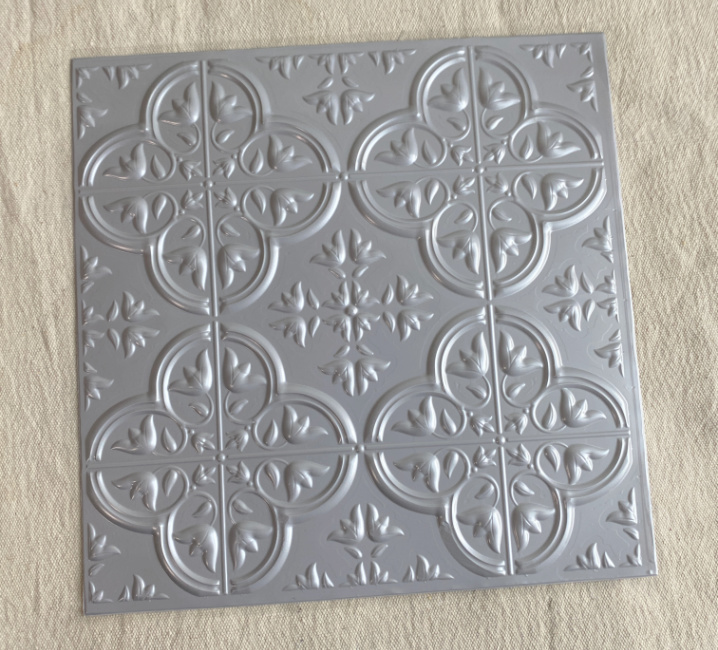
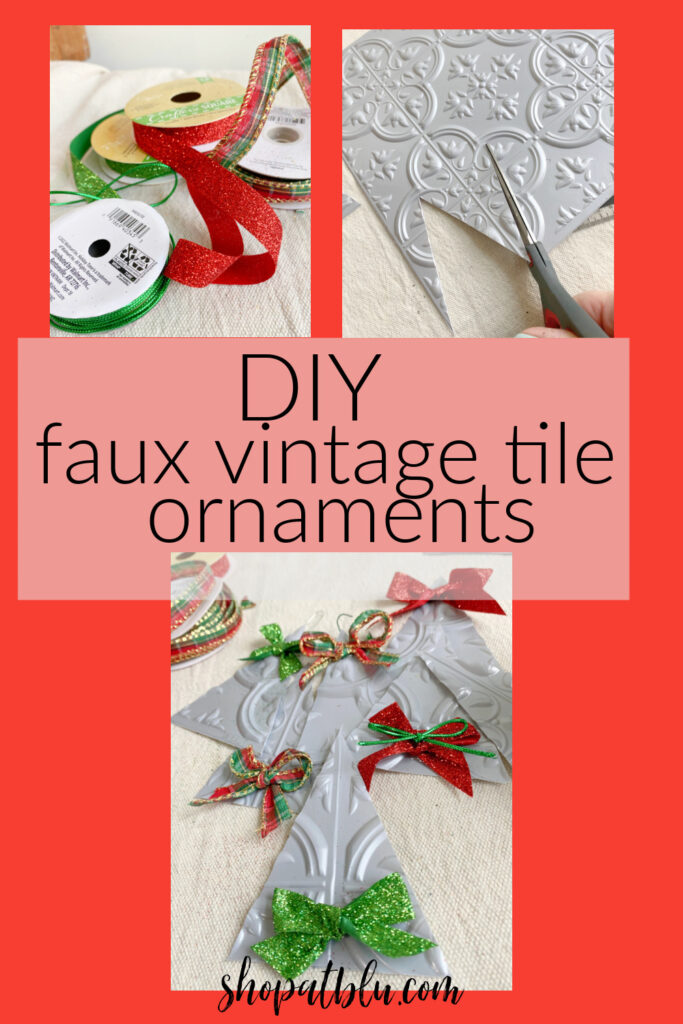
I started this thrifty project like so many others…with a trip to The Dollar Tree. I had seen these peel and stick panels a while back and as luck would have it they still had a supply.
<
At $1.25 per sheet, I can make about 20 trees per sheet!
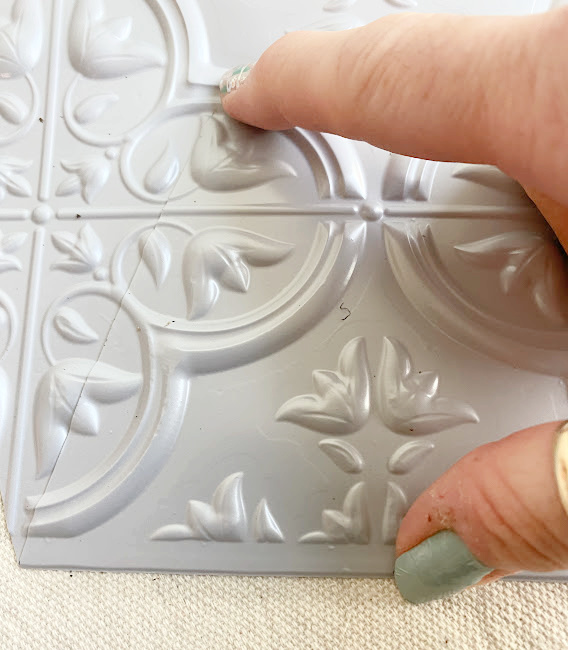
You can make your trees as large or as small as you like. I decided the 3 inches wide by 4 inches tall would be a great size. So I marked those measurements on my tile sheet.
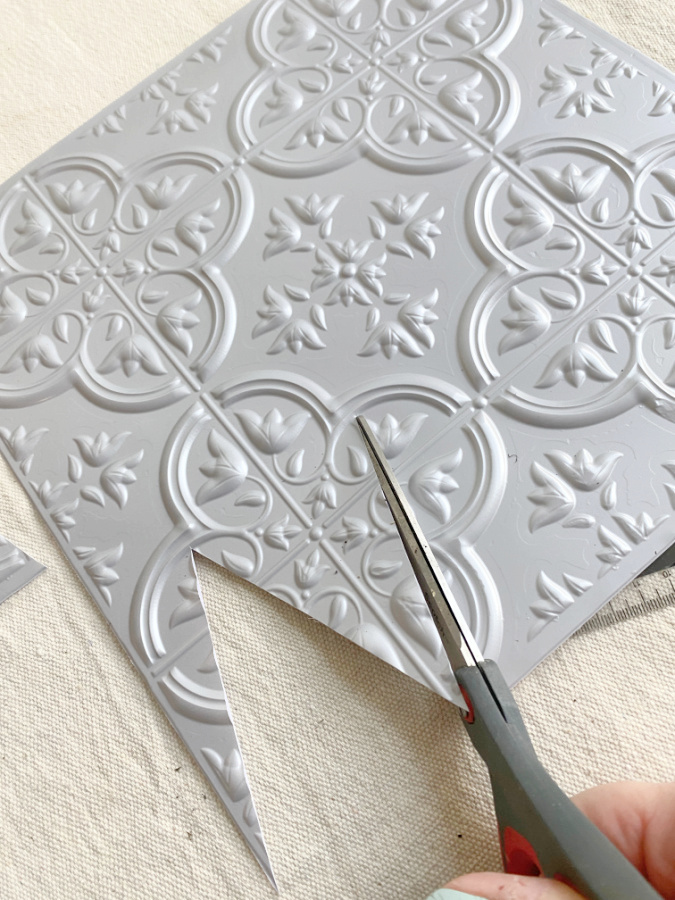
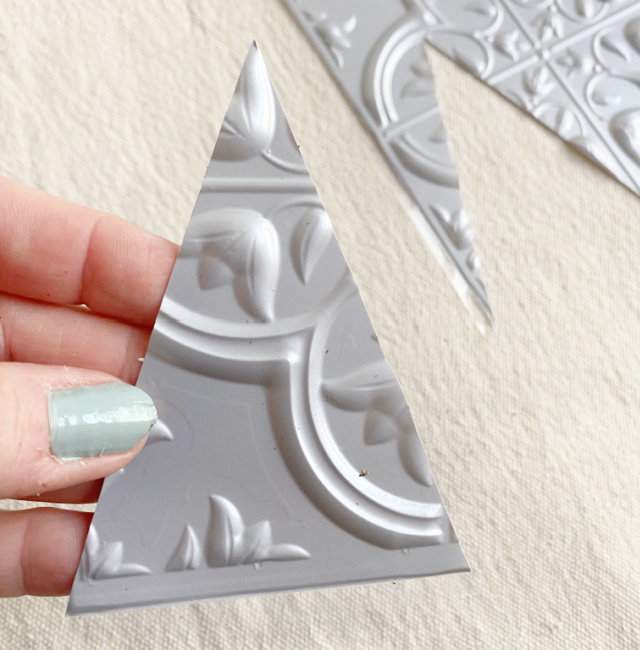
And then I cut out the simple trees. You can’t get any easier than straight lines.
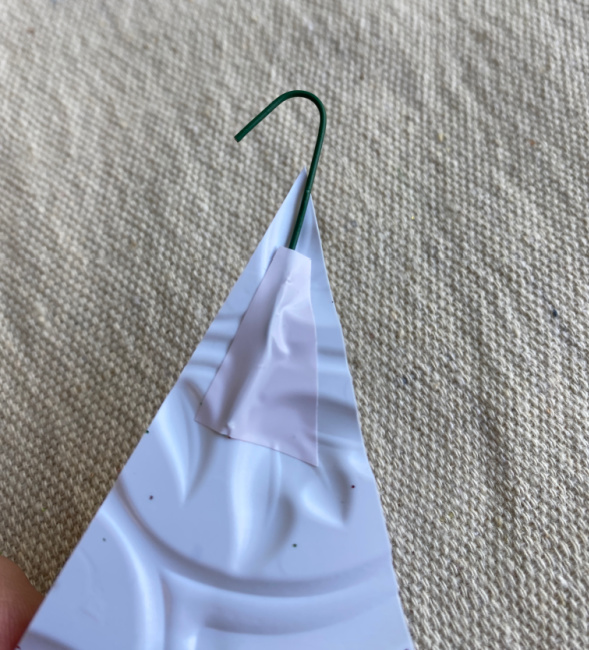
I also attached and ornament hook to the back of each tree. I just didn’t want to poke holes for hooks. So I used some hot glue. But I caution you to use a tiny tiny dab as the glue is very hot and can melt the plastic of which the tiles are made. So go easy on the hot glue.
There is adhesive on the back of the tiles as they are designed for use as a back splash. So you could simply use that to secure your hook like I did in the photo below.
Either method works.
Should you opt for hot glue and end up using too much causing a melted spot, you could just glue your bow over that spot! How’s that for going with the flow???
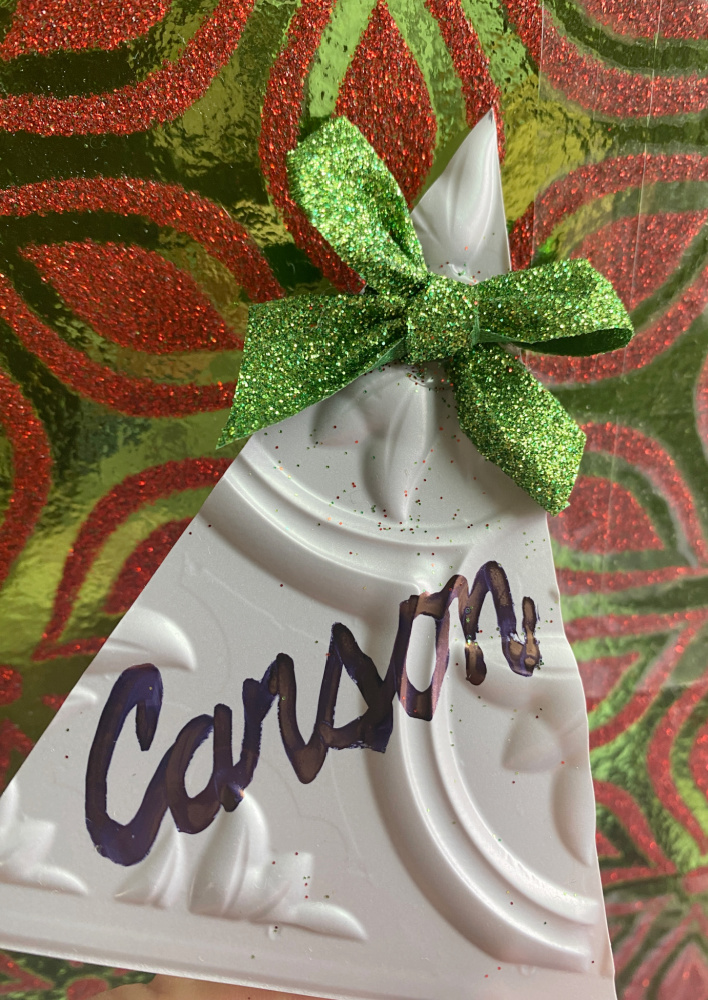
The last step is to embellish your trees though they would look nice left as is. To embellish the trees, you could use buttons, glitter, ribbon, or just about any of your favorite supplies.
Here are some suggestions:
- antiquing glaze
- ribbon
- buttons
- glitter
- paint markers
- fake snow
- beads
- twine
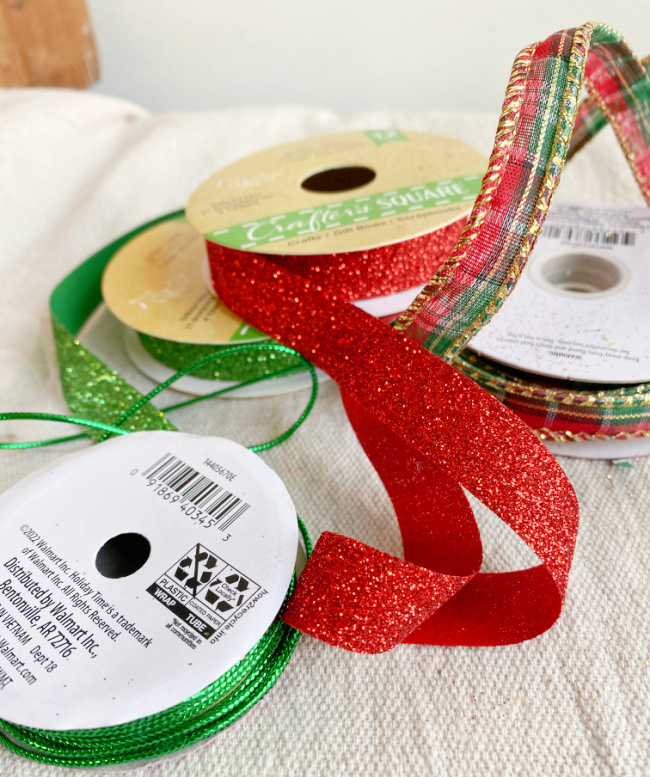
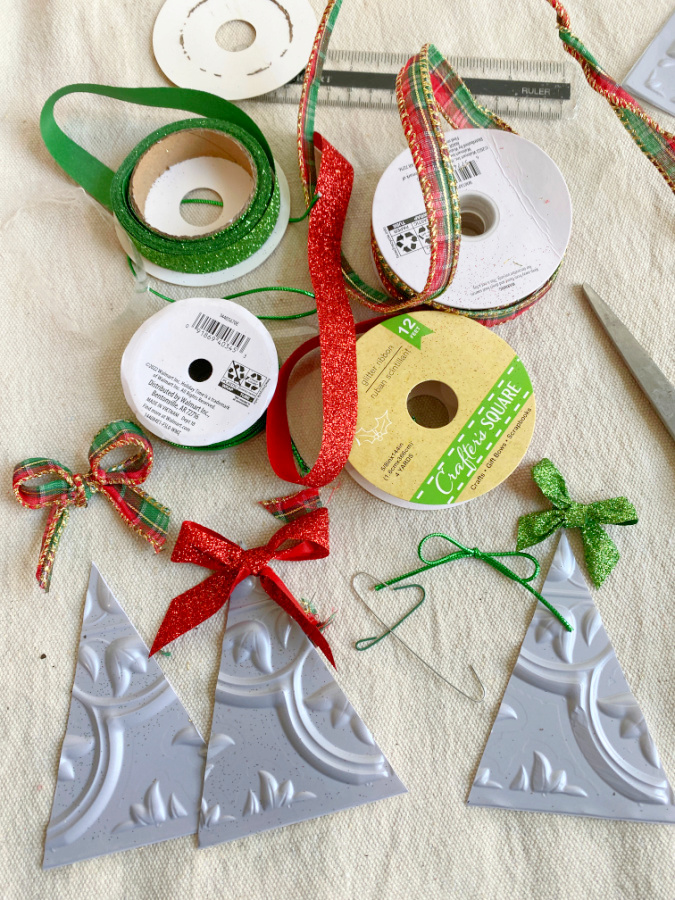
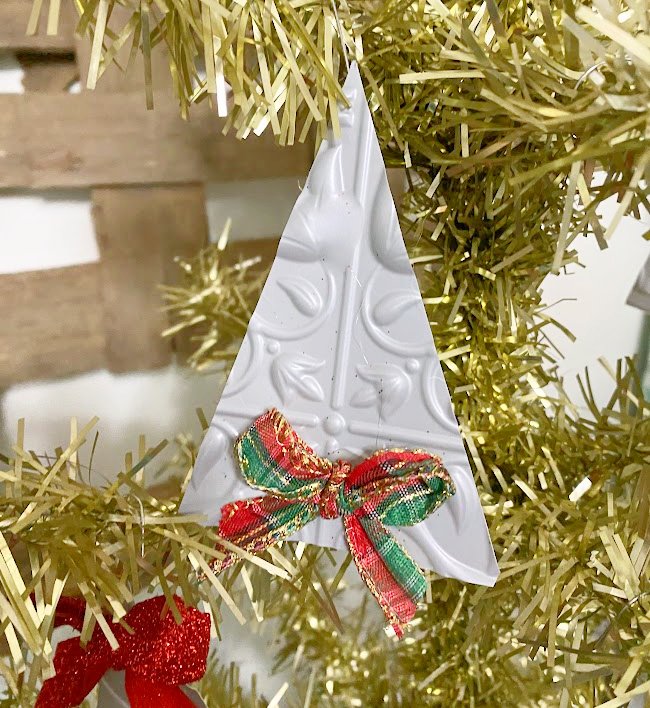
I grabbed some Dollar Tree ribbon and made a few small bows.
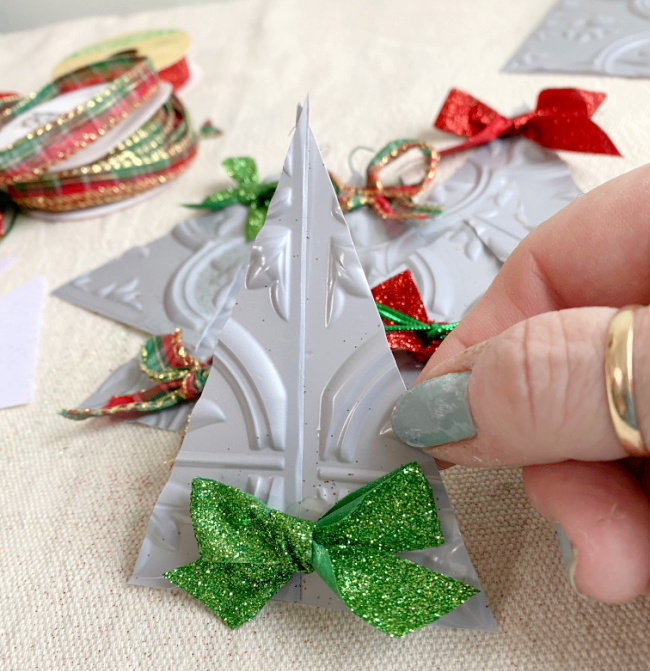
I alternated gluing them to the top and bottom centers of the trees. The variety of Christmas colors meshed nicely.
My ornaments turned out so cute!
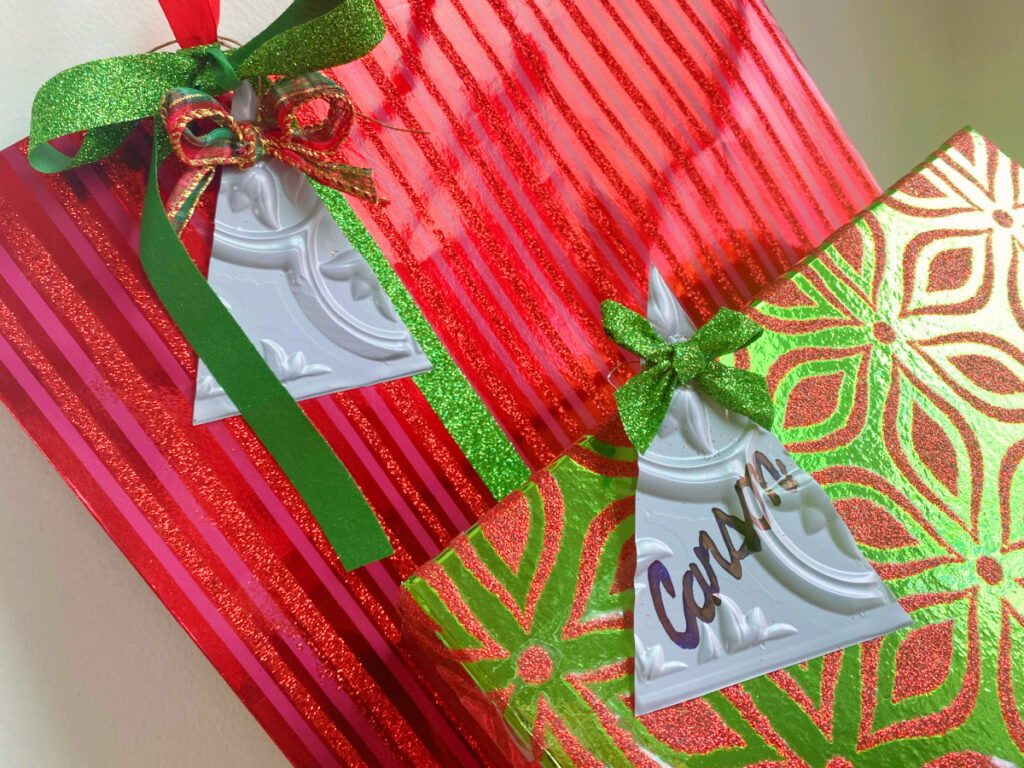
I decided to use some as gift tags.
And some to embellish gifts.
I hope you’ve enjoyed this quick and thrifty and multi-purpose project!
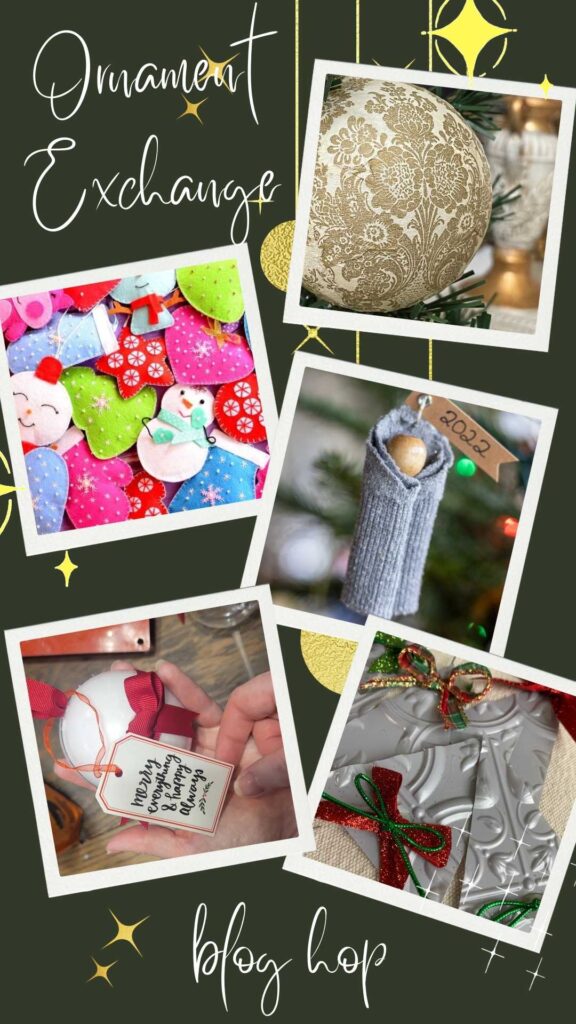
Below are some other ornament projects from years past. Just click on the photo to see the post.
And, as promised, here are the links to the other ornament projects for the Ornament Exchange Blog Hop. thanks to Juliet from A Loverly Life for coordinating this event. Happy Holidays!
A Loverly Life
Shop At Blu – That’s Me!! You’re here!
An Organized Season
From Farmhouse to Florida
This Dear Casa









Such a fun project, Suzanne! Thank you so much for sharing it as part of the Ornament Exchange Blog Hop this month.
Wishing you and your family a loverly holiday season.
Sending long distance hugs, too!
Always fun hops! Merry Christmas!
Sue, these ornaments are so cute, They look like they were made from real ceiling tiles! I’ve seen the fauz ones at Dollar Tree before, I hope they still have them since I have an idea for how to use them now! Thanks for sharing!
I really was amazed at how authentic they look. You could take it a little farther with some antiquing glaze and paint! Thanks Donna!
What a great idea! The vintage look is very charming. Wishing you a Merry Christmas!
Thanks Marie! Merry Christmas!