Fall Pumpkin Wooden Crate Project
As an Amazon Associate and member of other affiliate programs, I earn from qualifying purchases.
As Fall approaches, I can feel the urge to create something to celebrate the cool, crisp air as it arrives. The problem, at least here in Alabama, is that COOL HAS NOT YET ARRIVED! And so, as always, I am having a hard time jumping onto the “IT’S FALL” bandwagon. I just CANNOT fully embrace the lovely oranges and rustic tones until I can actually really enjoy them. And so, this little project, while it is certainly fall themed, will have more of an alternate color scheme. Bear with me friends, I’ll get there…it’s just gonna take some cooler temperatures. In the meantime, I’m going with my pumpkin color theme from past years. You know I’m a BLU girl, so here we go…let’s throw together a lovely little fall pumpkin wooden crate project for the entryway. Since I’m not limiting my colors to strict fall colors, this wooden crate can go anywhere! Let’s ease into fall with this wooden crate pumpkin for my entryway!
What better time to create decor that can be used anywhere in your home??!!! It’s Thrift Store Decor Team Wednesday!! If you are new to my blog, WELCOME! On the second Wednesday of every month, my incredibly creative and talents friends and I each post a project that is a thrifty upcycle, or a decor hack, or just a budget conscious decor idea. We love introducing you to new skills, tools, methods and products that we use in our thrifty decor oriented lives.
Check out all of the new posts from the team at the end of this post.
Vintage or New Wooden Crate
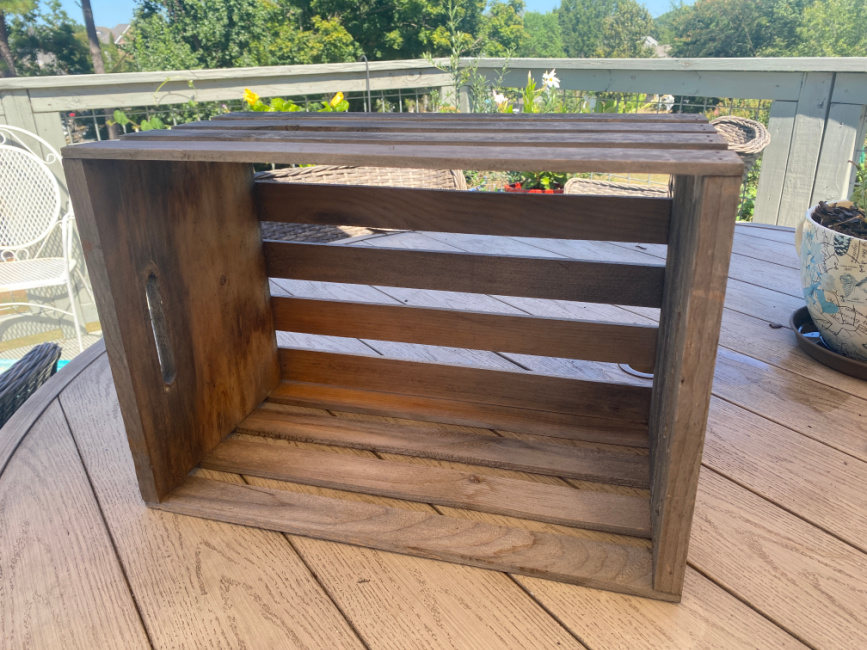
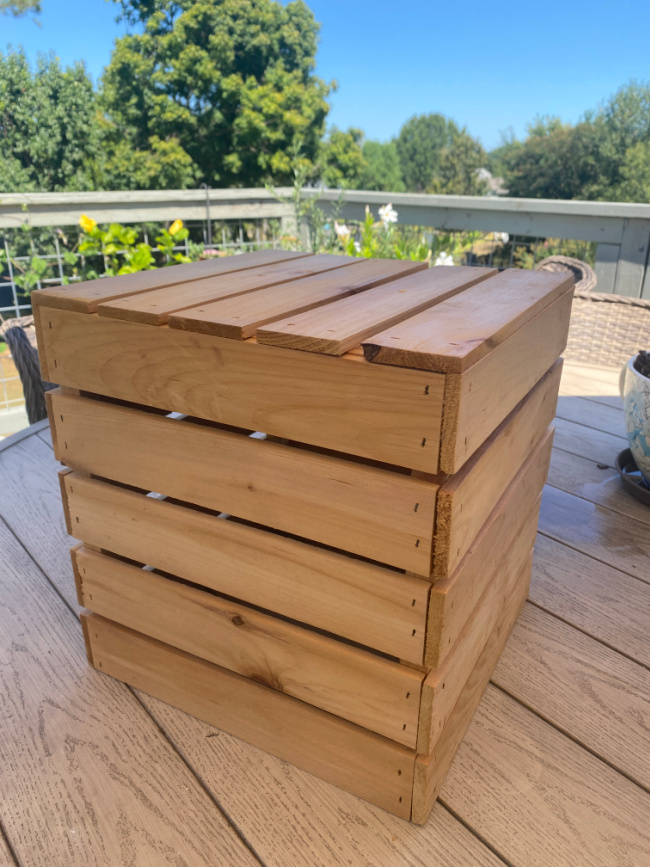
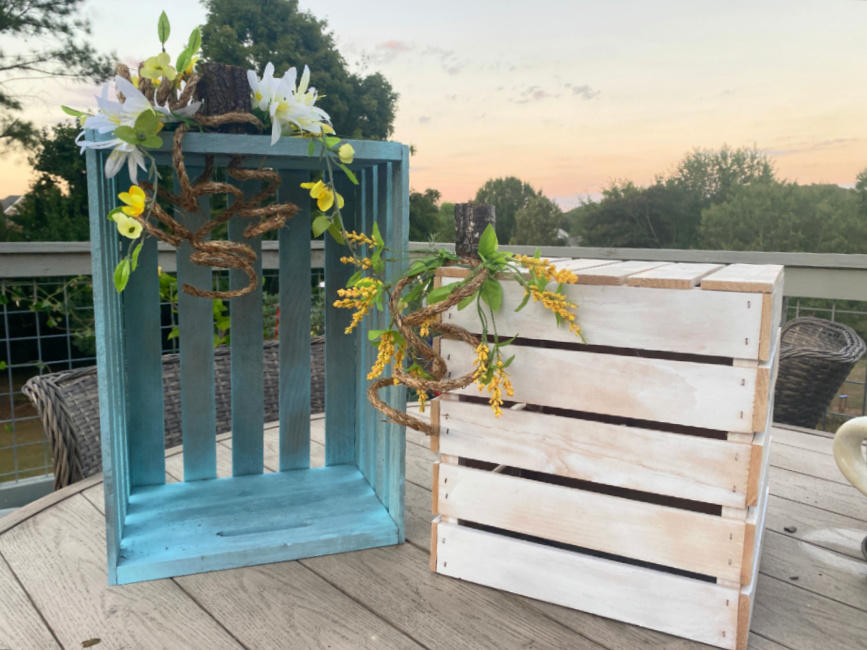
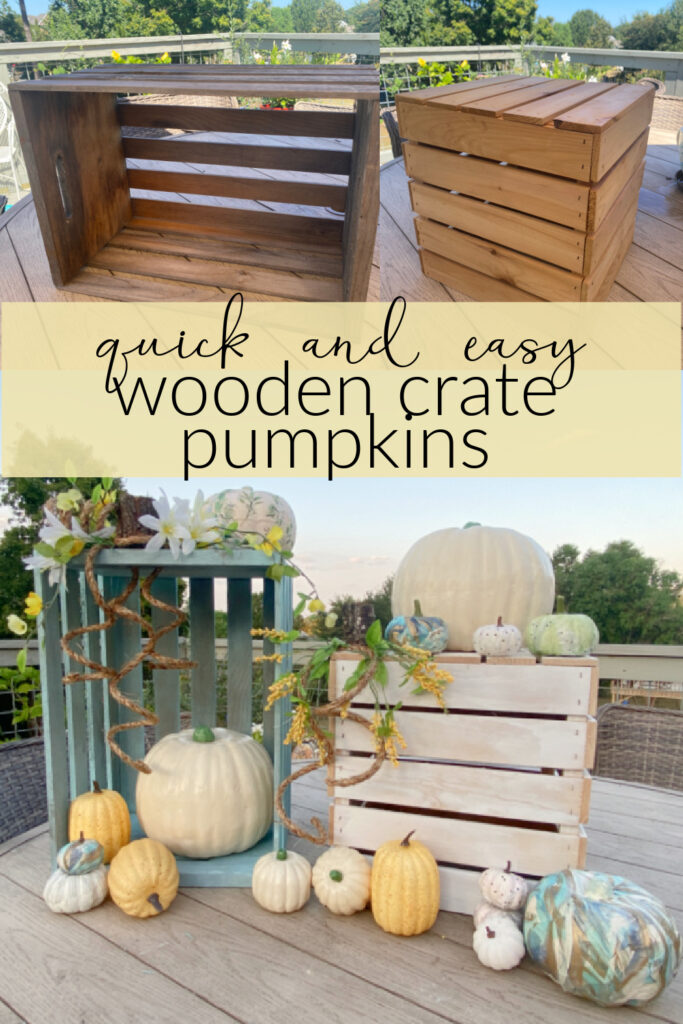
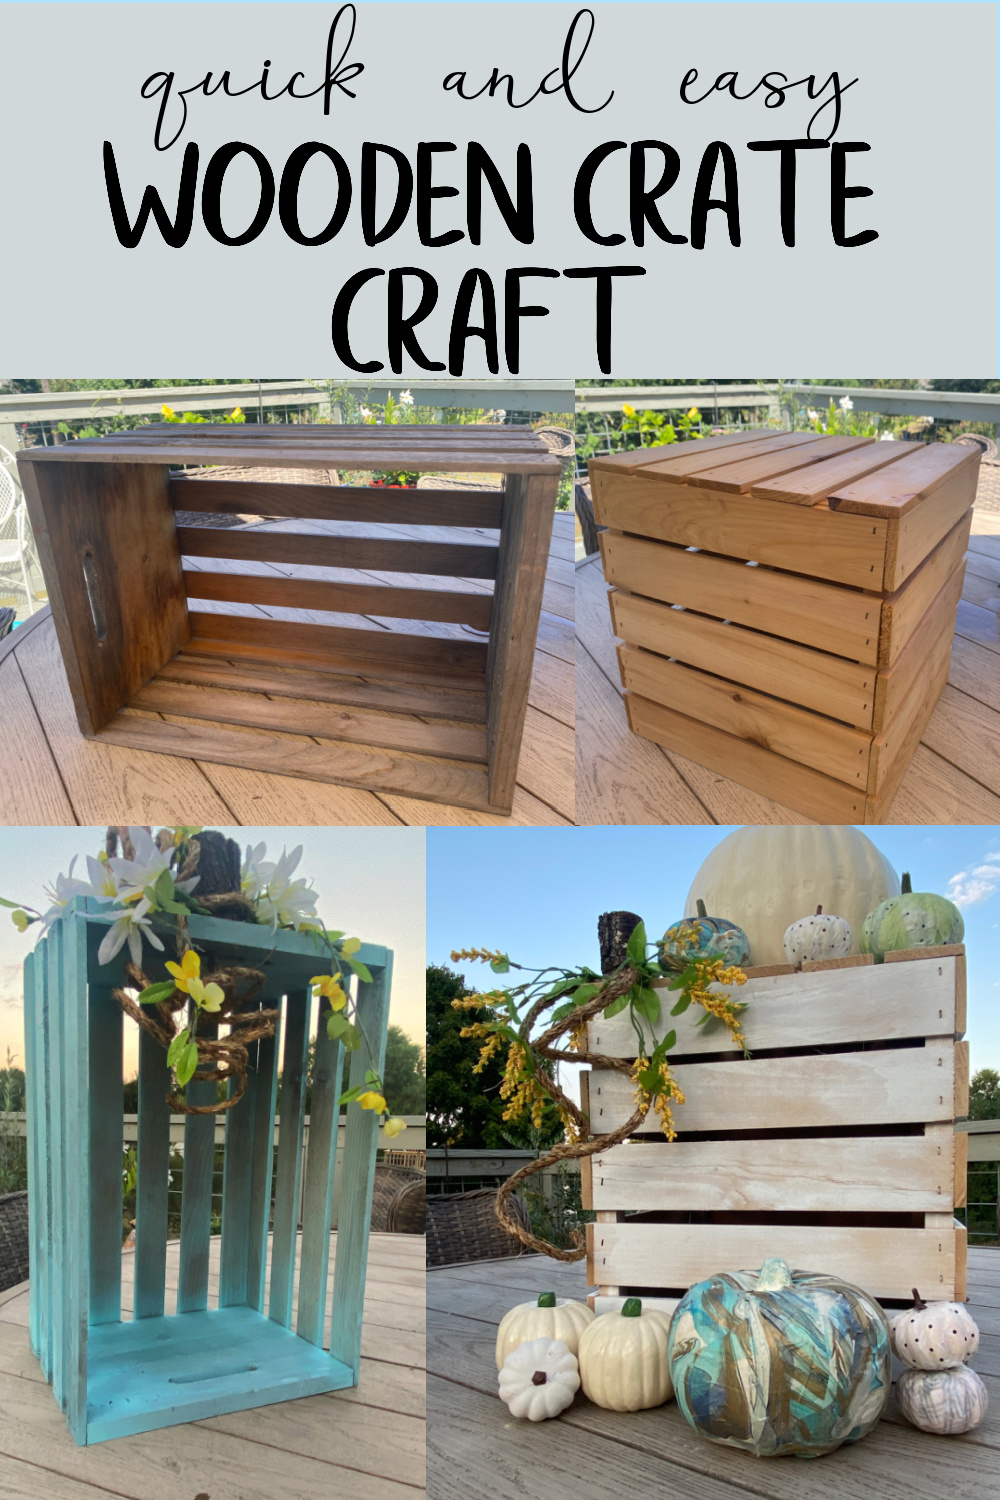
I started with these two wooden crates.
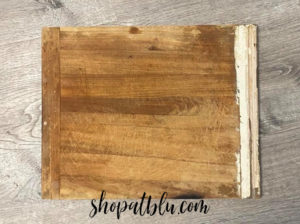
This is a vintage wooden oak crate that I’ve have for many years. I used it at Vintage Market Days and other antique shows when I used to do shows.
And this is a newer pin wooden crate that I bought from a vendor when I used to have my store, The Blue Building Antiques and Consignment.
I see wooden crates from time to time at the thrift store. They come in many sizes so you can adjust this project for size. Table top wooden crate pumpkins would be great! You can find them new in various sizes at Michael’s, Hobby Lobby, and Walmart!
Two Step Process to Upcycle a Wooden Crate
This really is a very simple and easy project. I’m almost embarrassed that it is so easy but every now and then we need a no brainer, super easy project. I basically painted each wooden crate with spray paint and glued on some embellishments. Easy peasy! My projects RARELY get any easier than this.
Supplies used for this Pumpkin themed wooden crate:
- Wooden crate(s) Walmart, Michael’s, Hobby Lobby or thrift stores
- Rustoleum 2X spray paint, vary colors or paint them all the same
- Jute rope
- Dollar Tree florals (you can’t go wrong for $1.25 per bunch)
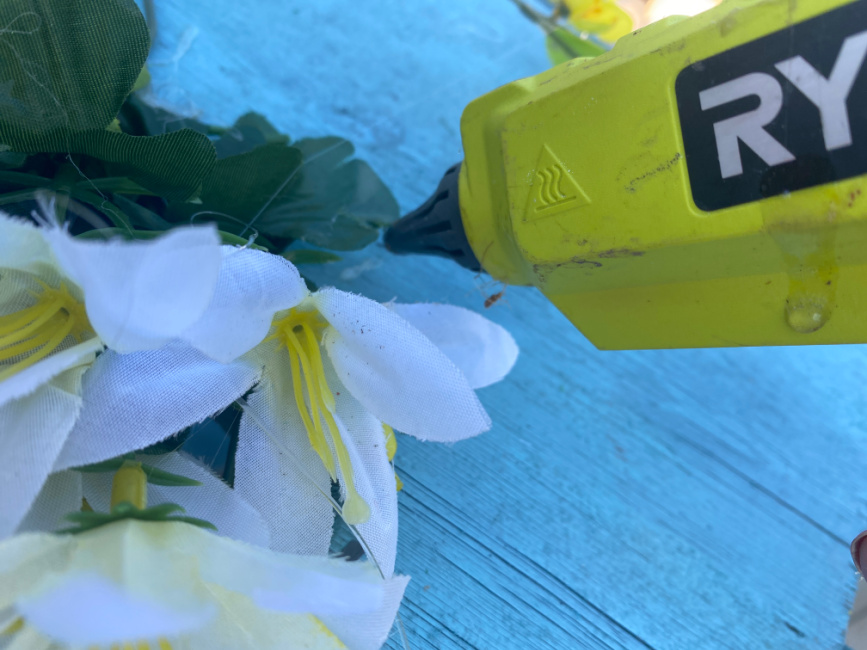
- Hot glue gun. I love my Ryobi
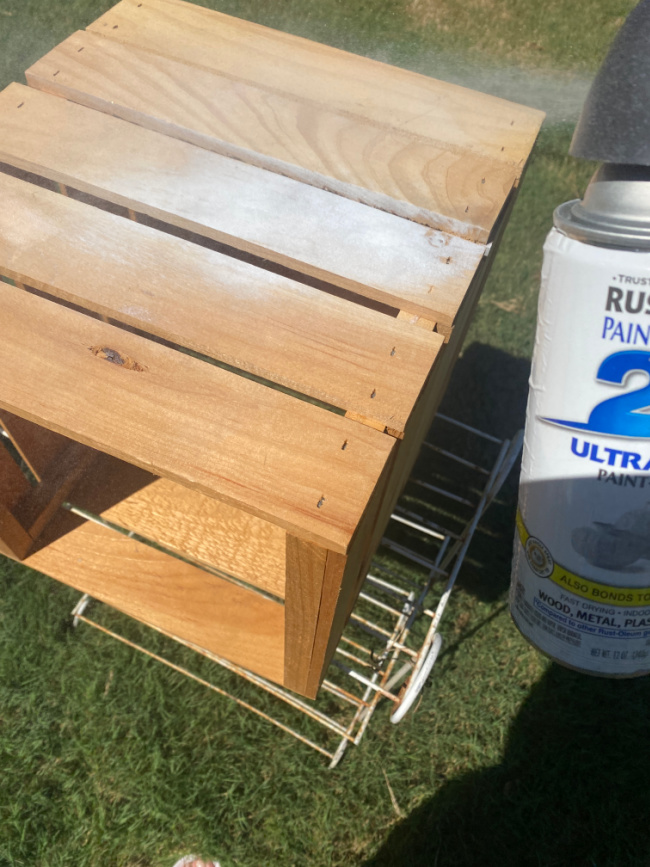
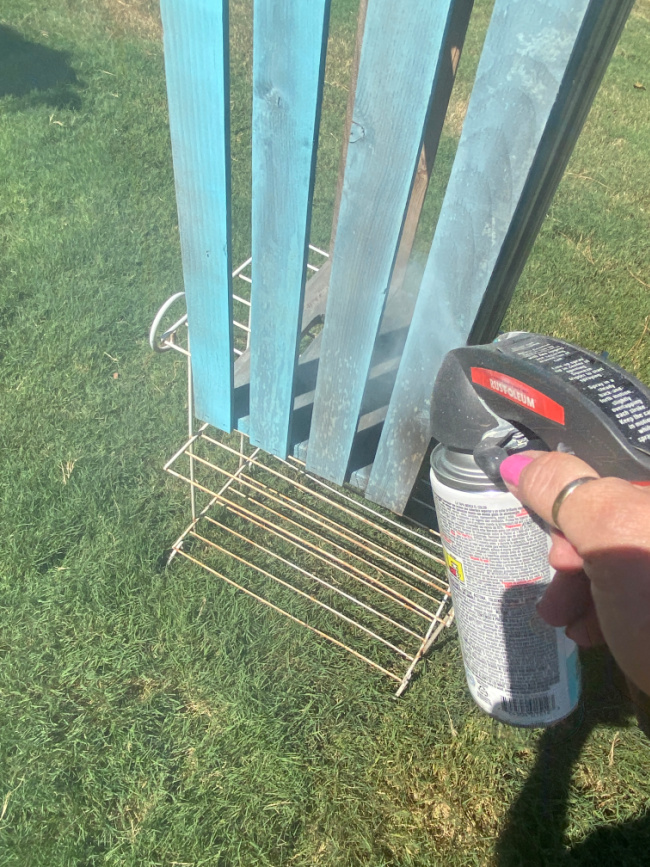
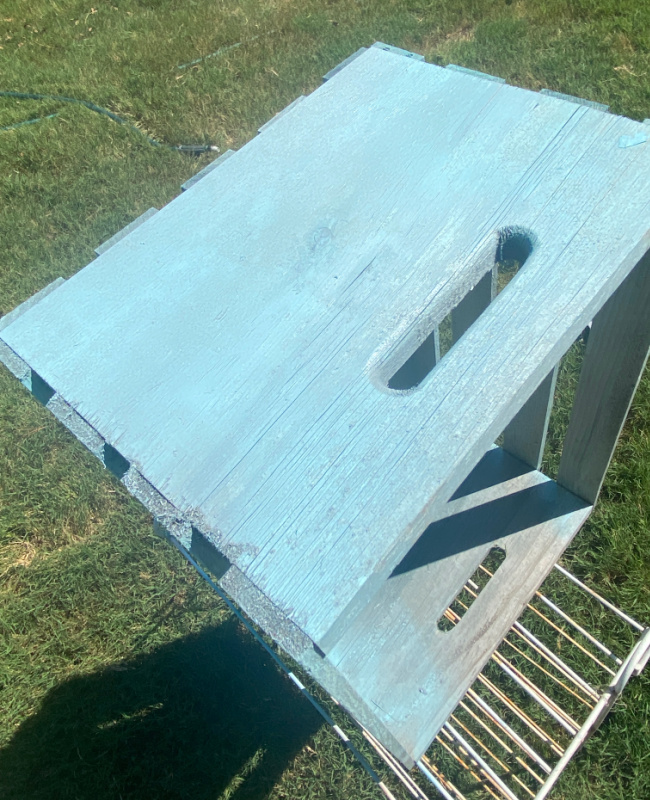
My go to spray paint is RustoIeum 2X, which has a fabulous selection of colors and finishes. I grabbed two cans of spray paint from the garage. I thought they were both shades of teal. But one had a teal cap and was actually white paint. So I went with a light teal and a white, ensuring a more neutral color palette. Just spray the wooden crates to your liking. As I like a more shabby rustic look, I only applied one coat.
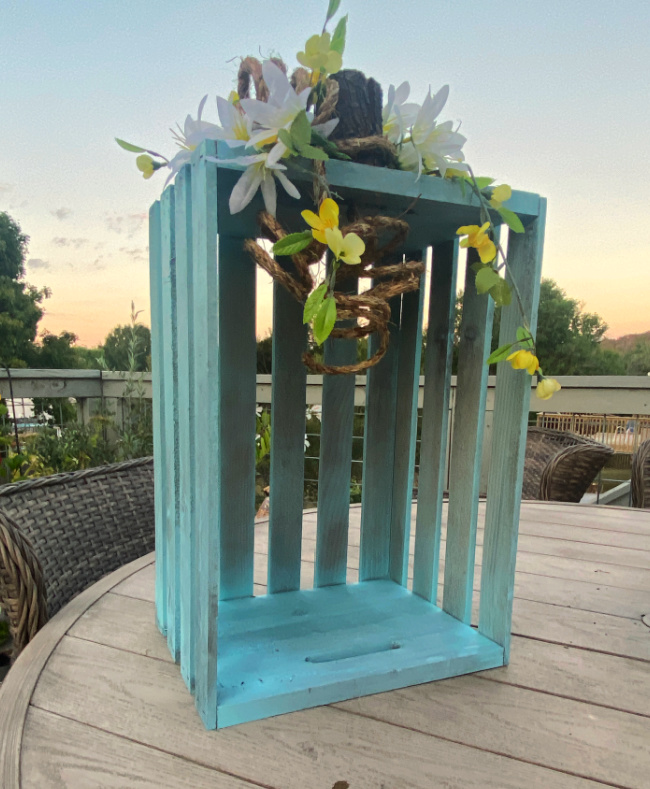
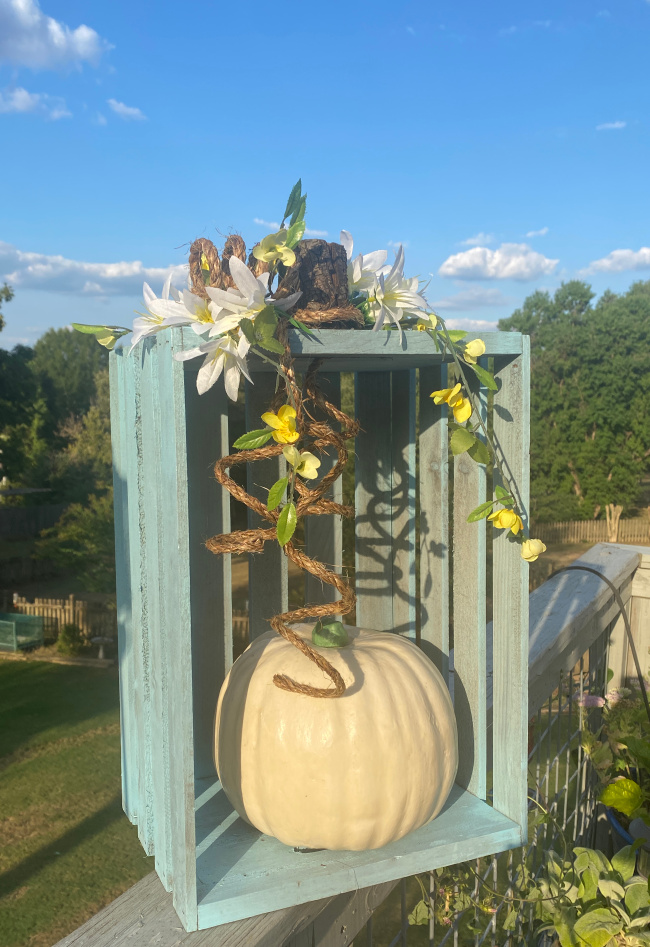
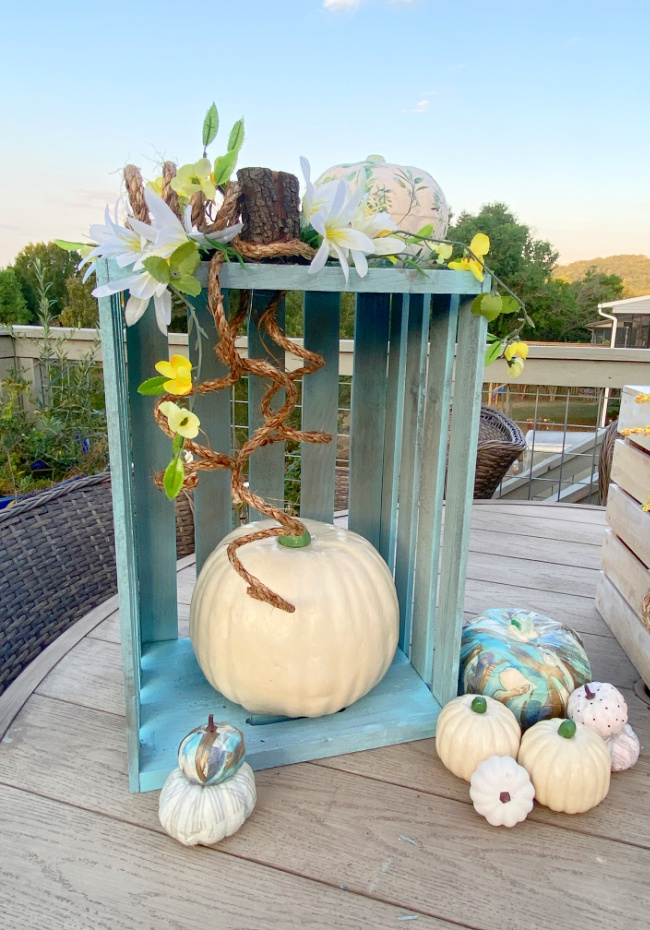
I used the aqua on the oak wooden crate. Because it was older and a bit darker, it took 2 coats.
I used my Rust-Oleum Comfort Grip. This handy tool snaps onto the top of your spray can. The pistol grip trigger ensure paint free fingers and an even flow of paint. I sprayed 3 sides of the exterior and also the interior, allowed the paint to dry, flipped the wooden crate and sprayed the remaining sides.
Allow the paint to dry. Rust-Oleum 2X also dries very quickly. I think I waited just one hour and the paint was completely dry.
Decorate Your Wooden Crate
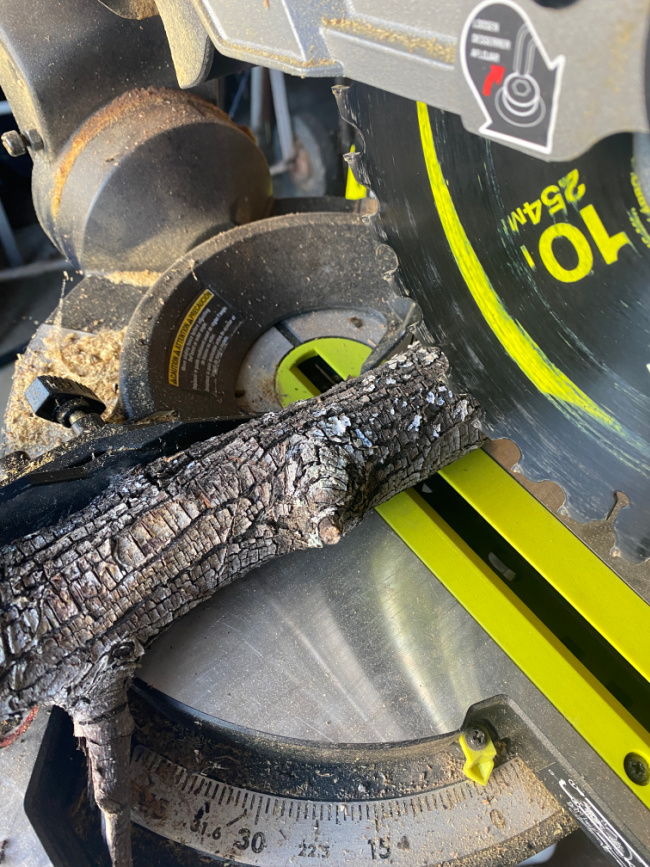
Next, select your embellishments for your crate. I wanted the crate to resemble a pumpkin so I grabbed a small branch from the yard. The circumference was about 1.5-2 inches. I used my Ryobi sliding miter saw to chop off a few pieces of the limb to use as my pumpkin stems.
You can glue the stem to the wooden crate before or after you add your other embellishments. I considered using raffia, burlap, bright ribbon, faux leaves, jute, and floral sprigs. You can go as simple or elaborate as you like. I went with simple.
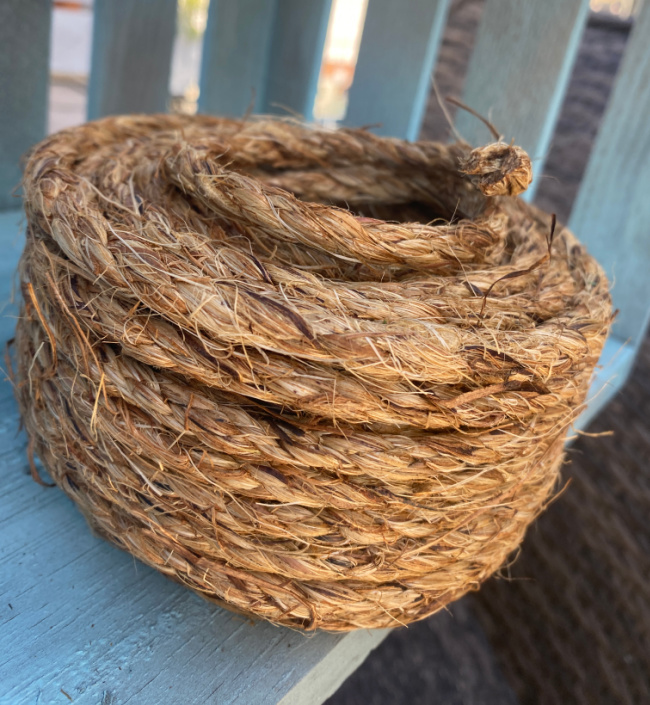
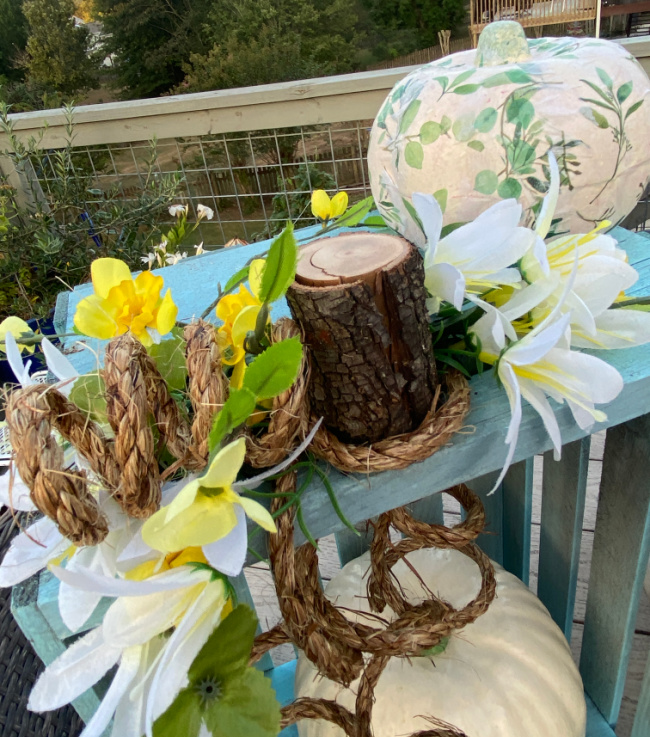
First I glued two pieces of jute rope to each wooden crate. Then I added florals. Simply trim the wire stems and glue them into place.
Finally, I glued on my pumpkin stem. In retrospect, I probably should have glued the stem on first but I was excited about using the jute so I rushed. No harm though as the stems are secure.
Did you know that you can now buy pumpkin stems? I mean, why not!
I also considered drawing a jack-o-lantern eyes, nose and mouth to cut out and glue onto the backs of the wooden crates. This way, I can use these for fall and into Halloween. Here is a link to the stickers.
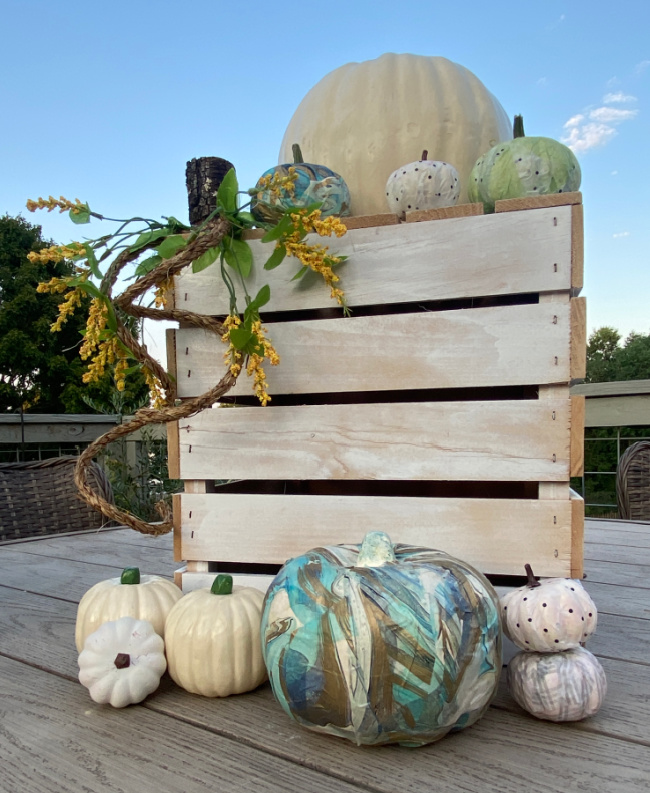
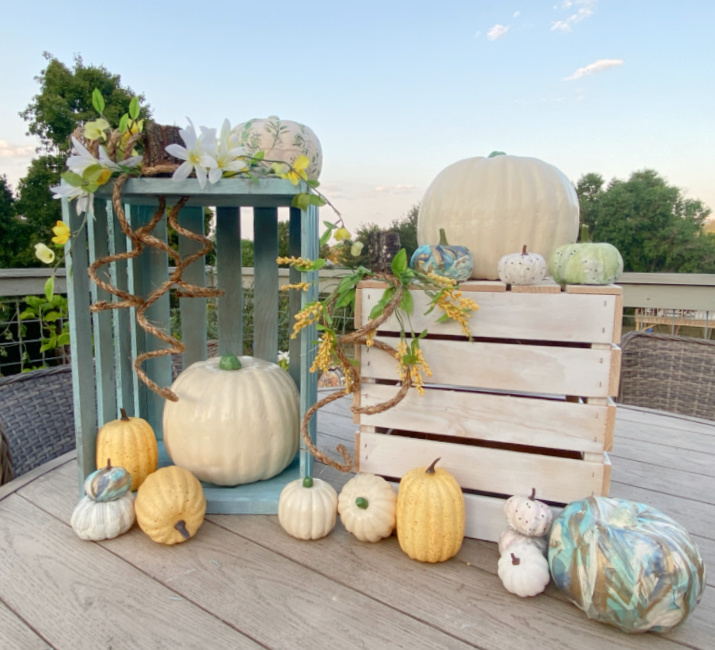
Do you like the blue or the white?
Of course, I added some faux pumpkins.
I can’t wait to add some small mums to the mix.
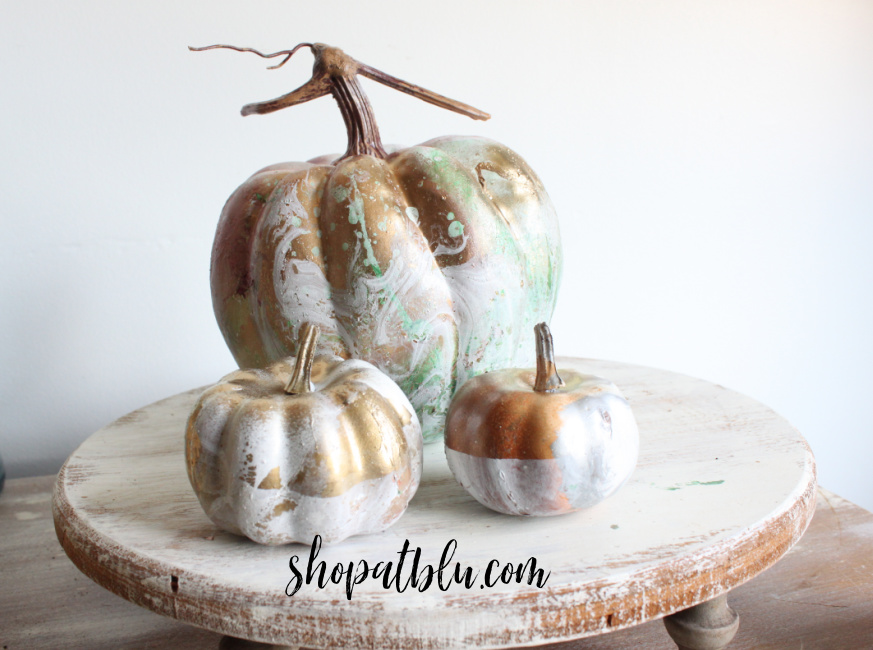
Here are the tutorials for the Hydro Dip Pumpkins:
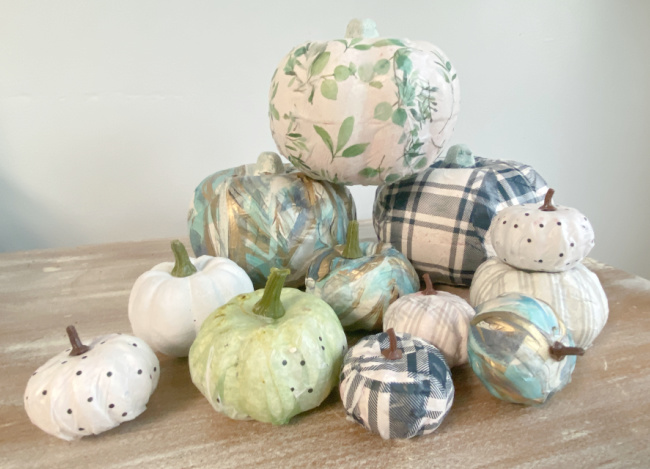
And for the Mod Podge Custom Pumpkins:
Can you ever have too many pumpkins?
I am quite happy with my choice of colors for these wooden pumpkin crates as I can use them anywhere in the house afterwards without having to worry about bright orange clashing with any room decor.

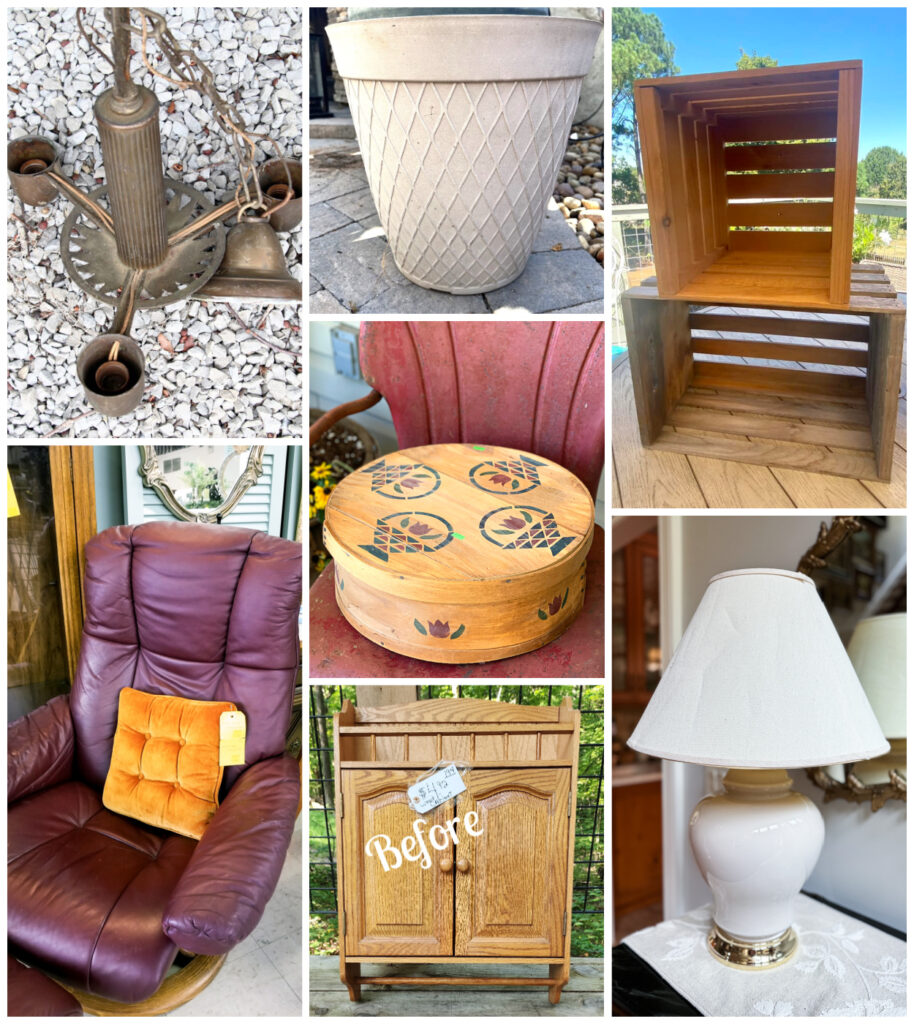
Chandelier Repurpose Idea For Fall Petticoat Junktion
Solar Powered Water Planter Feature My Uncommon Slice of Suburbia
Fall Wooden Crate ProjectShop At Blu
Upcycling a Pair of Halloween Pillows Sadie Seasongoods
DIY Cheese Box Wreath For Fall House of Hawthornes
Bathroom Wall Cabinet Makeover My Repurposed Life
Lamp Makeover with Rub ‘n Buff Our Southern Home






These crates turned out so cute, perfect for fall! I love them in white and in blue. I’m with you, no signs of fall around here anytime soon, just melting away lol.
Thanks, Kristin! Finally beginning to cool this week.
Cute fall crates! Love the stems on top!
Thanks, Pam. I love cutting fresh wood…so refreshing! And you can’t beat rustic and free!
This so cute for fall. It’s a fabulous way to display pumpkins. The marbled look pumpkins are stunning!
Thanks, Christy! It’s starting to cool down slightly so I’m inching toward the fall colors!
Sue,
Since blue is my favorite color, you know which one is my favorite. You have the coolest looking pumpkins!
Pinned!
gail
Thanks, Gail! It was a super quick project which is perfect every now and then!