Entryway Reveal $100 Room Challenge
As an Amazon Associate and member of other affiliate programs, I earn from qualifying purchases.
It’s finished! My entryway is complete ! It’s time for my entryway reveal! I started working on this area back in July as part of the Woodgrain Challenge. I tend to bounce among many projects so specific areas in my home tend to be completed in stages. We finally had our new front door installed! This process started back in February!
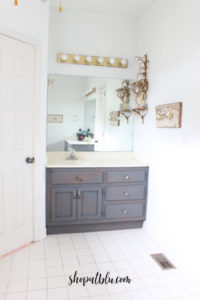
I’m so glad that I stumbled upon my old friend The $100 Room Challenge! Erin Meyer from Lemons, Lavender, & Laundry started this challenge back in 2015 to challenge herself, other bloggers, and all of their readers to redecorate a space in their home with a $100 budget. I had participated in this challenge back in 2017 and the result was this beautiful bathroom.

The premise of the $100 Room Challenge is this: Don’t spend alot of money! Rather, use what you have! We have so many idle things lurking around our home that can be utilized in other areas of our home. Why not repurpose and reuse these things to freshen up our home?!! Repurposing keeps the budget down and that in itself is a rush! So now, in my home, project #3 of 15 is completed and we only have 12 more areas to update! Whoohoo!!!!
September 2020 $100 Room Challenge
Here is my entryway after installing the feature wall back in July:
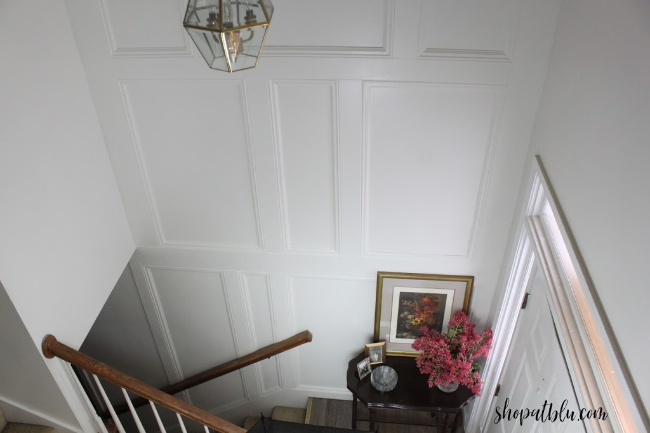
I really enjoyed the last few months with this bright and airy entryway. But those carpets were certainly not bright and airy. Once the new door unit was installed, trim paint was needed. What better time to update the stairs and finish the door!
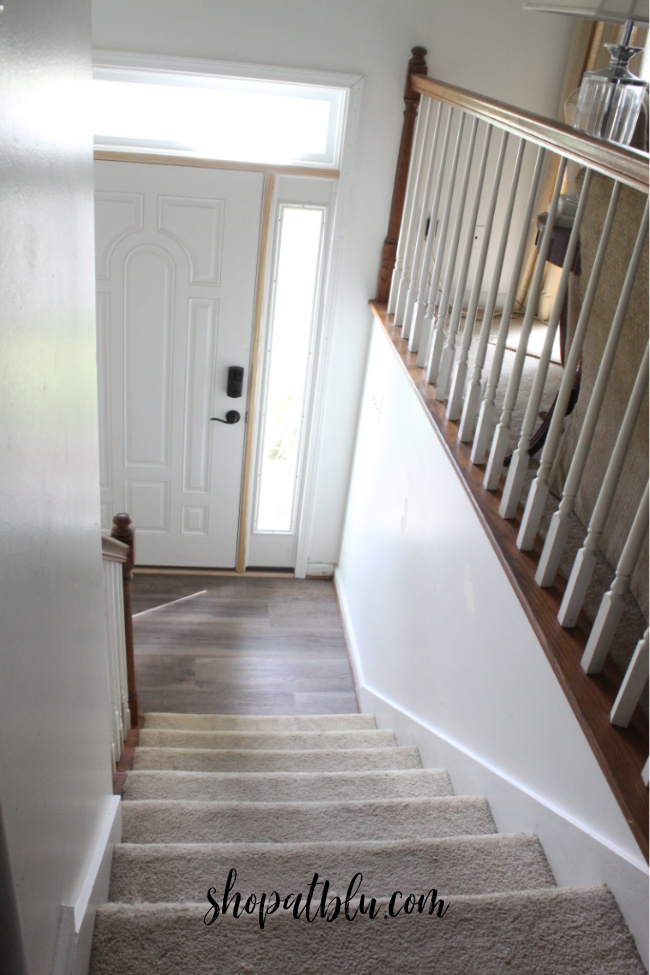
The Plan
If this is your first visit, here is a brief synopsis of my project:
Week 1: ENTERING THE $100 ROOM CHALLENGE
Week 2: FRONT DOOR INSTALLATION: COMMENCE THE CHALLENGE!
Week 3: REPLACING THE CARPET WITH PAINTED STAIRS
The new front doors were finally installed and this was the catalyst to participation in this challenge. I have so many looming projects right now, that this challenge was a welcomed solution to holding myself accountable and actually getting the project done!
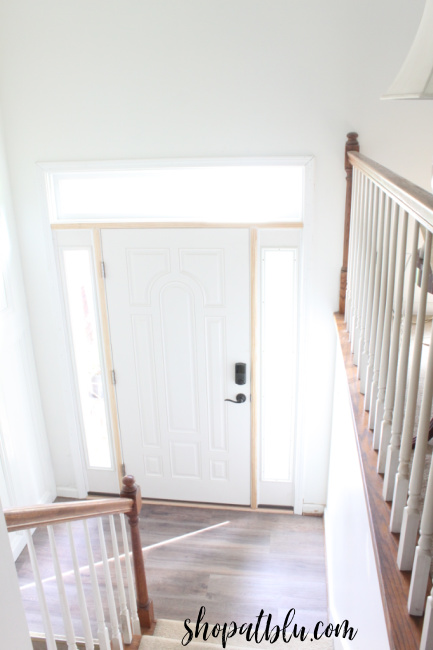
Bye Bye Carpeted Stairs
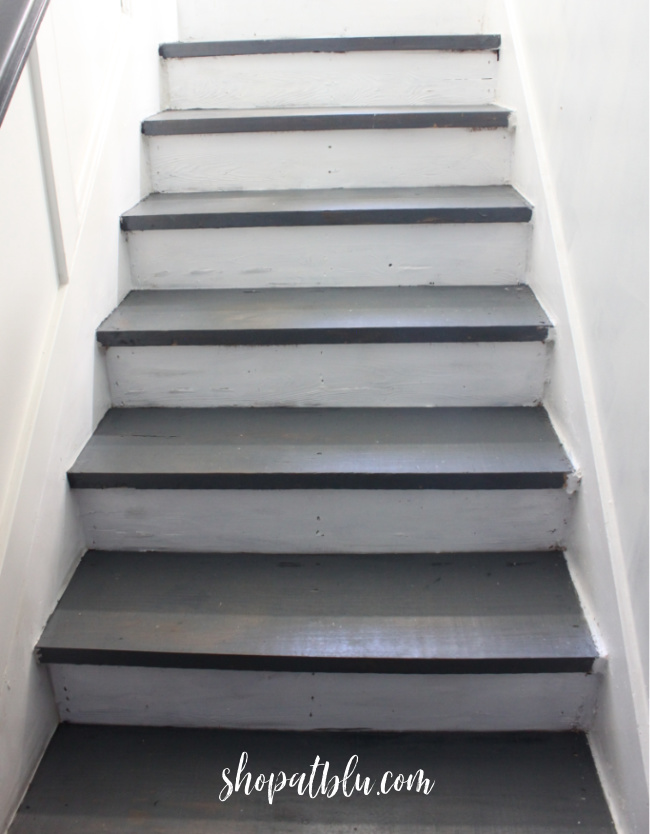
So, first step was to rip up the existing carpets from the stairs, and fill and paint/stain the risers/treads. I’m not gonna lie…I think I put six coats of white semigloss on the risers. Those babies just didn’t want to cover!
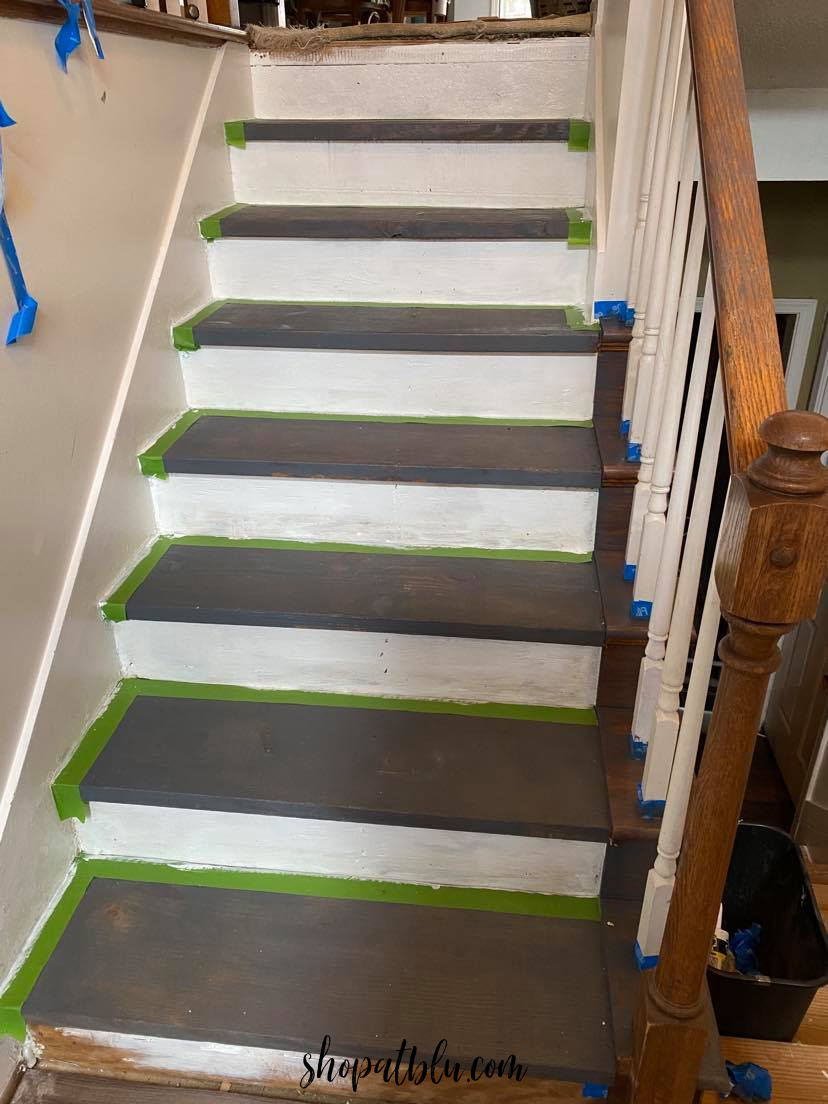
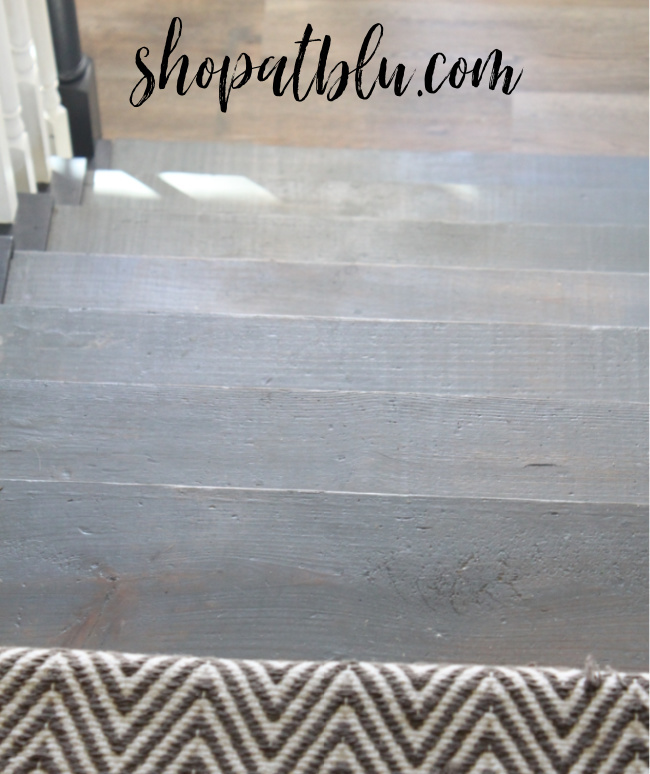
This process was more entailed than expected thanks to the original builders taking advantage of shortcuts. So, much sanding, filling, and caulk was utilized to complete this project. Eventually, we will install a runner. The final goal will be Vinyl Planking on the stairs. But this was not in the initial budget so hopefully the stairs will be finally completed in 2021.
In the meantime, here are the completed stained and painted stairs.
Railing and Spindle Refresh
Our railings were the original contractor installed oak rails that every house has. So, I stained the oak railing with General Finishes Gray Gel Stain. Mr. Blu, however, did not like the lighter gray stain so I applied a coat of Cobalt General Finishes Gel Stain. Unfortunately, I failed to follow proper recommended application and the stain was so thick that it would not dry. I had to remove the stain with acetone. I purchased a dark gray paint which I applied liberally. The paint dried nicely and the finish is lovely.
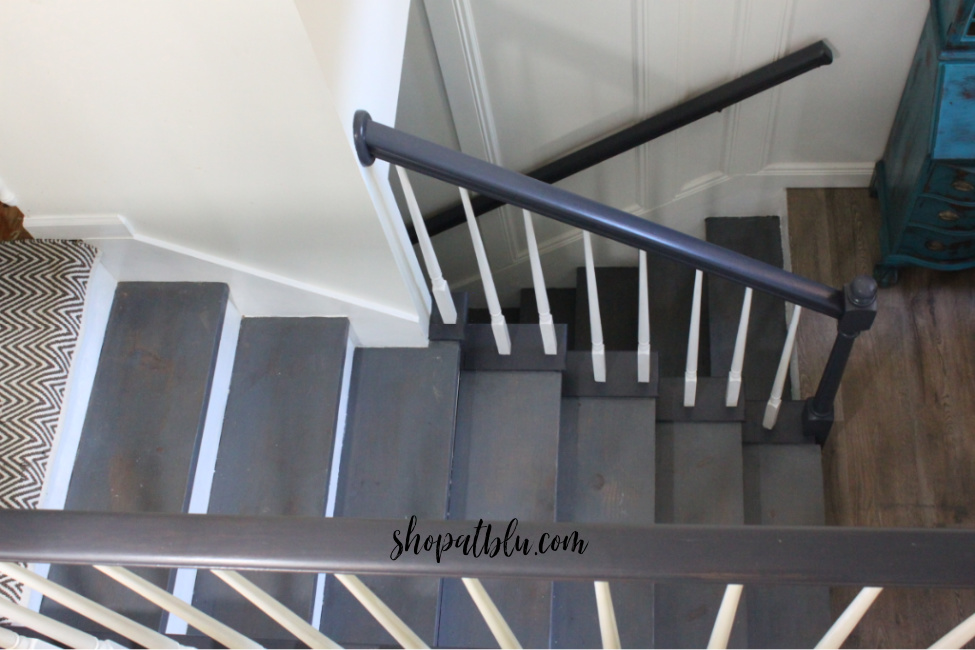
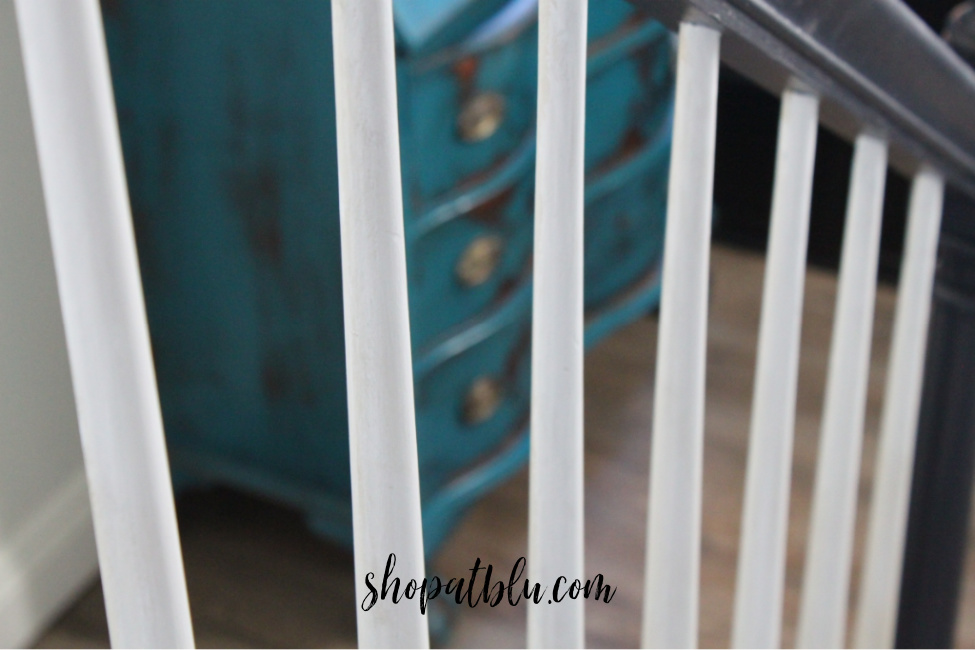
All of the spindles on the railings were repainted white. They are crisp and clean.
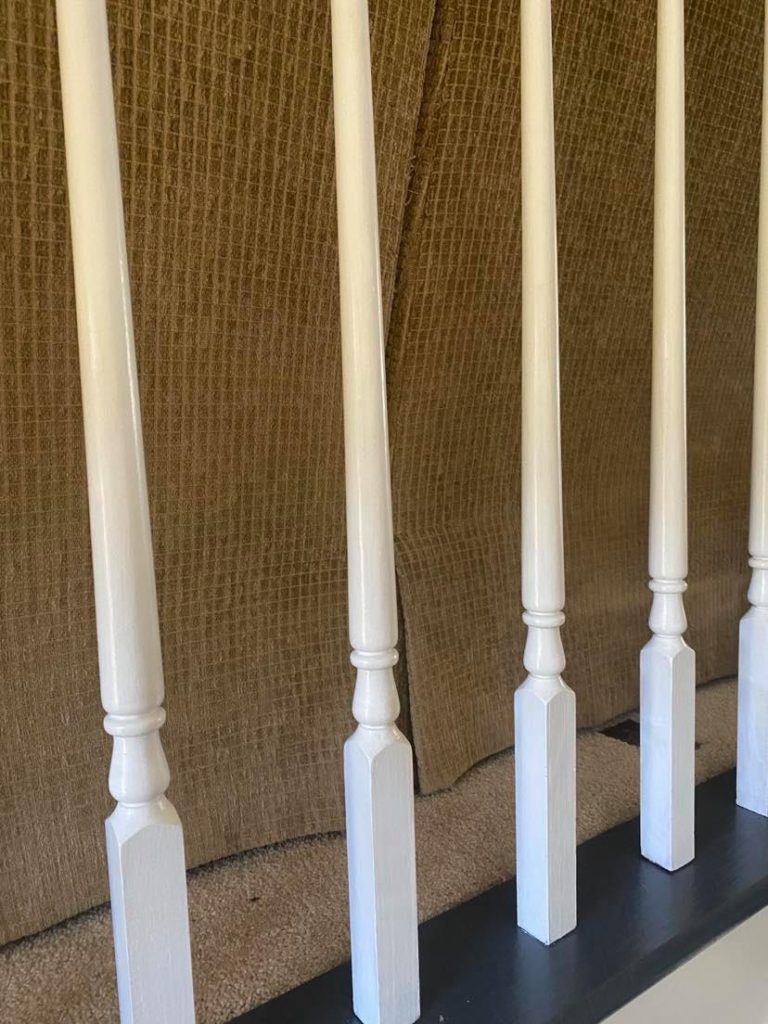
A fresh coat of paint was applied to all of the walls. Fortunately, I had 3/4 gallon of Benjamin Moore Simply White leftover from the Woodgrain Entrywall Project.
Painting the New Door Unit
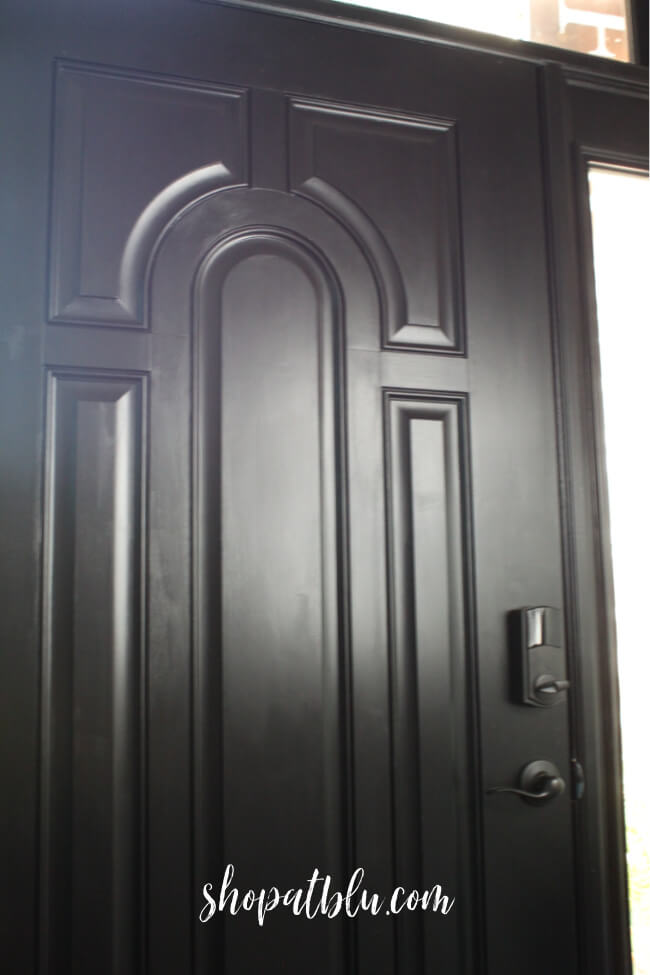
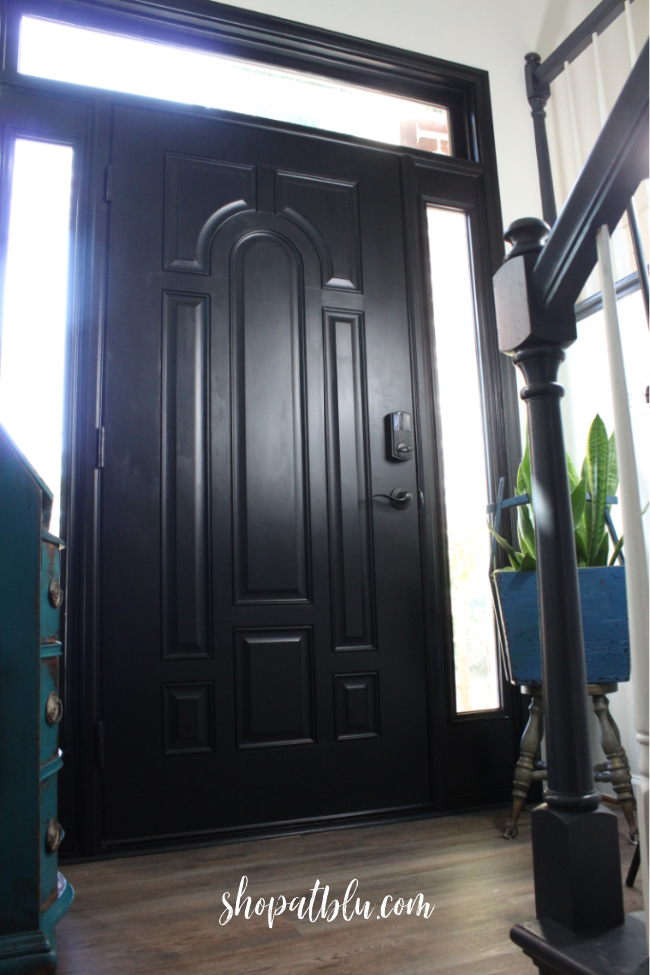
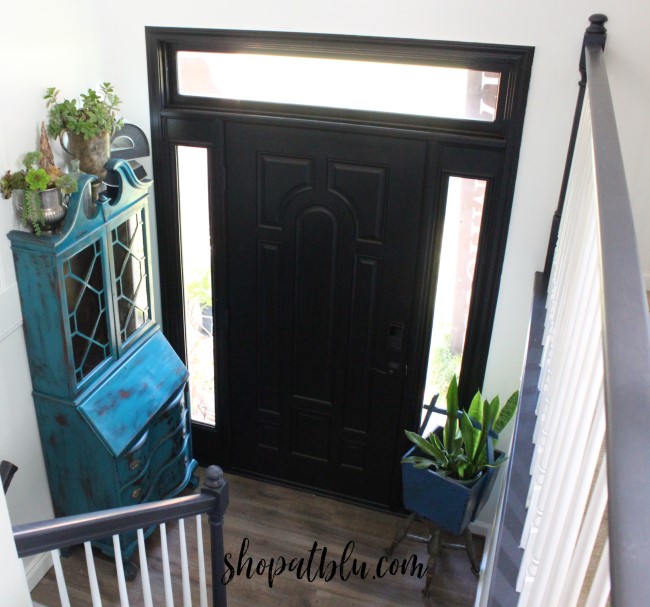
After priming the interior side of our new front door per manufacturer’s recommendation, I chose a classic black satin finish for the front doors. I painted the side lights, the door and the transom. And I must say, I love it! I had several paint samples as I need to paint the exterior of the door and the shutters as well. I couldn’t decide on an interior door color. I just kept putting that off. I thought I would wait until I decided on a color for the entry furniture piece, which I had not yet selected from my garage to refinish. It was time to select a color and what better neutral than black!!! Mr. Blu approved!
A Statement Piece
The stairs are finished. The railings and spindles are painted. The walls are painted. The last project is to select a furniture piece for this space and revive it to fit the area. Here is what I selected:
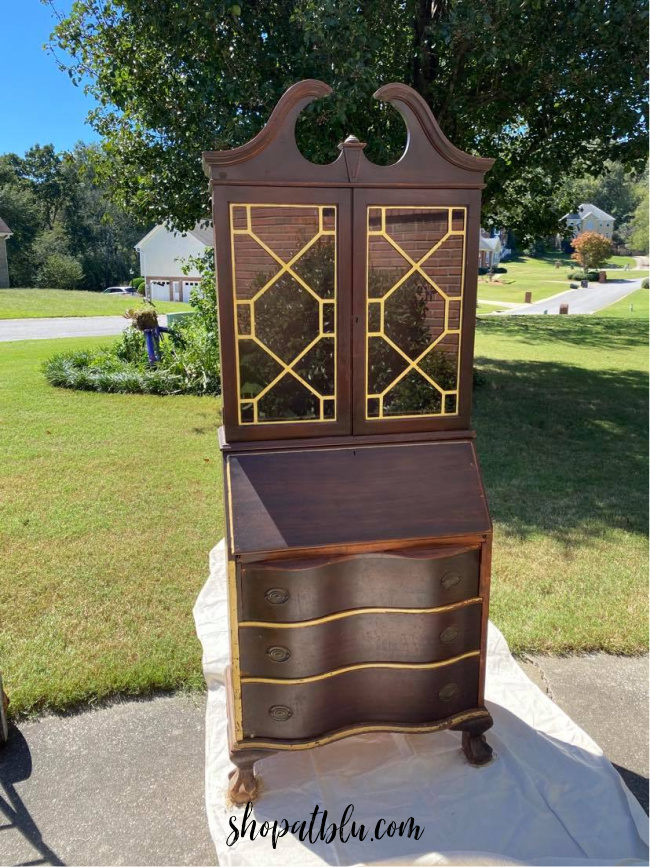
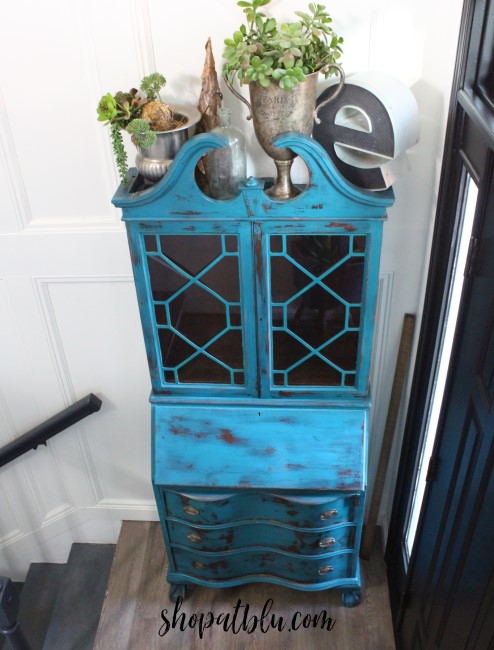
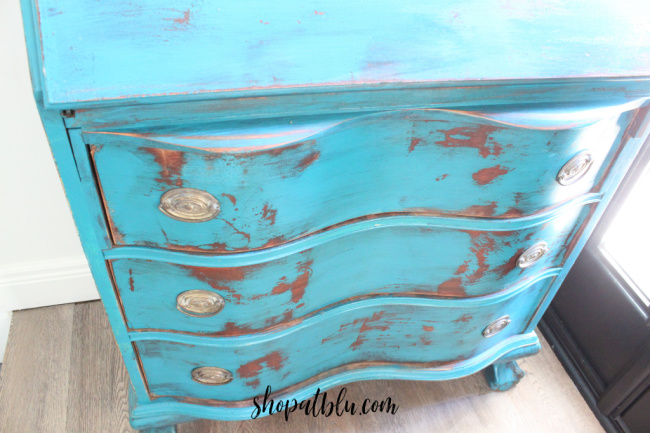
I gave this beauty a totally new look in under and hour! Remember, painting furniture is my specialty. I will document this process soon in another post.
Update Lighting
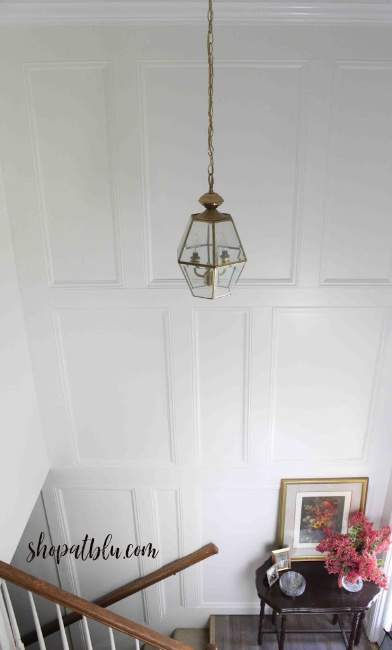
And I almost forgot about, well other than the carpets, the most annoying part of this before entryway…the dinky dated light fixture! Just look at this beast!
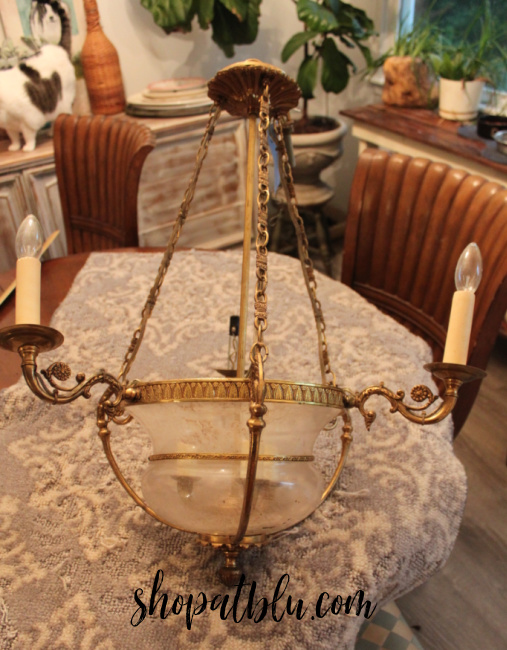
I had found a sweet french-inspired light at a yard sale many years ago. I was planning to use it in the entry. I dug it out of the garage and dismantled it to clean. It was $10! And it was perfect for the space. I was ready to spray the gold black.
I went to clean the glass bowl in my gorgeous hammered copper sink (read about that here) and this happened…
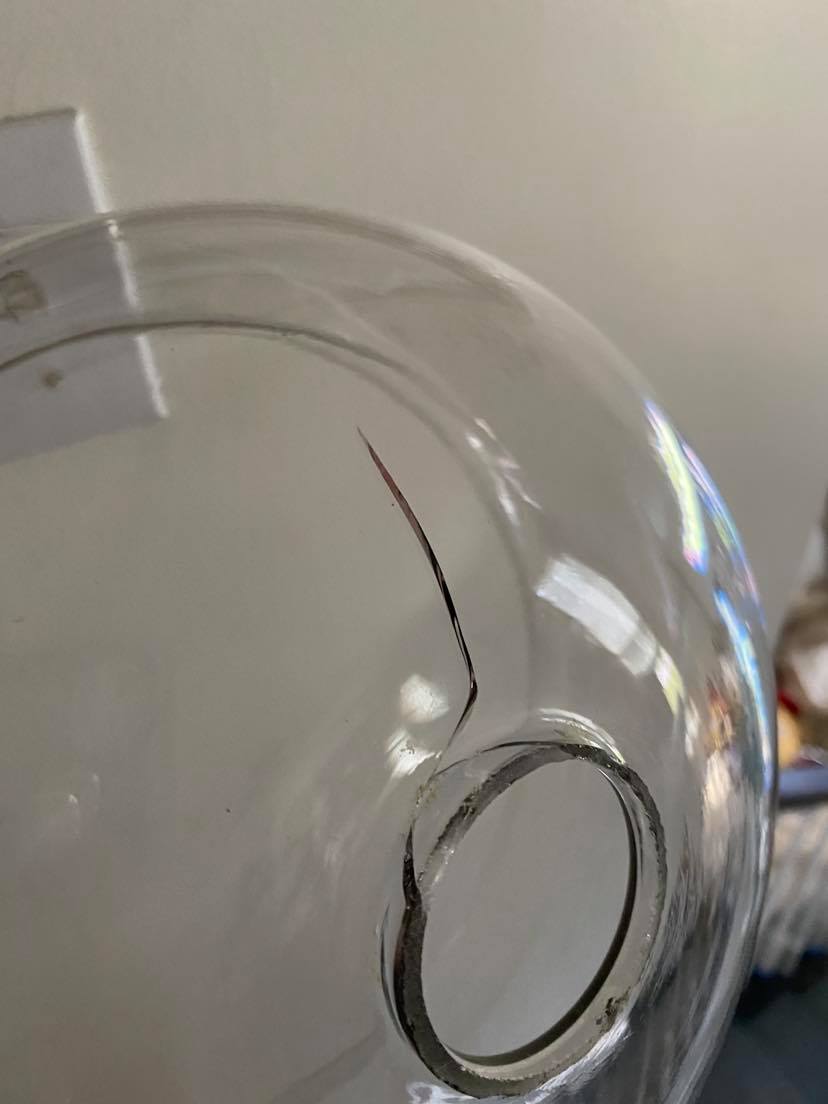
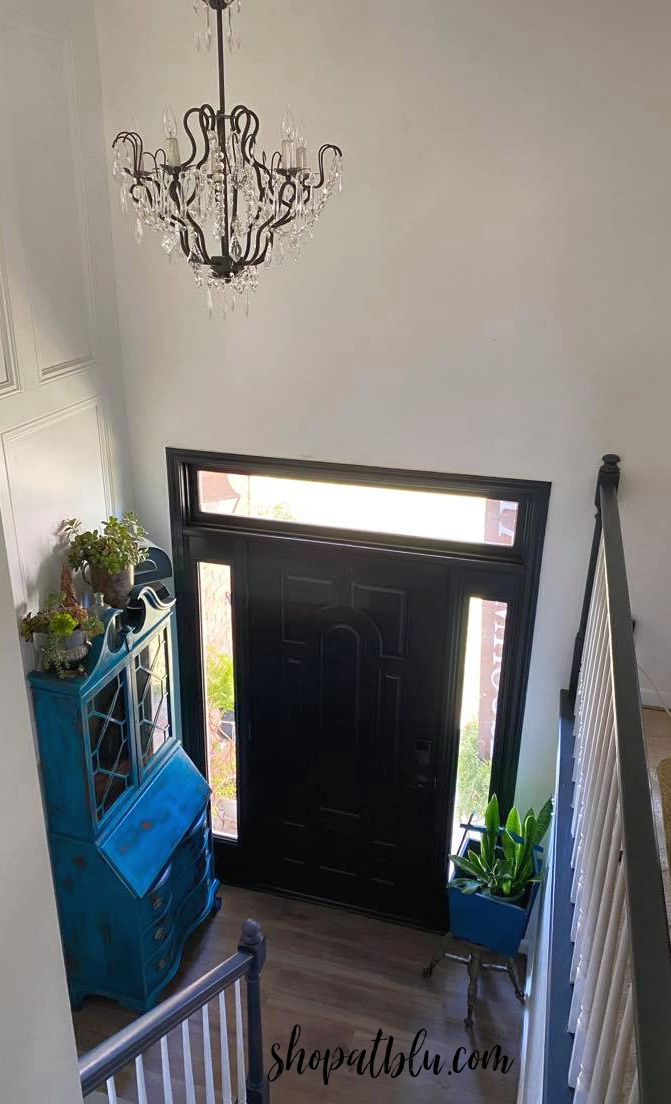
Yikes! So mad! So infuriating! It took so much time to disassemble without breaking that glass. Oh well. Plan B…take the chandelier from the dining room. Added bonus…I have an extra $10 to spend! Here is the lighting…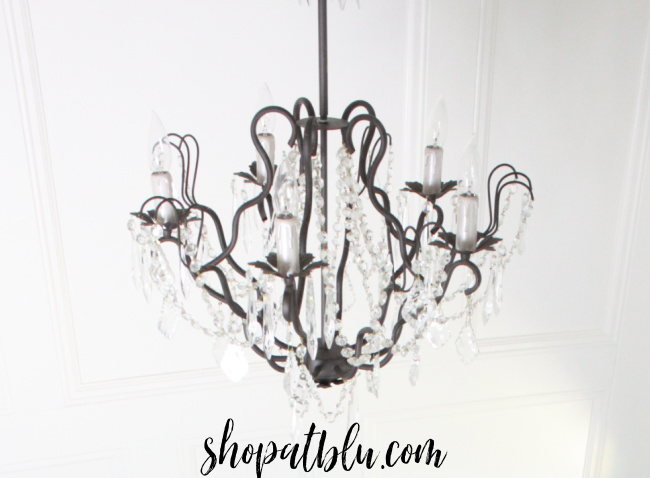
And here is my finished entryway! I am thrilled with the pop of color and the contrast with the black door, sidelights, and transom! Check back to see the instructional post on creating this finish!
A Tribute to a Friend
I did add one more element to my entryway at the last minute.
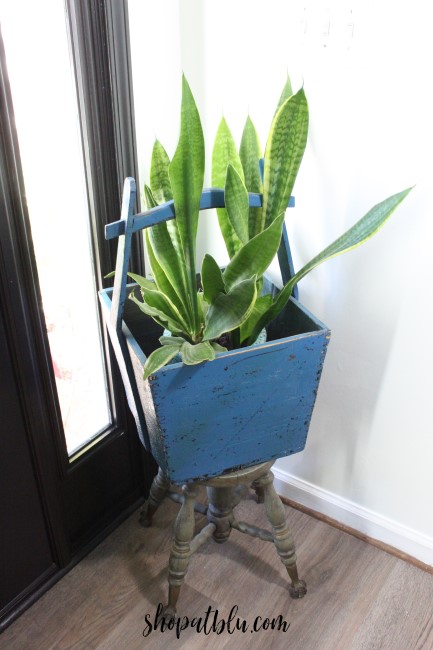
On Monday, a dear friend passed away. My friend, Mary Stout, was a beautiful and without a doubt the most gracious southern lady I have EVER known! In the 18 years that I had known Mary, she never spoke an ugly or unkind word about anyone. And trust me, being in the retail business this is quite the impossible feat!
Mary and her husband Carl were long time Blue Building dealers. Both would work the front desk for me! If you ever frequented The Blue Building, you would surely know the Stouts. They were the resident antique experts, well known in the Birmingham area as they had several booths for many years in all of the premier antiques shops. Carl was the muscle and the prankster. Mary was the expert and the designer. Their antiques were carefully selected, polished and staged for sale. They prided themselves in their selection and consistency. They specialized in European beauties and I mean beauties…rare burled pieces, and barley twist features, rare pub tables and English sideboards. I’ve acquired many items from them over the years.
As I was staging this secretary, I realized I had the perfect piece to grace my entry! And so this beautiful wooden well bucket greets our guest at our front door just as Mary did for so many years at The Blue Building…with grace and style!
Godspeed Mary Margaret Stout! Those pearly golden gates are no doubt shining a splendid polish today…as I am sure you are sprucing up the area with your timeless graceful way and that beautiful gentle smile! I thank God for placing you in my life!
In concluding this challenge, here is my list of supplies and breakdown of cost:
Supply Item Use Cost
- Great Stuff 2 cans Fill gaps btwn stairs and wall $8.95
- Kilz Primer * Prime new door and risers $0
- Dap Alex Caulk 4 tubes Finish spaces btwn stairs and walls $20
- Behr Black Interior satin Front Door, transom and sidelights $19.95
- Behr Turquoise * Paint secretary $0
- MinWax Polycrylic Satin * Seal secretary $0
- 36″ cove molding * Base of upper stairs $0
- Benjamin Moore Simply White* Paint walls $0
- Behr Pure White Semi Gloss-trim paint trim, risers, spindles $0
- General Finishes Gray Gel Stain * Paint rail/bannisters $0
- General Finishes Carbon Gel Stain * Rail (not used) $15
- Behr sample size Poppyseed satin Paint rail/bannisters $3.95
- light fixture removed from dining room $0
- Frog Tape * mask steps and railings $0
TOTAL SPENT: $52.70
* Indicates this supply was already on hand from previous projects.
Thank you again to Erin Meyer for coordinating this wonderful challenge. Head over to her blog to see how you can participate in future challenges!
Below are the projects completed by all of the other participating bloggers for this September $100 Room Challenge! Check out what these projects! Get some ideas on how you too can revamp a space for $100!

3 Comments