Custom built wall unit: A One Panel Challenge
As an Amazon Associate and member of other affiliate programs, I earn from qualifying purchases.
Let’s Build a Cubby Wall Unit
It’s been awhile since I’ve done any building. I have seen so many vintage mail cabinets and cubbies lately that I was dying to have one. I have the perfect spot in my kitchen. My Dad, aka Pop, refinished a beautiful dresser for me 16 years ago when we moved to Alabama. We use it in our kitchen for extras…like dishtowels, barbecue tools, extra plates and platters, etc. I thought a cubby wall unit over this piece would be gorgeous so off we go! Let’s build a wall unit!
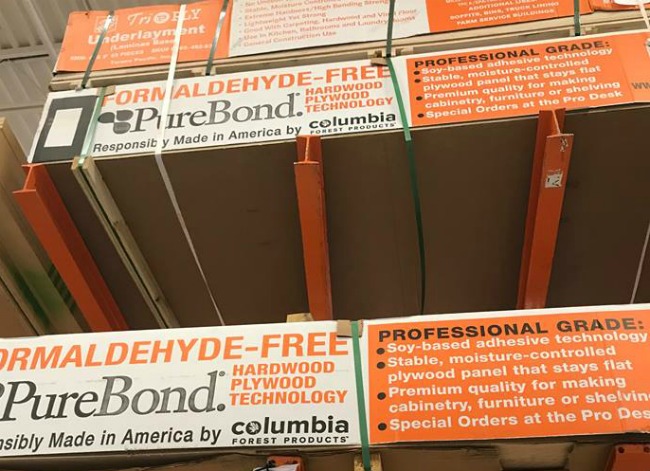
I selected a full sheet of PureBond 3/4″ birch plywood for my project. And fortunately, it fit in my van! Check out PureBond’s website HERE for project ideas and furniture built by some of my blogger friends using PureBond. There are so many ideas!
The Design
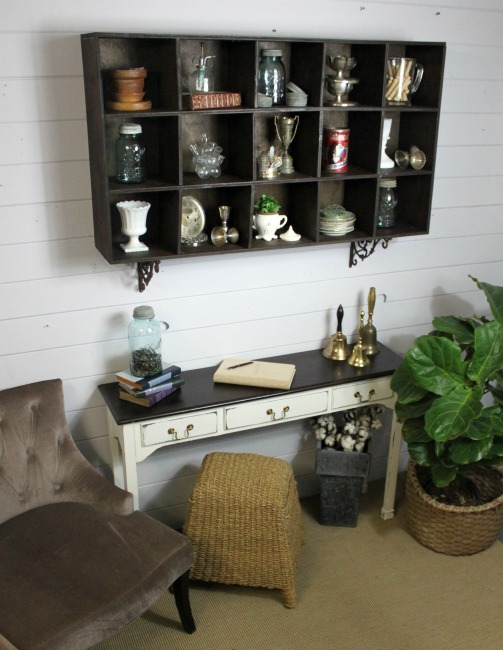
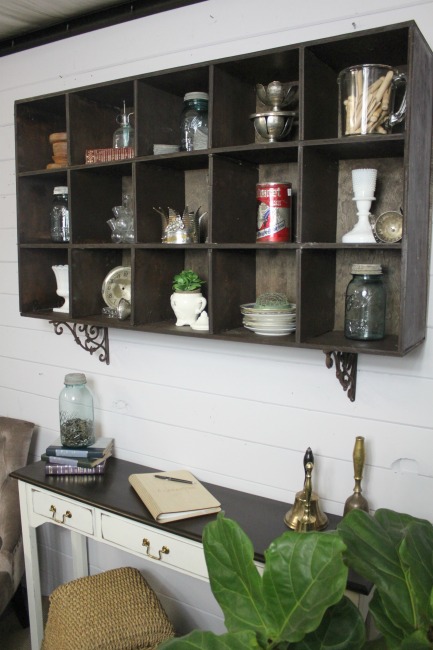
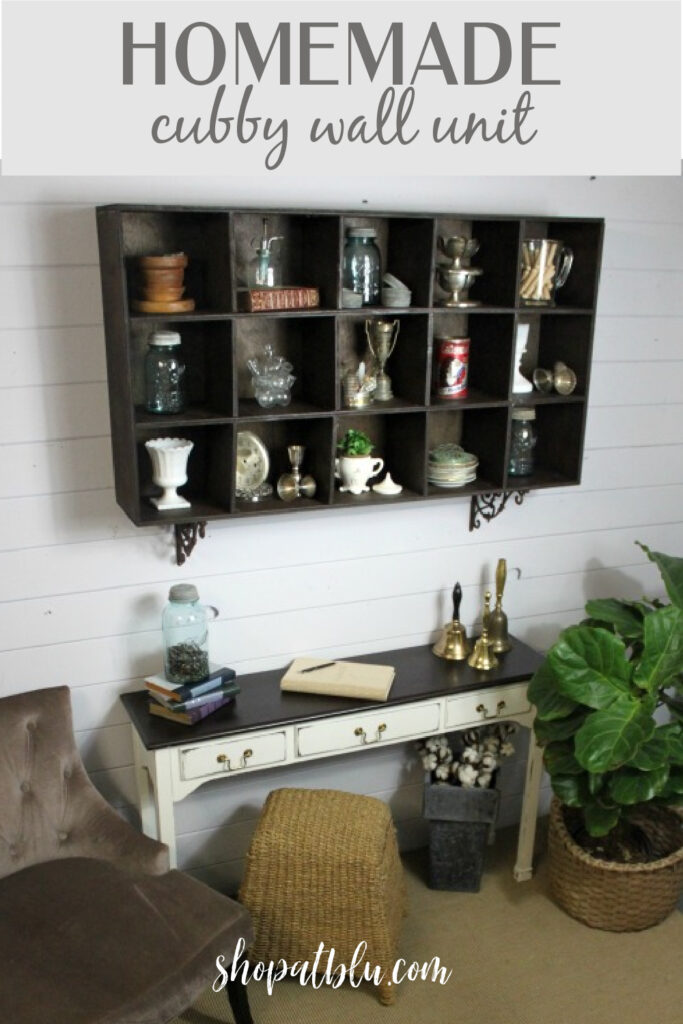
Since I wanted to possibly mount this on the wall above the dresser/sideboard/buffet, I decided to limit the size to around 26″ tall by 48″ wide by 9″ deep. I wanted a unit that was big enough to make a statement but small enough to mount on the wall. So I decided on three rows of 5 horizontal cubbies.
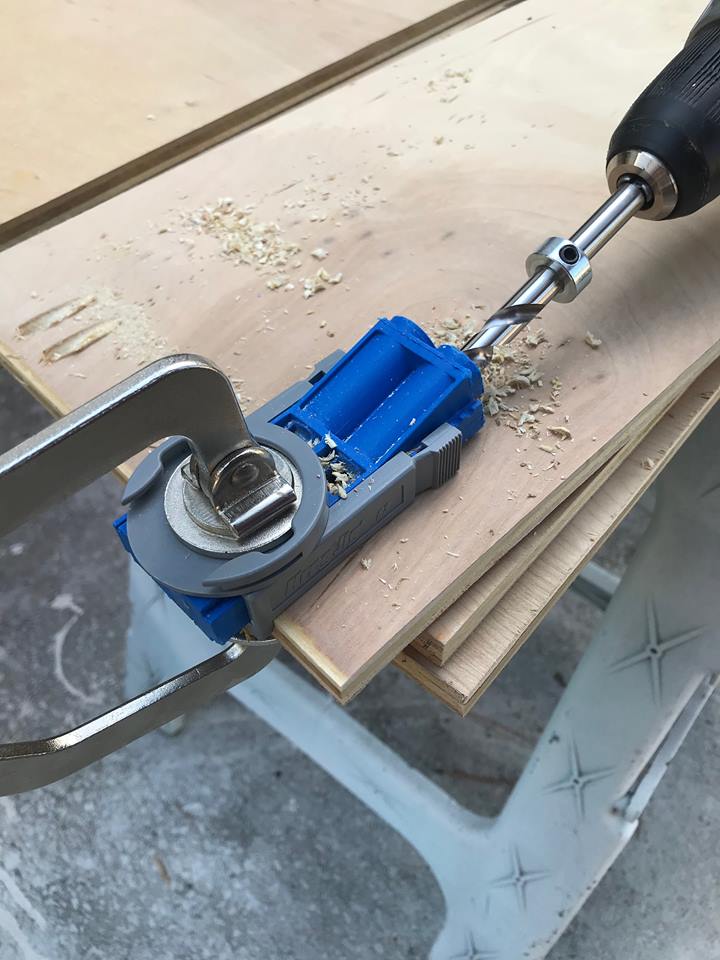
I measured and measured and measured again. Then I used my table saw to make the cuts. I grabbed my Kreg pocket hole jig to build the frame. I measured the inside width and cut two pieces of PureBond to make my shelves.
I grabbed my Ryobi Airstrike stapler to secure the horizontal shelves. Next I measured the height for each individual cubby and cut some more PureBond to build vertical partitions.
Before I stapled the partitions in place, I stained the entire frame and partitions. It is so much easier to stain the parts before they are assembled. I glued each partition into place and secured them with the stapler.
I used two metal brackets as braces, attached them to the wall, and simply set the unit on top. I wanted to make sure the unit looked ok on the wall. Last step was to cut and stain another piece of wood to use for a back on the unit.
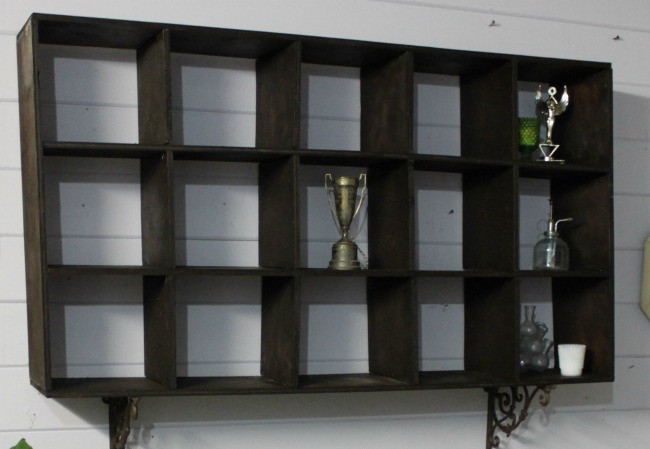
The Reveal
And here she is:
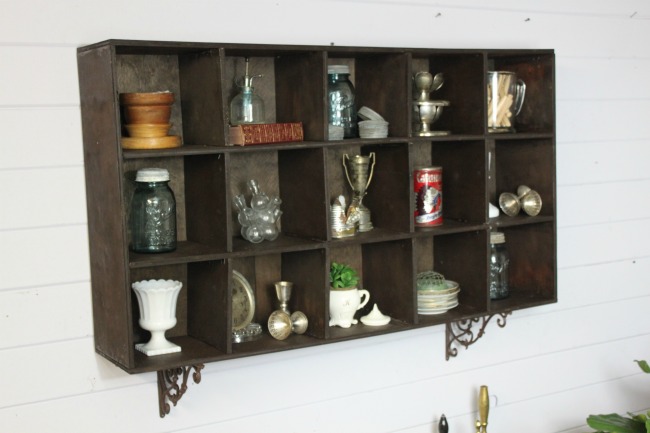
I must admit that I was quite intimidated at the thought of building this wall unit. It was easier that I had expected. I am anxious to tackle a few new projects now!
The Fab Furniture Flippin’ Contest
This project was completed as part of the Fab Furniture Flippin’ Contest. Each month a group of bloggers are challenged to complete a DIY project using products provided by a sponsor. There is a different sponsor each month. This month’s contest theme is One Panel Challenge. PureBond sponsoring this month’s Fab Furniture Flippin’ Contest. Our challenge was to build a piece of furniture using just one piece of PureBond plywood. Home Depot was kind enough to provide $50 gift card with which we could purchase the PureBond plywood at our local Home Depot store. These are two wonderful sponsors! Each blogger received free product in exchange for writing a post about their build. PureBond will provide a prize package to the blogger with the winning project!
Here is a link to PureBond’s website. They have a wonderful selection of panels in varying thicknesses. Some of their products available at Home Depot are:
- Alder
- Aromatic Cedar
- Cherry
- Hickory
- Mahogany
- Maple (Unfinished and Finished Options)
- Poplar (Unfinished and Finished Options)
- Red Oak
- Walnut
- White Oak
You can also find PureBond products through the PureBond Fabricator Network,



Very cute, you did a great job!!!
Thanks Jodi! It’s got me wanting to do more builds!
That came out really well. Nice job! 🙂
Thanks Ashley! I’d like to do more of these and they should go alot smoother!