Add a Vintage Touch To A Desktop Storage Unit
As an Amazon Associate and member of other affiliate programs, I earn from qualifying purchases.
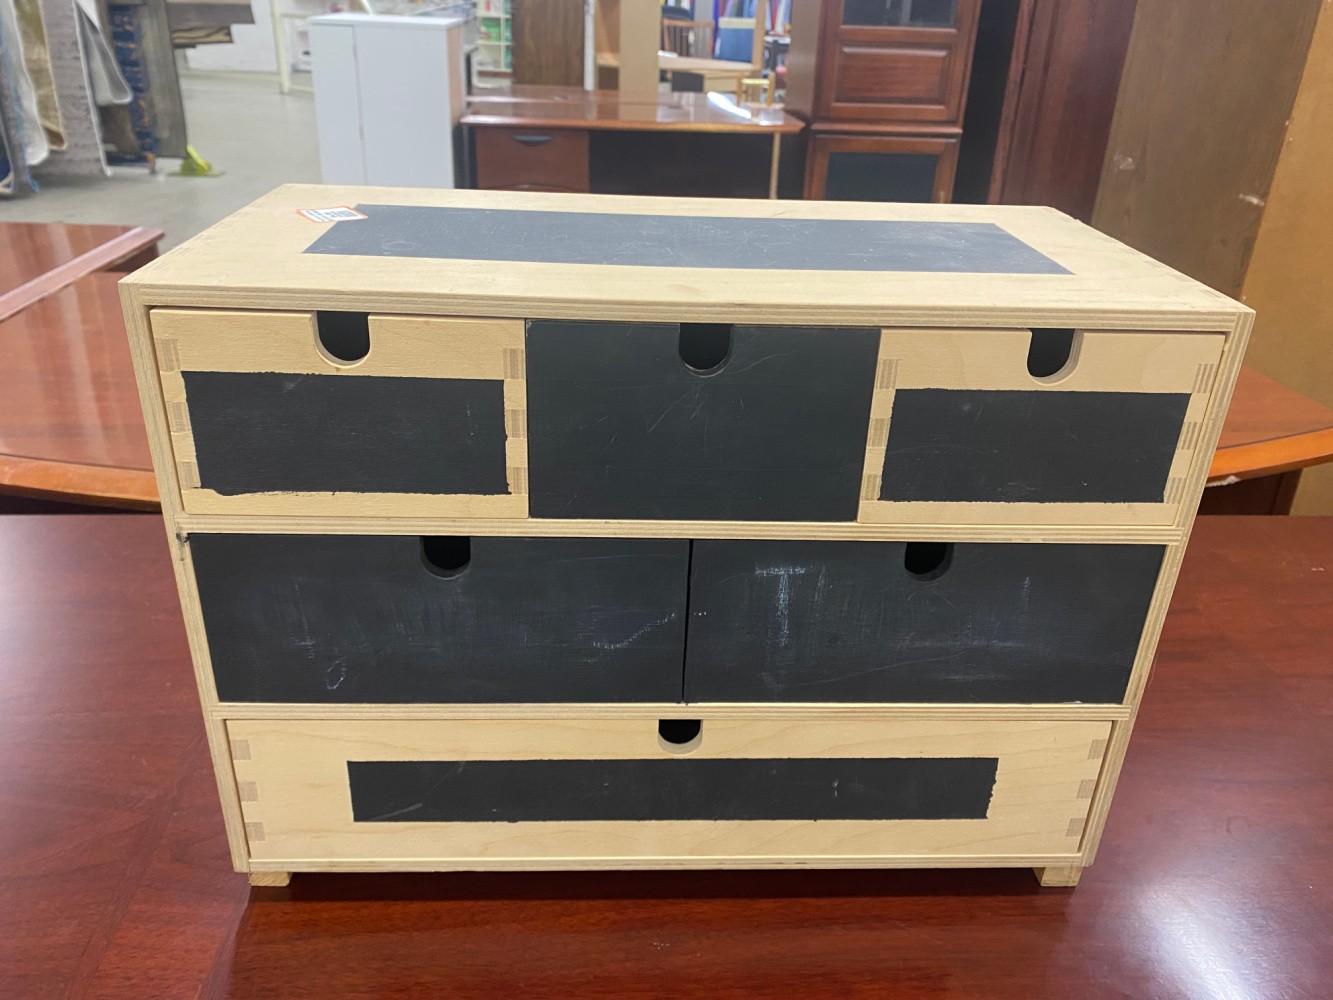
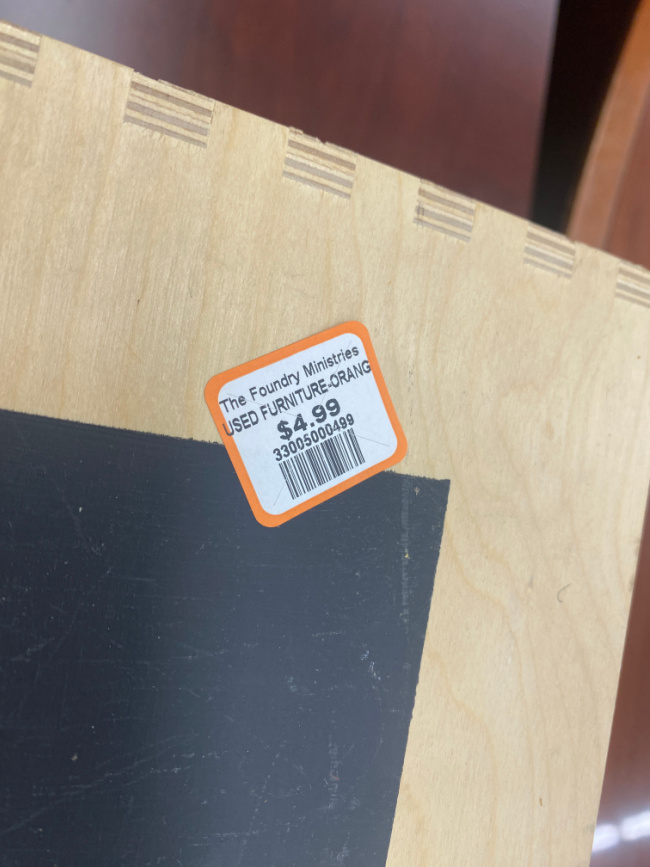
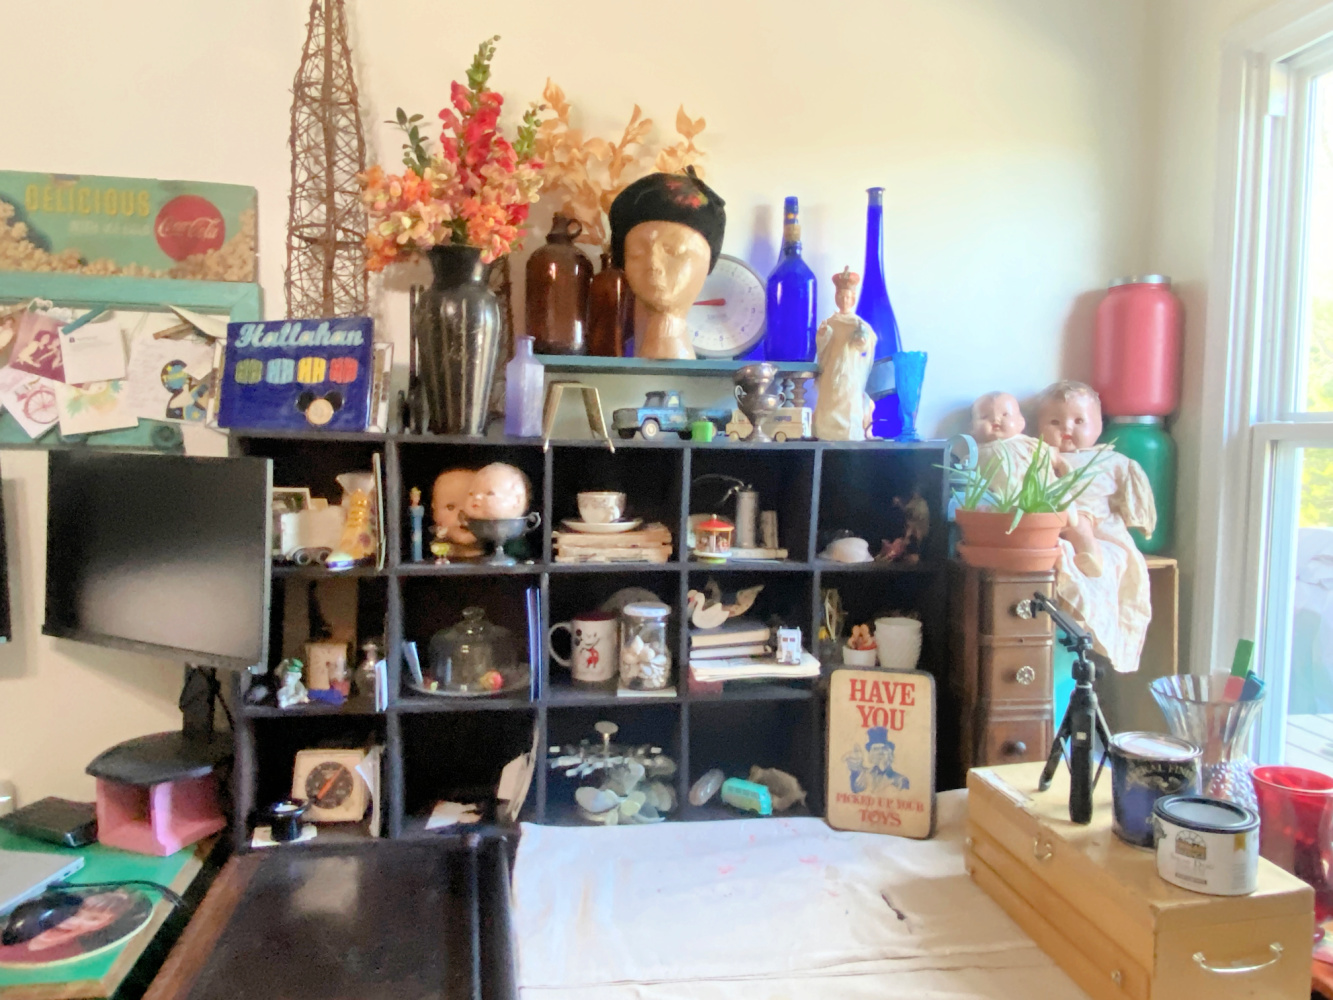
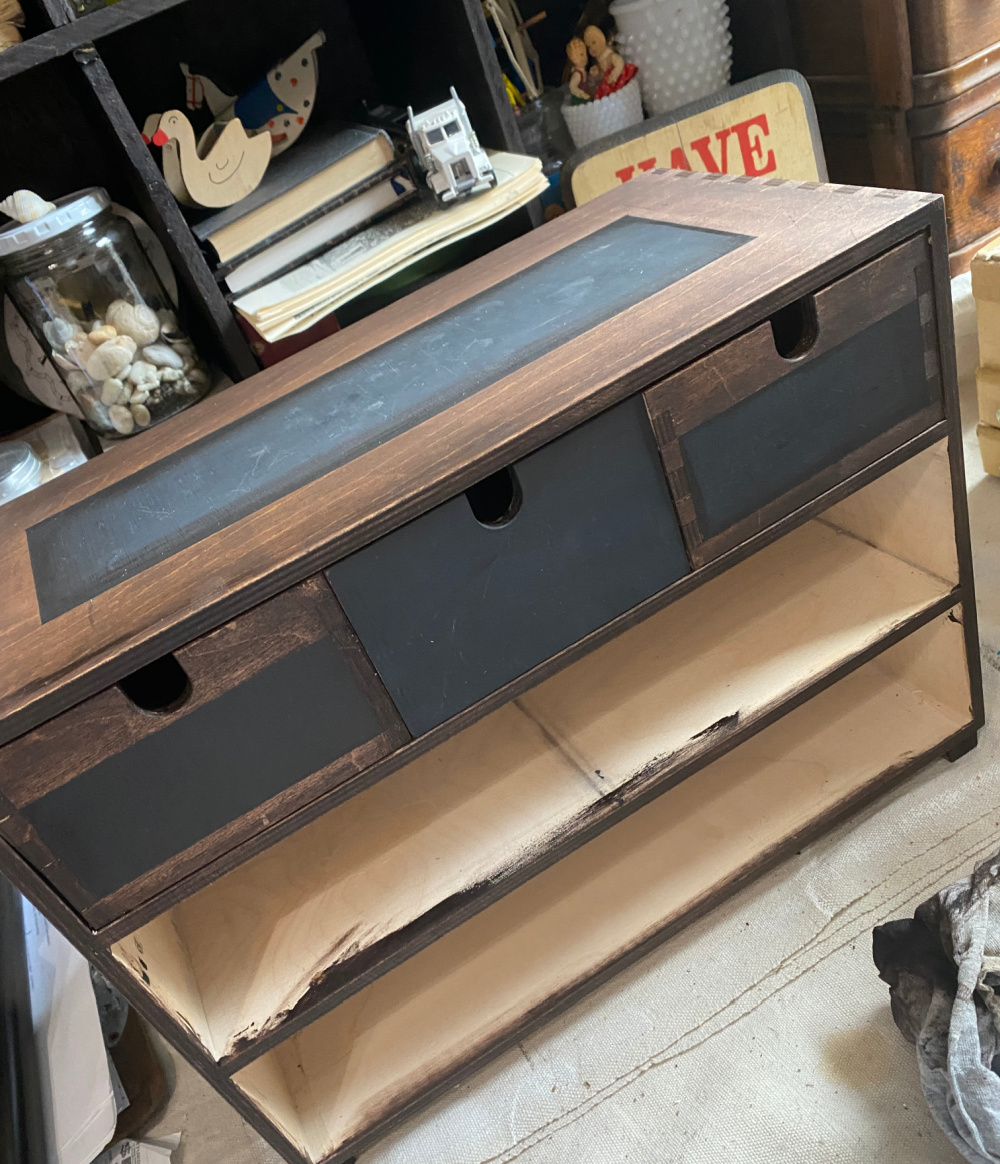
If one thing is consistent in my life, it is the constant attempt to better organize and control storage of all of my STUFF. I confess, I like stuff. And if you know me, you already know that. If you ever shopped my store, The Blue Building Antiques and Consignment in Alabaster, AL, you’ve seen my love for stuff firsthand. After all, my tag line for my store was Elegant Clutter. So when I saw this little desktop storage unit at America’s Thrift Store last week for $3.99, I could not pass it up. Let me show you how I transformed this set of desktop storage drawers into something that fits my style. And, guess what? It literally took me 15 minutes.
And how about that price!
Am I wrong or is this not the reason we keep returning to the thrift store?

If I am transforming a Thrift Store find, you can pretty much bet that it is the second Wednesday of the month. We call that day Thrift Store Decor Team Wednesday! Each of my fabulously creative friends on the Thrift Store Decor Team shares a new post once a month as part of our Thrift Store Decor Team collaboration. Each post had an upcycle or repurpose theme. Check out this month’s projects at the end of the post!

What’s the Plan?
I had so many ideas with this little unit. At first look, I thought I would paint her in a rainbow of bright colors. How fun!
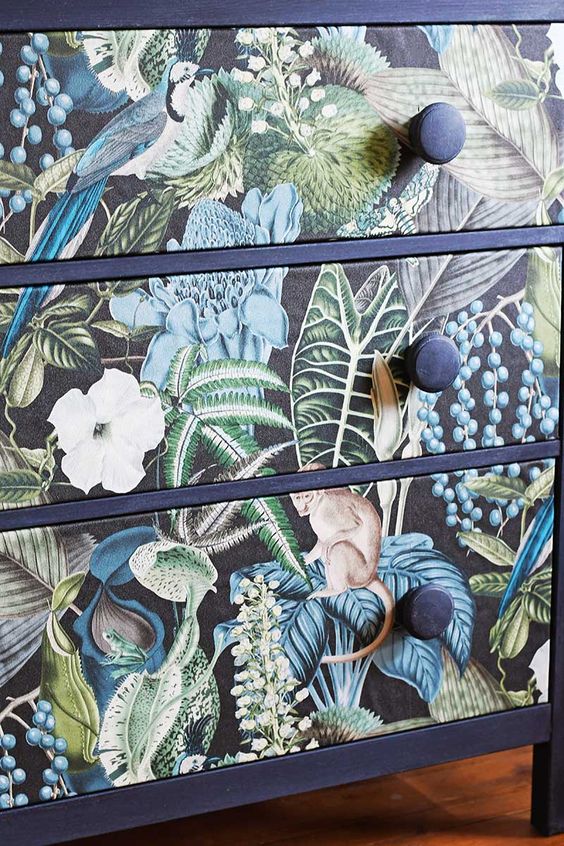
But then, I thought I would refine her with a Mod Podge of floral papers or fabrics covering each drawer front.
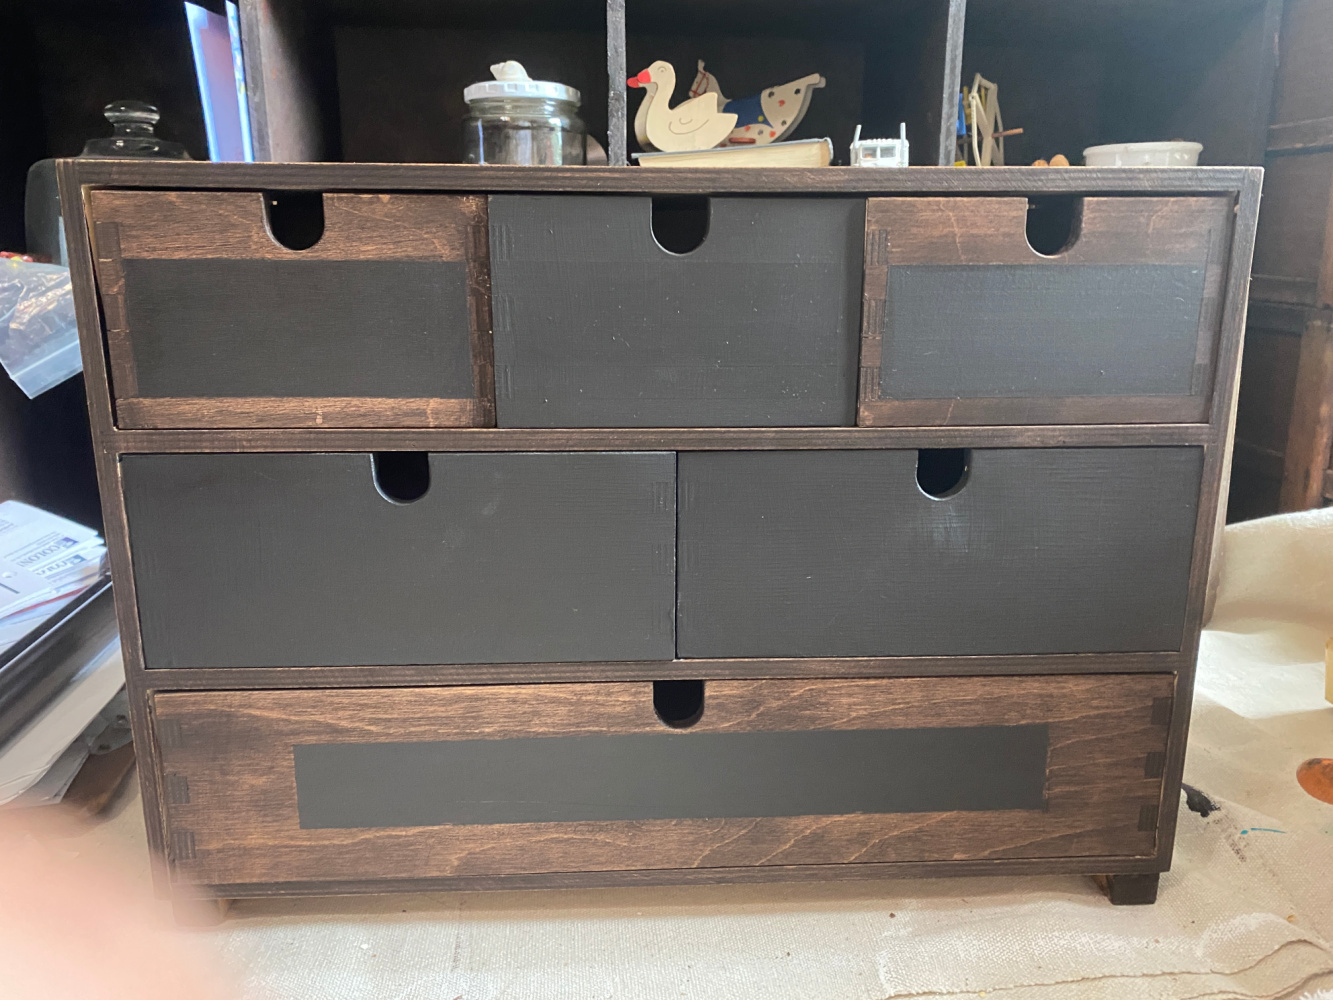
But, alas, I decided to go with the easiest solution that would actually best fit my work area where she will be used…a vintage industrial theme!
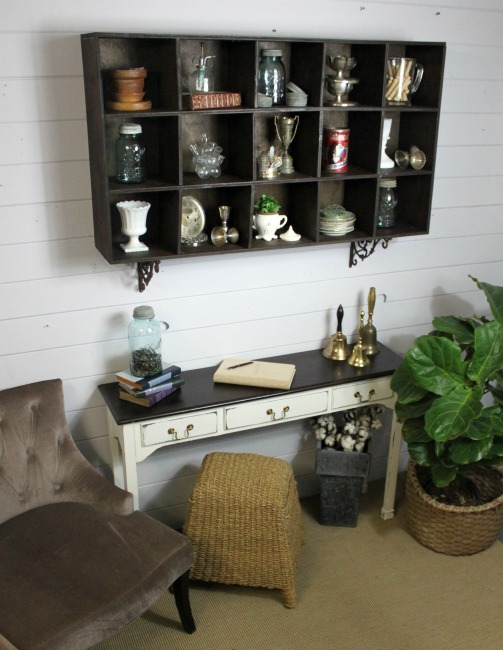
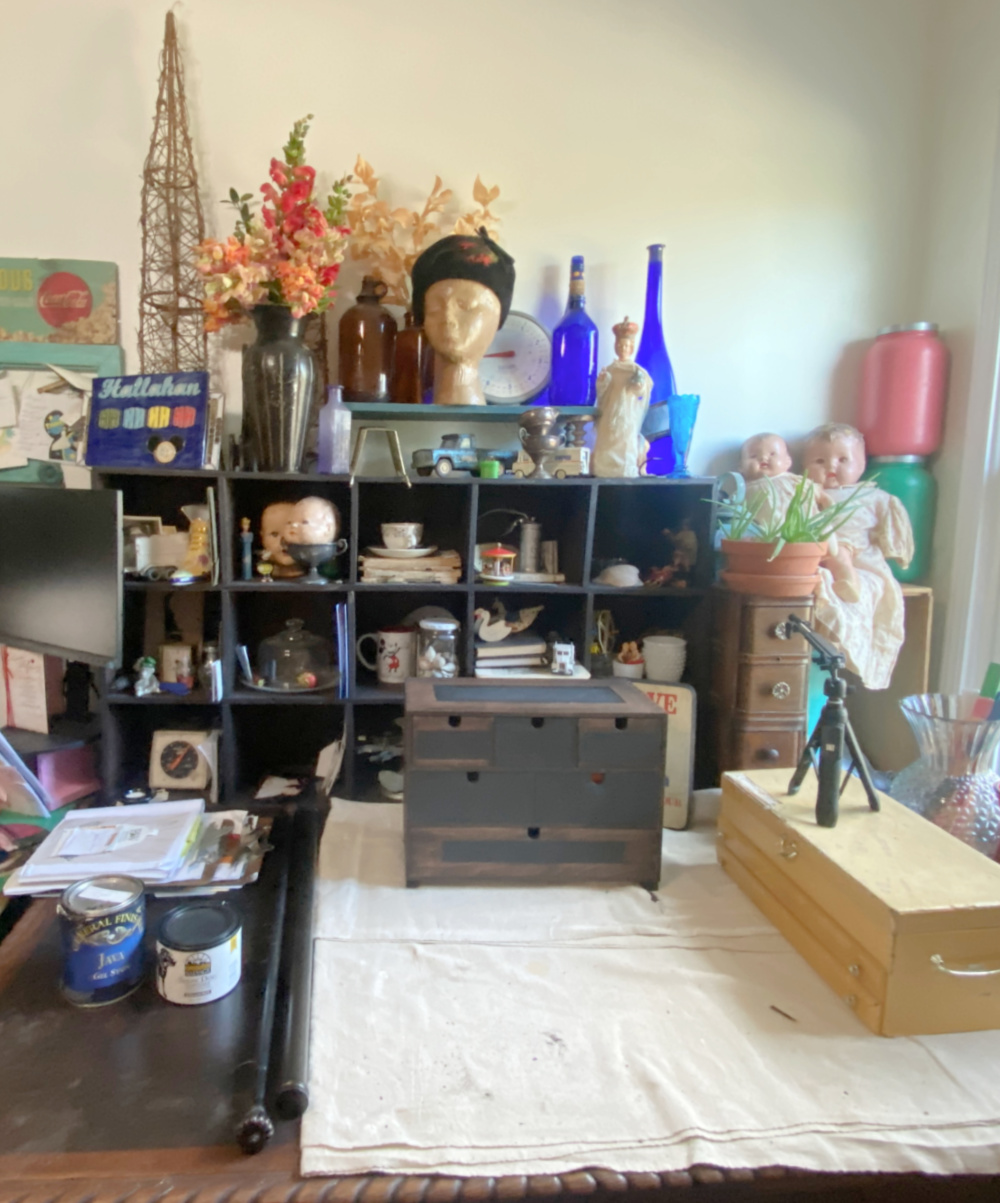
I actually made this big cubby unit as part of a challenge a few years back. Click the photo below to read about this fun project.
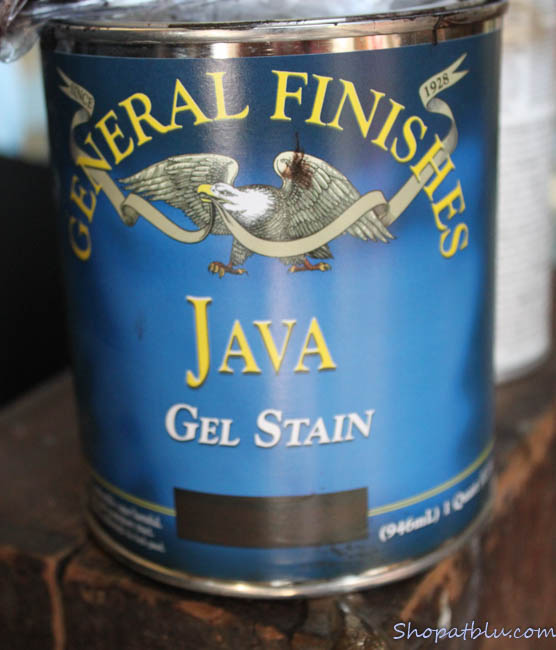
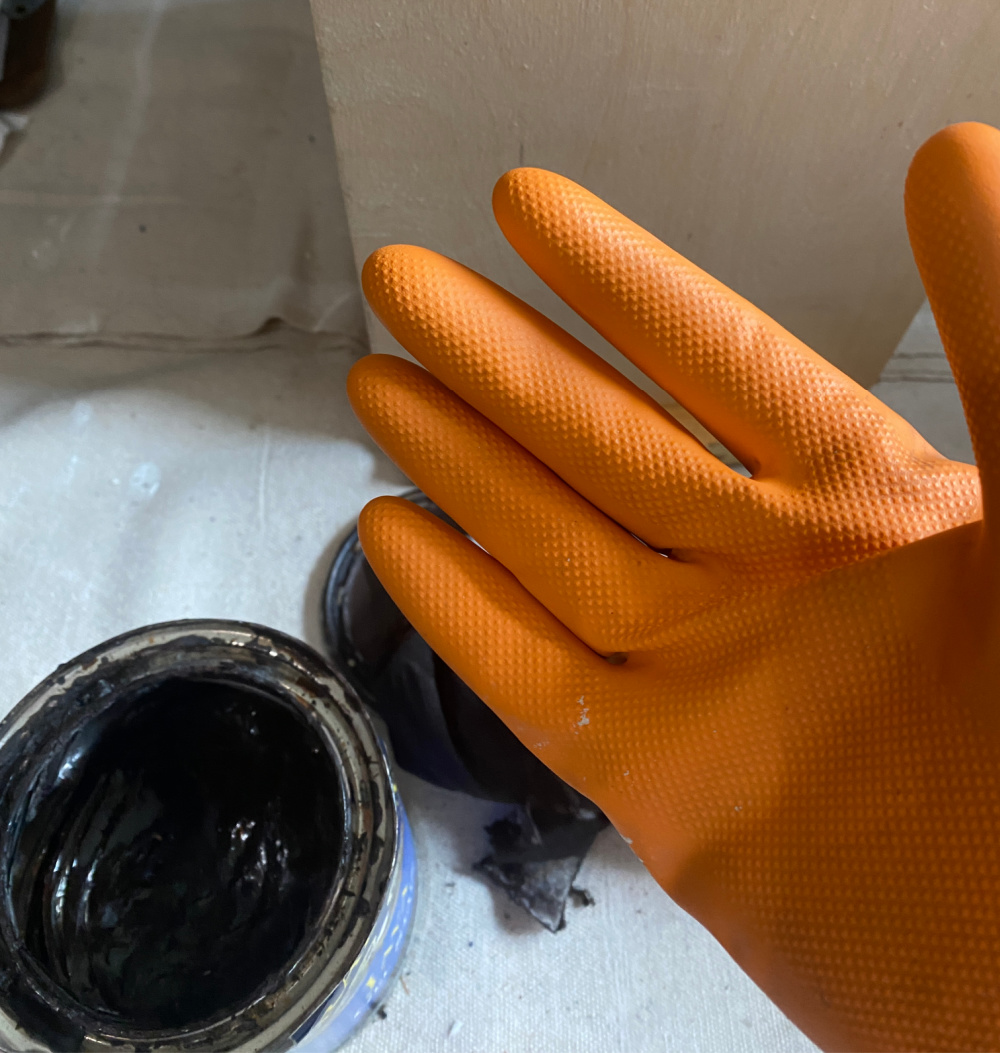
And so, I grabbed my favorite stain, General Finished Java Gel, some sandpaper, and an old cotton rag. Let’s stain this baby and give her a vintage industrial look.
Supplies:
- cotton rags (one for dusting, one to apply stain
- sandpaper
- gloves
- small paint brush or sponge (for corners and tight spots)
- General Finishes Gel Stain in Java (or your choice of colors)
Prep for Stain
Anytime you are going to use a stain on a wooden surface, you should prep the piece as follows:
Clean the piece of any dirt or debris with a cotton rag or wipe with TSP.
- Lightly sand the surface that will be stained.
- Clean the piece again of any residual dust or dirt and follow up with a TSP bath if necessary
Apply the Stain
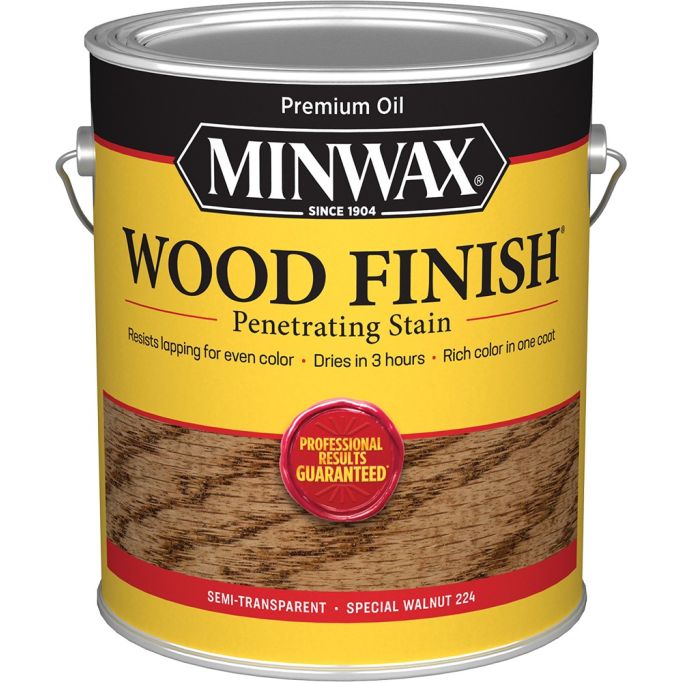
There are many many types of stains available. When I first started working on furniture back in the 90’s, I used MixWax stains. My favorite color was Special Walnut. It is a very dark brown.
MinWax is still a great brand. But I now prefer General Finishes Gel Stain because it is a thicker stain in gel form that is easier to apply. The classic stains are very watery thus harder to control the application. Gel stain is much thicker so it stays where you put it and does not run all over the surface of your piece. My go to is now General Finishes Gel Stain in the color Java.
Applying Stain
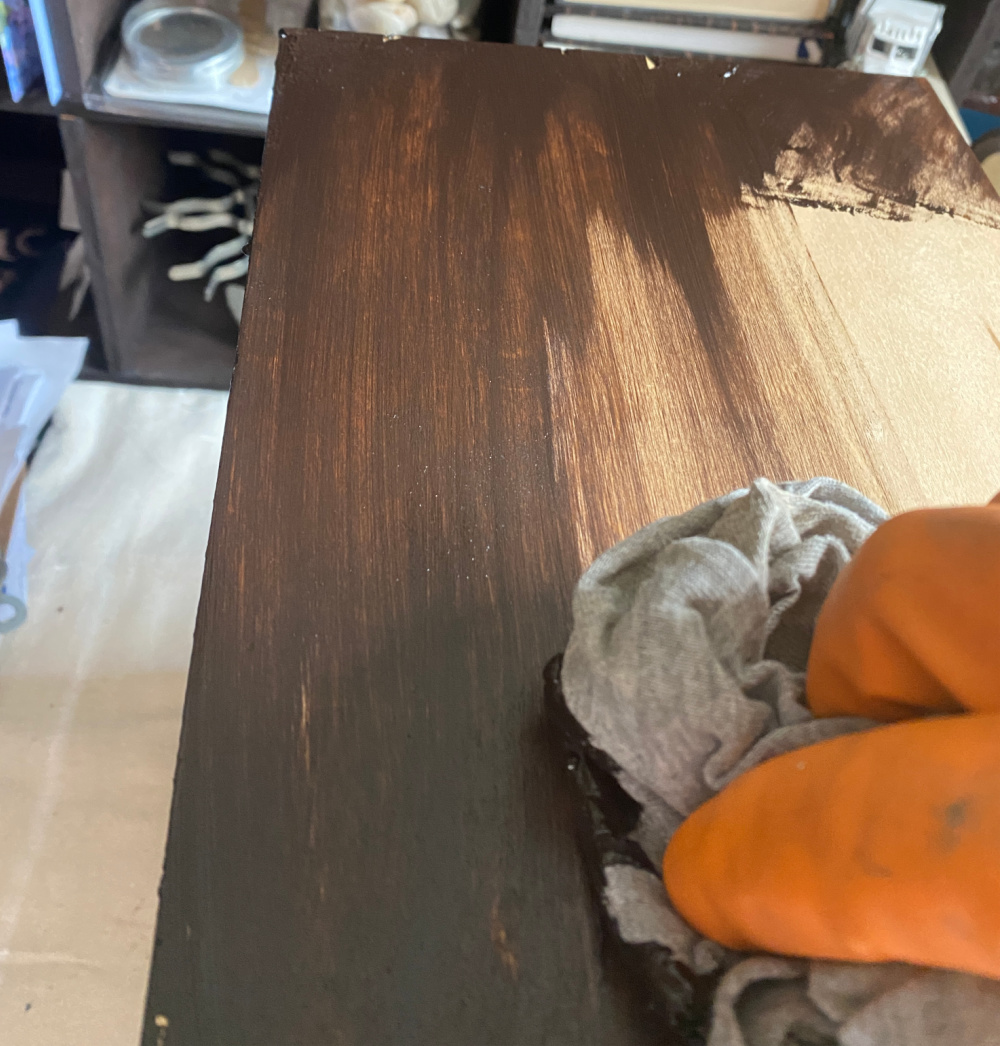
You can apply stain with a brush, a sponge, or a rag. I prefer to use a rag for the same reasons that I prefer gel stain. With a rag, the stain only goes where I want it to go and I have control over where it lands. Make sure you wear gloves! Stain loves to settle into your skin and it can take days to get the stain off!
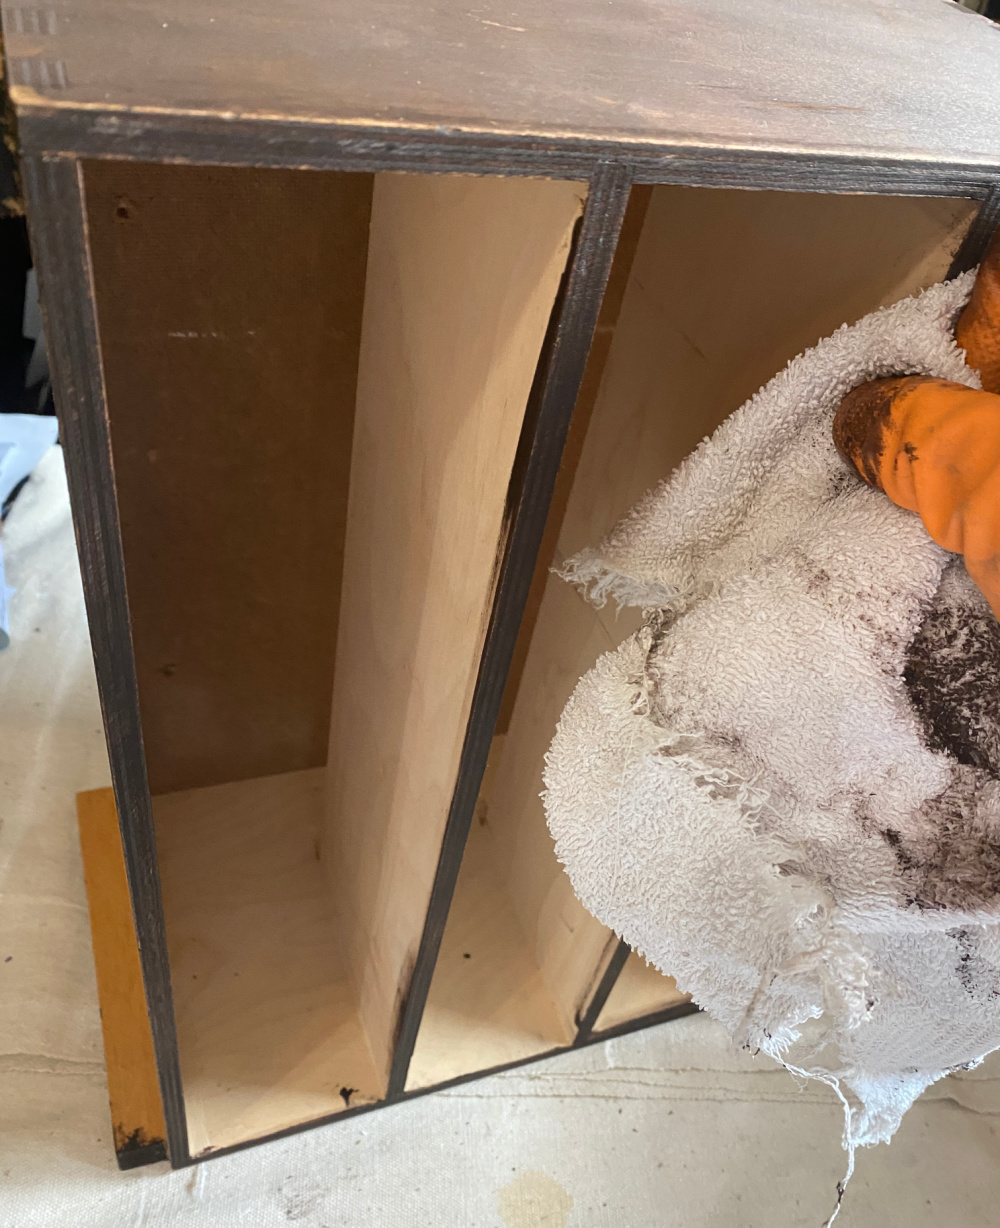
I removed all of the drawers before starting. This gave me a chance to inspect the unit a little bit better.
Use a lint free cotton rag. Dip it into the stain. In a firm straight wiping motion, apply the stain in the direction of the grain of the wood. This motion helps the wood absorb the stain in a natural way. If you apply stain across the grain of the wood, it can appear blotchy, streaky, and unnatural. Applying your stain with the grain helps the wood better absorb the stain.
I continued around the entire unit until the whole outer surface was stained. Be careful to get into the corners and under the legs. In these areas, a small brush may come in handy.
I start with a heavier application on uneven surfaces. In this case, I started where the dovetail is at the corners of my piece. Then I pulled the stain across the smooth grain. It is always easier to apply the stain into the cracks and crevices initially rather than go back and fill spots that you missed. Whenever you reapply stain to an area a second time, you run the risk of that spot being darker than the single application areas. That said, the beauty of gel stain (being thicker) is that it takes a little longer to be absorbed into the wood. Consequently, if you apply too much gel stain, usually you can wipe it off thus correcting the over application.
I apply the stain section by section, ensure complete coverage, and then wipe away the excess. The final step is to buff with a fresh rag. This ensures that the stain has been absorbed into the wood and that there is not any residual stain sitting on the surface, which can be messy.

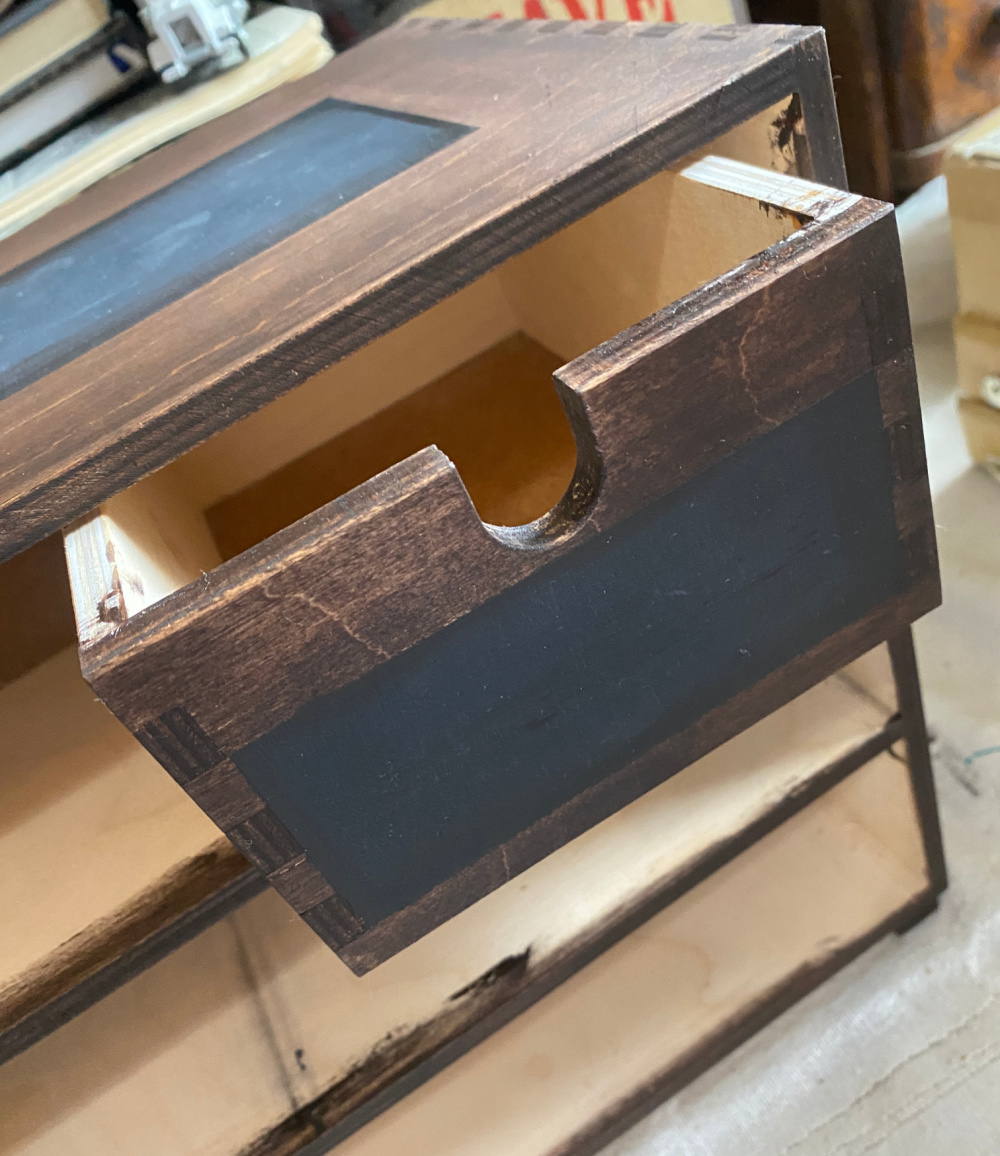
I didn’t stain the complete outsides of the drawers as the drawers will normally be closed. I only applied stain to the fronts of the drawers.
I didn’t think it was necessary but you most certainly can stain the entire drawer unit. This is totally your preference.
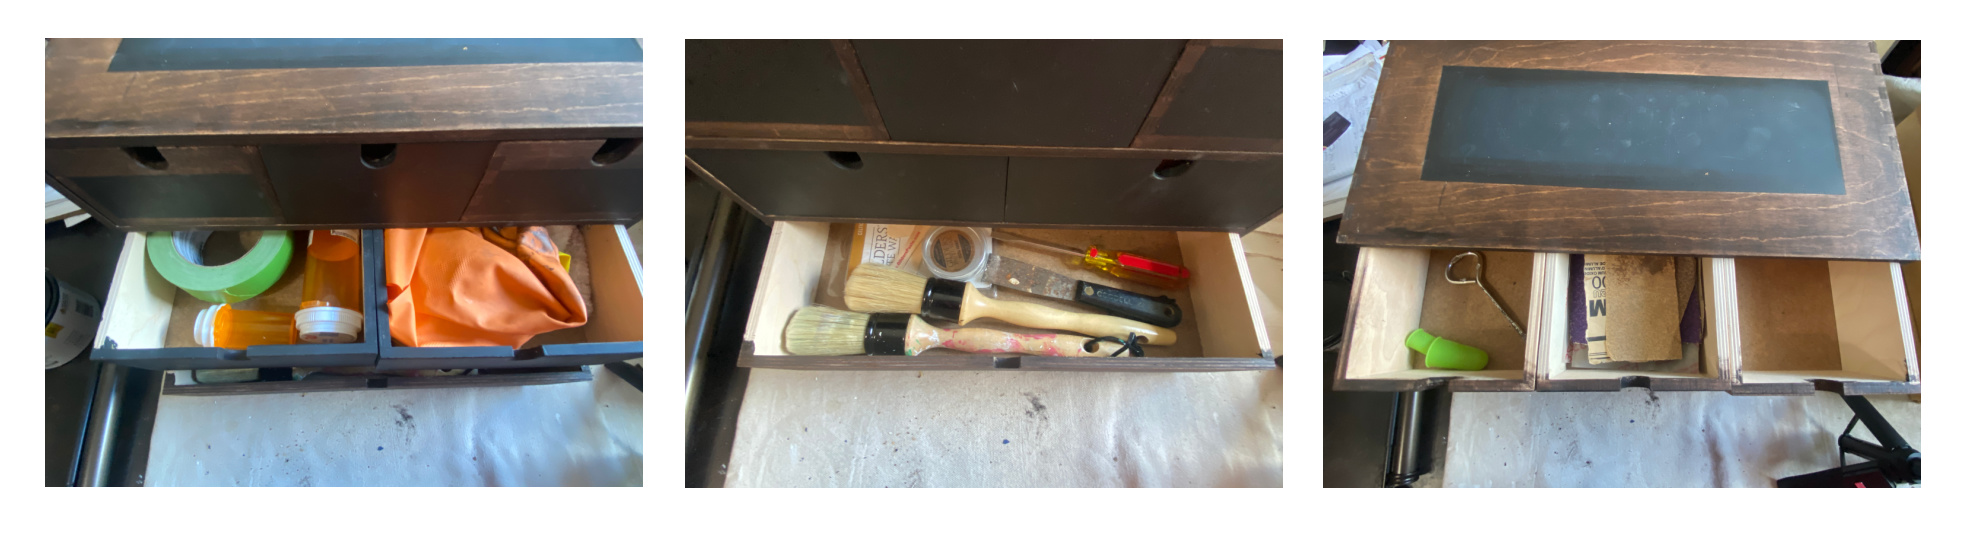
This little unit will be a convenient place in which to keep my most used craft and DIY tools like my favorite brushes, some sandpaper, screwdrivers, glue, gloves, etc. She is the perfect size to move onto a bookshelf or into the closet as needed. Who doesn’t love a mobile storage option?


Here are some of the items that are normally scattered around my workspace:

I use this little wire basket to carry supplies from the workspace out into the yard or driveway or wherever I am working on a project. I think my new desktop storage unit will be a visual upgrade to this area.
There are several drawers so I can keep my supplies segregated.

This was a quick little project. I’m thinking I might take it a step further and flip the drawers around, apply some of that beautiful blue floral paper, and add some copper industrial handles. We always have to improve right? And a girl must have options! Stay tuned!

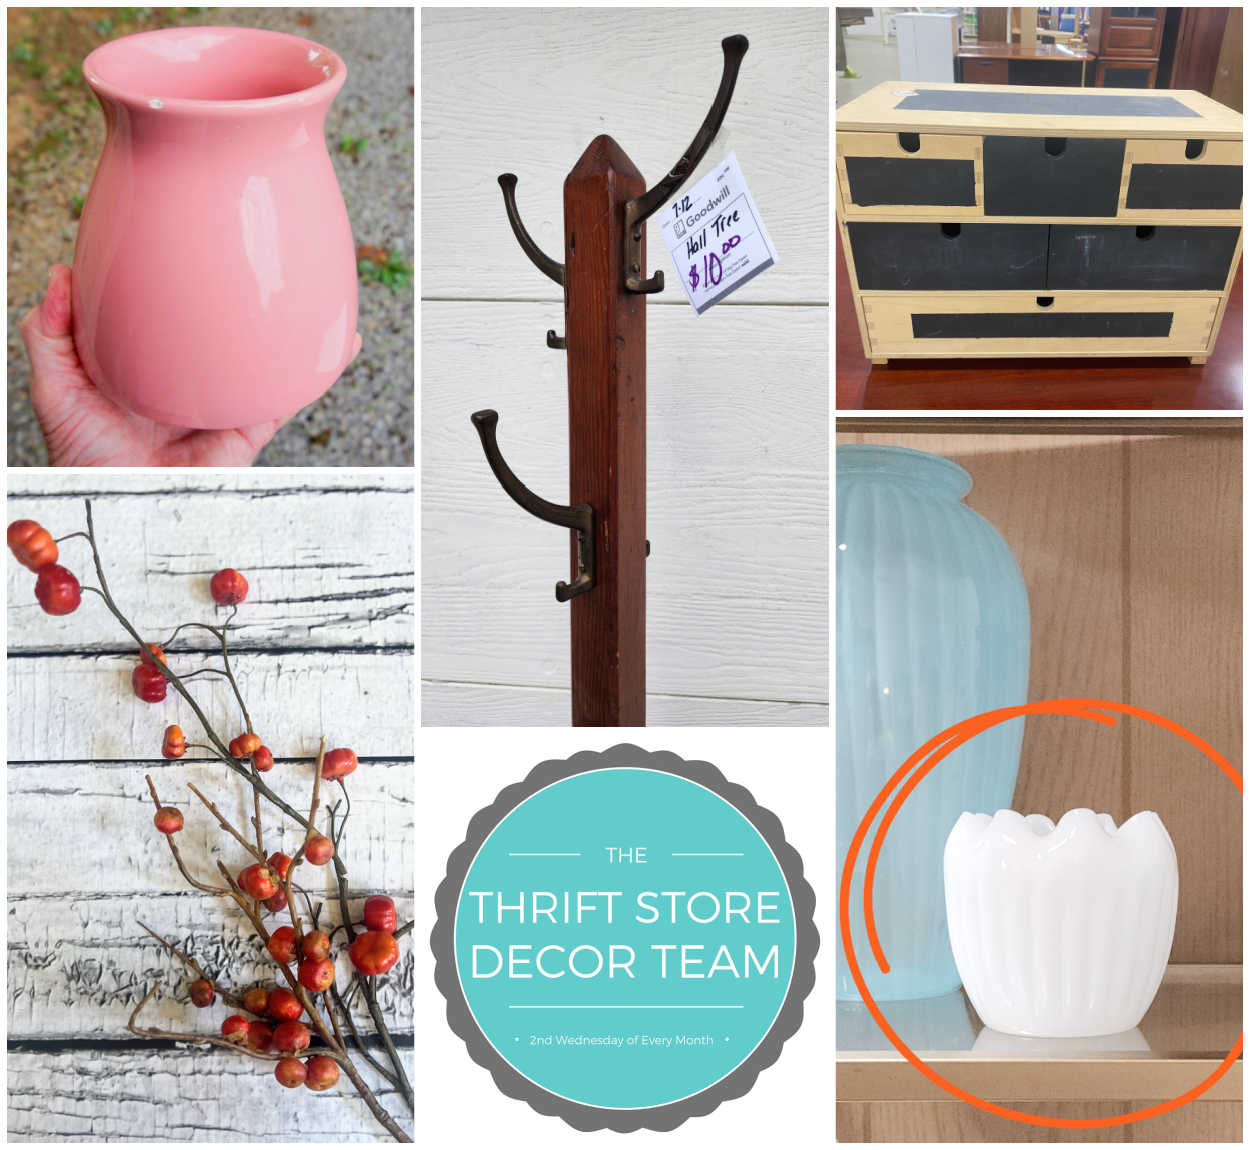
DIY Pedestal Stand Petticoat Junktion
Goodwill Antique Coat Rack My Repurposed Life
Desktop Storage Vintage Upcycle Shop At Blu -That’s me! You’re HERE!
Eucalyptus Grapevine Wreath My Uncommon Slice of Suburbia
Milk Glass Vases as Halloween Ghosts Sadie Seasongoods

WOW, what a steal for that price. It’s the perfect size and with all those drawers you can really get organized! Love this makeover!
Exactly my thoughts! Thanks Kristin! There is hope for me yet.
Great save Sue! The stain looks great, and I’m sure you love how much extra storage you have.
Pinned!
Thanks, Gail and yes! You know it!!