


For some time I have been trying to convince myself to try my hand at upholstery. I can recover simple seats for dining chairs with updated fabric. I can box cover just about anything. But I am talking about real, honest to God, use the sewing machine , mind boggling upholstery. I have a graveyard of chairs scattered around my store, The Blue Building. But so far, I’ve not had the nerve to tackle my fear! I guess at some point you just have to dive in. Guess what??!! I took the plunge!
Thank you for reading this post, don't forget to subscribe!
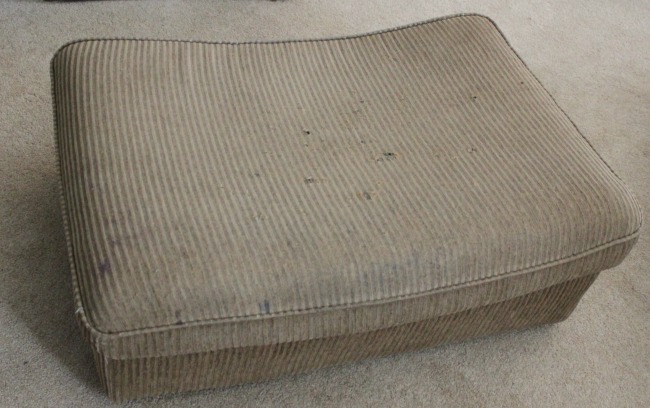
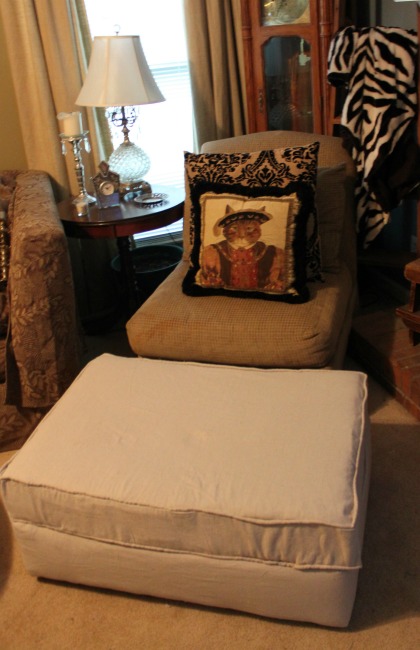
This is our ugly olive colored ottoman. We bought it new with a living room suite when we moved to Alabama…almost FOURTEEN years ago! It is about as worn down as an ottoman can get. Kids, cats, dogs, feet, even a ferret have contributed to the demise of this ottoman. But I still love it because of the size and durability! I thought it would be a great project for learning how to reupholster an ottoman.
About two years ago, I bought a drop cloth from Lowe’s with the intention of slip covering all of the olive furniture. I didn’t want to waste money on expensive fabric if my reupholstering skills turned out to be non existent. Everyone was using drop cloths for slip covers because of durability and ability to throw them in the washing machine. So I decided to try this. Um…that never happened. What better way to test my abilities than with this ottoman! Easy right??? Here we go!
I was fortunate to obtain a replacement foam top from Fairfield World, the sponsor of the March Fab Furniture Flippin’ Contest. I received this foam free in exchange for writing this post on how I used their product. More about this fabulous sponsor and wonderful contest at the end of this post.
I must admit that I was very intimidated by the thought of this project. A little history on my sewing experience…I’ve dabbled. I’ve made Halloween costumes for each of my 5 children. Over the course of 20 years I have made 4 complete and 3 partial costumes. On a PASS/FAIL scale, they would rank just barely over the PASS ranking. But PASS is PASS, am I right? I can mend simple clothing fails. I can hem most pants, skirts, dresses. By hem I mean the bare minimal hemming! I do buttons and darning. I have successfully applied patches to shirts, vests and uniforms for 3 cub/boy scouts and 2 brownie/girl scouts. So what I’m saying is I can do the basics.
As the deadline loomed closer, I delayed. Finally, I searched the web for instructions on how to reupholster an ottoman. I selected this video by Kim’s Upholstery . I was planning to outline all of my steps but there is no chance that I can do that as eloquently or thoroughly as this video…she simply nails it! You’re welcome! That makes this post so much more simplified for all of us! I watched Kim’s Upholstery video from start to finish and I realized, I CAN DO THIS! That video totally lined up all of the steps and gave me the confidence to tackle this project.
SUPPLIES
I already had my drop cloth. I purchased 10 yards of cording from Hobby Lobby. I cut my fabric per the video instructions and I dusted off the sewing machine. To create the cording , I needed the zipper foot for my sewing machine. I knew that it came with one but I had never used it. I googled zipper foot to see what I was looking for. Okay…that looked familiar. I had what looked like the two parts for the foot and was able to assemble and attach it to the machine. Ten minutes later, I had my completed cording! Easier than I thought!
DISASSEMBLING THE OTTOMAN
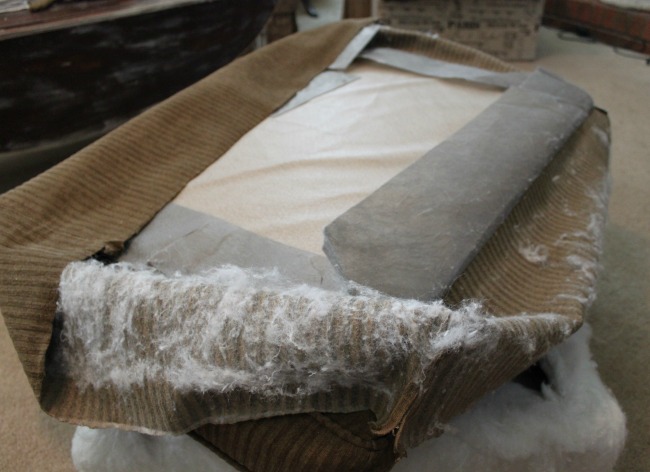
This step was easy. I flipped the ottoman over, unscrewed the legs, removed the dust cover, and pulled the fabric off of the bottom. The ottoman cover is actually a slip cover that is slipped over the ottoman and stapled in place on the underside. The most complicated part of this project would be making the pouch in which to insert the replacement foam cushion. All of these steps are outlines in the video above.
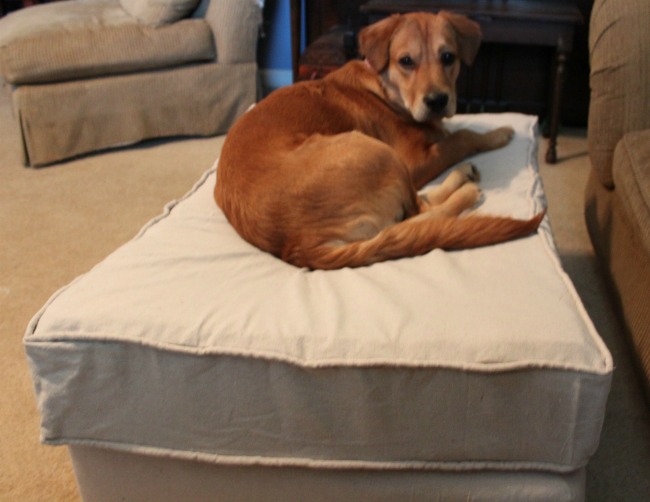
I had alot of help with this project. This is Levi, his job was to protect the integrity of the ottoman by guarding the removed cover.
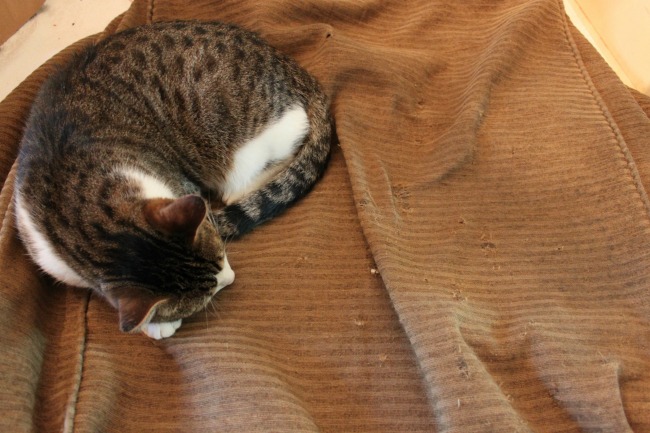
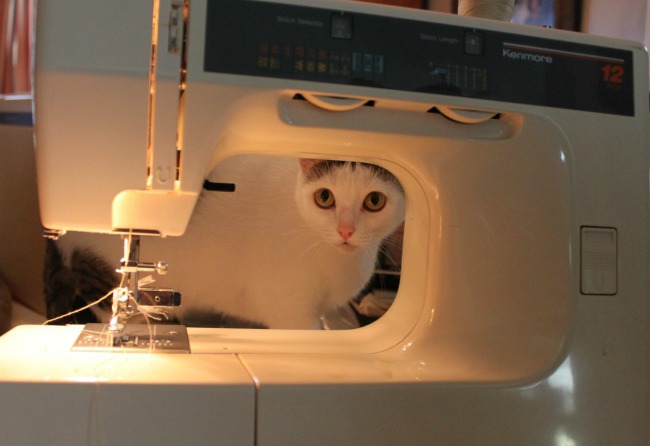
This is Mia. Her job was to protect the integrity of the new fabric by remaining with it at all stages of the project. She was on it, in it, under it…
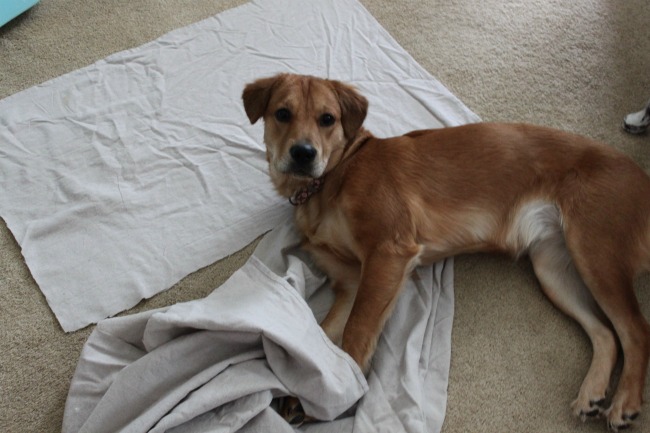
This is Bella. Apparently she is the mechanical engineer.
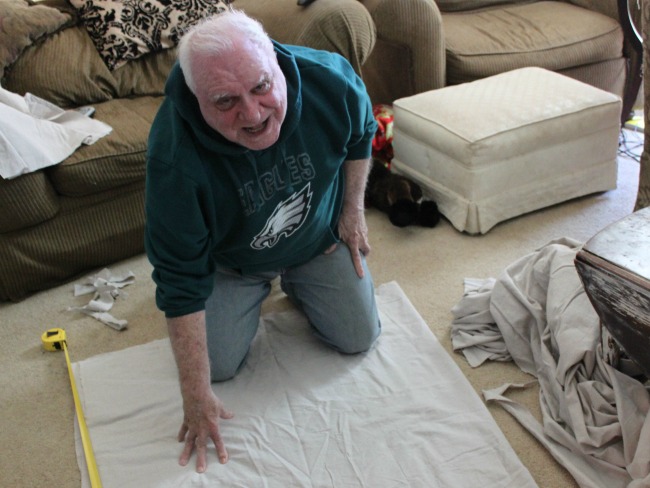
And this, of course, is Pop! He is pretty much in charge of whatever he wants to be in charge of and he refused to be upstaged by the pets. Here he is smoothing out the drop cloth.
Things I learned during this project:
- If I’m going to continue on this path to upholstery, I need an industrial machine. I broke 8 sewing machine needles.
- Always have at lease 2 spare seam rippers. I wore out one seam ripper. Mia ate another.
- My scissors need sharpening.
- Sections of my cording are as crooked as Ridge Avenue (shout out to my Philly Roxborough friends).
- 75% of my corners look great.
- I need to work on my measuring and seam allowances. Apparently that age old phrase muttered so frequently by all of the DIY experts and woodworkers is transferable to sewing…Measure twice and cut once. I over estimated resulting in saggy sections.
- I will never, ever, under any circumstances critique another upholstered piece of furniture with cording that is not perfectly uniform. Trim is a daunting and seemingly impossible task. In this case, close is a win!
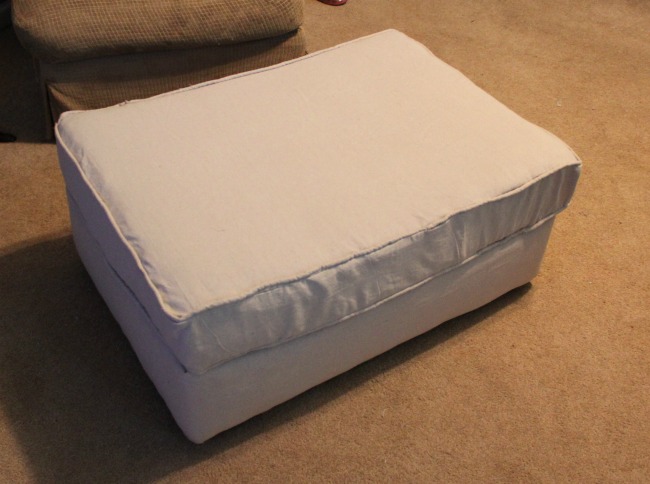
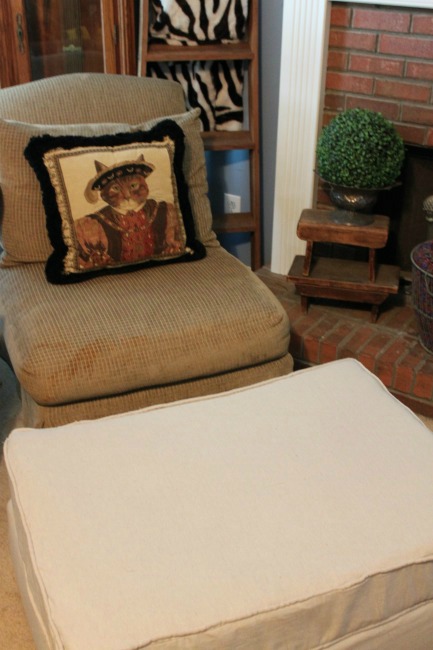
Remember that this is my very first attempt at trim/cording and any sort of upholstery that involves sewing! That said, I think I did pretty well. Here she is:
Did you notice the STRAIGHT sections of cording??? The flat surface on top? The taunt fit of the base? ACCENTUATE THE POSITIVE MY FRIENDS!!! And remember that practice makes perfect!
I have completely stepped outside of my comfort zone with this project and I am really satisfied with the results, wonky wavy trim and all! Thank you to the FFFC for pushing me to venture into new arenas! I have definitely built my confidence with this project, as well as my skills. I will continue to try to master the cording and covering of ottomans. My next task will be to slip cover the chair that matches the ottoman. Don’t look for this anytime soon as my fingers need to heal from the staple and needle pricks. I also think that a stenciling project will be needed in the future because of the light color of this fabric combined the high traffic use for this ottoman. At this point I am wishing I took advantage of the second contest sponsor Spoonflower, a company that helps you make custom fabric, wallpaper and gift wrap. Just imagine the possibilities! Mind boggling!
ADVICE FOR NEW UPHOLSTERERS
Do your research! Watch videos to become familiar with terminology and techniques. I have watched several of Miss Mustardseed’s Upholstering videos. Marian has an entire library devoted to this art. Kudos also to Amy Chalmers of Maison Decor for the great video she made while reupholstering a beautiful french chair. My advice for those of you considering a project is to watch as many videos as possible. Start small and work your way up to larger and more complicated projects.
As I stated previously, I tackled this project in conjunction with the Fab Furniture Flippin’ Contest. This is a monthly contest in which bloggers are challenged to complete a furniture project utilizing products from a fabulous sponsor.
The theme for the March contest was Mix and Match. The sponsor was Fairfield World. They have a wonderful selection of foam, batting, fabrics, interfacing, fillers, and pillows. I selected replacement foam for the top of my ottoman. It fit perfectly! I will be ordering more from them as I continue on this journey to update my living room furniture.
Our hosts for the contest this month are Charlotte from Ciburbanity, and Colleen from 58 Water Street. Be sure to check out their wonderful projects as well as all of the entires for this month’s Mix and Match contest!
If you are a blogger and are interested in participating in future FFFC, send an email to [email protected]!
Please share some pictures of your first upholstery project! We all need encouragement!
And thanks for stopping by!







Comments 11
THIS is fabulous my friend!! WAY to go. I don’t think I would EVER have the guts to try upholstery, so proud of you. I love it!!! Woo hoo, cheers from all the way up here in Canada! xo
You are too sweet! It kicked my butt!
All I can say is well done for your first attempt you did great and Rome wasn’t built in a day.. We live and we learn, next time you will know what to do (and what not to)!
And now I get it! Some things just take time! Haha! Thank you so much!
Can’t…Stop…Laughing! You are hysterical – and very brave for tackling this project! You did a fabulous job, especially with all of the “help” that you had on hand. You should definitely be applauded. Well done!
Thanks my sweet friend! I was so beat up by this project! I had to turn to humor to keep my sanity! And I am so proud of my wonky not so little ottoman!
I know you don’t want to hear this but… keep it up! Seriously, as much as I chuckled throughout your first upholstery journey, I know you will do this again and probably again and again. Maybe not right away. Just know that for your first time, you did a fantastic job! Not only does your blog audience adore this but it’s evident that every living being in your home does too! You are too cute. At least you threw caution to the wind and conquered. It’s better than not trying at all. Congratulations on a very good job!
Robin thank you soooo much for the kind words! I will try again…prob on the same ottoman since I chose the wrong color! LOL!
Suzanne, you had me on the floor laughing with your pets’ jobs and things you learned! I can relate, everything seems easier when you see it than when you do it. But your ottoman turned out great, I have never dared to do the piping.
It was difficult! Especially with my helpers! Haha!
I think sizing a cushion with cording is really difficult. I always end up having to redo at least part of it because I can’t stand a saggy cushion cover. Every time I make one I get a little bit better so that encourages me. FYI – Make a band to go around the cushion and make it fit perfectly, then sew your cording to the band. Put the sides/band around the furniture with the right side in, then lay fabric over the top of the cushion and pin it to the sides/band. sew them together. Then verify that your side band is the right height – this is often where my problem comes from – if you need to trim it, trim it. Then sew the cording to the band. Fit the sewn piece over the cushion wrong side out and lay the 2nd piece over the cushion and pin it to the sides/band, leaving one end open so you can get the cushion out. Sew together. This should give you a perfect fit. For some reason if I rely on measurements I screw it up every time. I have no idea what the deal is!