


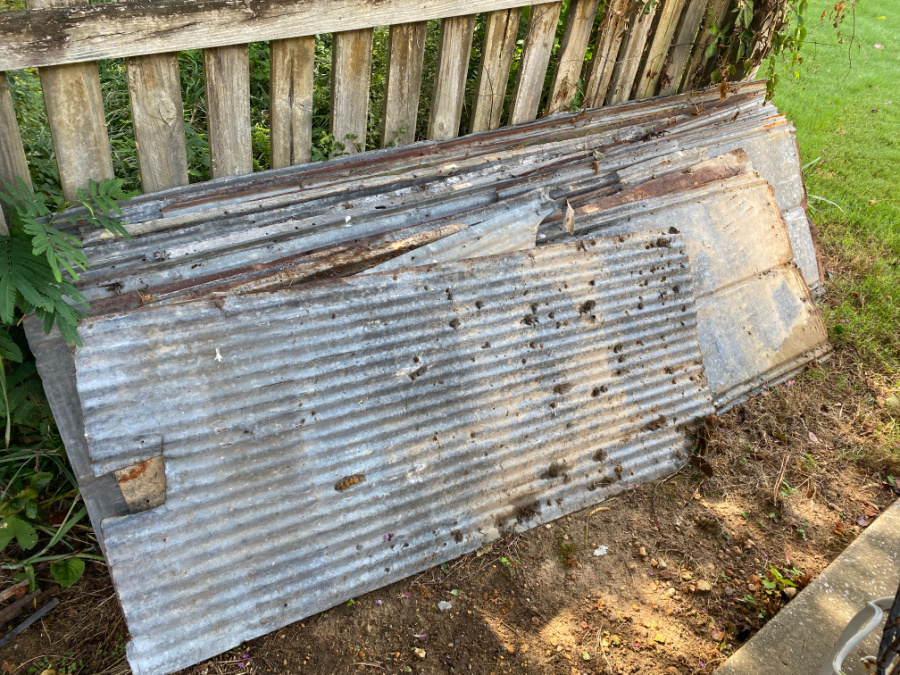
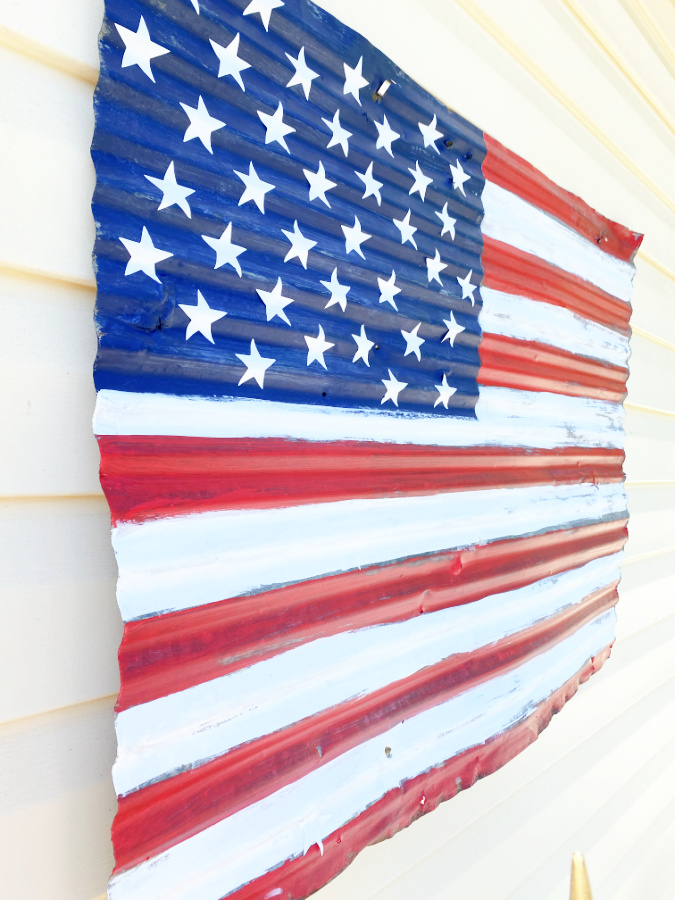
I’ve had this metal for a few years now just waiting for the perfect project. I plan to use some in a building project for the patio under my new deck. And of course I have many small projects in mind. Today I am using some of this metal to make a large American flag.
Thank you for reading this post, don't forget to subscribe!
This metal is from my friend Gina at The Shabby Creek Cottage‘s deconstructed barn. Her grandfather built the barn many years ago. When she tore down the barn to make room for a new structure on her property, she offered me some of this antique sheet metal and of course I could not resist. I made this clock immediately but haven’t used any more since. Today is the day!
Supplies:
- Barn metal Thanks Gina!
- work gloves made of leather, suede or heavy canvas
- tin snips or a jigsaw (sabre saw) with a metal cutting blade
- straight edge
- straight edge or straight edge
- gloves
- craft or acrylic paint
- sandpaper or dremel rotary tool
- hooks or wire
The Most Important Step!
The most important tip for this project is this: WEAR GLOVES! Cut metal has very sharp edges and can cause injury. Always wear gloves to protect your skin. The gloves should be made of leather, suede or heavy canvas. Wear these gloves to move the metal, cut the metal, and even to look at the metal. You get the message…wear your gloves.
Prepping
Clean the metal. I hosed it off and used a brush to removed debris as it has been sitting beneath our outdoor deck for several years.. Be sure to clean both sides, rinse thoroughly and allow it to dry. I set mine in the sun to dry.
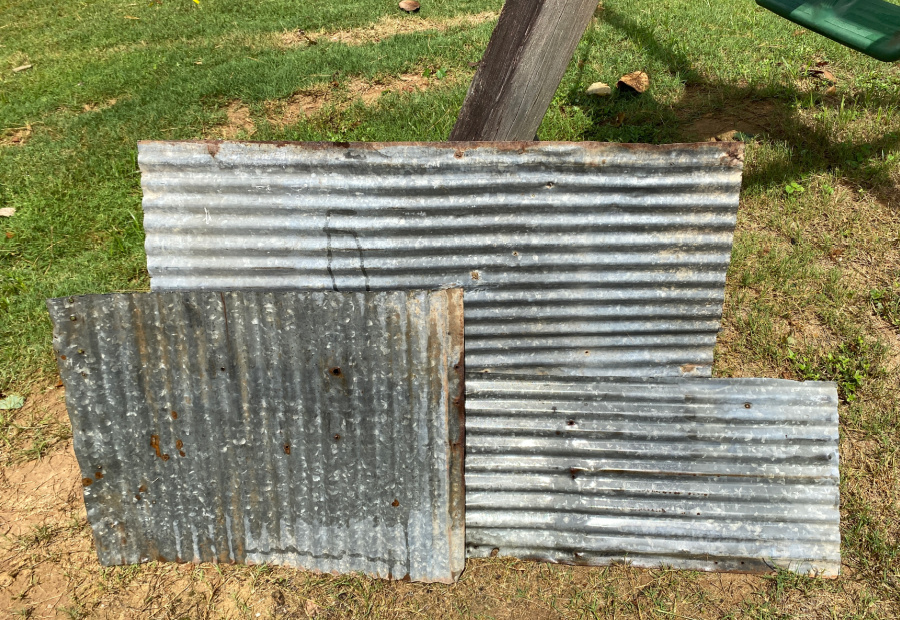
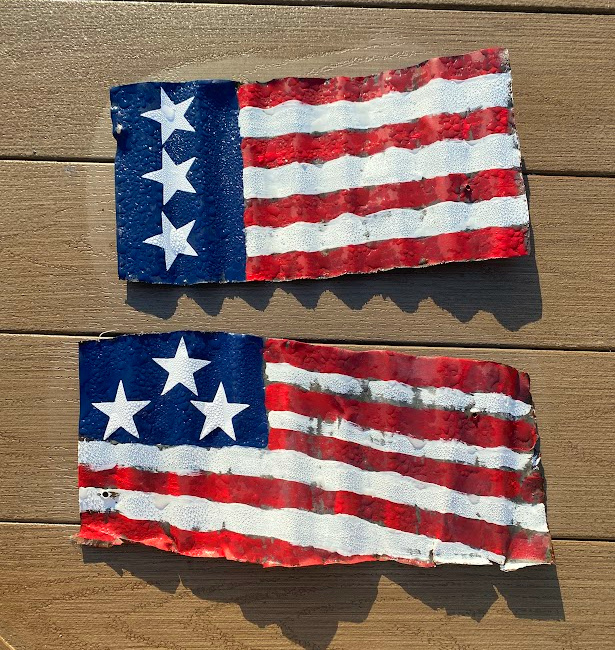
Next, I used a sharpie and straight edge to design the size of my flag and trace the size. I used three pieces of metal and cut them into various sizes. For this project, I am making one giant flag 26″ x 32″, two smaller flags 26″ x 20″, and two tiny flags 11″ x 6″.
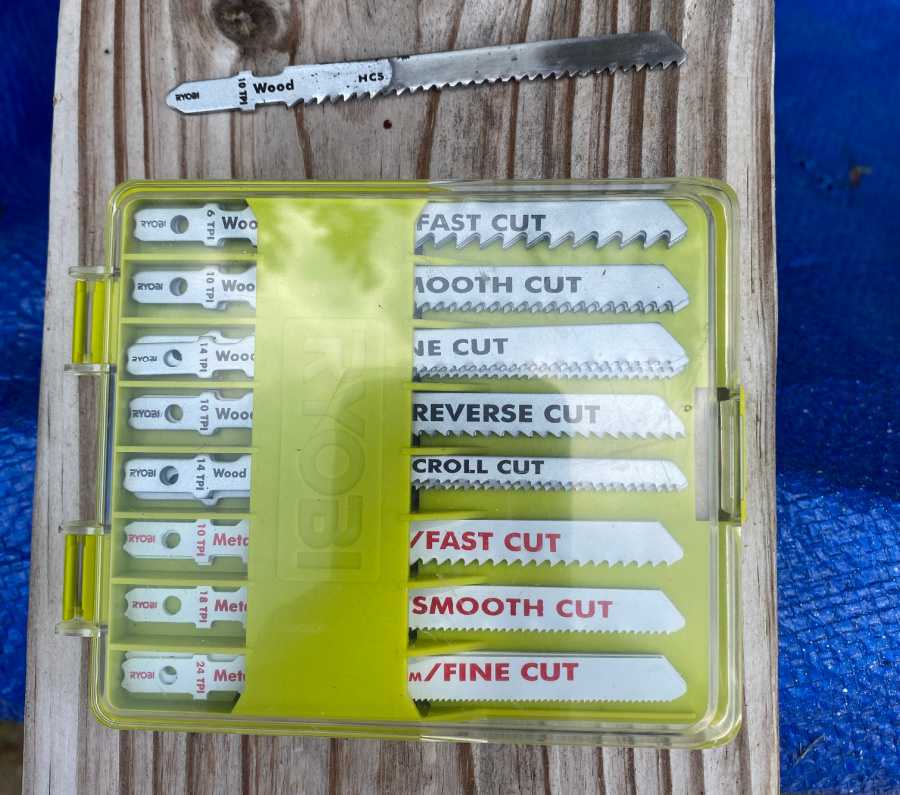
I started to cut the metal with a pair of tin snips. But I remembered that I had some metal cutting blades for my Ryobi cordless jigsaw. So I grabbed a fresh battery and the jigsaw. And am I so glad I did!
I quickly switched out the wood cutting blade for a metal cutting blade. I love my Ryobi jigsaw! It has a lever for ease of changing blades.
I geared up with my safety glasses and my RZ mask to protect my eyes and my lungs. The golden rule of DIY is safety first! The jigsaw cut through the metal so quickly! I saved at least 15 minutes by using this tool. You can see the ease in the video at the end of this post.
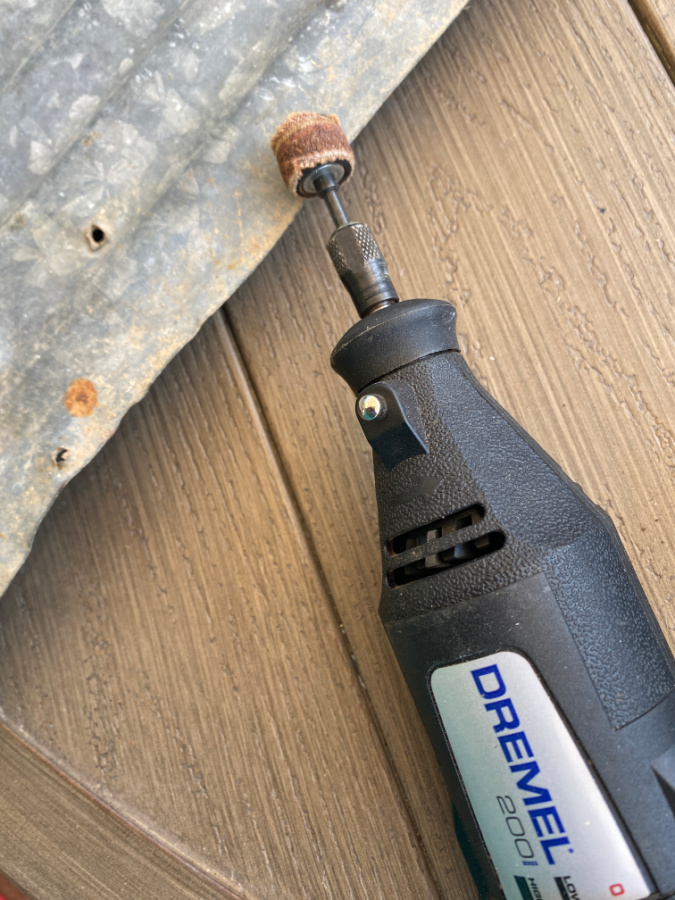
I used my Dremel sanding wheel to sand down the sharp edges. For the smaller pieces of metal I used sandpaper. You want to remove all of the sharp edges from the metal to prevent injury.
After a quick wipe down with a damp rag to remove residual metal shaving and dust, my flags were ready to be painted.
Let’s Paint!
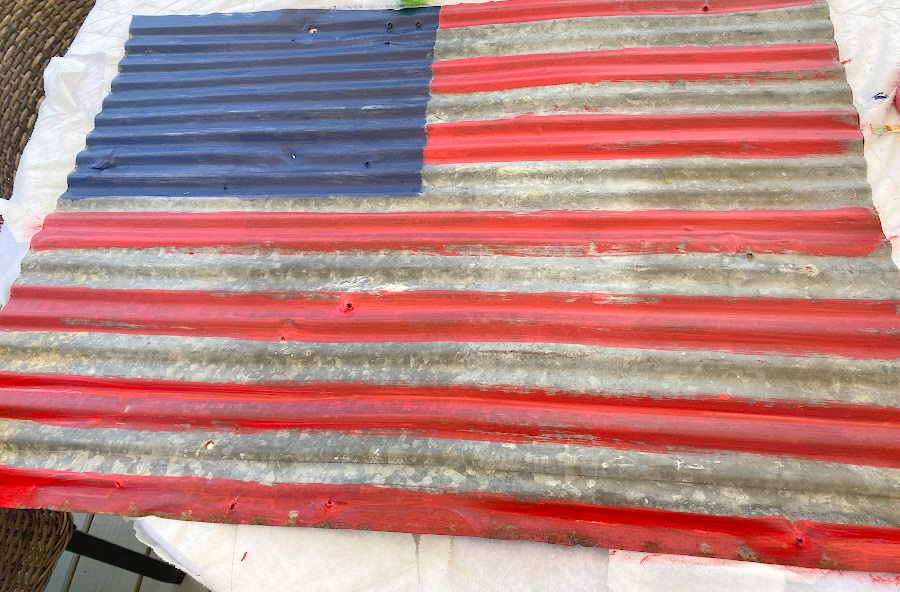
I started by taping off the star area of the flag and painting this area a beautiful navy blue.
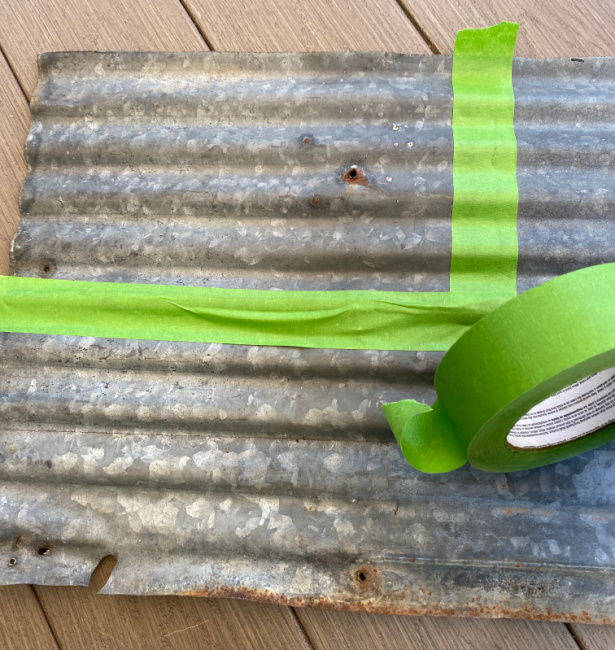
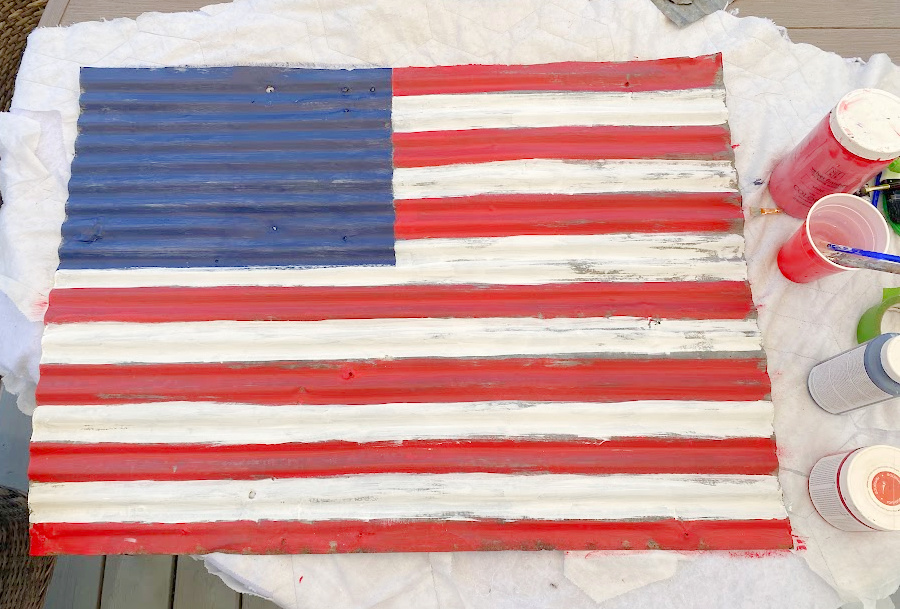
After the red paint had dried, I painted the white stripes. Because this metal was sort of corrugated with horizontal lines, it was not necessary to tape off the lines in order to paint although you certainly could do this. I have a fairly steady hand and this is a rustic design so I was not concerned with stray or wavy lines. Just follow natural the lines in the metal. I like rough coverage also so I didn’t want every inch of the metal covered.
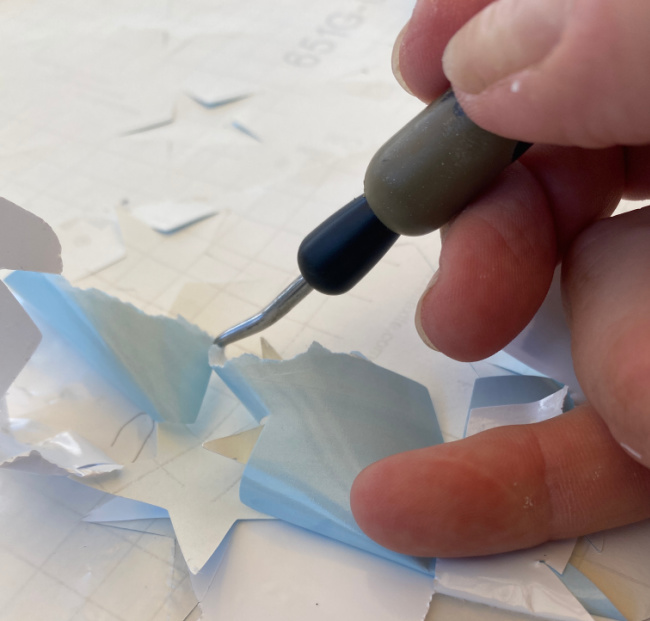
Instead of hand drawing or stenciling 50 stars, I opted to cut them on my Silhouette. Then I just had to transfer them onto the metal. Apparently my vinyl was really old making it difficult to work with but in the end, the stars made it onto the metal flag.
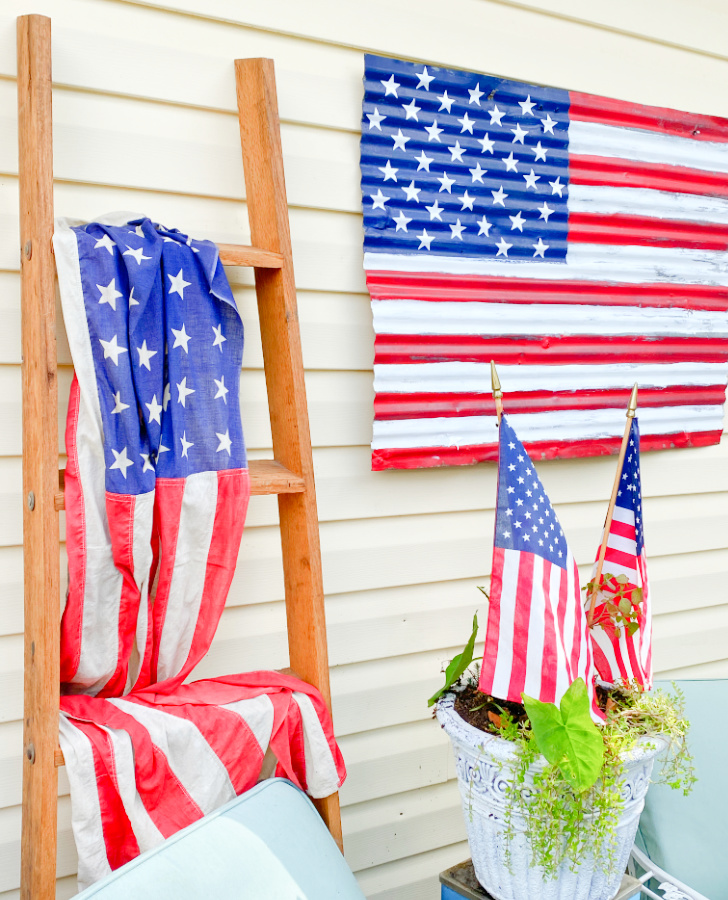
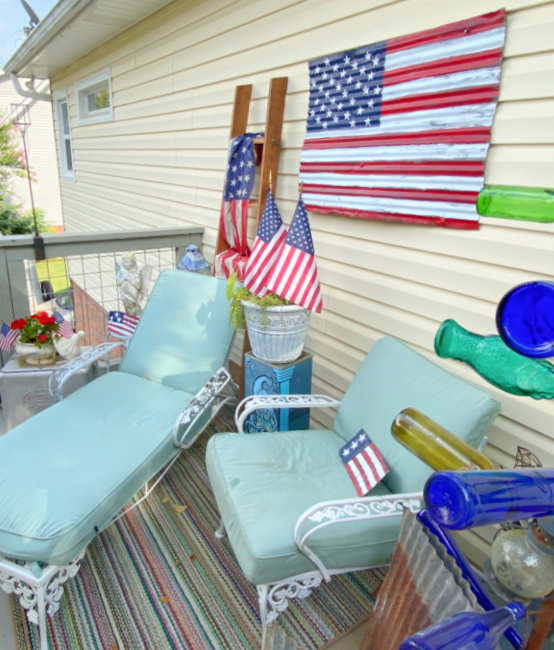
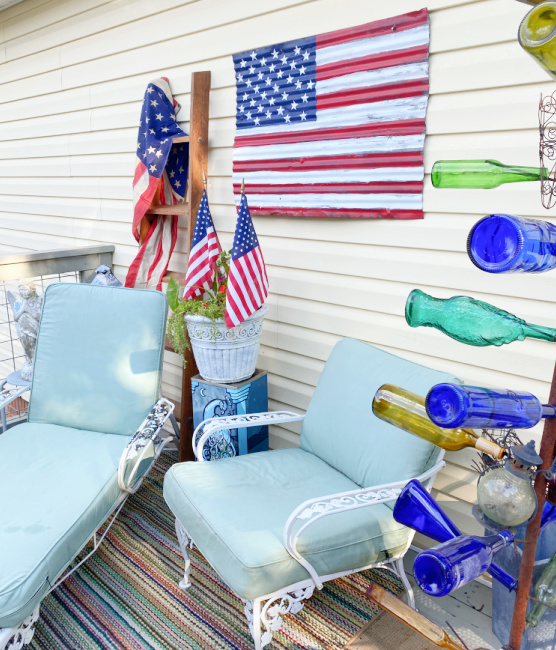
I used 2 siding hooks to hang this beauty on my deck. These are so convenient and easy to install. You can hang just about anything on your siding!
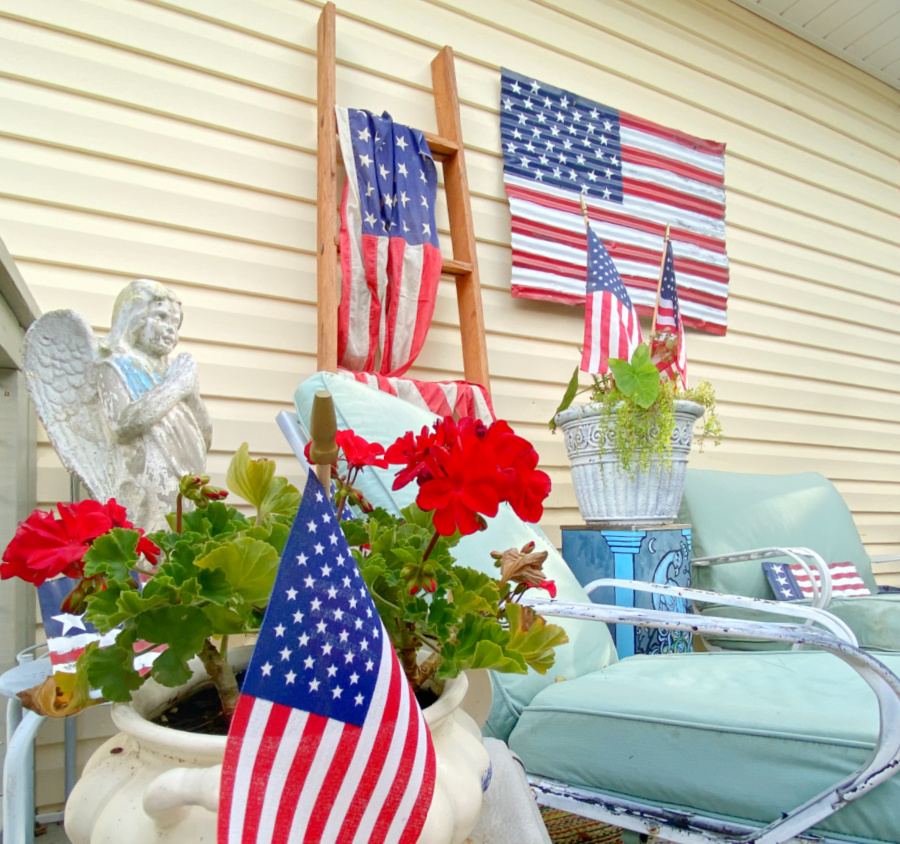
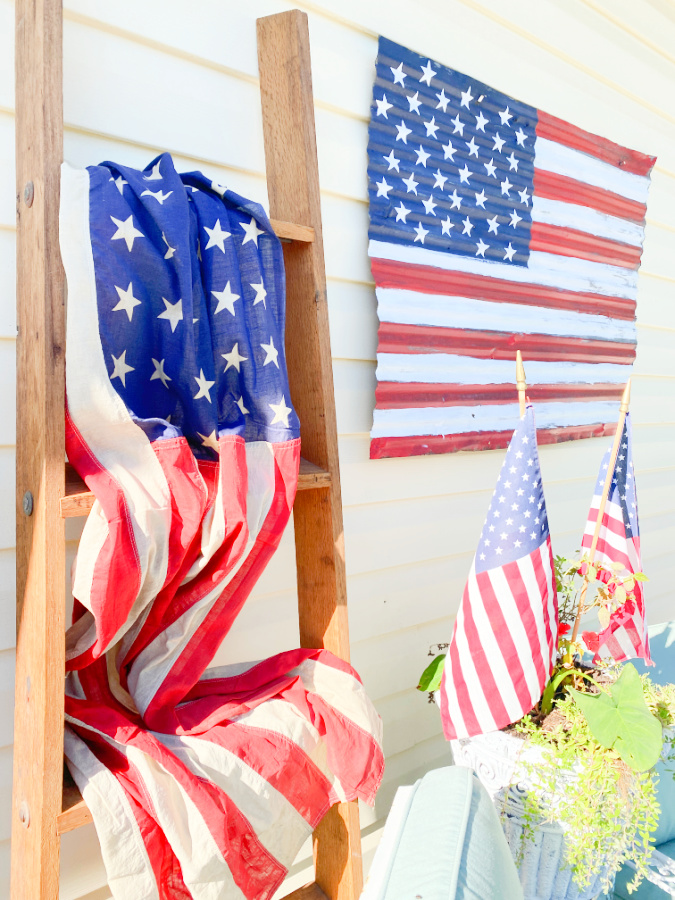
A few accessories and we have a beautifully patriotic corner.
Here are the smaller flags. They are perfect to scatter around.
I think I will make a PRIDE flag with some vibrant colors next. I’ll be sure to post it on Facebook and Instagram.
I’ve been on a creative kick for patriotic holidays. Here are some others patriotic posts you may enjoy.


















Comments 1